
Hello everyone and welcome to my Happy Holiday Living Room Tour! If you’re mosey-ing on to my blog from one of my fellow bloggers participating in the Holiday Home Tour, then you get an extra special hello because I haven’t met you yet! If you’re a regular reader (yes, that’s you family members!) than you’ll be way ahead of the curve since you remember what my living room looks like when it’s not decorated. Let’s start the tour!
– Note: This post contains affiliate links. See more information about affiliates here –
But first, I’d also like to say thanks to my new blogging friends who have included me in their Holiday Home Tour, and to Sharon from Pretty Practical Home for corralling all of us together.

Spoiler alert: I don’t decorate too much (I’m a minimalist-in-training and all), so I figured I’d do something a bit different and do a play-by-play of how I decorated my tree this year.
We have a fake tree (I’ve never had a real tree actually…) and it’s only 6’ tall… which isn’t that bad, except that the Husband calls it a Charlie Brown tree… BUT not to worry, I’ve discovered a few tricks to make it appear fuller, which I will of course be sharing with you here!
So whether you have a real tree, or a fake tree; a tall tree or a small tree (do I sound like Dr. Seuss yet?) I’ll try and help to make it appear nice and fluffy. (Oh, and I have all the steps in a cute animation below too!)
Tree Decorating 101
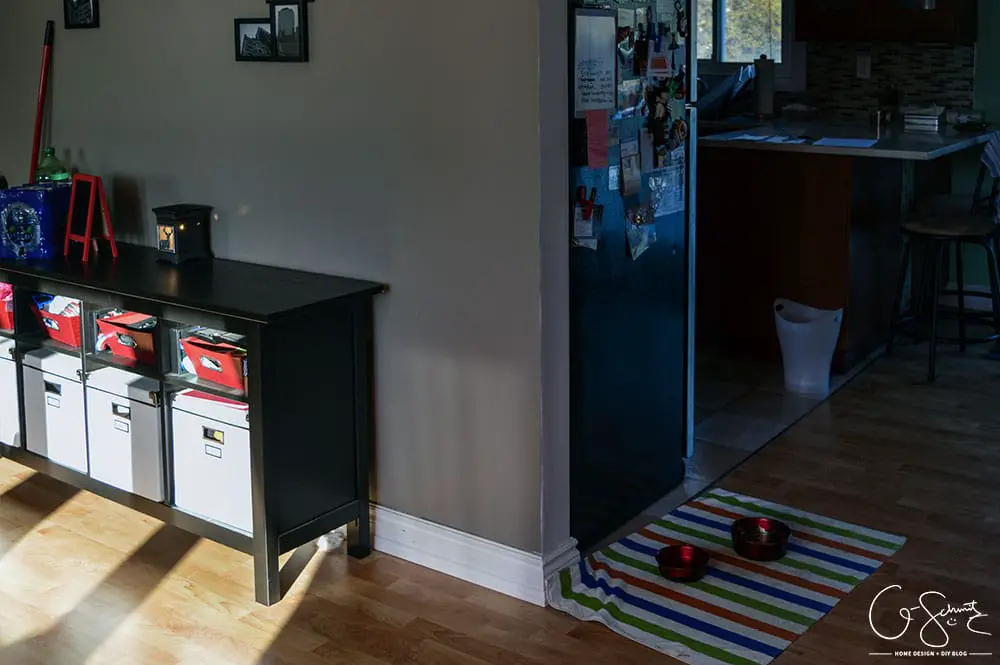
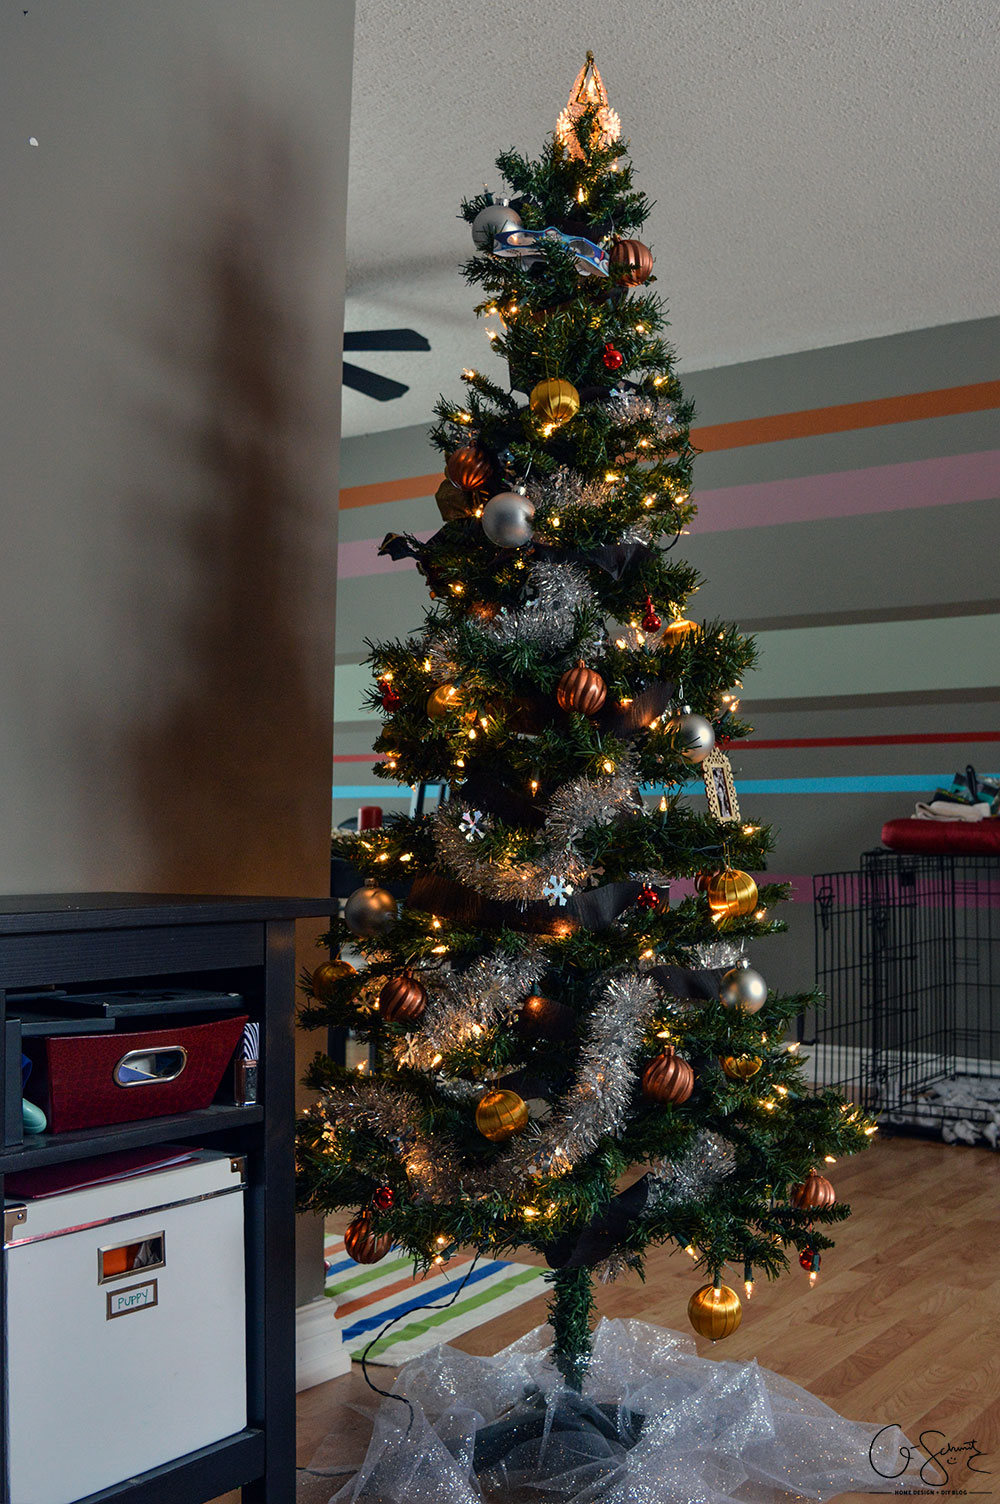
1. Determine where your tree will go. This is the spot we put it (so it’s centered in the bay window), and this is normally where Tootsie’s crate is, but we move it for this month.
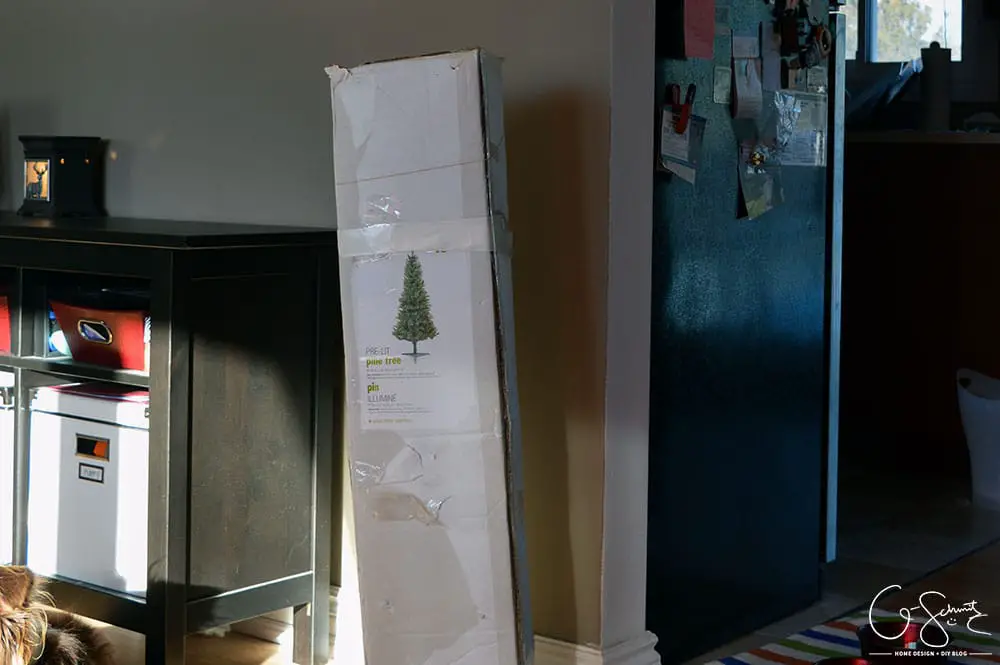
2. Acquire tree. Like I said, ours is a fake tree (and we can fit it back in the box each year… that’s talent!) but if you get a real tree you’ll need to chop it down and what not (and I can’t really help you with that, sorry!). Oh, you can also see Tootsie’s ear in the bottom left of the photo…
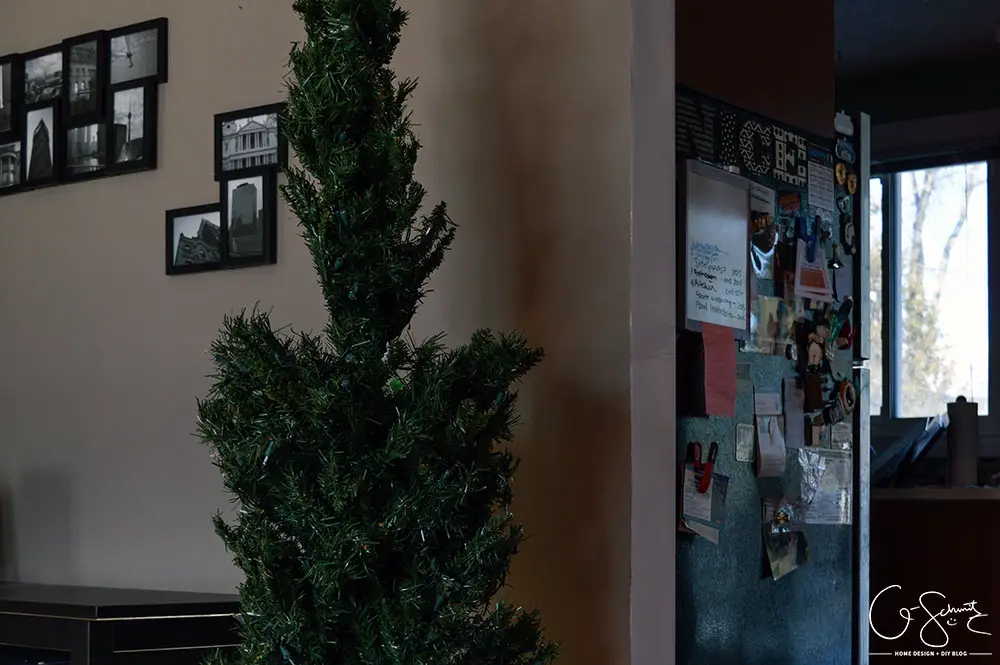
3. Setup tree. For real trees, I think this involves putting it in a pot or something, but for fake trees you have to assemble it if it comes in pieces.
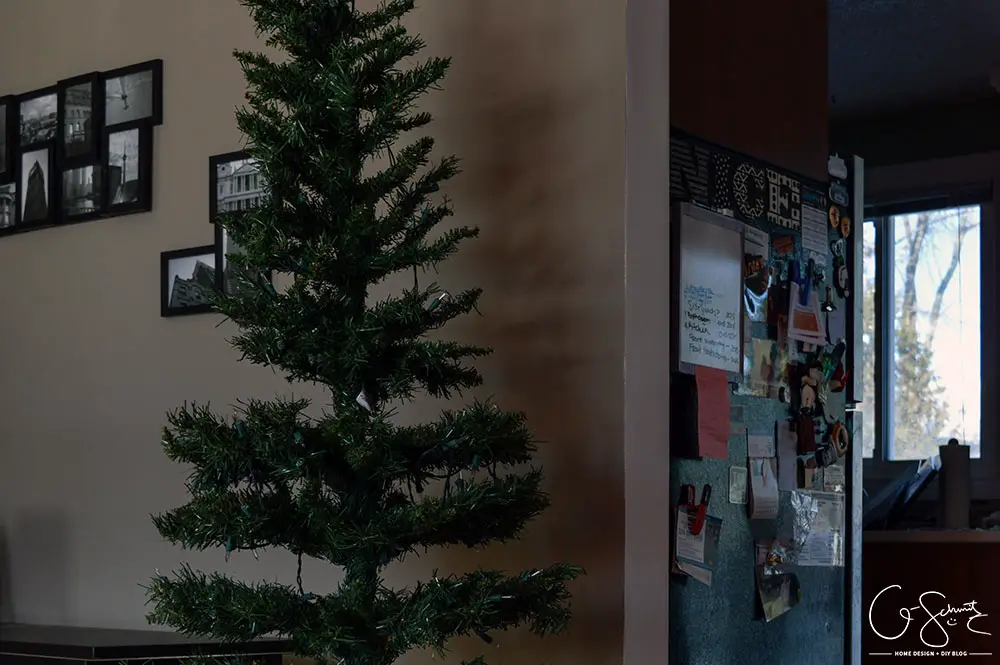
4. Fluff branches. So… this is why the Husband calls it a Charlie Brown tree, because it seems really sparse when you extend all the branches like you’re supposed to.
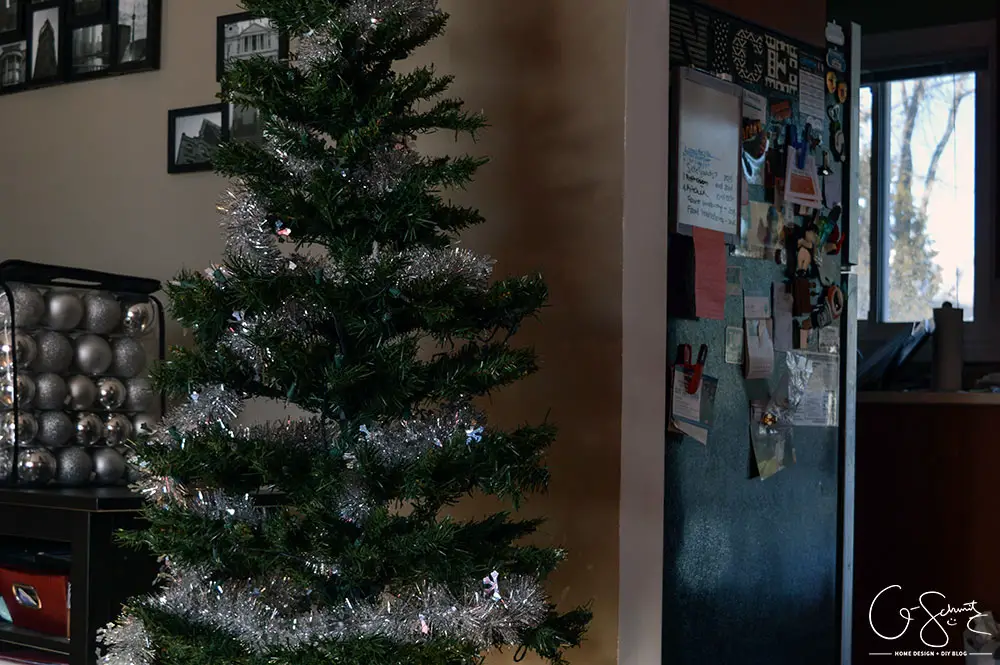
5. Add garland (or lights). Our tree is pre-lit (score one for the artificial trees!) but if you have to add lights, you’ll want to do this now, AND make sure to test them first before you string them throughout the tree. A couple of years ago I did an all-silver tree and bought this silver tinsel garland at the time (see all the silver balls behind the tree?), and I discovered that adding this thick garland really helps make the tree look fuller. If you don’t like the look of silver tinsel, you could always get one of those pine looking ones to blend in with the tree.
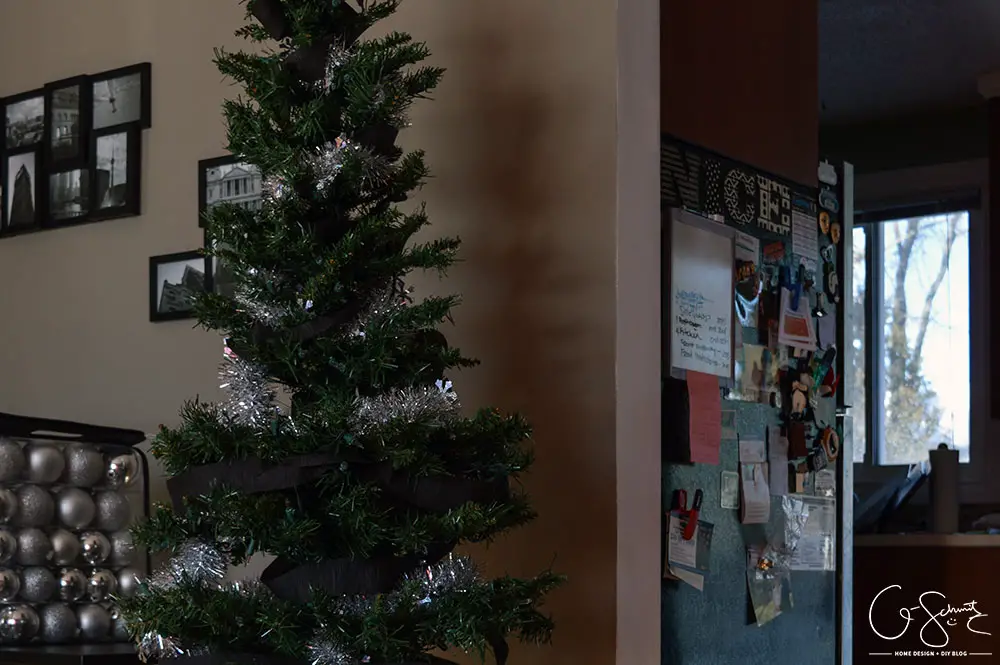
6. Layer another garland. Or a popcorn thing, or beads, whatever. Basically what I’m saying is whatever needs to be wrapped around the tree should be done first. This year, I bought a cheap black crêpe paper roll from the dollar store, because I really think black is in this year for Christmas décor (and it’s a good neutral to work from).
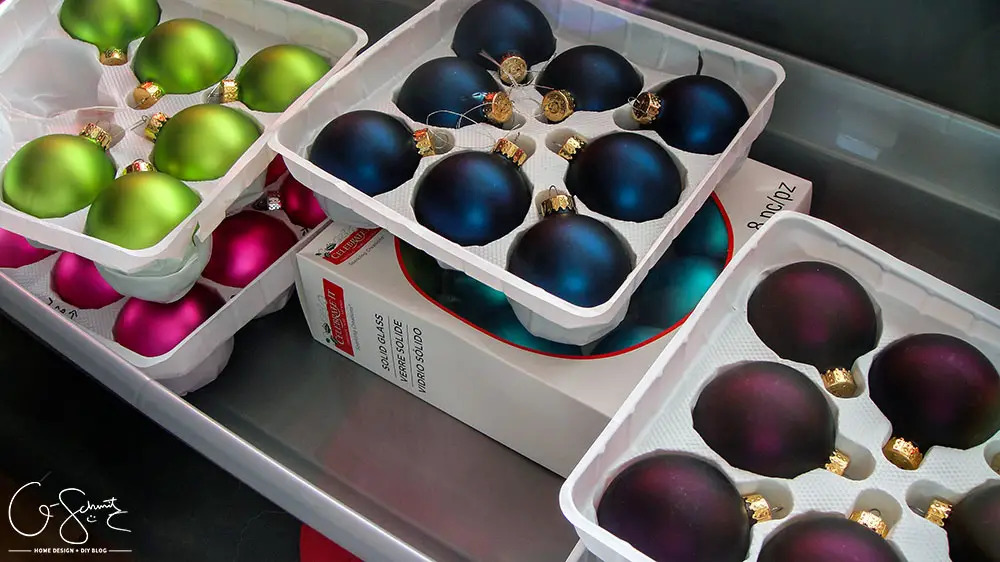
7. Choose colour scheme. Okay, maybe you might of thought about that before you started, but don’t worry if you didn’t! I mentioned that two years ago I had an all-silver tree, well last year I had a rainbow tree and used a bunch of different coloured balls. (I usually buy my decorations on sale at the end of one season to use the year after).
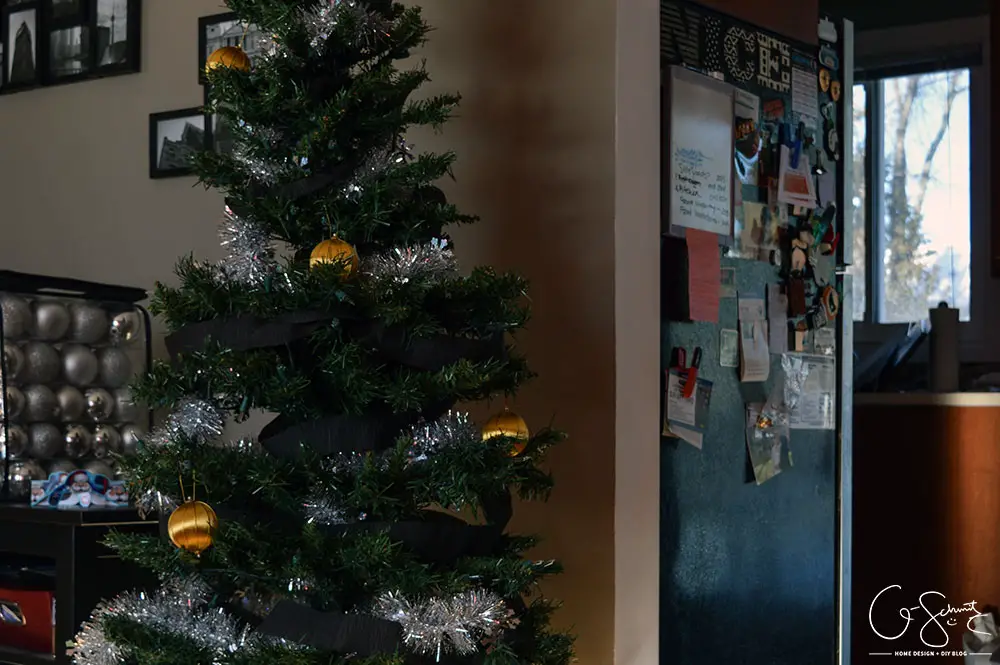
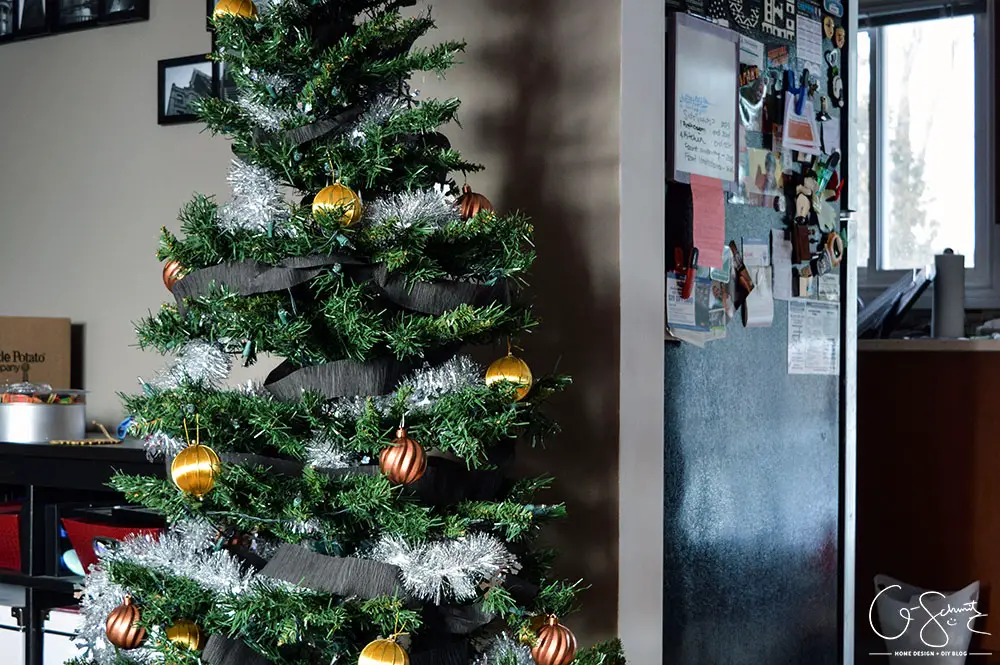
8. Add one colour. I have 8-ish balls of each colour, so I like to put all of one colour in the tree (or half of them if I’m going with a rainbow theme). First I added gold!
Before, all our decorations were donated from one of my friend’s Mom, and they were all red and gold. All throughout university we always had a red and gold tree.
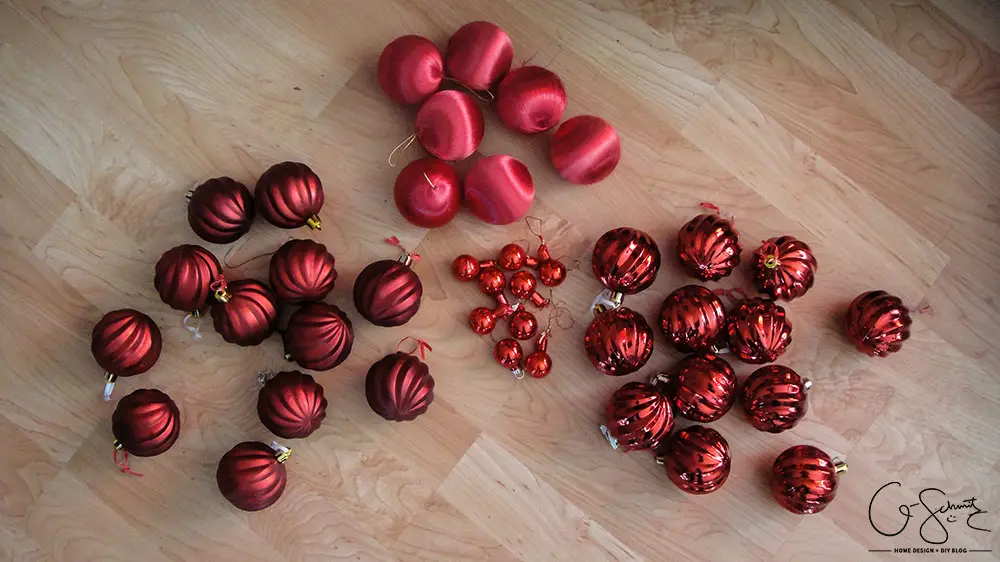
This left me with a lot of red decorations (but for some reason, not too many gold ones). I wanted to add some copper accents in my tree, but I didn’t have any copper balls.
Too much red…
Not enough copper…
AHA! I’ll paint my own using the extra red balls!
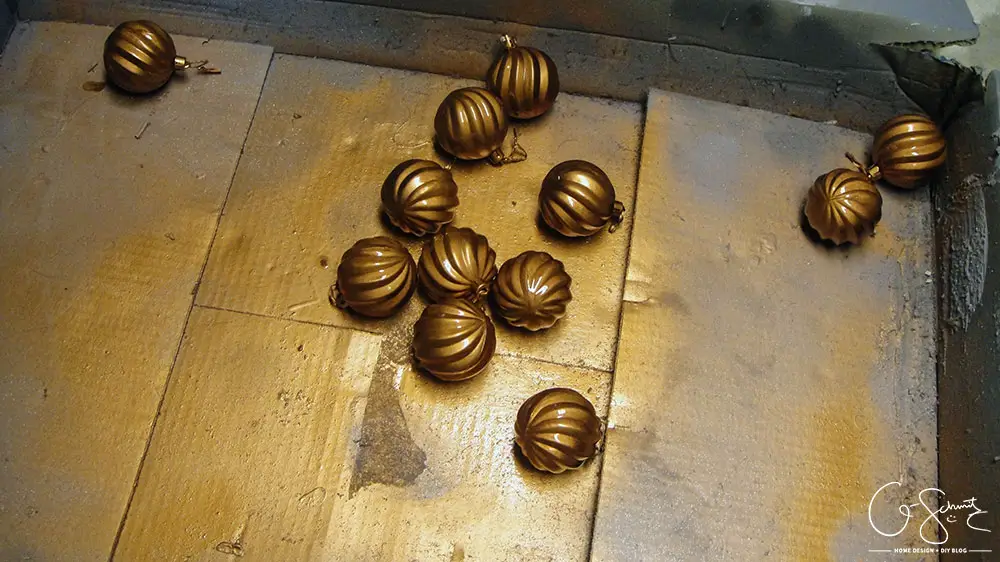
Regular readers may recognize this spray paint box and copper colour from the DIY Halloween lanterns I did a month-ish ago. You guys, I swear I have more than one paint colour… but copper is really in right now, so I’m kind of taking advantage!
9. Add DIY elements. My DIY for this tree were these copper balls, but growing up our tree was always filled with decorations we made at school. I think it adds a homey touch, but I kind of like the super perfect tree look too… do whatever you like!
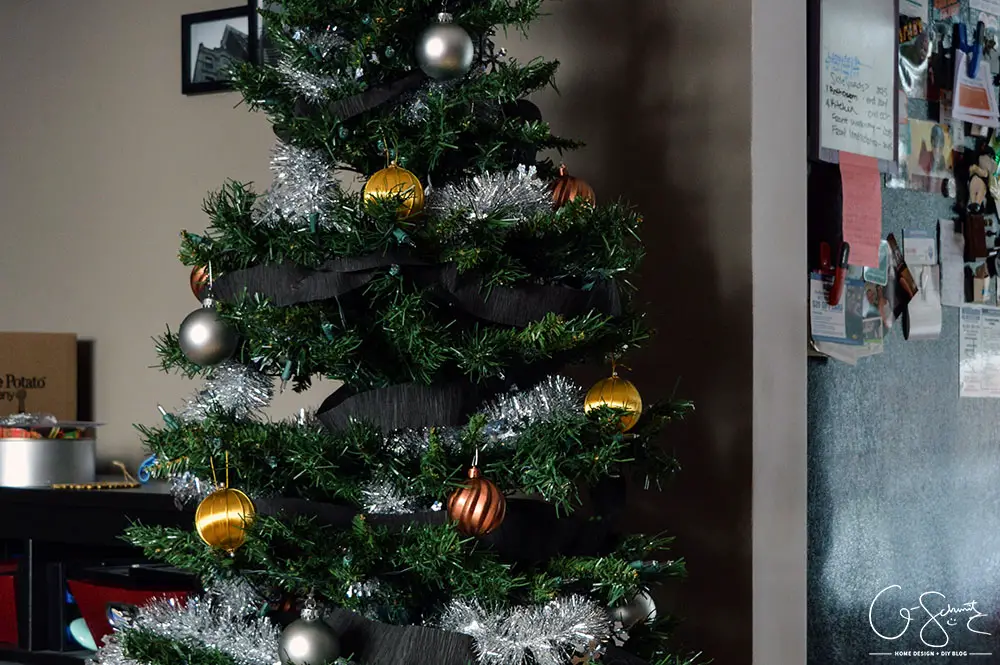
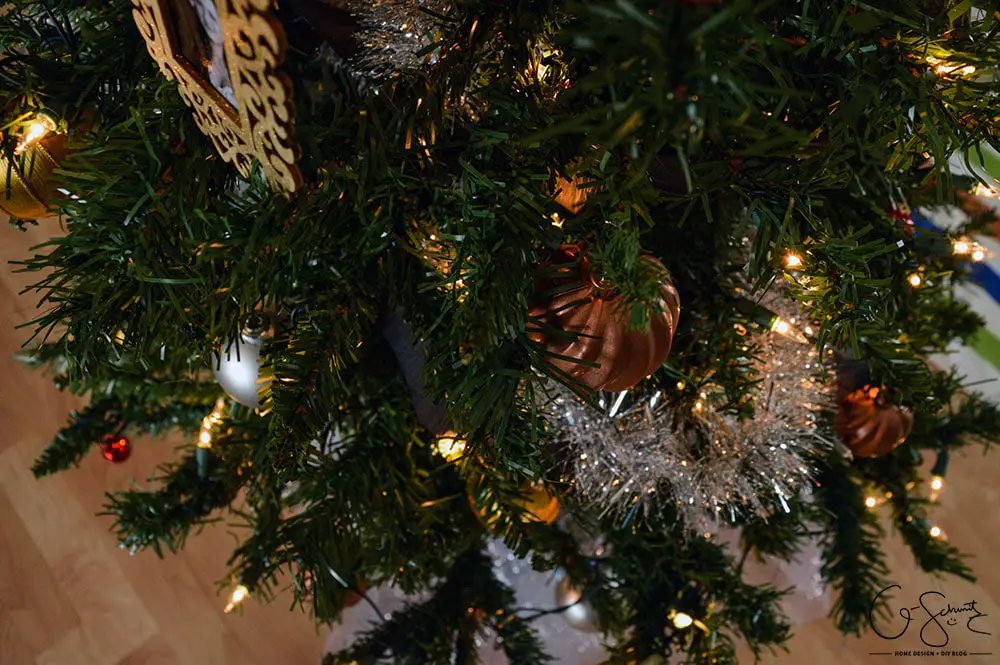
10. Make sure everything is tied in together. To do this, I added a few of our silver balls, so rather than a silver and gold tree, it’s a silver-gold-copper tree. Metallic… let’s just call it metallic…
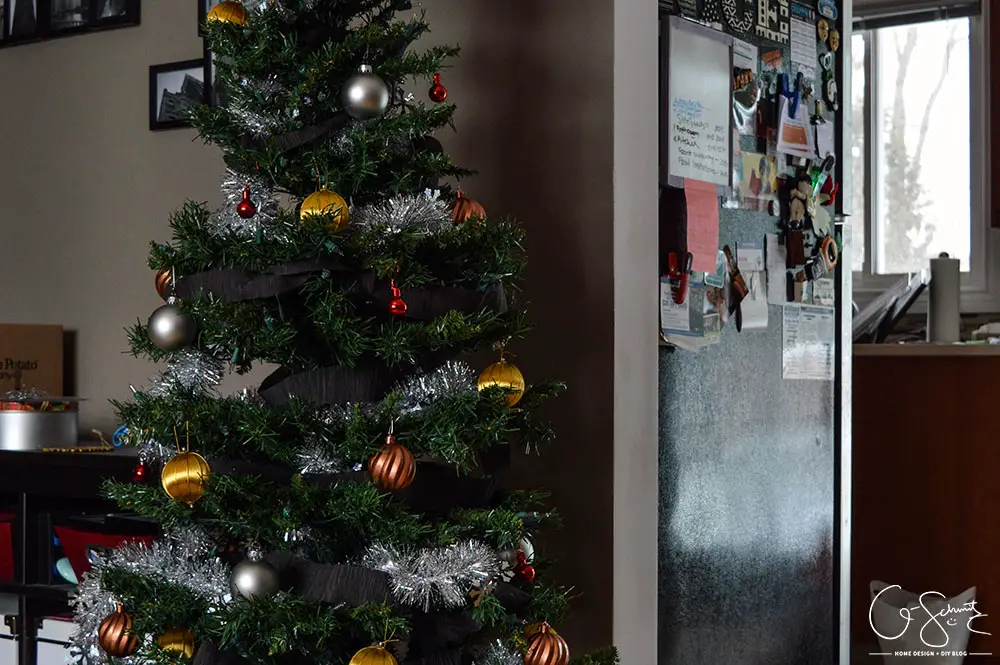
11. Add final touches. For me, I put the teeny tiniest little red balls in our tree, just to add a bit of holiday cheer (and match our living room accent colour). They kind of remind me of little pieces of holly!
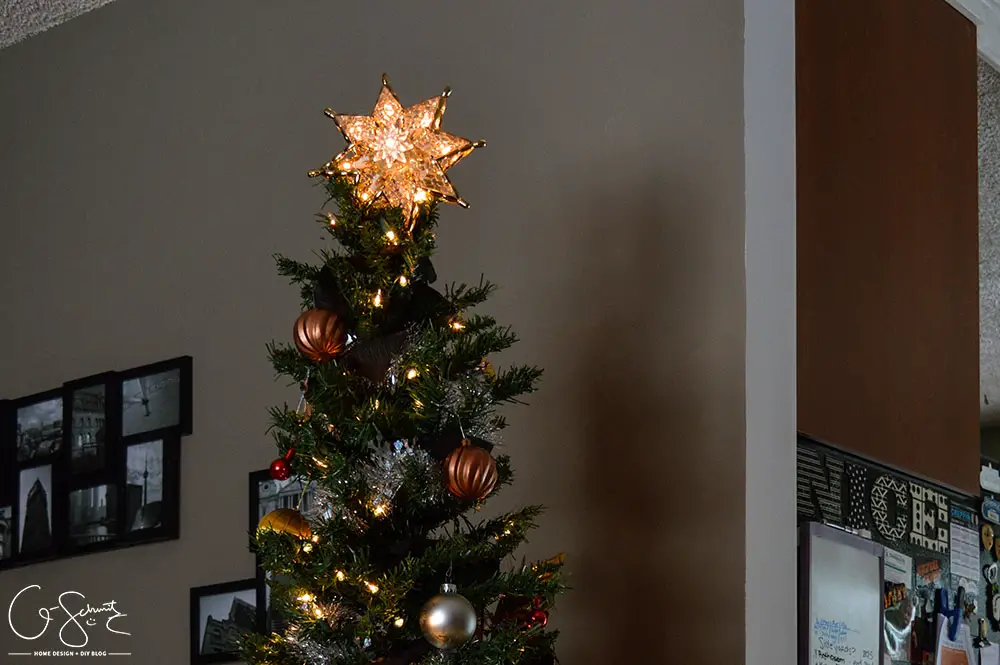
12. Cap that tree! Are you a star-person or an angel-person? Growing up, there was always an angel on our tree. My Papa (Dad) would lift me up, and I would shove the branches in that angel’s bum (seriously, it’s pretty graphic!) but since having my own tree it’s always been a star on the top (which we still have to hold up by shoving the branches through it).
Holiday Pictures
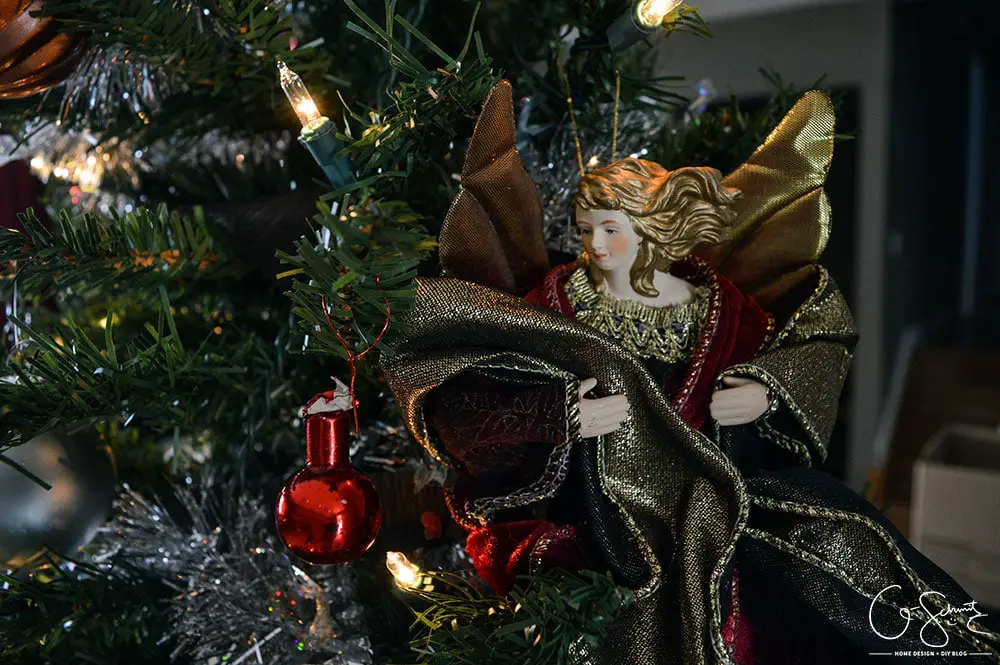
I’ll let you in on a secret, we also have an angel in the tree too… but she’s on a string so can only really be hung. This year she’s sort of in the back (we decorate our tree 360º because it’s pretty much visible from all sides).
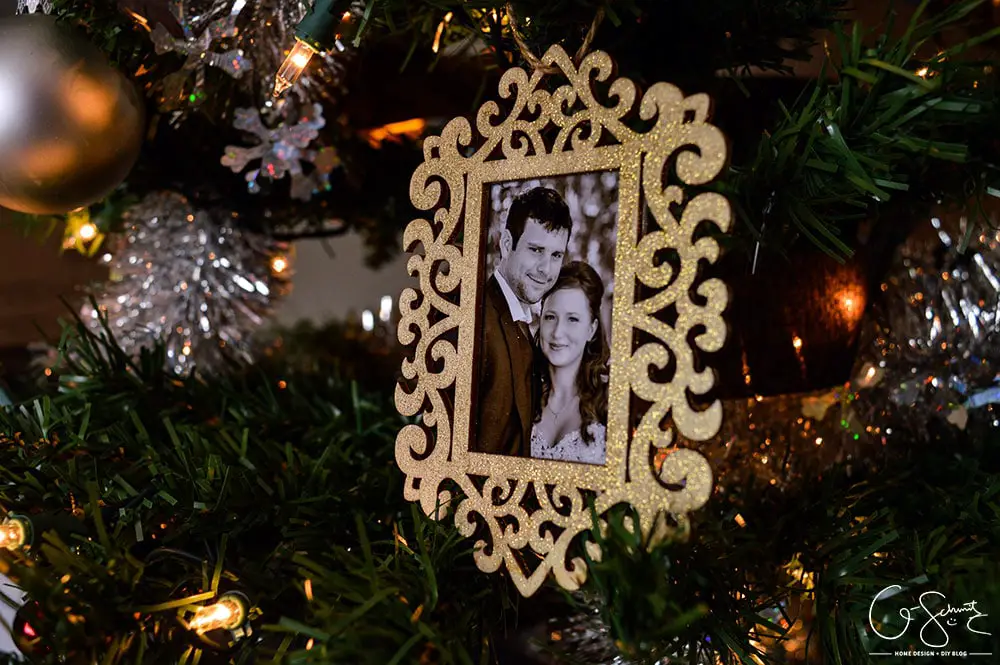
We also have a photo ornament from our wedding that was gifted to us by our photographers. It just happens to fit in perfectly with the metallic tree theme this year!
At the base of the tree I wrap a sparkly 6″ ribbon/streamer thing around the bottom to hide the frame. But those sparkles get everywhere! (Update: We ditched the sparkly thing for a faux fur tree skirt).
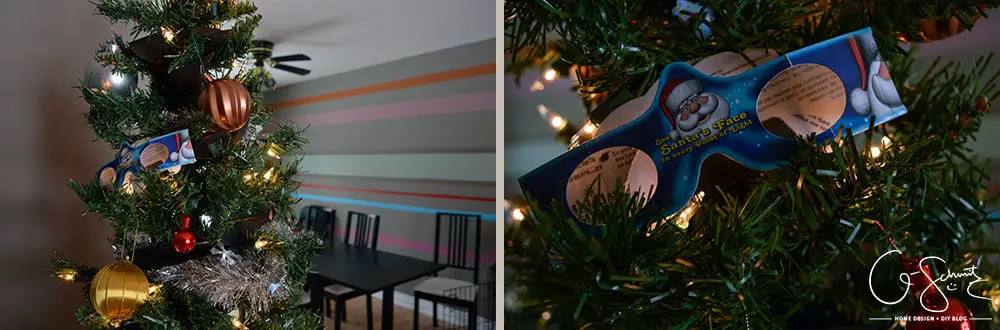
The last thing we have in the tree is this pair of glasses we got as a gift last year. Have you ever seen these things before? Prepare to be blown away!
THE LIGHTS TURN INTO SANTA!!! This is the craziest thing ever, and every person we make wear them is amazed. I don’t even know what kind of crazy magic is in these glasses, but they would be a great stocking stuffer for any kid person on your list.
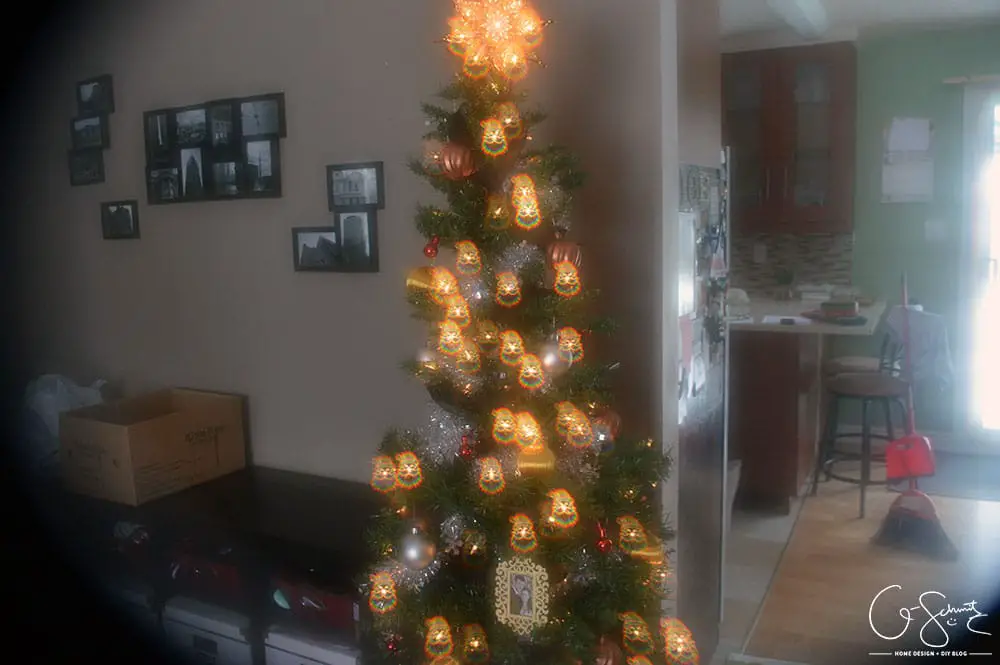
Ooh here’s that cute time-lapse animation I was talking about! I didn’t even notice the Husband was in one of the pictures until I was looking back through them… darn!
This angle shows the living room layout a bit better. With the dining room hidden behind the wall on the left, and the couches to the right. (You can check out the house layout here).
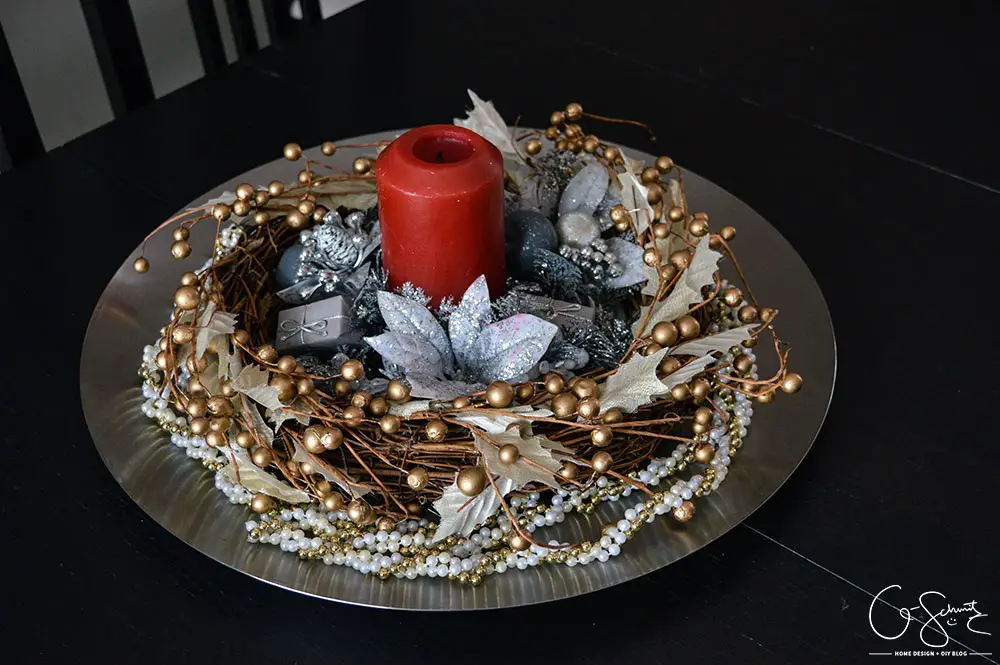
This is my minimalist tablescape! Seriously, I like to have practically nothing on the table so by placing everything on this large Ikea tray I can easily move the decorations aside when I want. I’ve been doing the same display every year for the past few years, so if you’ve ever lived with me, this will be very familiar. Also, that is the exact same wreath that I used for our outdoor Halloween decorations… and I won’t lie when I say I just took it down from outside a few minutes before putting it on the table.
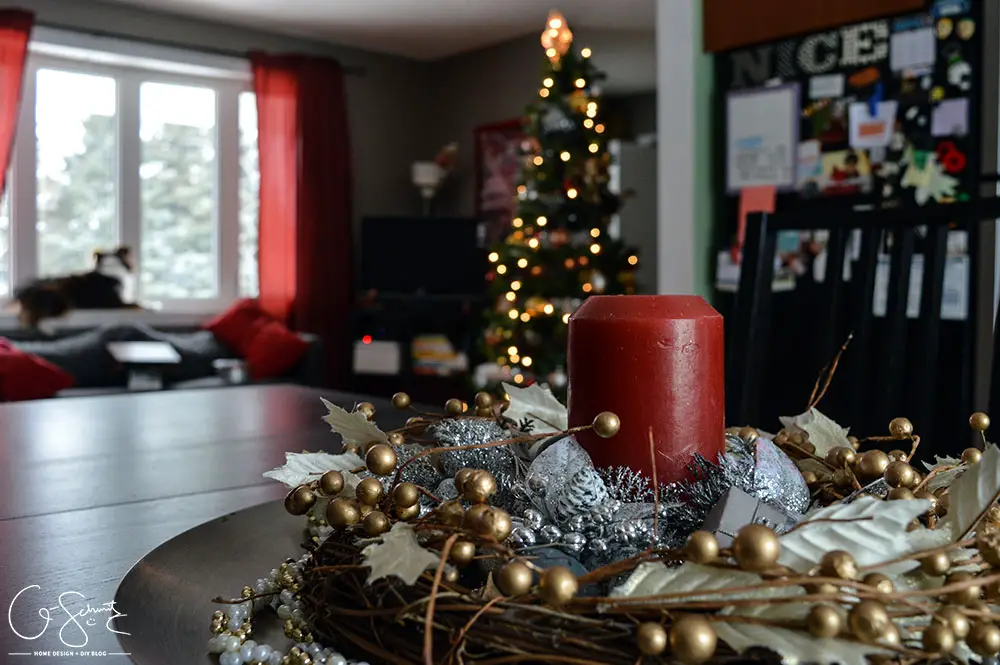
Looking back towards the tree you can see the rest of the living room (and Tootsie in her favourite spot!). Our DIY renovated kitchen is just there on the right, and you can see all our fridge magnets from this angle. (It’s a stainless steel fridge, but I like to keep the front part clear… so that’s why everything’s on the side!)
Can you spot some happy holiday decor around our TV?
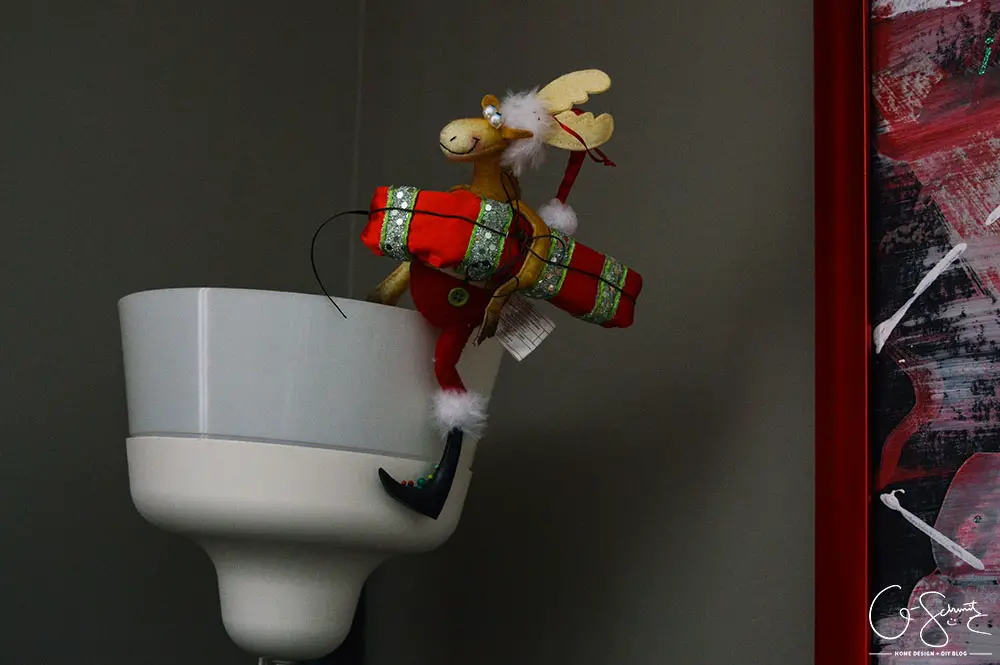
There’s a crazy reindeer stealing a present and riding the light (or delivering the present… your choice).
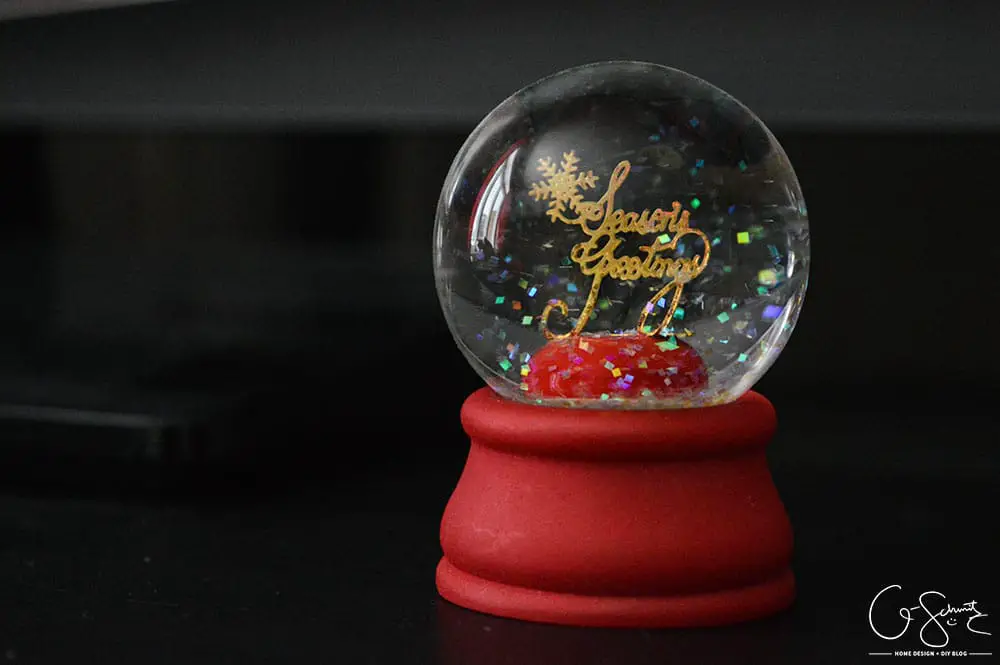
And I have a mini snow globe on the TV stand (it’s less than 3″ tall!).
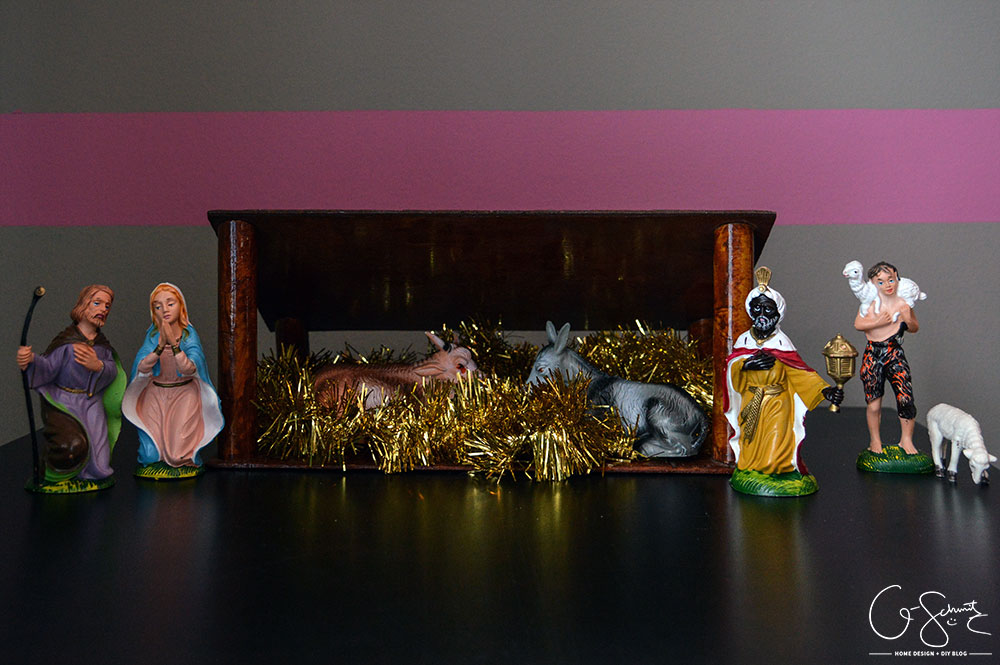
We also have a crèche (aka nativity scene) setup on the side table along our accent wall. This is the same one I’ve been setting up since I was little… and I’m pretty sure it’s from the 1970s (since that’s what it has etched into it). There’s only one wise-man left! I also hide baby Jesus until Christmas day, so those crazy barn animals are just waiting for now.
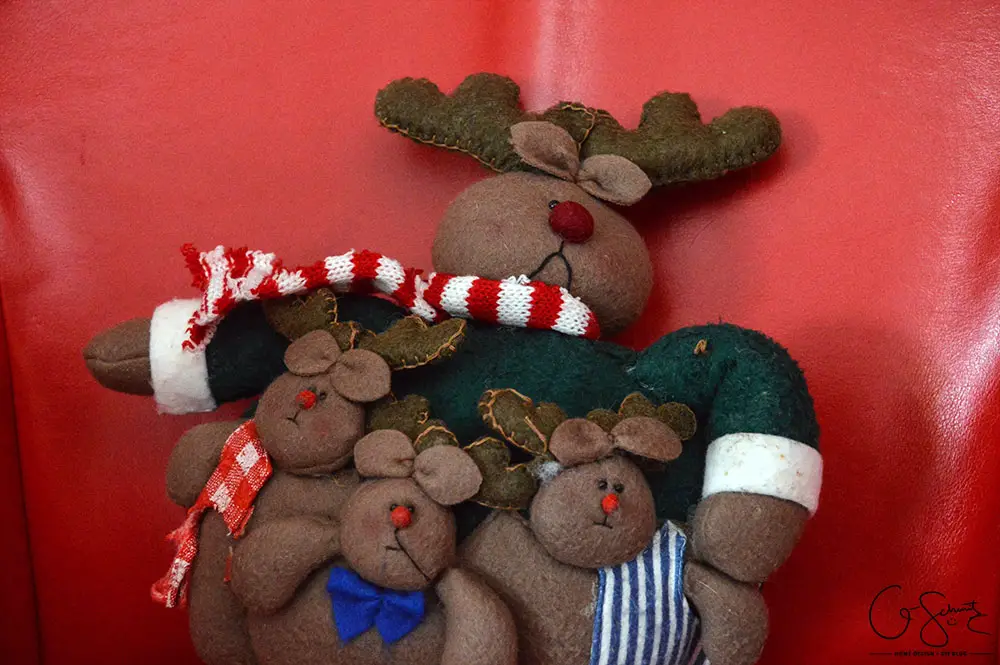
And this is the last piece of decor we have in our living room! It’s some sort of sad reindeer family, and Tootsie’s been eyeing it all week (she has a destroying things problem). I’m pretty sure last year she chewed up the scarf on the little reindeer child on the left, and no doubt she’s plotting their demise this year. I do move them around a lot (usually above where she can reach) and so far they’ve been safe!
Have you got your holiday decorations up yet? When I was young, my Mom didn’t let us decorate until the 15th or something… and I always said that when I was big I would put everything up on December 1st. Well here we are on December 1st, as promised :)
(Okay, I cheated this year and put them up a bit early for the tour, but you get the point!)
Make sure to stop back in next week to see how to plan and decorate your space for hosting a family (or friends) gathering!
And if you’re continuing the Holiday Home Tour Blog Hop, then make sure to check out Our Crafty Mom’s tour, and then check out all the other blogs too:
(Tour Tip: The links may not work until the date mentioned, so check back on those days!)
Monday, November 30th
Green With Decor
3 Little Greenwoods
Our House Now a Home
Lehman Lane
Designing Vibes
Tuesday, December 1st
Madness and Method (name updated)
Our Crafty Mom
Domicile 37
Shabby Grace Blog
Dream Design DIY
Wednesday, December 2nd
My Life from Home
Up to Date Interiors
Elizabeth Joan Designs
Pretty Practical Home
Thursday, December 3rd
Casa Watkins
The Deans List Blog
Craving Some Creativity
Vintage Romance Style
Friday, December 4th
Flourish & Knot
Around the Watts House
Karen’s Up on the Hill
What Rose Knows
Creatively Homespun
Shop this Post


29 Comments
Sara @ Shabby Grace Blog
December 1, 2015 at 9:28 amI love your tree and home Nicole! Great job!
Nicole
December 1, 2015 at 1:36 pmThanks Sara! I’m totally in love with your house too :)
Meg @ Green With Decor
December 1, 2015 at 4:05 pmYour tree looks so pretty! And I love your simplistic tablescape, my kind of tablescape! :)
Nicole
December 1, 2015 at 8:05 pmThanks, I definitely like the less is more look when it comes to stuff!
Louise aka Mommy
December 1, 2015 at 9:00 pmThe outside lights for Grandpa’s birthday, the tree for Marc’s birthday. Though your father turned the outside lights on today and I might just decorate on the weekend
Louise aka Mommy
December 2, 2015 at 5:08 amP.S. Got the nativity set from Grandmaman after we bought our first house, never noticed the etching. The creche itself was one she had in her classroom I think
Nicole
December 2, 2015 at 6:19 amWow this just might be the earliest year of decorating yet! Also, it’s the crèche that says “1970” on it.
Heather @ The Deans List Blog
December 1, 2015 at 9:41 pmLove your home, Nicole!
Nicole
December 2, 2015 at 6:23 amThanks, looking forward to seeing your tour soon too!
Jessica
December 1, 2015 at 10:26 pmlove the pops of color here and there and your time lapse video is killer.
Nicole
December 2, 2015 at 6:22 amThanks Jessica, I really like your skinny tree :)
Sharon
December 2, 2015 at 12:30 amThe tree looks perfect, and I loved your time-lapse with your husband in it. I only keep one thing on the dining room table, too. It’s a pain to move everything when you need to eat or work. My money’s on Tootsie to eat the reindeer family. Great job on your first home tour!
Nicole
December 2, 2015 at 6:21 amThanks Sharon! I’m excited to see everyone else’s tours the rest of the week too… The reindeer family are safely guarded right now, who knows what will happen when the Husband watches her though… that’s usually when she eats lots of things!
Emily
December 2, 2015 at 1:39 pmSo many awesome, unique ideas! Great job!
Nicole
December 2, 2015 at 6:46 pmThanks, when you don’t have too many decorations, you have to get extra creative!
Ashley ~ 3 Little Greenwoods
December 3, 2015 at 9:56 pmOh my gosh that reindeer is cracking me up! Love your tree decorating video too!
Nicole
December 4, 2015 at 8:31 amHa, the sad little reindeer family are still alive right now, but who knows by the end of the season! Thanks :)
Sarah
December 4, 2015 at 9:02 amBeautiful! So glad I’m not the only token Canuck in this group :-) I love that the style of our creches are so similar. Really enjoyed your tour!
Nicole
December 4, 2015 at 11:26 amI’ll definitely be checking out your blog more often too :) You had me at “buffet”… I’ve never even heard of the term “sideboard” before!
Erica @ Designing Vibes
December 5, 2015 at 12:48 pmHi Nicole,
I really enjoyed your tour. Your home looks so festive and inviting!
Much Love,
Erica- Designing Vibes
Nicole
December 5, 2015 at 5:46 pmThanks Erica, yours too :)
Rose
December 8, 2015 at 8:14 amThose glasses are awesome!
Nicole
December 8, 2015 at 7:14 pmI know right! When you tilt your head, the Santas tilt with you
Creatively Homespun
December 16, 2015 at 1:27 pmThose lights are CRAAAAZY!!!! I loved checking out your home… truly gorgeous!! So glad you participated in this Home Tour, it was an honor to be surrounded by so many amazing bloggers! Pinned! xo
Nicole
December 16, 2015 at 6:13 pmThanks for stopping by, and those Santa lights are crazier in person! I liked getting to see everyone else’s take on their holiday decorations as well :)
Stephanie @ Casa Watkins
December 24, 2015 at 3:06 pmLove you tree!!! Very festive and colorful! Just full of Christmas spirit. Pinned!!
Nicole
December 26, 2015 at 8:42 amThanks Stephanie, I like to mix the style up a bit each year
Avery
April 28, 2020 at 8:40 amWhat a fun dining room! It would be so much fun to decorate a “proper” dining room for Christmas.
Nicole
April 28, 2020 at 1:09 pmThanks, we usually keep it pretty minimal :)