
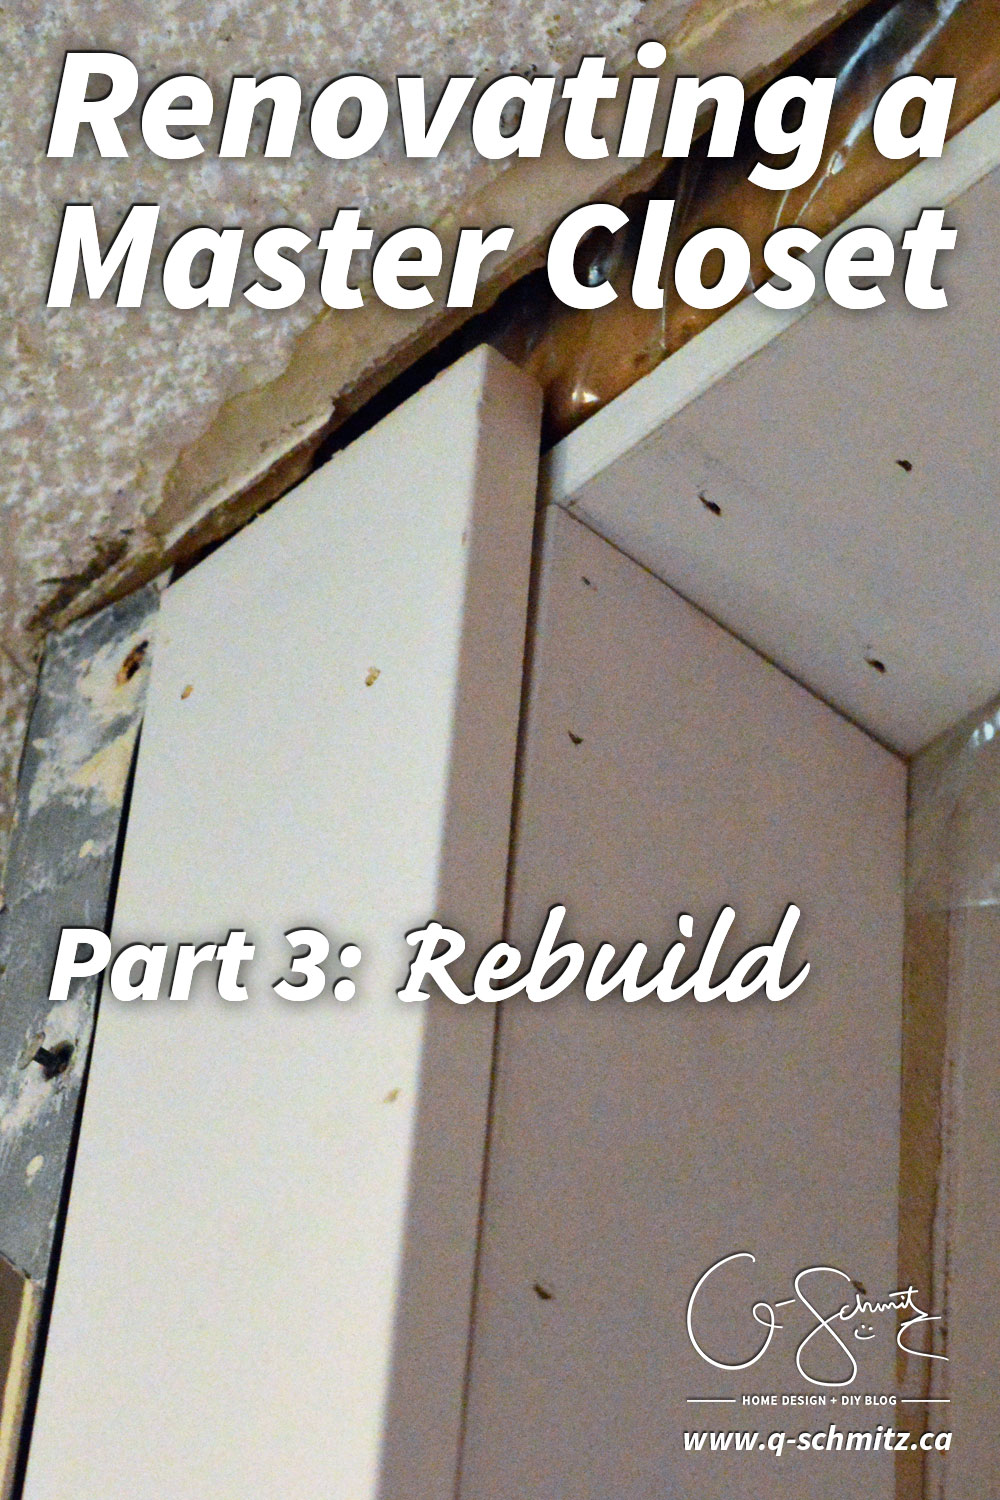
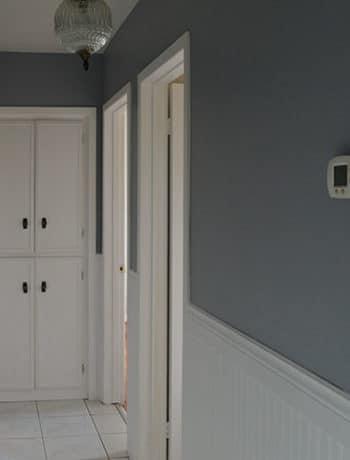
Hello Everyone! Today you’ll start to see the light at the end of the closet renovation, because it’s the rebuild phase (aka the next step when renovating a master closet). Actually, a lot of these pictures are more “teasers” because it doesn’t seem like too much is going on, but let’s take a look together anyways…
– Note: This post contains affiliate links. See more information about affiliates here –
But first, let me talk a bit about the issues with the closet door!
Closet Door Search
Because the plan was to open the closet entirely, we needed a new door to access all our stuff. I was originally thinking of doing a plain closet sliding door, and these were some of my options:
There was also a frosted one at the time (similar to these doors) but for some reason it’s no longer in the bigger 72″ width.
BUT then I realized that if we left the center closet organizer in its spot, that it would be impossible to access anything because one of the doors would always cover the center section.
Then I headed to Ikea to look at their closet doors (for the closet systems) and thought I could use their sliding system and panels in a normal closet. BUT their closet systems have the track in the back, so I would need to make some sort of custom rig to slide everything together (each would need to be on their own track so I could access everything). AND I would have the same middle panel problem…
ENTER THE INTERNET!!!
I searched A LOT for closet door options. Sliding doors. Sliding closet doors. Closet door panels. You name it! All I needed were sliding panels that opened all the way up, how was this so hard!? (seriously, weeks of research…)
In the end, I thought that these sliding panels from Amazon would do the trick. The pictures show exactly what I wanted, so I looked through the different colour options and chose the one that was more than 50% off at the time. Even though they are technically curtains, they say they work for closets too! (The colour I chose was Kansas Ginger, and we have bamboo blinds in the bedroom too so I am hoping they will match).
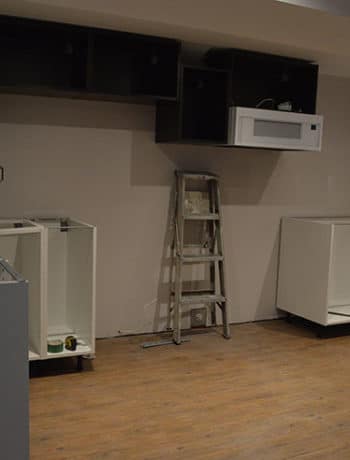
Master Closet Rebuild
And now the pictures of the progress!
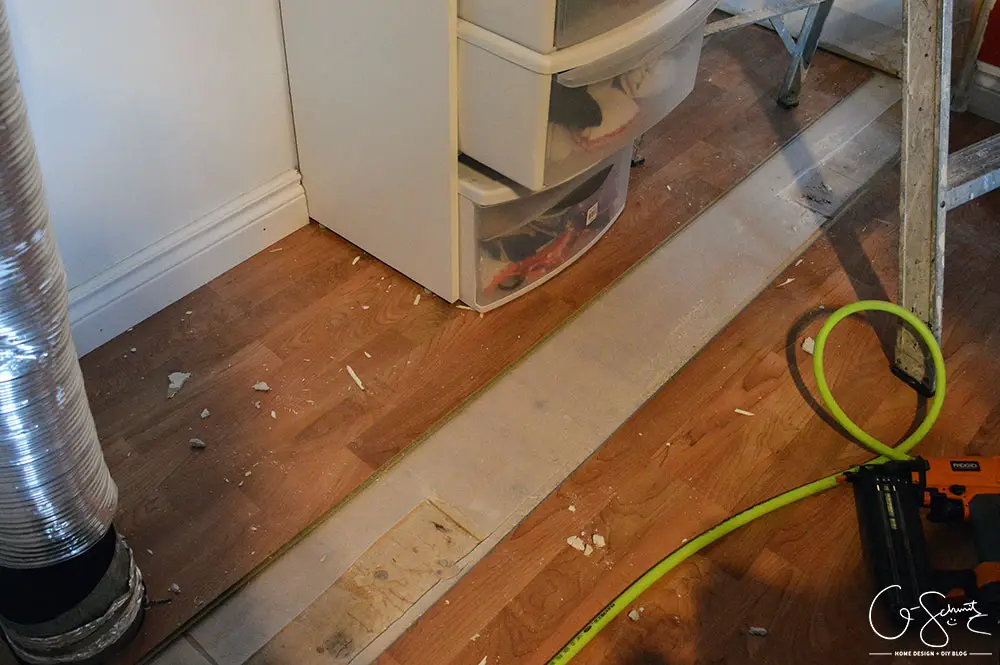
After the Husband removed the rest of the wall, we were left with two gaps in the laminate floors. We then cut the center section to make it even all the way across.
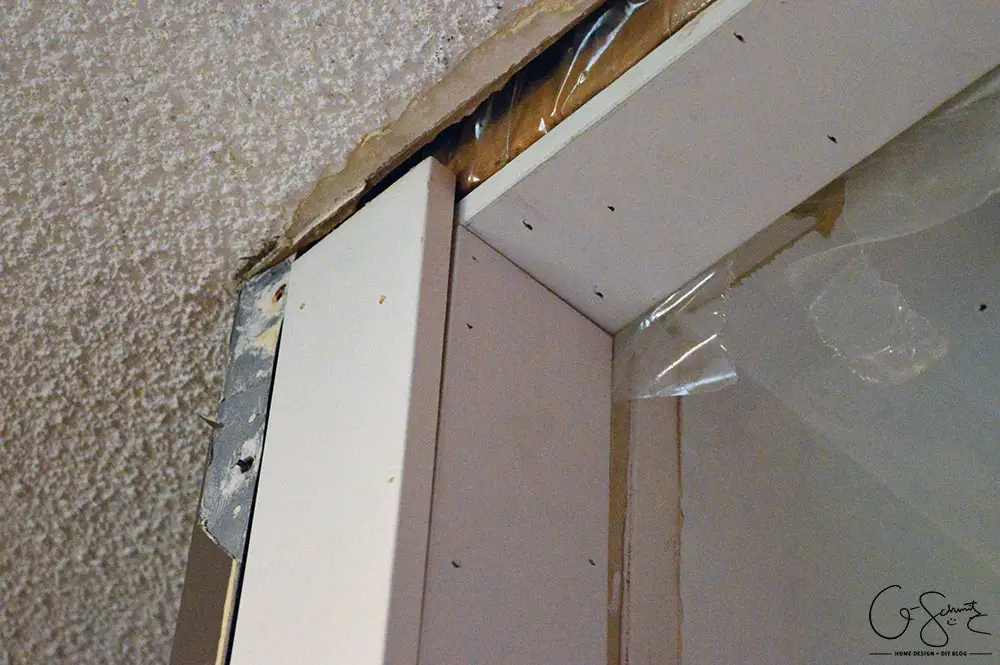
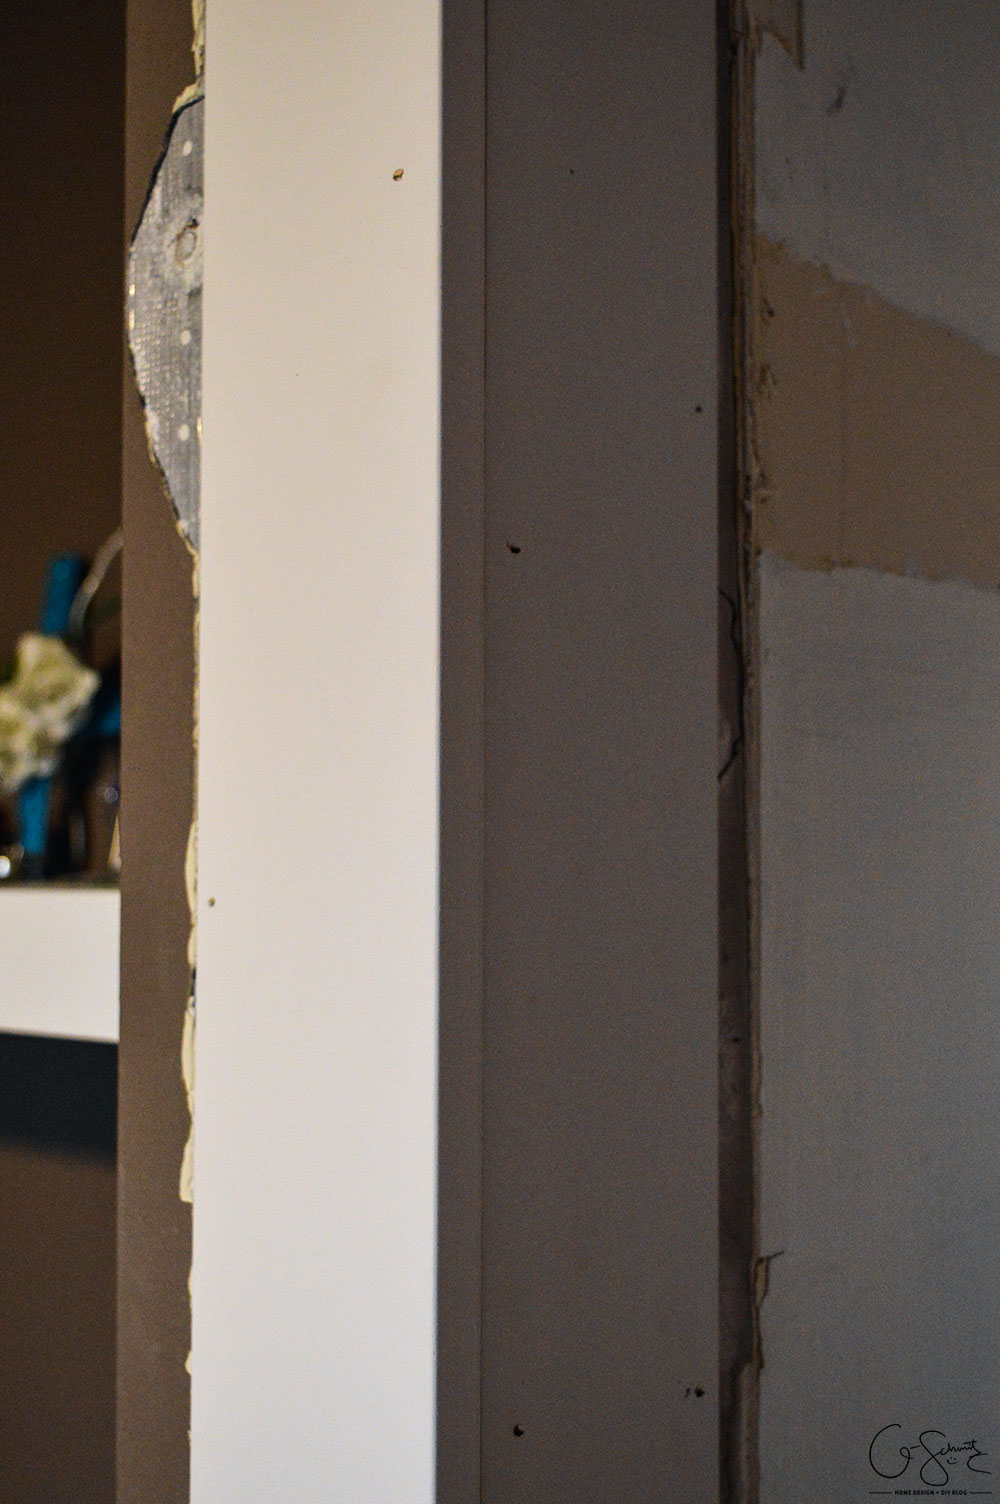
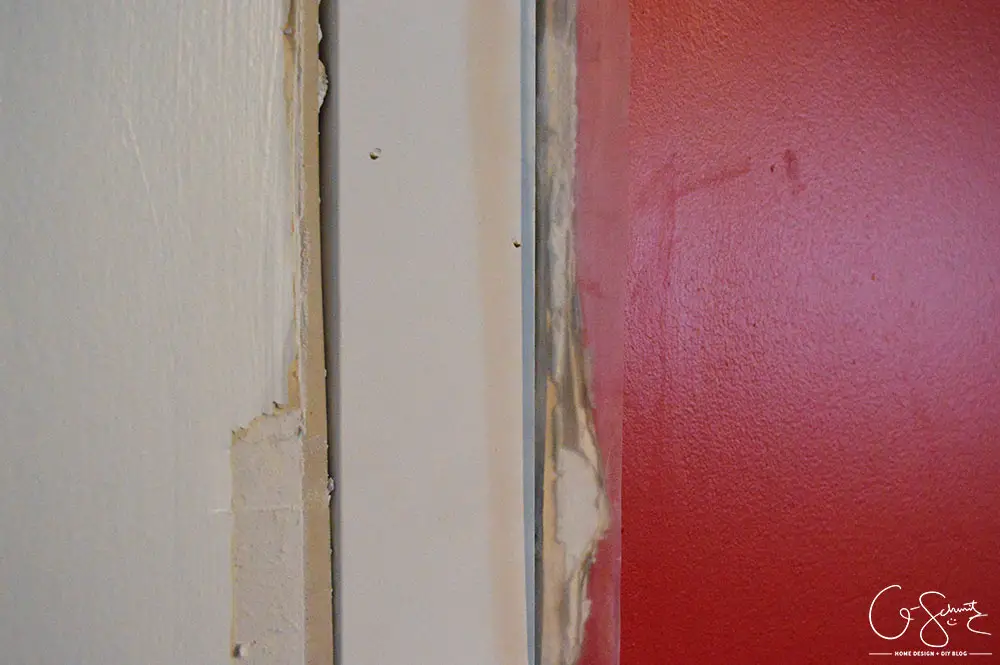
We bought a few pieces of plain white MDF moulding in various widths, and I started capping all the corners and edges to cover up the 2×4 frame. (We also finally got around to buying a nail gun, so this step was much easier!).
A lot of the work in here was not really planned 100%, I mean – I measured the first few pieces I would need, and then we bought them. Then I installed them and thought I could use a few more, so we went and bought more (stretched over a few weeks).
To cover the gap in between both sections of wall, the Husband thought I would use a skinny piece of drywall and then just mud everything. I figured it was much easier to just use a piece of moulding, then mud around that (since I would be putting another piece of moulding on top).
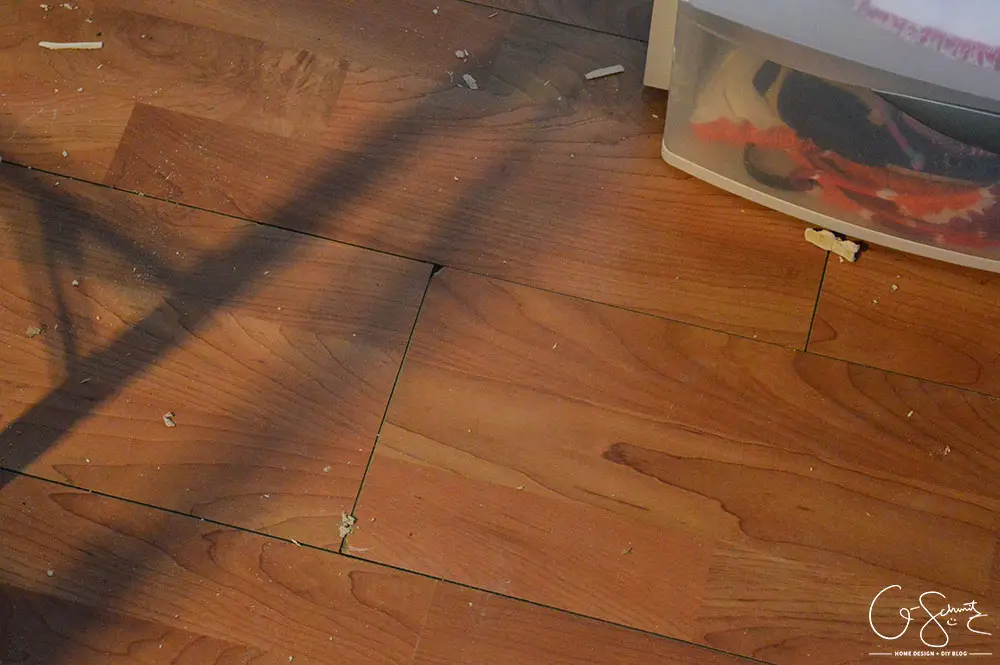
We had a bunch of leftover pieces of laminate (thank you previous homeowners!) in our crawlspace, so we used the ones that fit and shoved them into place. Easier said than done of course – because normally when you install laminate you go in one direction and squish everything in to fit (in one direction). Having to try and pull pieces of already installed floor to try and snap them onto new pieces was hard (which is why there are mini gaps – but I will try and hide them later).
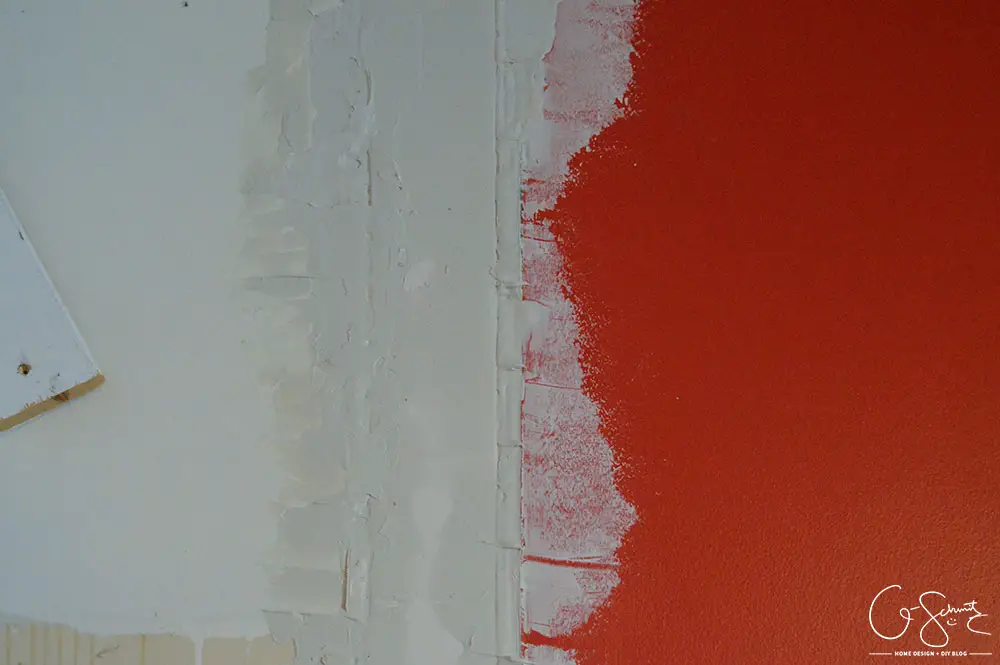
Anyways, once the floor was in place, I started mudding the gaps in between the pieces of moulding.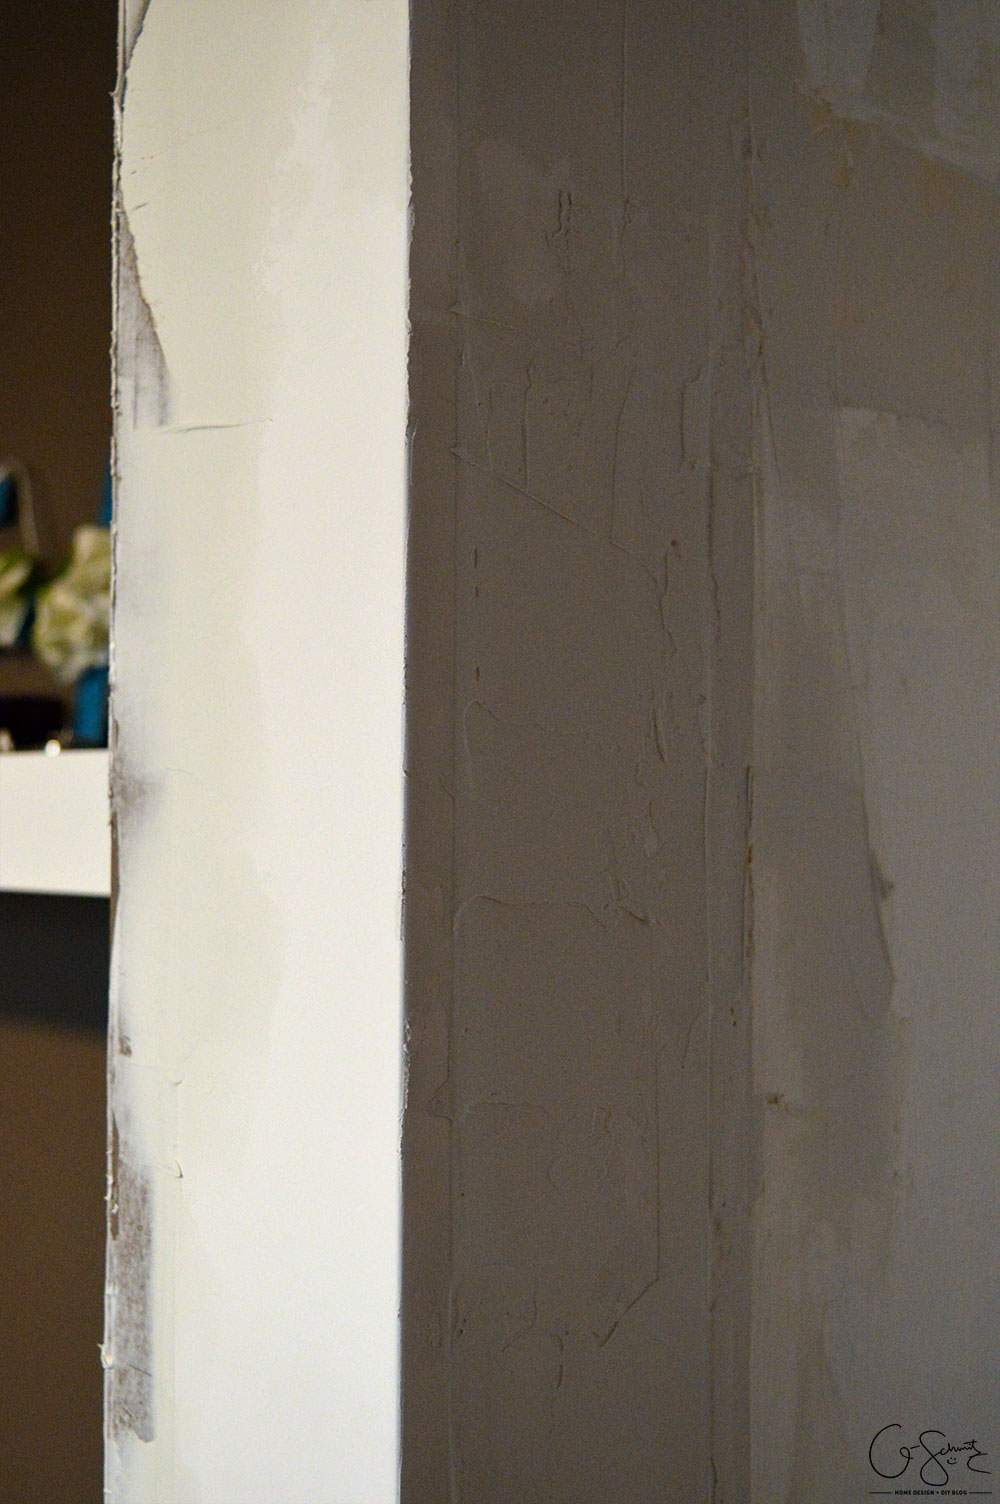
This corner was originally going to be just visible trim, but I kind of like how the MDF boards blend into the wall (and look like real drywall!). SO much easier than trying to cut strips of drywall to fit in these little spaces with the metal edges (which is what I normally do). I think I’ll “cheat” and use a piece of wood at the end of open walls all the time from now on!
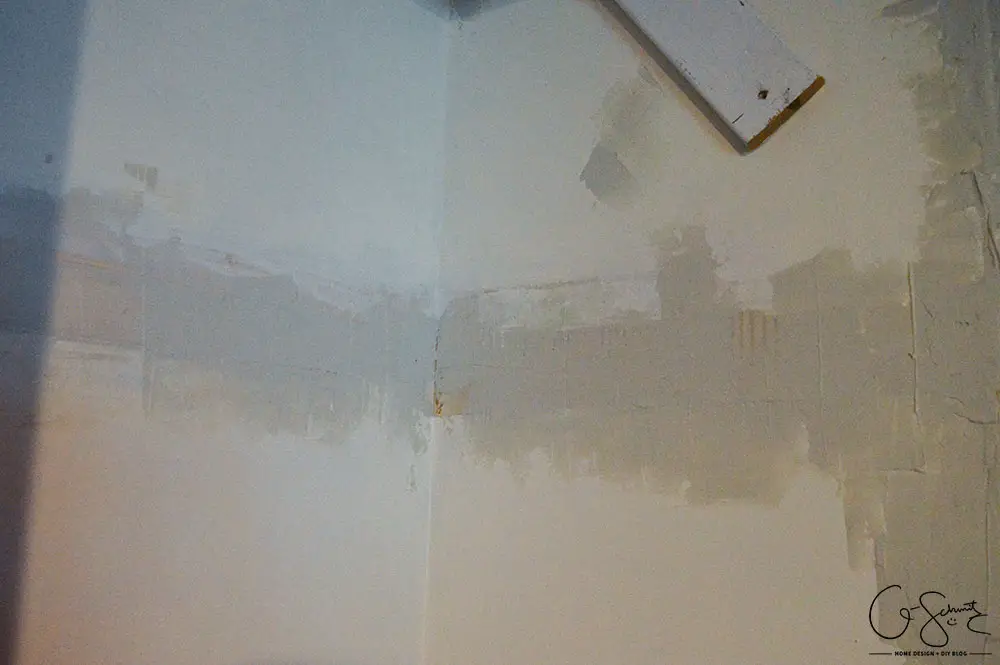
We even got around to patching the middle of the closet (where the old shelf used to be)… might as well mud everything when you have the product and tools out (I even patched other areas around the house!).
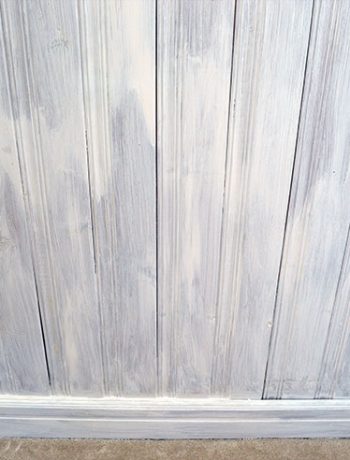
Then came the messy part of actually sanding everything down before adding a second coat (which I have yet to do). A lot of the mud settled into the cracks, but I figured that would happen since I had some big gaps.
And yes, our closet floor was COVERED in drywall dust for… oh… maybe a month or so? Since there are not really any clothes in the closet, we’ve just avoided that area (and Tootsie stayed away too).
I literally just vacuumed it on Sunday to take this picture and show you what our bedroom looks like currently (because this closet is not done yet!). I’ve been waiting to cut a fancy notch out of one of our pieces of trim so I can install them before I do another coat of drywall patch. I’d really like to use a jig saw for this and the Husband said he might borrow one for me to use :)
Last week I shared my list of 5 goals/outcomes for renovating a master closet, and today I’ll share my REALISTIC list (basically, the broken-down steps):
My Real To-Do List
- Finish trim along the top
- Finish trim on right (full wall) side
- Patch drywall again
- Sand drywall
- Prime everything
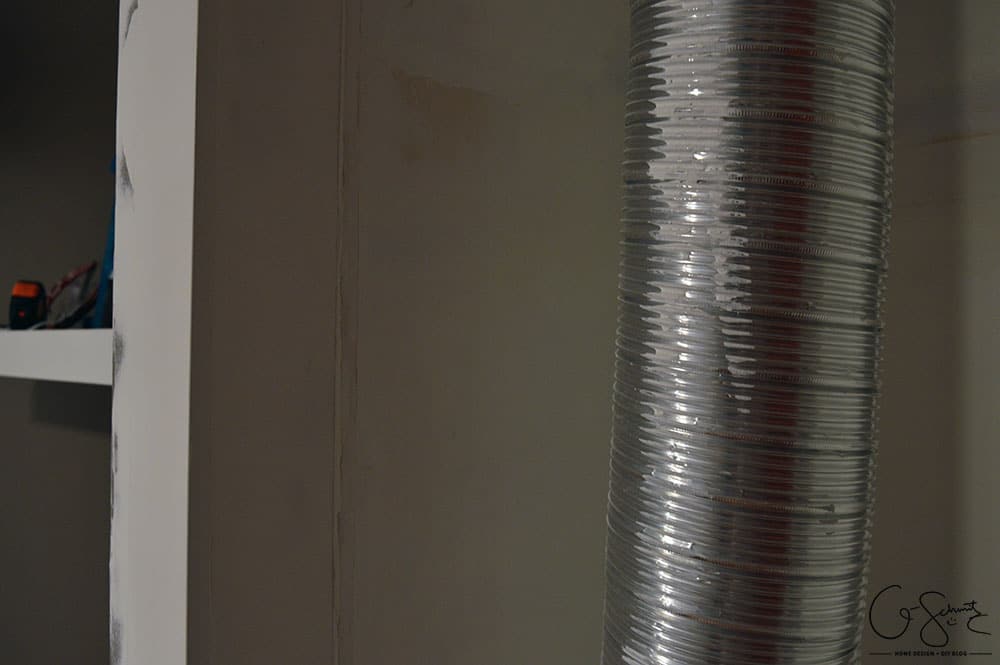
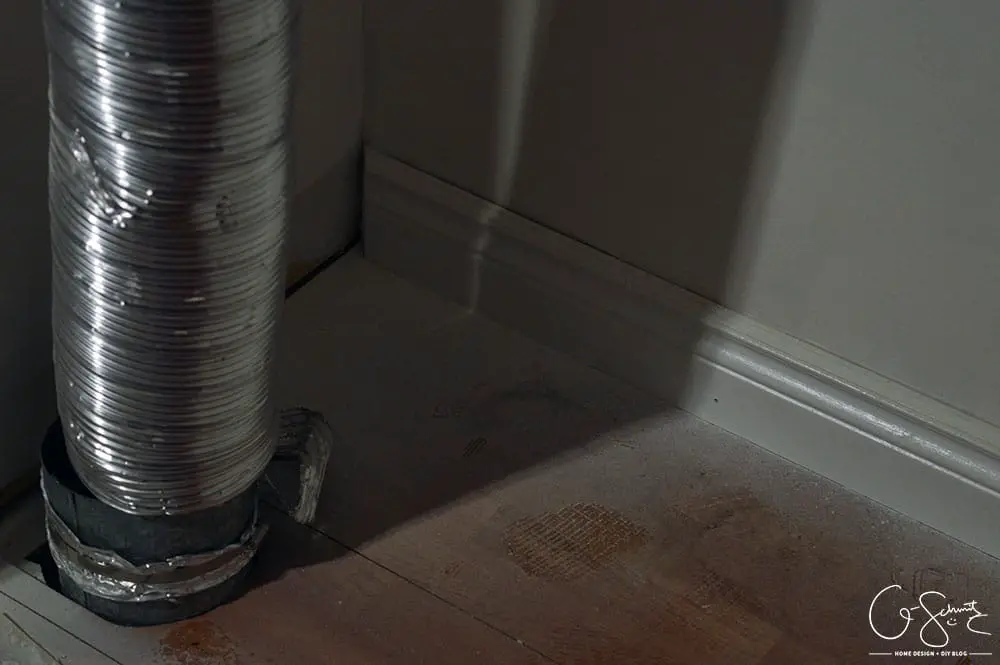
- Re-tape duct
- Paint walls (if needed)
- Patch the floors
- Finish dresser + bring in
- Add top shelf to closet
- Patch all the trim
- Prime all the trim
- Paint all the trim
- Clean everything
- Install door/curtain
- Bring in the clothes!
I’d love to say that I can accomplish everything this weekend and have a full reveal for you next week, but based on the snail’s pace of the rest of the project, that probably won’t be likely. I am planning on accomplishing a HUGE chunk of work this weekend anyways, so I should be back on schedule soon. In the meantime, next week I’m going to finally share all about the dresser mini-makeover (the dresser which I bought in October by the way).
(Oh, and a lot of the steps have a dry time involved, which adds overall time of course!)
2 Comments
CoCo
January 16, 2016 at 2:22 amNicole, this is going to look so good when it’s all finished. I’m excited about your nail gun purchase too, that’s awesome. I know you’re in the “how much longer is this going to take phase” but it will totally be worth it. I can’t wait to see the next phase. Great job, CoCo
Nicole
January 16, 2016 at 8:20 amI actually got some (minor) work accomplished yesterday, but this weekend I am planning to complete most of it! I’m just happy our closet is opened up and more accessible :)