
Can you remember way back in April when I shared the plans for the side yard landscaping? What about in August when I asked what project we should start? (And then I went and started both the front walkway AND the side yard, ah good times…). But all that work over the last two months has finally come to an end, and this will be the last thing I write about our outdoor landscaping this summer (oh please, I hope so!). Let’s take a look at what we’ve worked on over the past few weeks, okay?
In case you want any other reminders before we start, we had “officially” stopped working on the front walkway around mid-September, and the last we left the side yard it was nicely leveled, BUT then someone decided to dump a bunch of dirt there thinking I wouldn’t notice. (I did.)
Today I’m also going to cover the section of landscaping in front of our house that sort of joins the walkway and the side yard. We had gone all crazy and removed the sod there too, but left it “naked” for about a month and half…
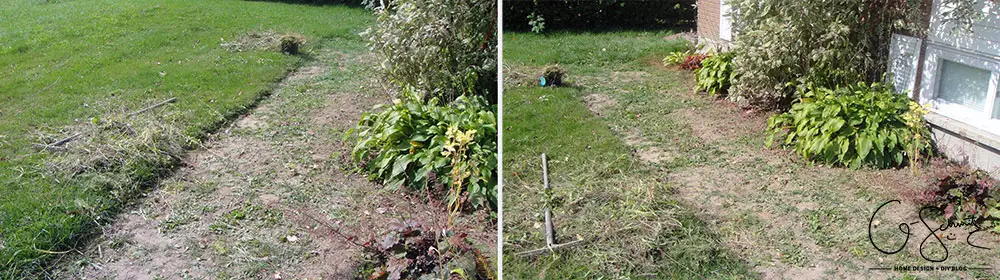
So naturally, the weeds took over. Great.
This is what I started with when I decided it was finally time to finish the side yard landscaping; on September 27th to be exact. I thought I could “easily” clean up this area and have a nice blog post for everyone to read that Tuesday. Well, I was way over my head and wrote about our clean and organized garage instead.
Let’s look at the timeline, okay!?
Sunday September 27th
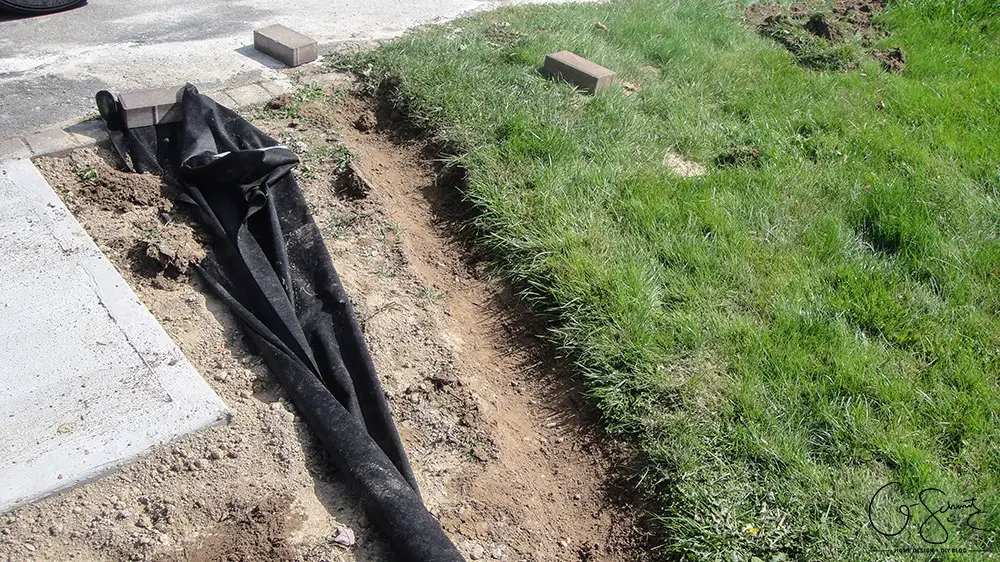
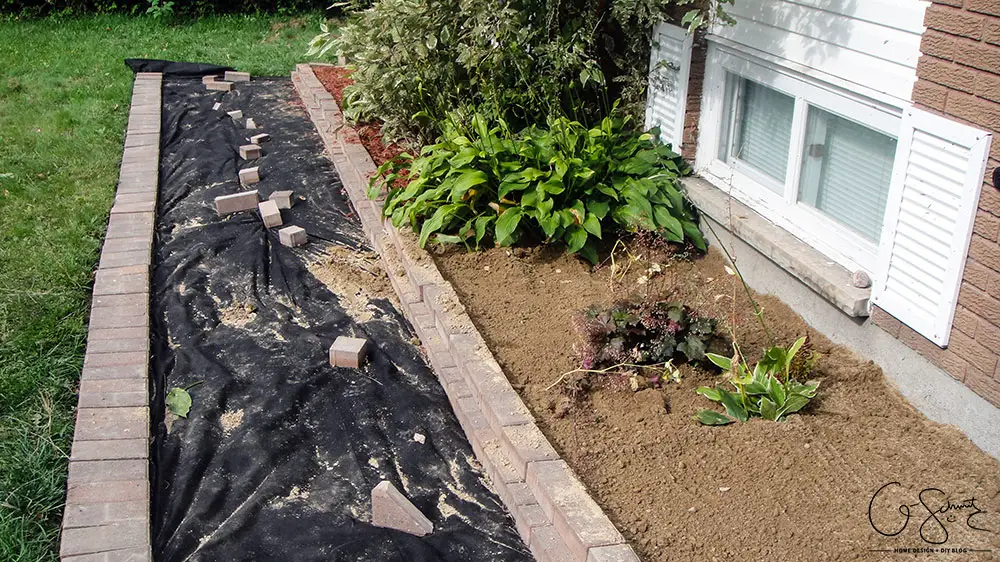
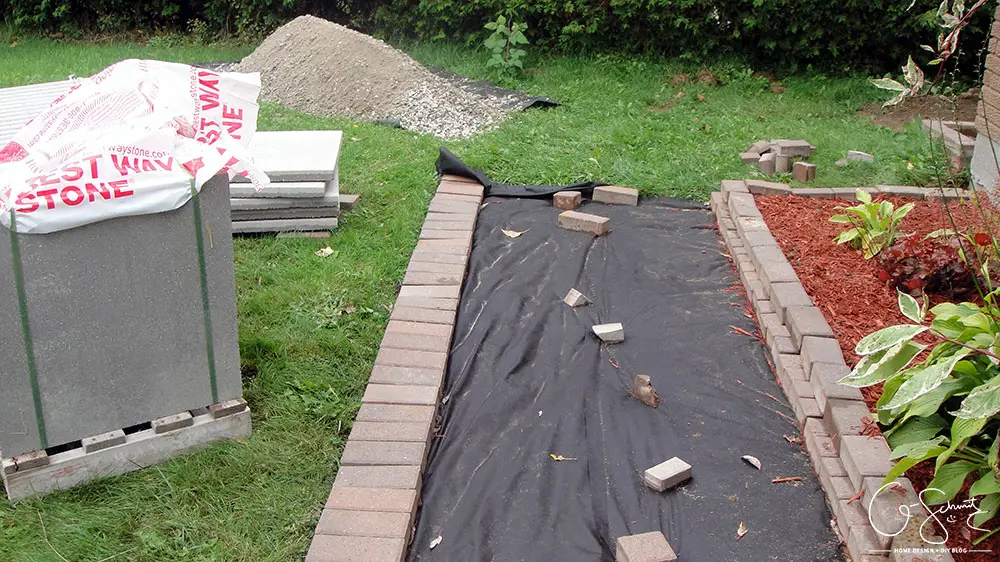
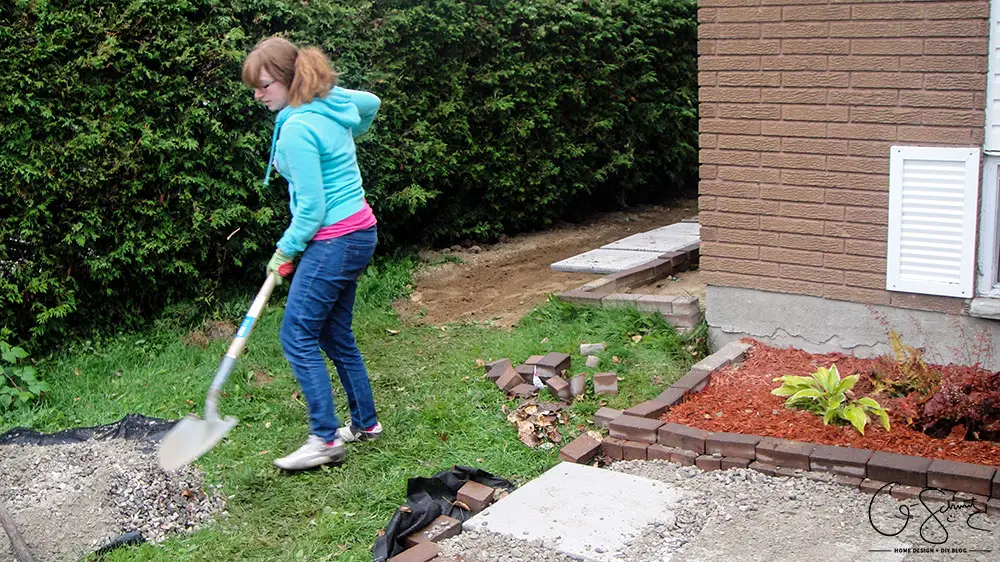
So it’s Sunday around noon, and first things first, I decide to tackle the area in front of the walkway, by digging a little trench and laying down some landscaping fabric. (I had also sprayed all the weeds with Round-Up and tried pulling as many as I could).
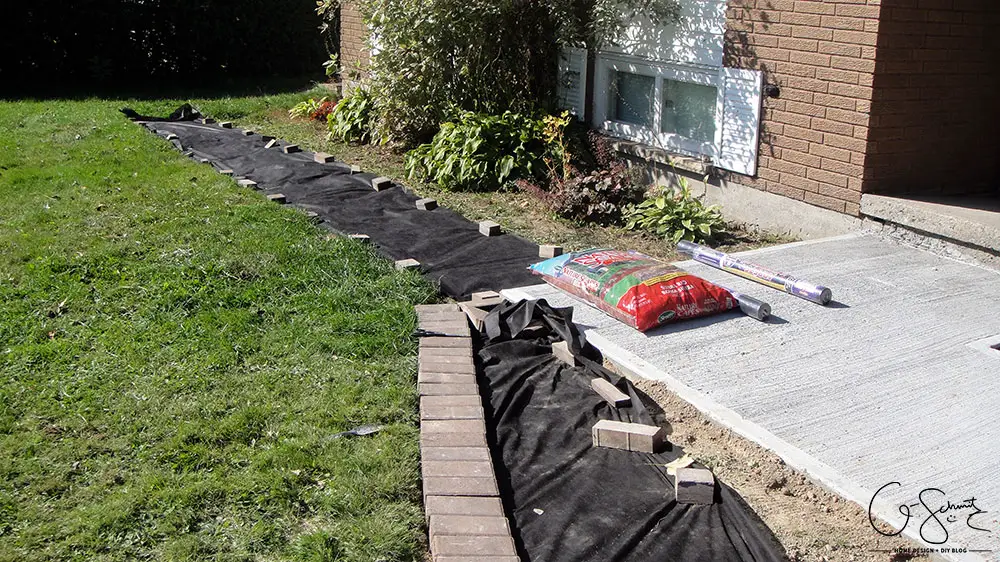
I then put some leftover patio stones inside that trench, trying to make as straight as a line as possible, then moved to the front section. I didn’t need to make a trench there because the ground was a bit deeper. Basically, I was going for this whole trick.
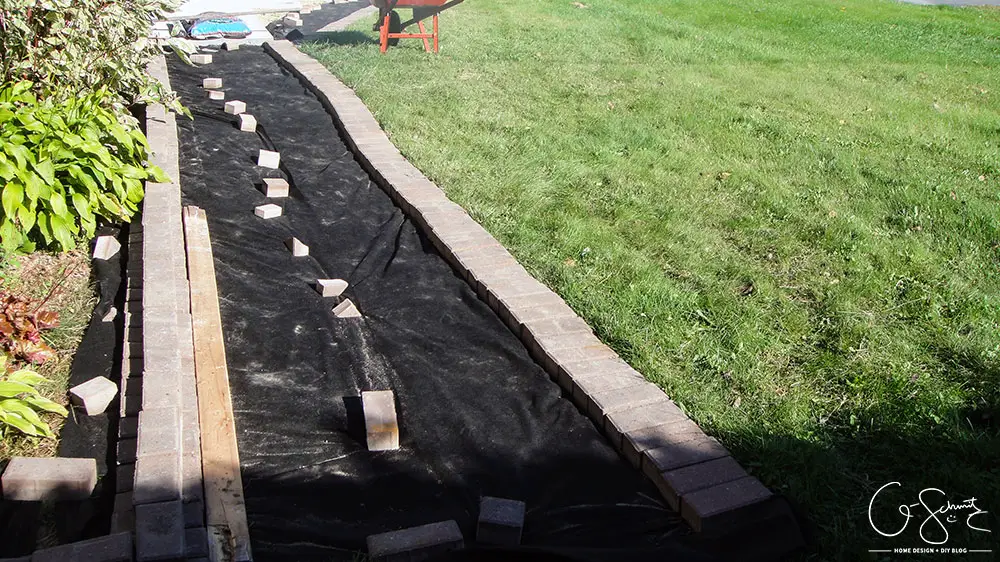
I realized that my lines were not as straight as they could be, so for the last section I used a leftover 2×4 as a guide (and the Husband moved all the other pavers straight after too). Much better!
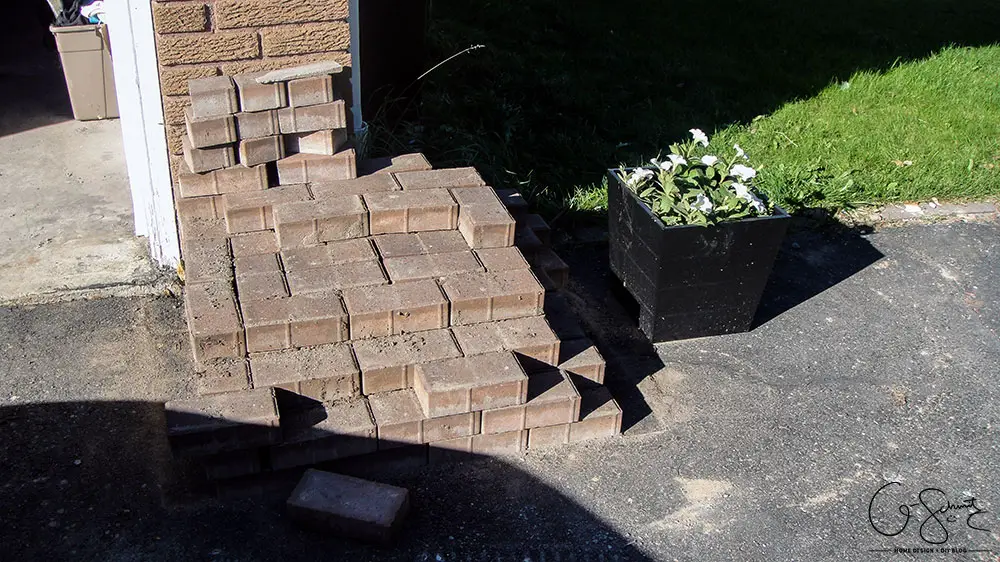
By now, my pile of pavers was getting much smaller! (I didn’t want them here all winter because they will interfere with my snow shoveling in front of the garage door… seriously).
I still had a bunch left, so figured I might as well move them onto our front porch. This area is extremely un-level due to years of sagging (I guess?) and thankfully I had a little piece of wood I could use to try and level it. (I will be using this spot for a fall/Halloween display, so stay tuned!).
Oh, in case you missed it, we also put any leftover dirt into the built up landscape section. Nothing says “getting rid of weeds” like covering them up with dirt and pretending they’re not there :)
Monday September 28th
After hours of work on Sunday afternoon/evening, I figured all I had left to do was buy the large patio stones and the small rocks to go in between them.
Here’s a “funny” story.
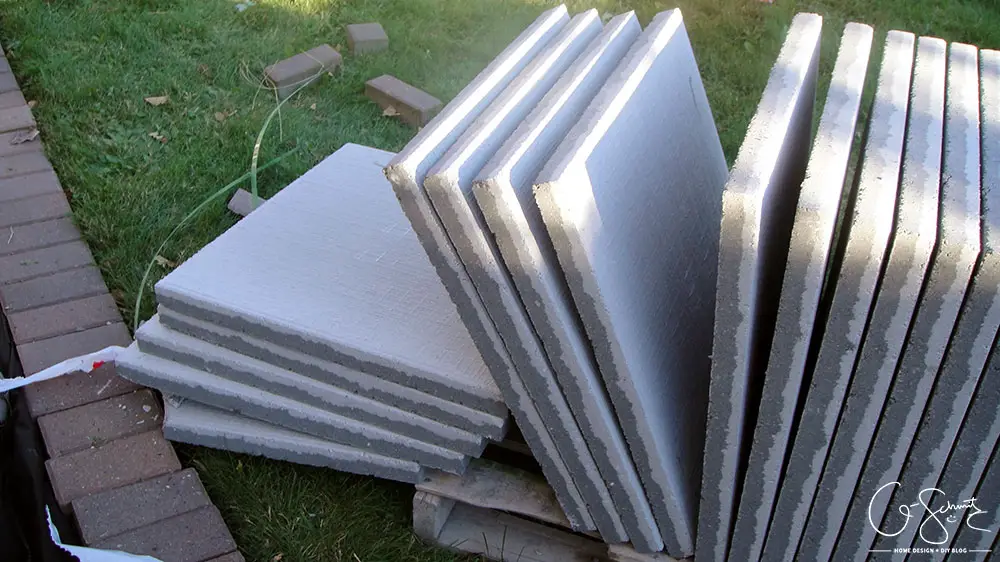
So I go to the landscape place to buy the large patio stones (the 24″ x 24″ concrete ones), get the price, get delivery for the small stones etc. Then I ask, “Oh hey, how much do these things weigh anyways?”. I was getting 30 of them and I wanted to make sure the truck could handle the weight.
The answer: 90lbs. Per patio stone!
Forget about the truck being able to hold 30 of them (it couldn’t, I would have had to make 2 trips). I COULDN’T CARRY THEM!
Like, I don’t know if I look like a strong person (trust me, I don’t) but how the heck am I supposed to lift something that is way more than half my body weight!? Not to mention “easily” load these into the truck and have them perfectly positioned in time for the truck to deliver the rocks (I honestly thought it would take me, maybe 1-2 hours to have them ready).
Thankfully they were able to load these onto their truck and deliver them with the rocks…
Tuesday September 29th
You guys. They had to bring a forklift to take the patio stones off of the truck!
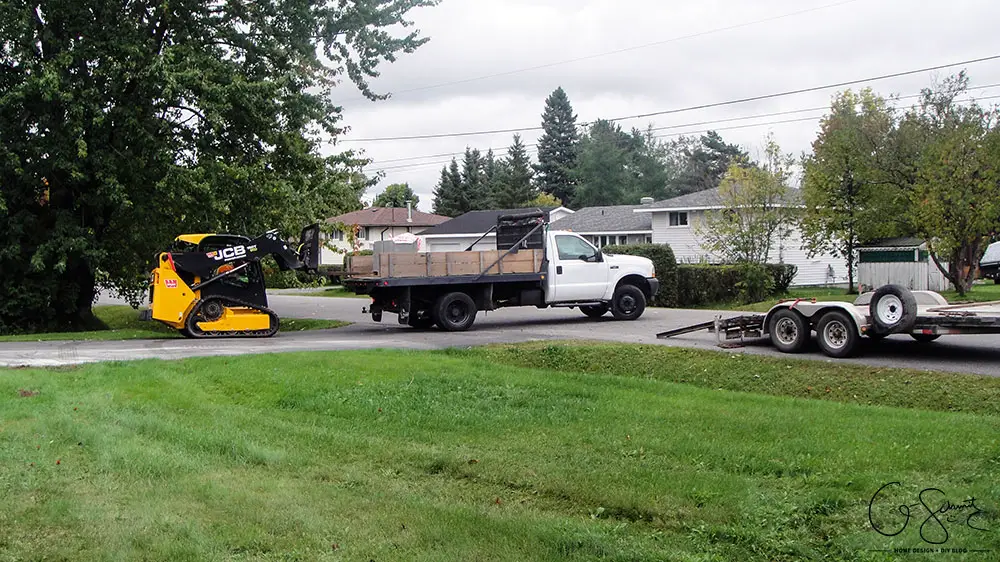
Like, they had to bring their big truck with the rocks and stones, and hauled a trailer behind with a forklift… If a forklift was needed to deliver 30 patio stones, how the heck was I supposed to do it!?
So they unloaded during my lunch break, and I had them place the small rocks on a tarp so they wouldn’t go on the grass. Thinking back, it might have been better to get the rocks dumped onto our driveway (because a few did spill over). I shared a sneak peek picture on Instagram of the patio stones.
And everything sat like this until the big strong Husband could come home and help me :)
Friday October 2nd
So first thing we did was carefully cut the straps on the skid of patio stones so that they wouldn’t fall. They did on the one side (you know, from the weight of it being over a ton!) and one of the patio stones broke :(
The Husband setup the first 10 in the front part, and moved a few to the side yard section before calling it quits. Honestly, I don’t know how we could move these…
Sunday October 4th
After eating a nice big breakfast on Sunday, the Husband had some motivation to finish the landscaping. (Okay I might have pushed the subject a bit, something like I need to finish this before Tuesday so I can write a blog post…).
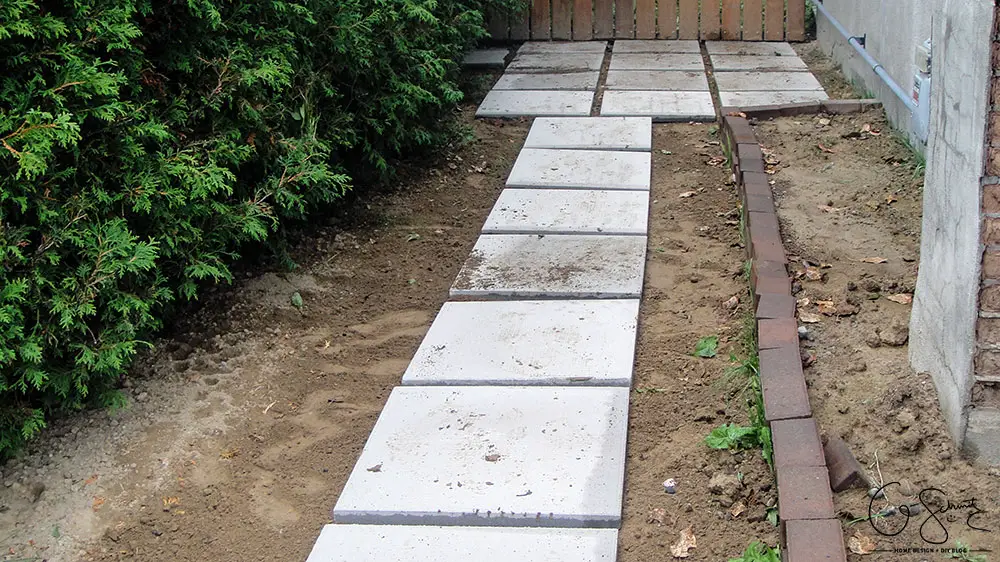
He put the rest of the big stones in the side yard (photo above to see the layout). We didn’t put landscaping fabric here, so I’ll let you know how the weed situation is next year.
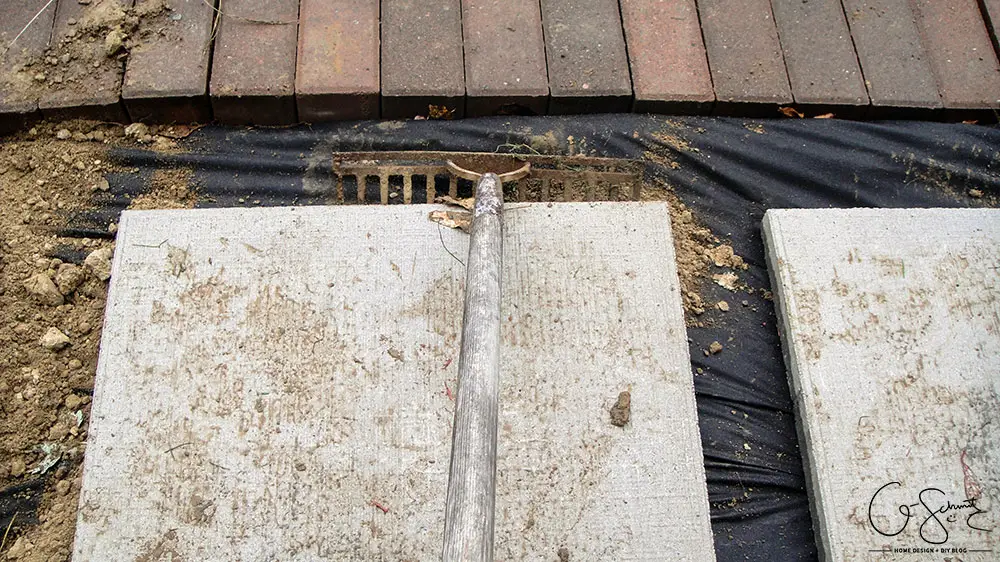
We had a good technique going where he would carry the stones over and drop them sort of in place (no, we didn’t use a wheelbarrow); and I would move them into position with our strong rake (does this thing have a proper name? That’s what I call it, a “strong rake”).
Once they were all set, we just shoveled the small rocks on top and I would “strong rake” them in between the spaces. Since the Husband always “complains” that I am always taking pictures, I figured he could give it a try while I was working.
And no, I don’t normally wear these kinds of clothes to work in (usually it’s my work pants, shirt and shoes) but I had to “strike while the iron was hot” when the Husband was actually motivated to work, so there was no time to change…
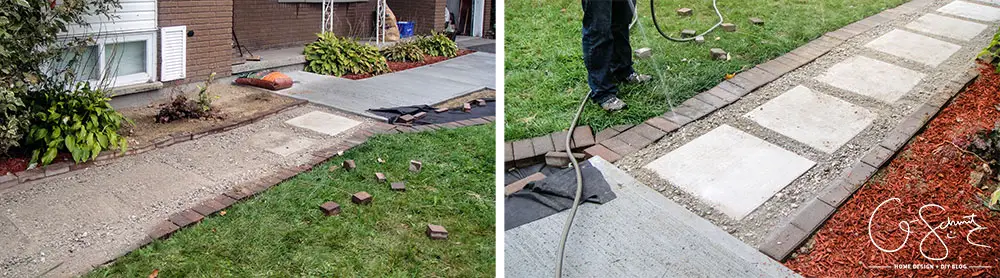
Once all the little rocks were in place, we swept as much dirt as we could from the surface of the patio stones, and then hosed everything down. (And put some more red mulch over the dirt).
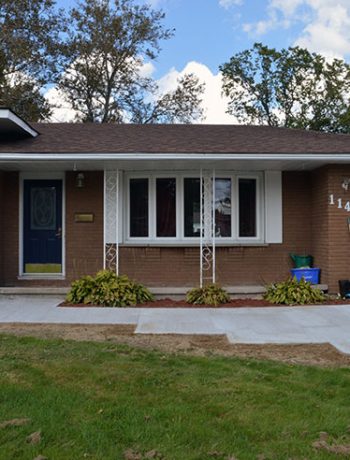
And here’s how the front section looks now!
Just in case you needed a reminder of what we started with one week before (and didn’t feel like scrolling back up). Again, let’s all pretend my yard didn’t look like this…
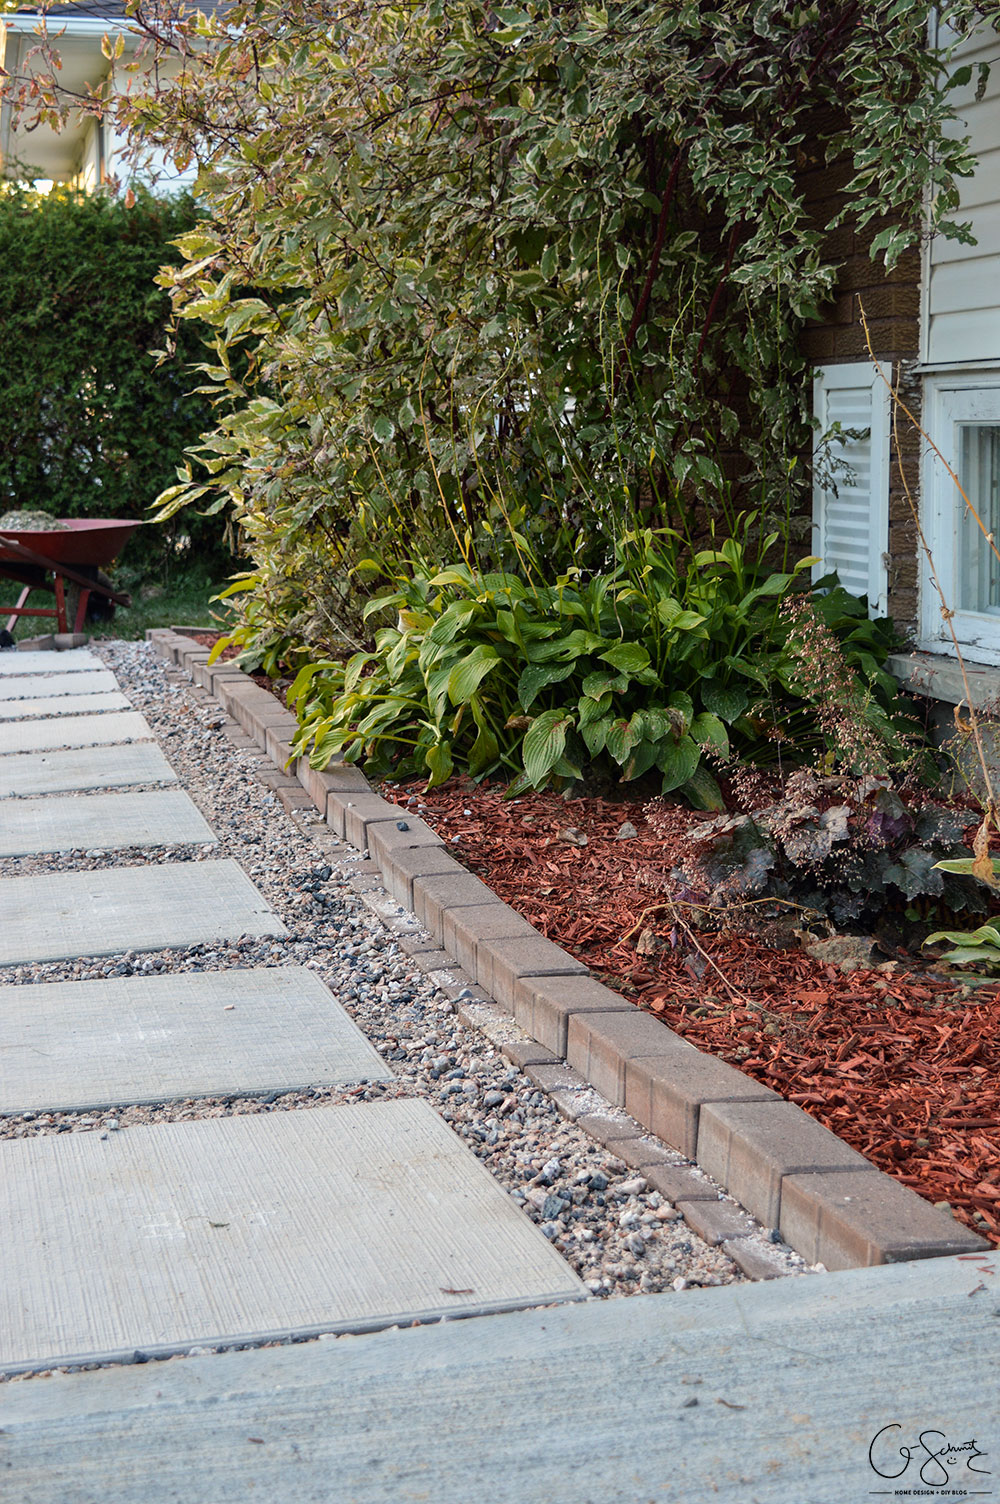
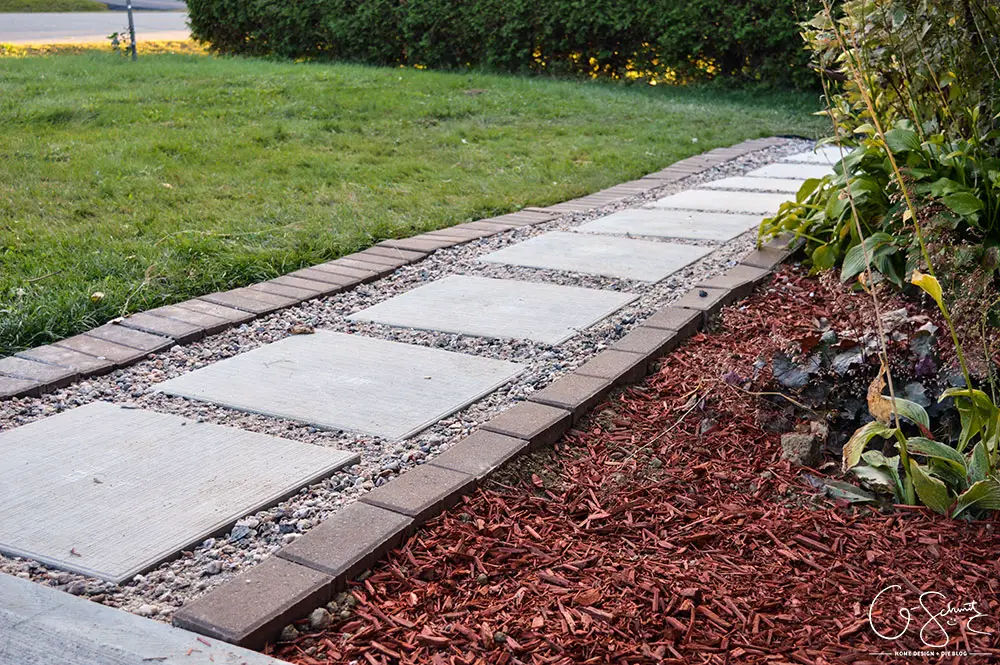
Oooh ya look how nice it is! The stones and pavers might not be 100% perfect, but it’s such an improvement!

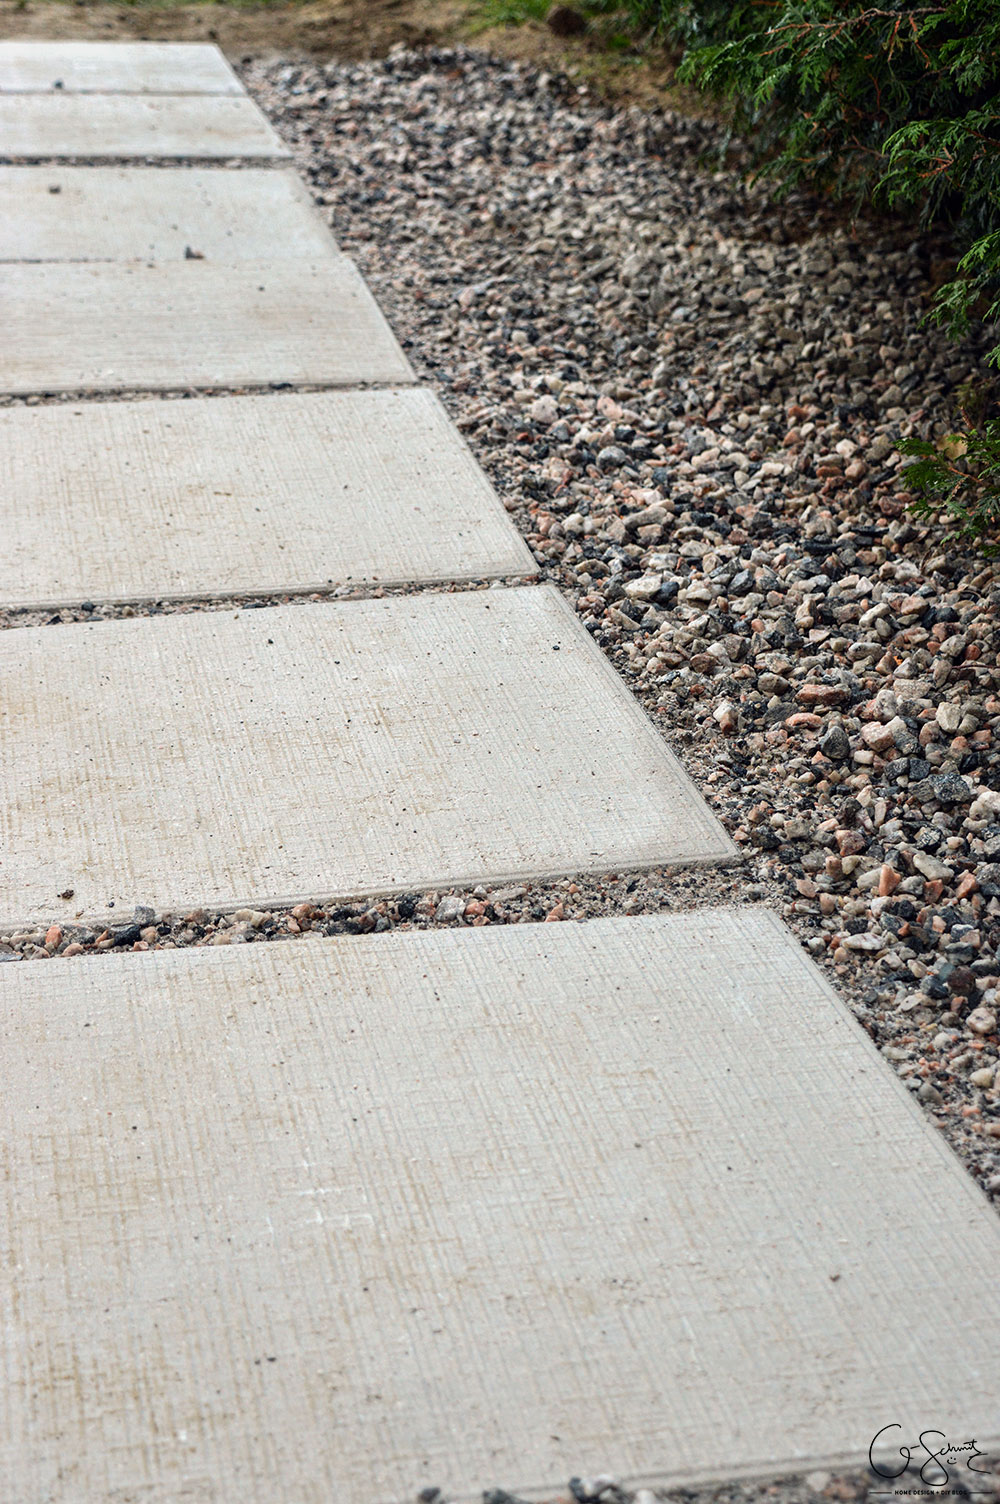
I went with the “Decorative A” rocks for the in-between sections, and it was either that or the small white quartz. I figured the super white quartz might clash with the off-white patio stones (which are the “basket weave” pattern btw), and that the red in the rocks would go nicely with the leftover pavers too. It ended up being a LOT cheaper compared to the quartz, so that was a bonus!
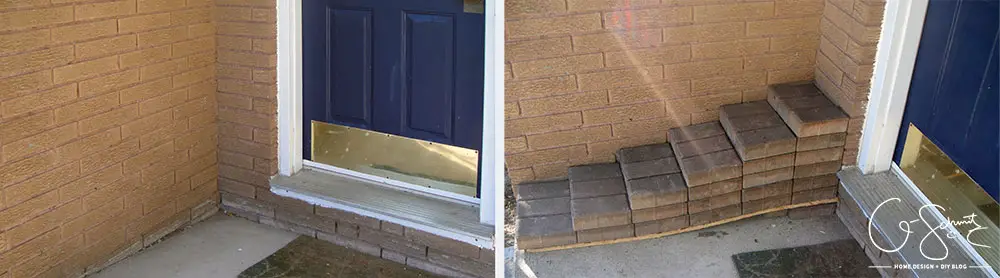
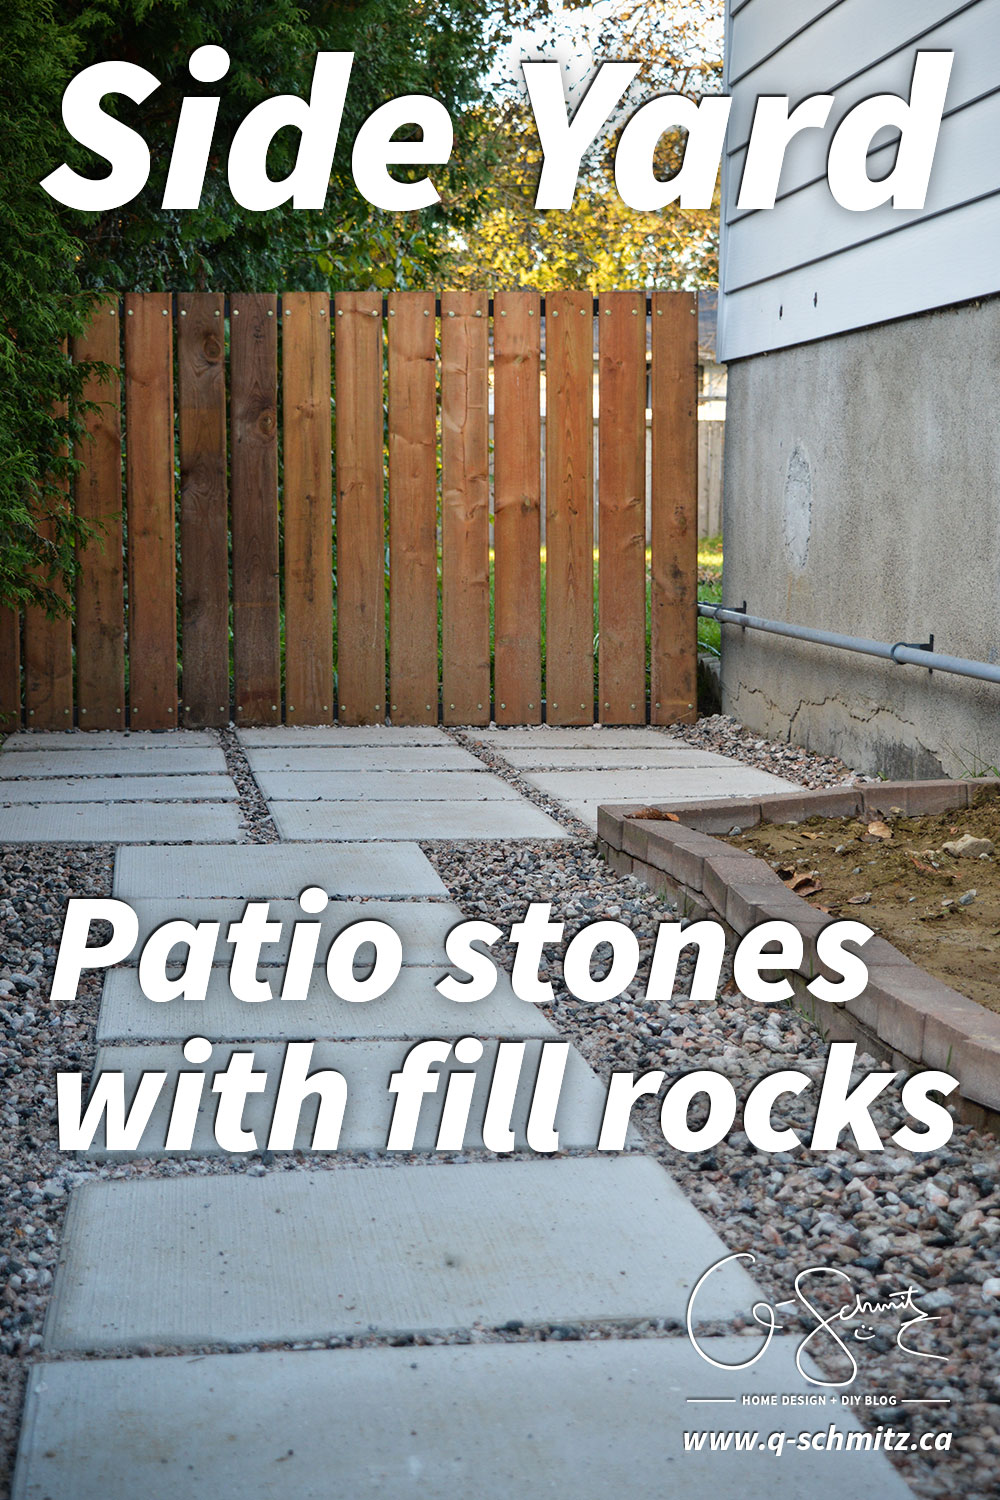
And here is how the side yard looks!
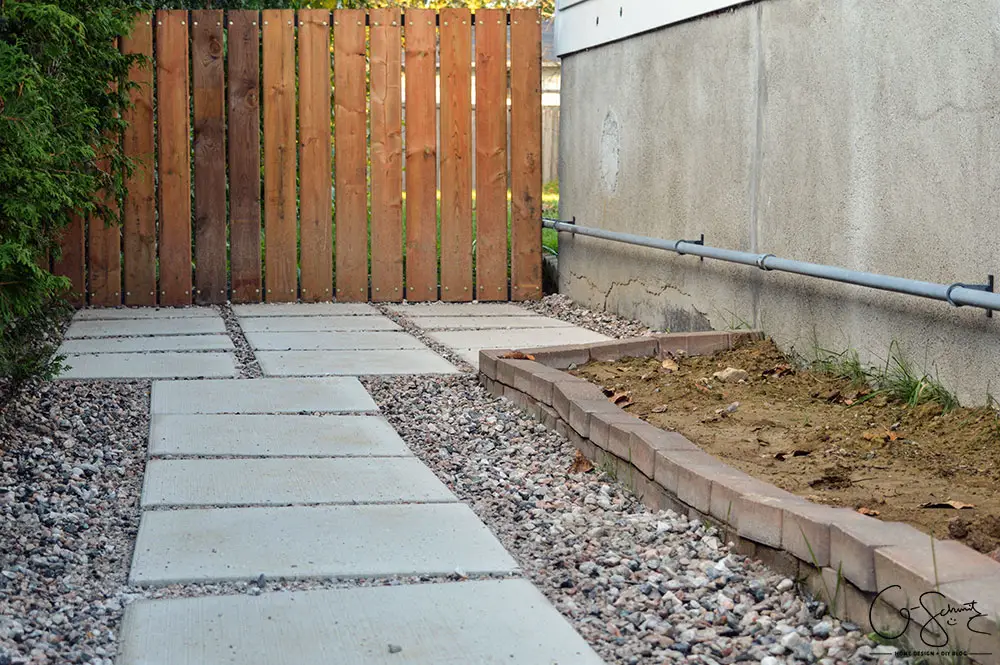
Remember that I’ll be doing some actual planting in that section along the wall next year, but for now it’s just dirt. We shoved the large stones about an inch or so under the door so that when it swings open it will be level (and we won’t have to lift it up and above this added part). We just need to add the castors and door hardware and we’re done!
We did use the broken patio stone (and just hid it under the bushes near the door) and will need to pick up one more paver for the end of the walkway. (I actually drew a to-scale diagram to know how many stones to buy). We also kept some extra rocks to put around that one too…
And so that is the timeline / story of how we finished our side yard landscaping :)
I definitely have respect for people who DIY their landscaping, especially when they are using large 24″x24″ patio stones too! Next year I might continue the path into the backyard (and connect it to our deck) but we’ll see how these hold out first (and we have plenty of other projects to do already).
Sometimes the Husband just thinks we/I do too much around here… but at least for the side yard, I can say that if he hadn’t broken the fence taking his snowmobile out, none of this would have happened…
Until next time :)

2 Comments
Louise aka Mommy
October 6, 2015 at 9:33 pmStill thinking you should get some stone for the side raised part .. little bigger ones and pretty colors … you can always sink a planter in and leave a spot or two to plant something in .. and there would be less weeds growing
Nicole
October 7, 2015 at 5:43 pmI guess I’ll have to see how this area makes out next year!