
We’re continuing the saga of the industrial office renovation, and be sure to read the post last week about the storage room makeover to get caught up. Super short version: the Husband and I updated the four main rooms in his shop’s office last spring and I’m sharing a room per week this month. Today is all about the washroom makeover, so you might want to put down anything you might be carrying – because the before pictures are a little scary!
– Note: This post contains affiliate links. See more information about affiliates here –
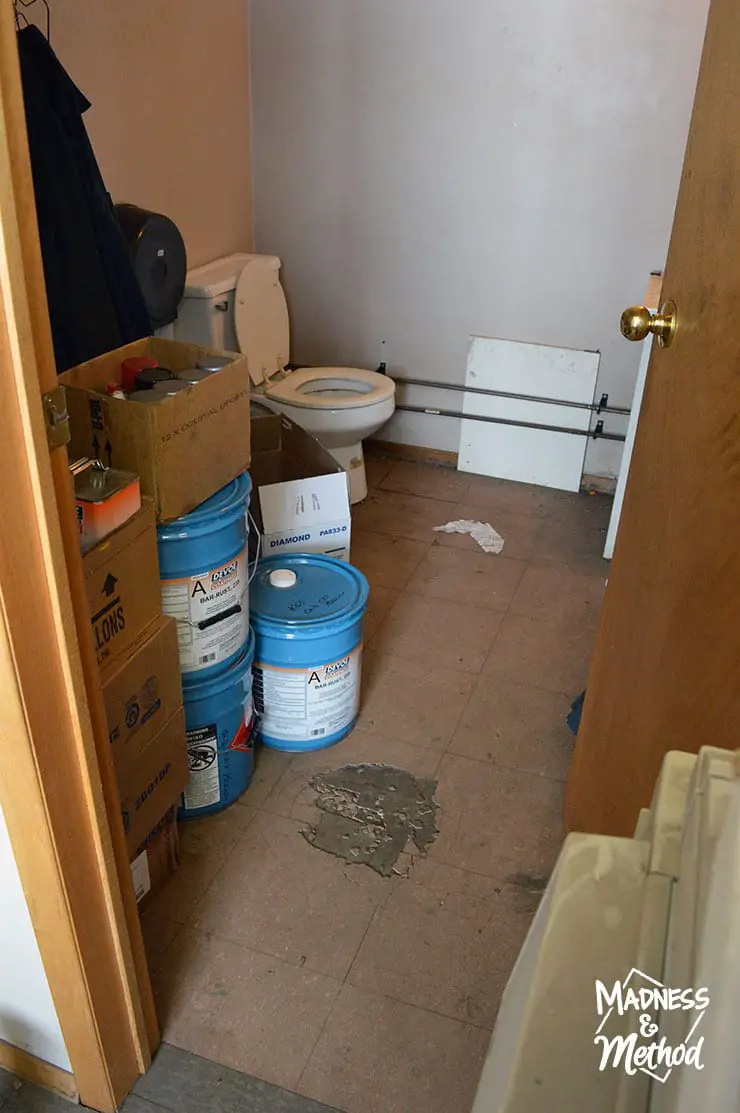
Similar to the storage room, the washroom was a place that hadn’t been cleaned in months… years…? It was being used as a makeshift storage room, because nothing quite says “place to store industrial paint” quite like a washroom?
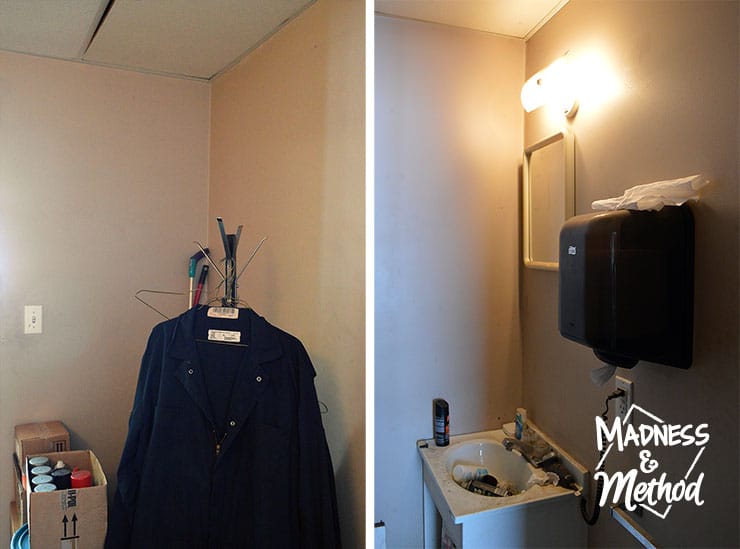
You know how to tell that people don’t wash their hands? Umm, maybe when the sink is full of random items!
Since I would be using this room as a place to… well… pee… I gave it a good scrubbing almost immediately (before we even tackled any other space). I was surprised to find out that the toilet was actually white; and I am very thankful for the invention of rubber gloves.
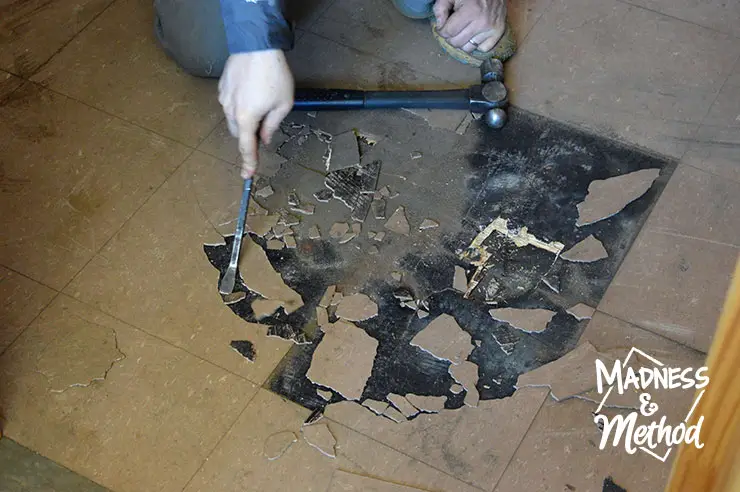
We took everything out of the space and started removing the floors (peel and stick vinyl tiles). Not sure if you noticed in the first photo, but there was a big hole in the ground where the tiles had started peeling off.
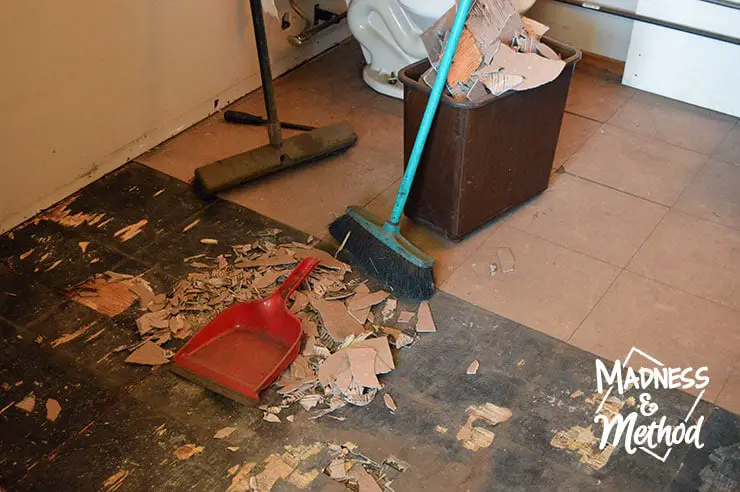
Removing the floors happened in gaps whenever the Husband had some free time. I was the “cleanup crew” and would sweep up the mess and throw everything away. This wasn’t our first time removing this type of floors… and guess what – it just further convinced us never to install them. (Seriously, glue!?)
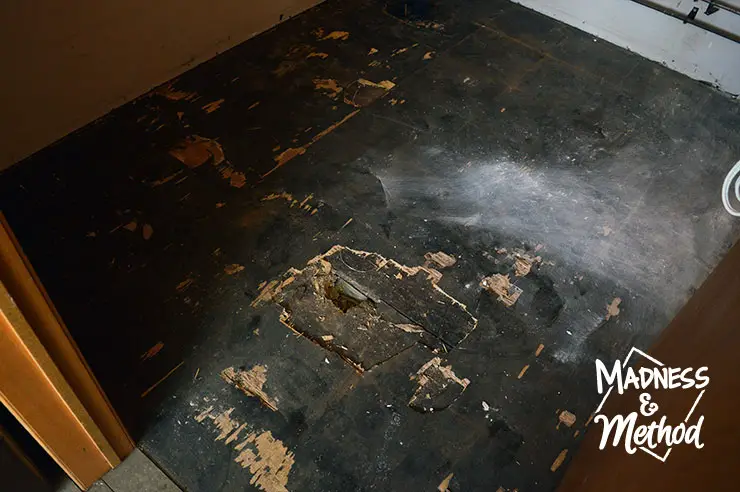
There was a section of the subfloor that was water damaged, so we had to cut a chunk out and re-install a fresh piece of wood before installing the new vinyl planks.
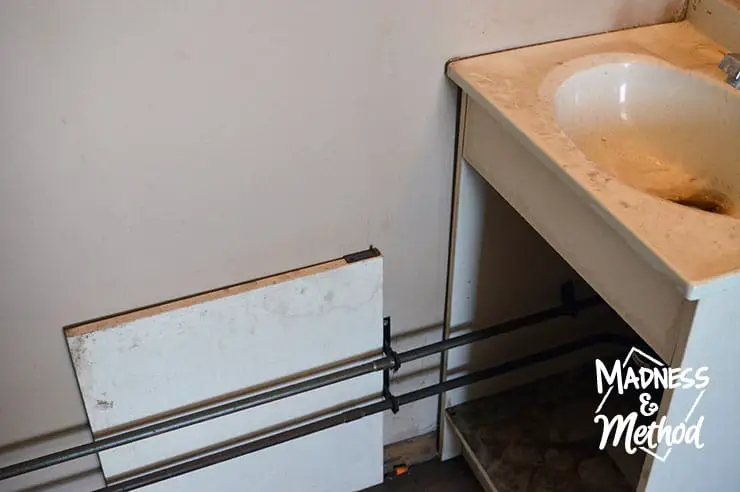
Another fun thing we had to figure out was trying to work with the water lines to the vanity. At one point the lines were re-ran on the outside of the drywall and the door just sat next to the sink unused. (Clearly because it couldn’t be installed!).
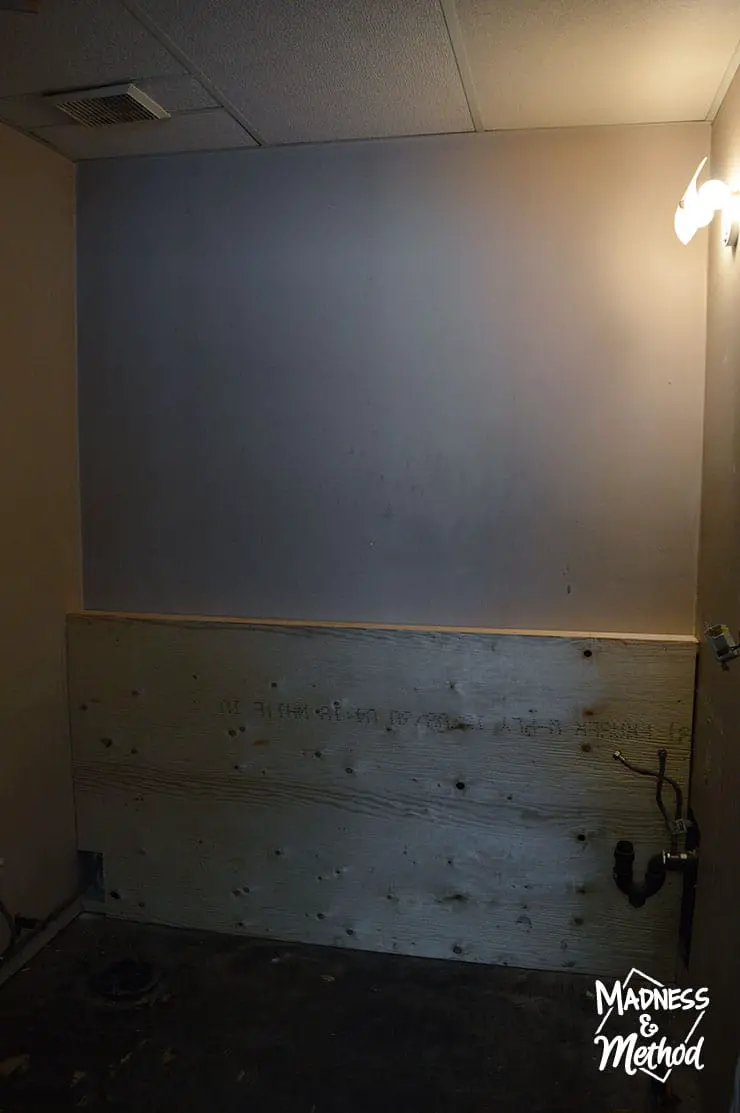
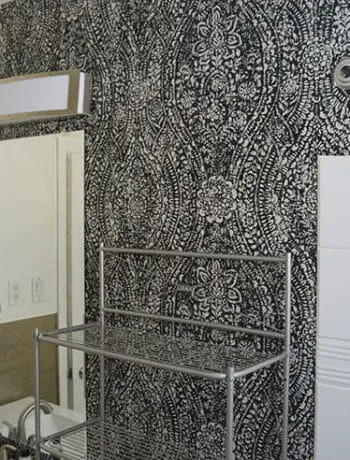
I made sure there was enough room on the side of the toilet, and built a little pony wall/ledge to cover the water lines.
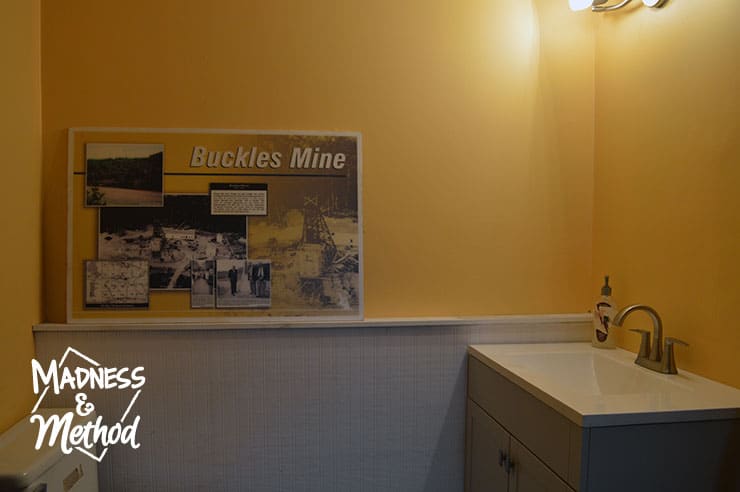
We ended up applying some bead board wallpaper to the front and used the wall ledge to display some “art” we had found while cleaning the rest of the office. (The colours just happened to match!)
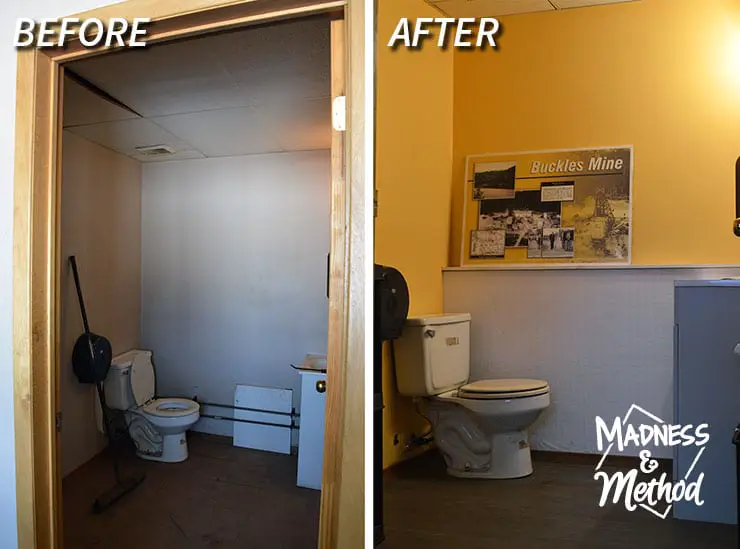
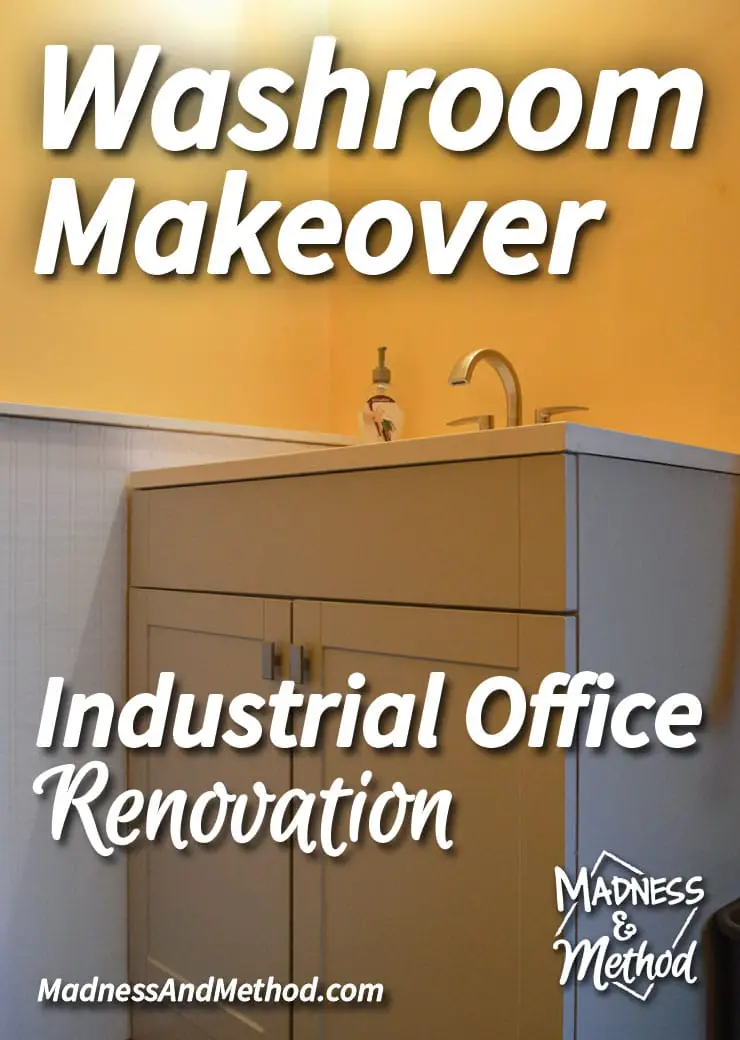
We painted all the walls in the light orange colour (which is pretty yellow) and it makes this room feel much cleaner and brighter than it did before (and that’s the “clean” before pic above too!).

The vanity we installed was a bit larger, so we ended up having to move the outlet and the paper towel holder. I told the Husband that the outlet needed to be moved anyways since it was way too close to the sink before.
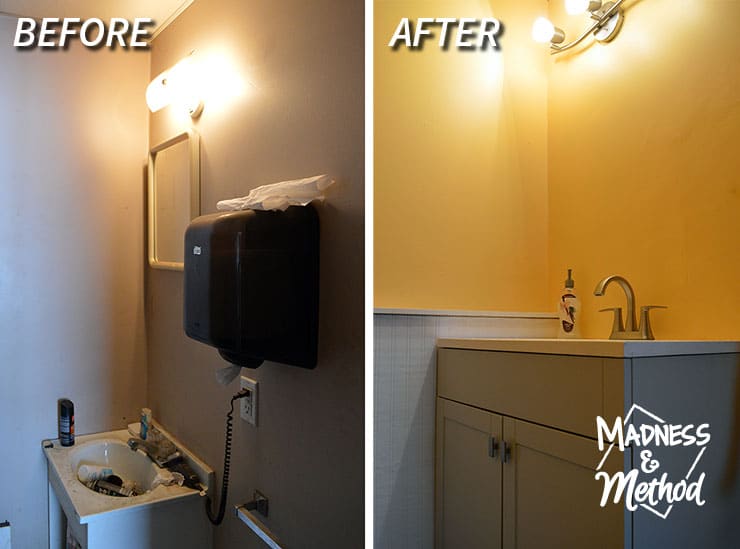
The light fixture is new, and we still need to hang a mirror… but as I mentioned last week, it’s been like this for the last few months – so there’s no rush haha! Notice how nice and clean the new faucet and countertops are now?
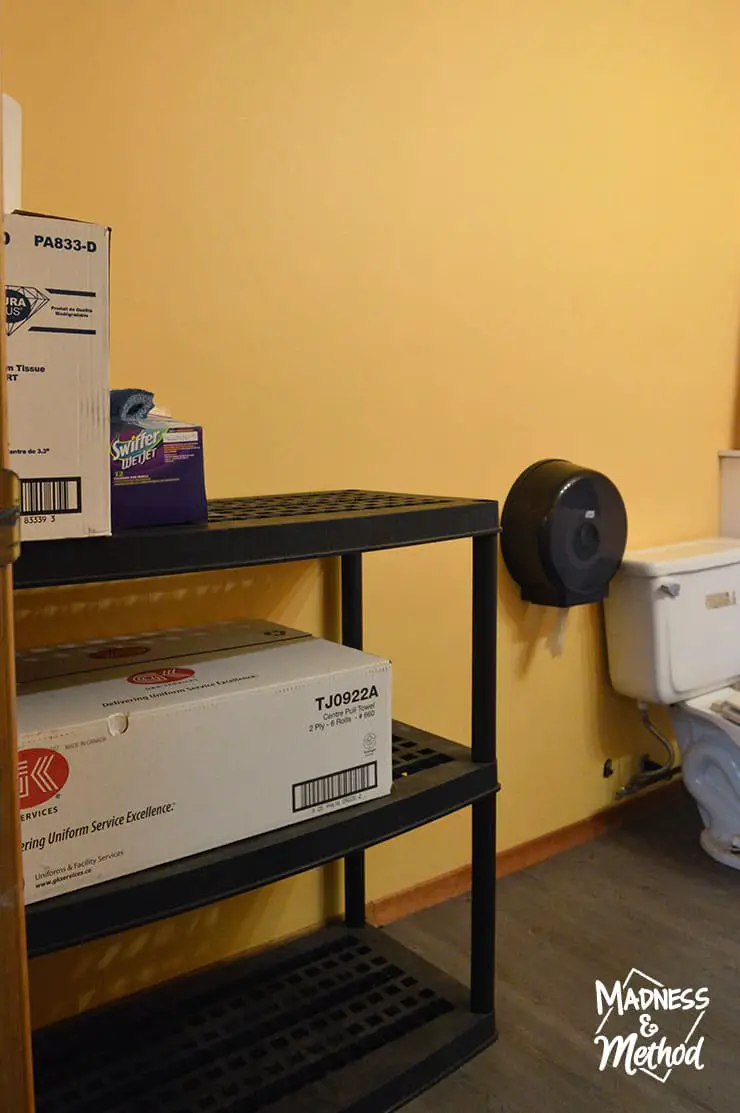
We used the tops of the shelves from the storage room and built a mini shelving unit in here. Now all the toilet paper, paper towels and cleaning supplies are in one place… and the organization makes sense.
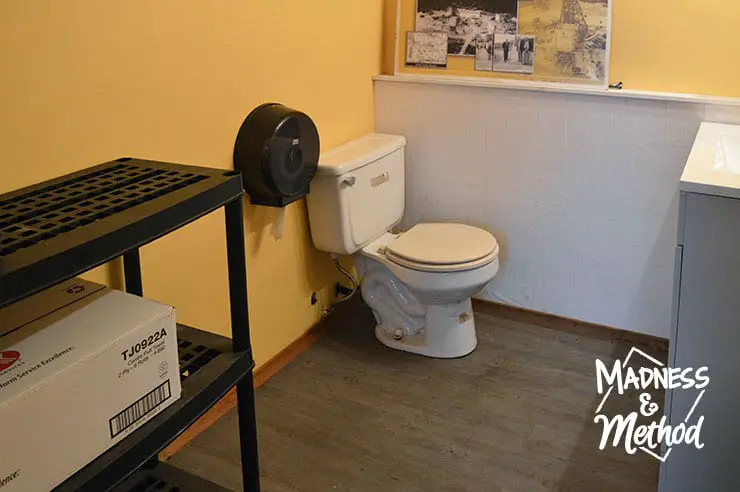
You no longer have to step in a hole in the floor and dodge big cans of paint to go pee! It’s the little things :)
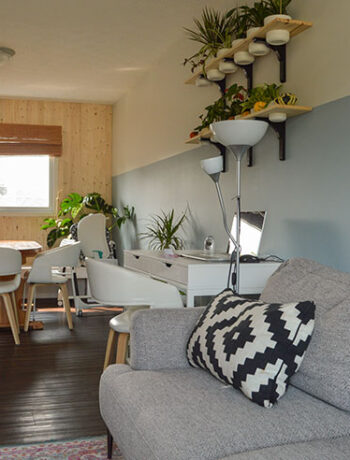
The washroom makeover took us a bit longer to complete than the other spaces even though it was the smallest room, but you can blame the additional drywall (from moving the electrical) for the extended timeline. Next week I’ll be talking about the main room / lobby and there’s a fun feature wall that I designed too, so please come back to check it out :)


2 Comments
Sylvia
December 13, 2016 at 6:26 pmWow quite the improvement!
Nicole
December 15, 2016 at 3:39 pmI thought so, now people should actually want to use the washroom!