
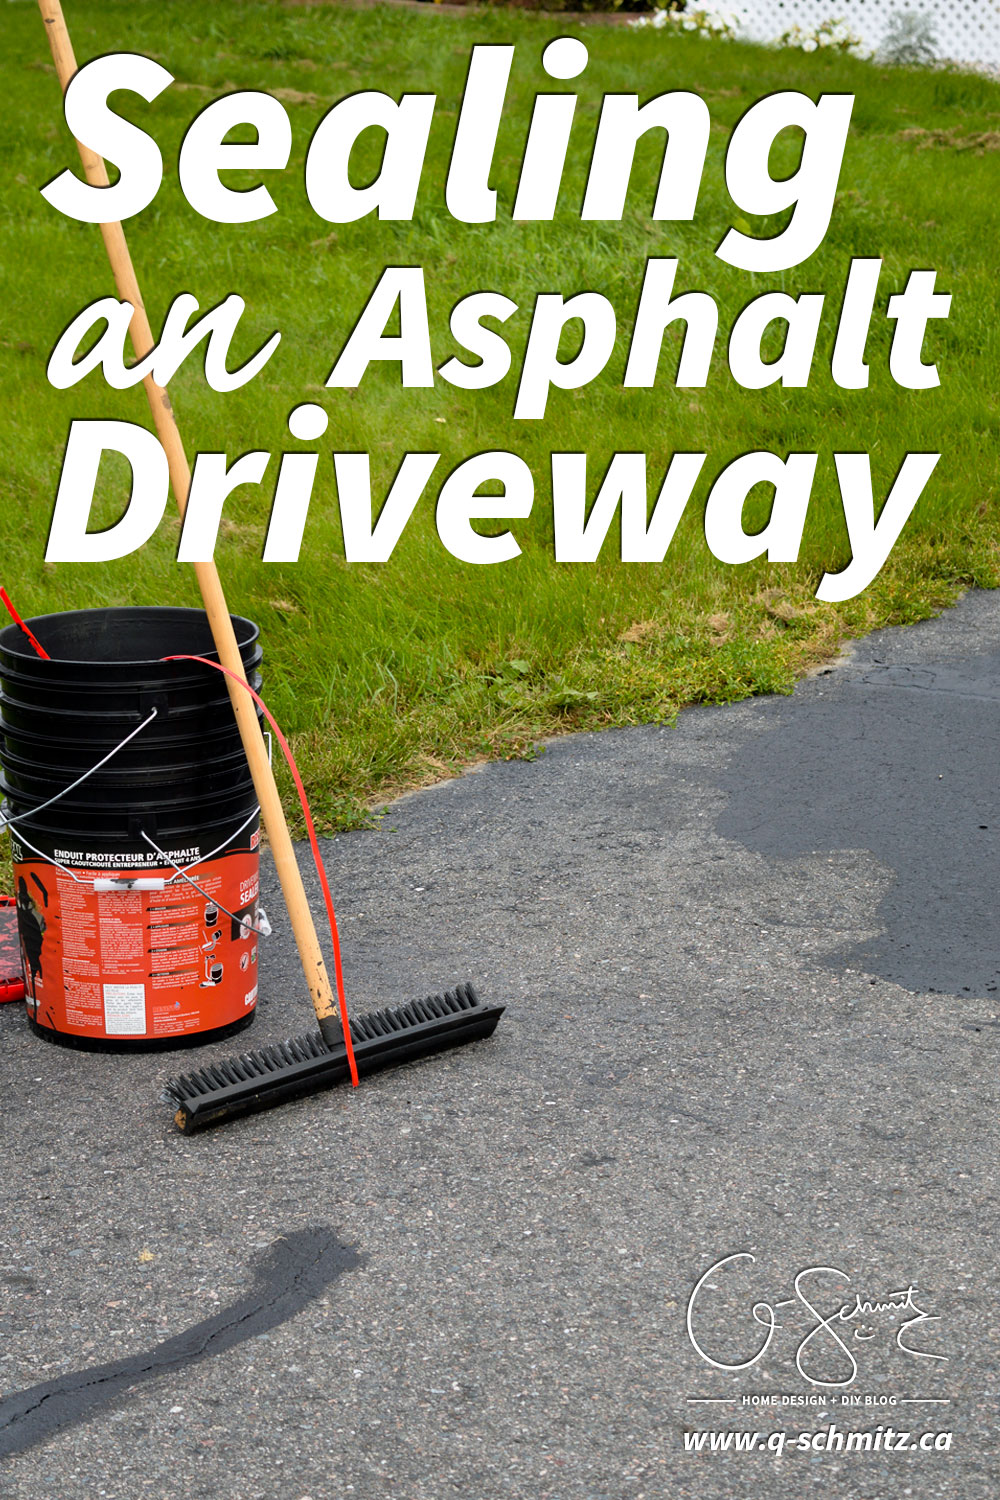
This is the second post about our driveway update, and you can read all about the different ways we filled the asphalt cracks here. We’re not actually done the driveway since we ran out of sealant – but we should be finishing up in the next few days depending on the weather. If you are planning on sealing an asphalt driveway, or have even completed this project in the past – read on for more information on how we did it!
– Note: This post contains affiliate links. See more information about affiliates here * I couldn’t find the exact product we used online, so linked to similar options –
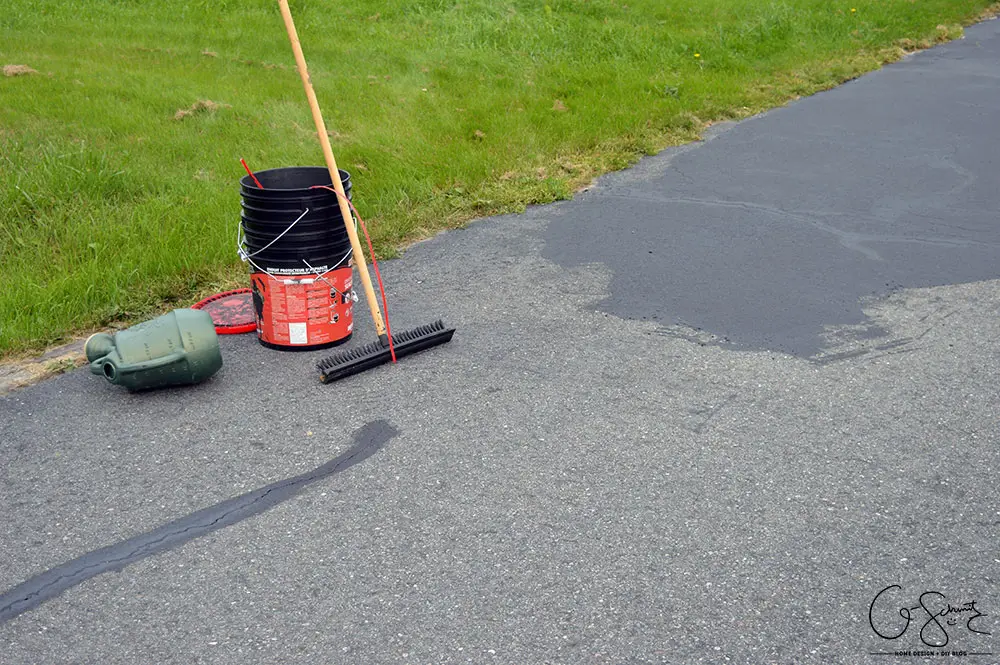
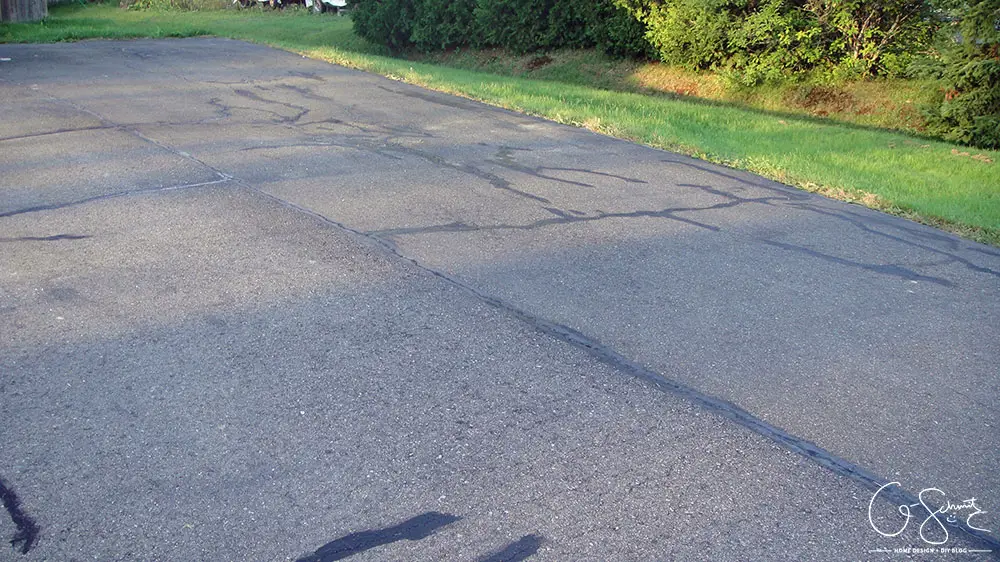
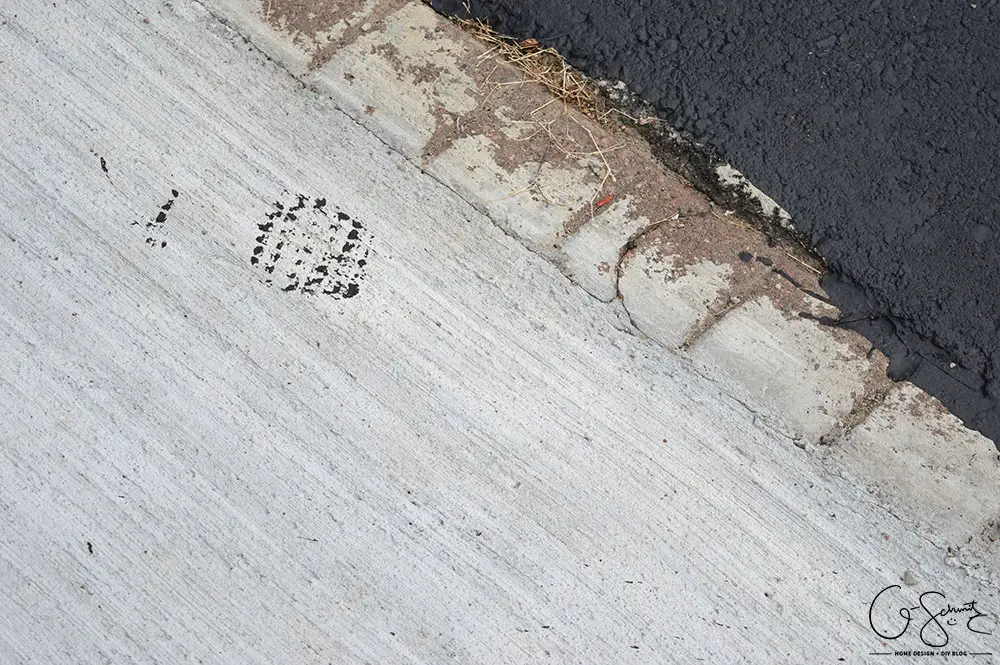
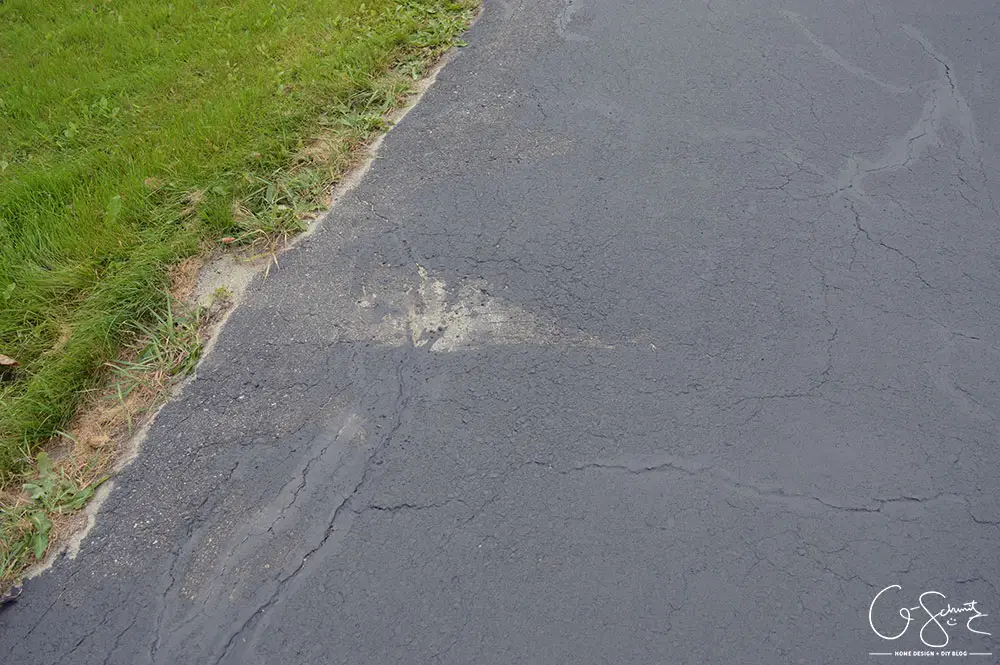
As I mentioned before, we had to first fill the asphalt cracks; and I finished doing that this past Friday (with a bigger container). Although the cracks weren’t filled level to the top, (the liquid filler sunk down a bit as it dried) they were all mostly filled in and I really didn’t want to have to spend another few hours making sure they were level.
I did develop a new technique, where I would squirt the liquid filler in the crack and then spread it evenly across the top with my finger.
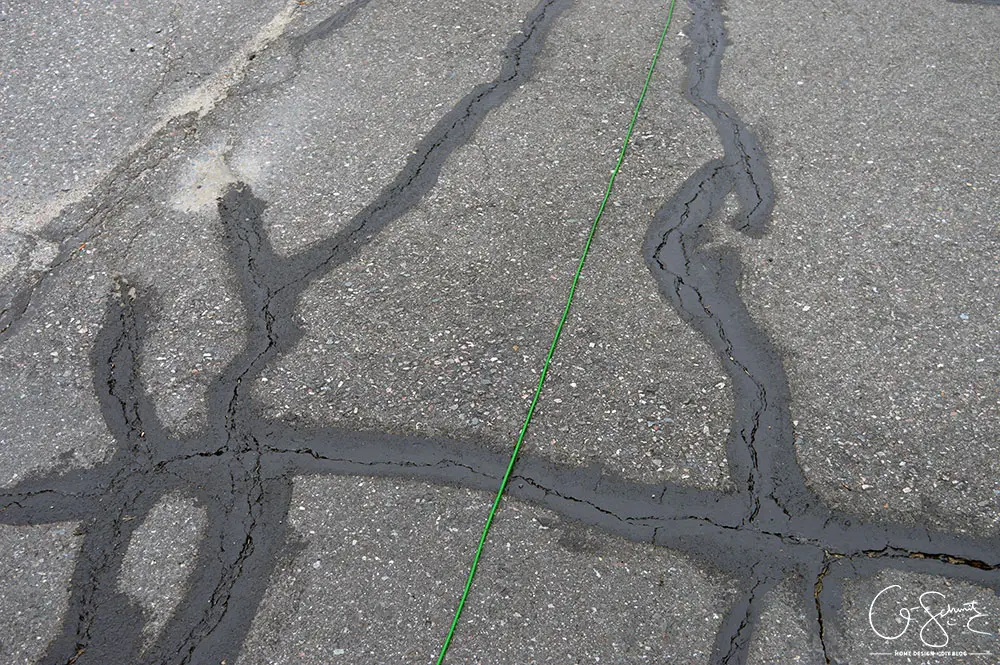
That did leave some residue across the un-cracked surface, but I figured that’s how they must have done it before.
The next day I used the asphalt specialty cleaner/degreaser and scrubbed away. In the post about filling the cracks I mentioned that we didn’t have any low spots. Apparently I lied because once I actually had to spray water on the surface and really pay attention – I did notice a few low spots. And I think the bottle mentions to clean/degrease BEFORE you fill in the cracks (so the product adheres better)… whoops!
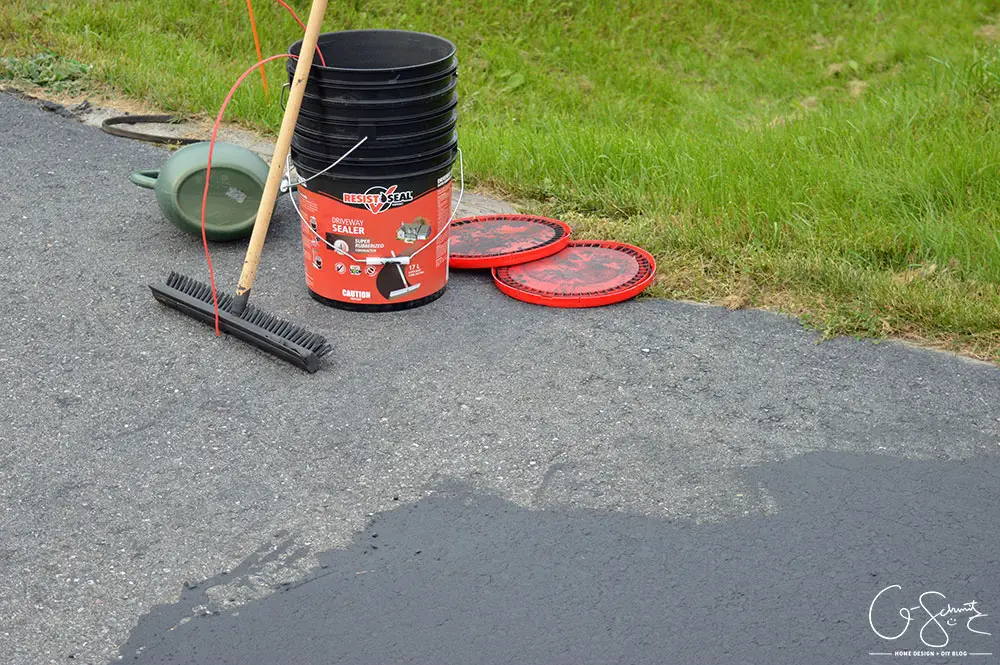
So I was all ready to seal the driveway while the Husband was gone, but then I realized that I couldn’t actually lift the huge buckets of driveway sealer. I had to wait for him to come home and we tackled it together :)
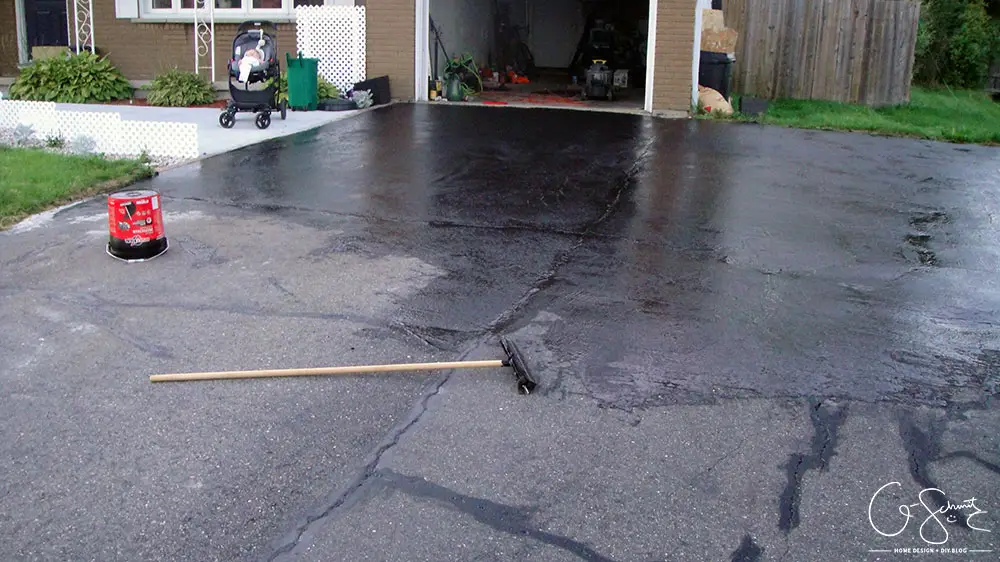
The type of sealer we got said to use a squeegee to apply it. You just pour a bunch across the driveway (starting at the highest point) and then work your way down. (Yes we brought the baby out to watch, he didn’t like being in the house alone and it was getting close to his bedtime so he was a little fussy).

We also used our drill and mixing attachment to stir the buckets (the Husband was the mixer + pourer and I was the squeegee-er) and it seemed to work really well.
However the squeegee was a little bit wild in some areas, and you had to be really careful or it would spread out too much. I can definitely understand why some people would want to roll it on with a normal paint roller.
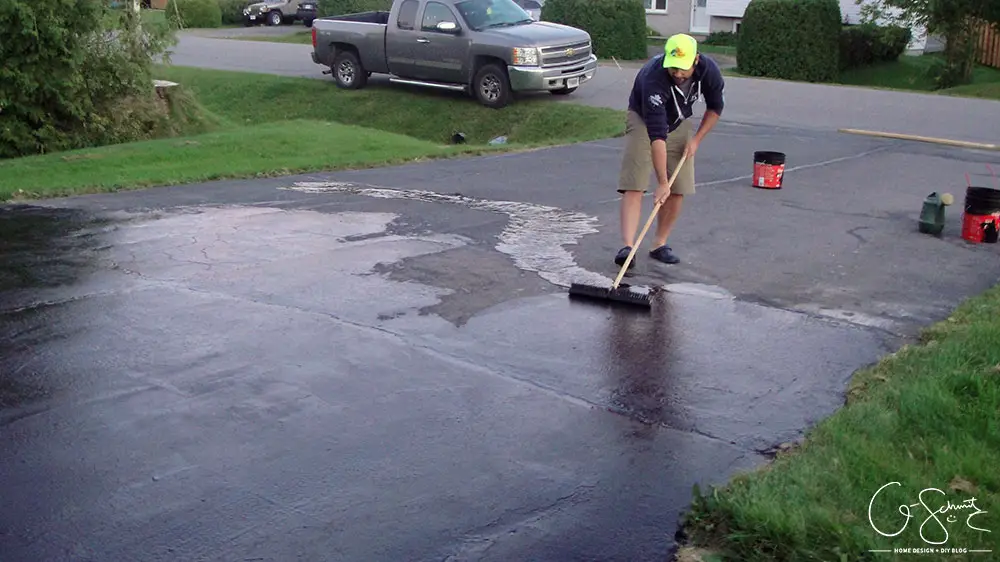
Eventually Momma had to go in and feed the baby and put him to bed, so I left the Husband to finish up. We have an average sized driveway (just over 20′ x 60′) and 3 buckets were not enough!
I’d also recommend having a bucket of water and a scrub brush nearby to quickly clean up any messes. The driveway sealer is really easy to clean when it’s still wet, but obviously once it dries – it’s stuck there!
So we haven’t finished yet (it rained all day today so we couldn’t apply it yesterday because you need 24 hours of drying time); but I think we might be able to finish the last section tomorrow.
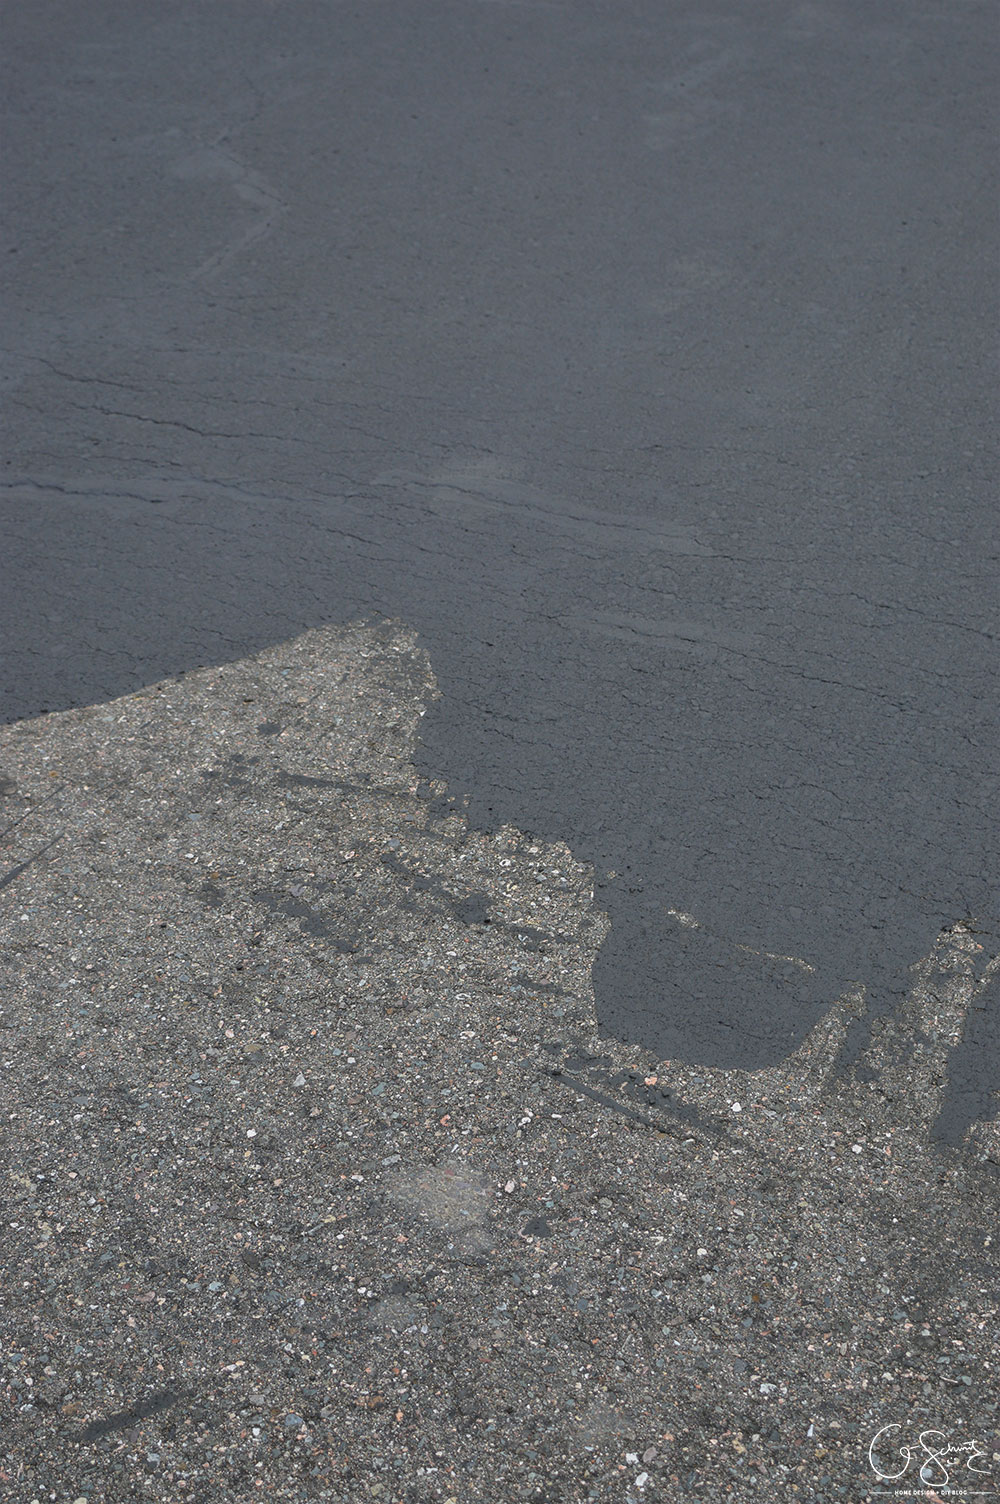
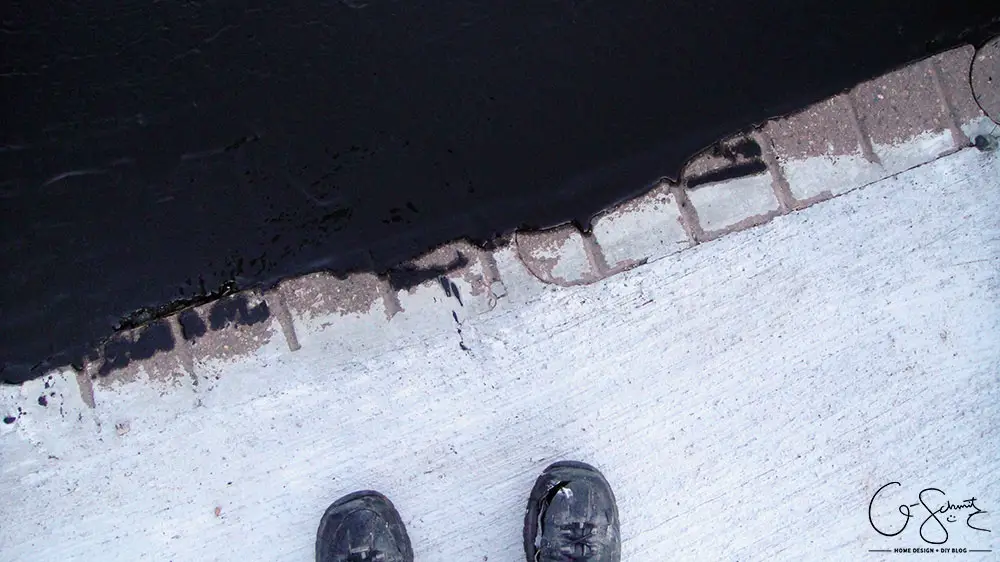
Ha, at least I have a good spot to show the before and after though! I did think that the sealer would have been shinier when it was cured, but it’s definitely a matte finish. Ours was a 4 year product I think, so hopefully it stays this good looking for a while!
(The Husband also didn’t go as close to the edges as I did, so I’ll have to go back and get those spots). Since I have so much experience (sarcasm) sealing an asphalt driveway, I did come up with this list of Pros vs. Cons of using a squeegee vs. a regular paint roller.
Squeegee Pros:
- More sealant is on the surface, so hopefully it will last longer
- The squeegee is a bit bigger, so you don’t have to go back and forth as much
- Much easier to clean, just hose off and it’s good
Squeegee Cons:
- Harder to control where the sealant will go (not good near the edges)
- Sometimes you will hit a bump/rock and the sealant will “explode” everywhere
- Couldn’t really “push” the sealant, it was best when you “pulled” it towards you
(And my assumptions:)
Paint Roller Pros:
- More used to the rolling action (if you’ve painted before)
- The sealant will be absorbed by the roller and will help control excess messes
- Don’t need to buy an extra tool
Paint Roller Cons:
- Not what was recommended (by our asphalt sealer at least)
- May absorb too much sealant / harder to cleanup (or just toss the roll I guess)
- If you get any dirt/grass on the roller, it would be tougher to clear off
Have you ever attempted sealing an asphalt driveway yourself? I’m curious what the good DIY tips are for this type of project – probably that you can’t clean the surface enough haha! I know that getting your driveway sealed is probably not high on the list of “fun projects” but it really does extend the life of your driveway (just like staining a deck!). Ours said it was a 4 year sealer, but I would probably redo it again in 3, just to be safe.
I’ll keep you updated :)
No Comments