
Last week I mentioned that I had a super fun idea to share that involved upgrading the flat doors in the new nursery from boring/bland to fun! I was about halfway done then, and now that they are completely finished, I can confirm that they look much better than before. You can easily update the look of the flat/slab doors in your house with just a few pieces of moulding, let me show you how :)
– This post is part of a sponsored series sharing our new nursery. Follow along here:
Week 1: Colour Journey | Week 2: Design Plans | Week 3: Upgrading Flat Doors –
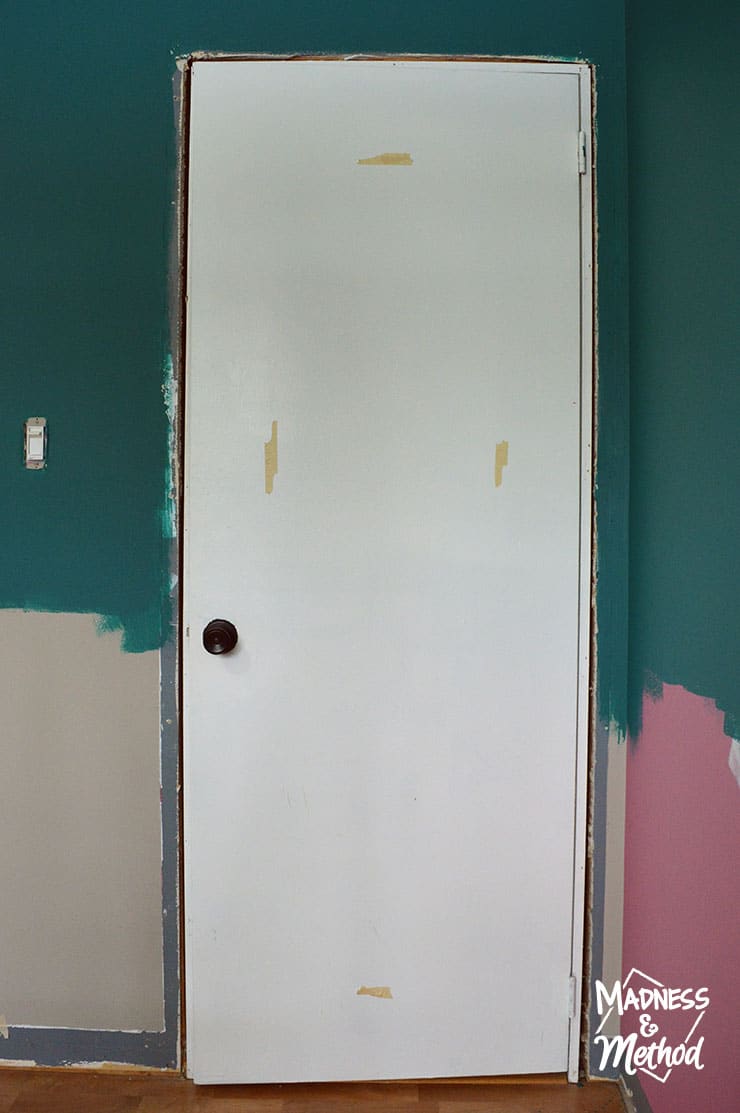
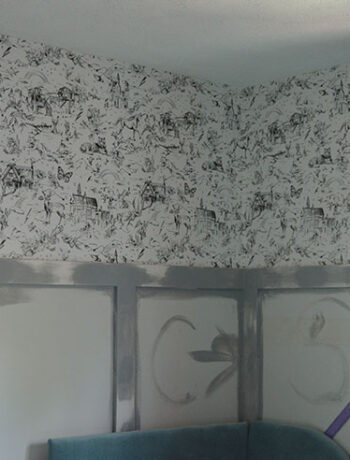
Technically, I got the idea to update the doors in the nursery because the doors in our hallway had a very similar look:
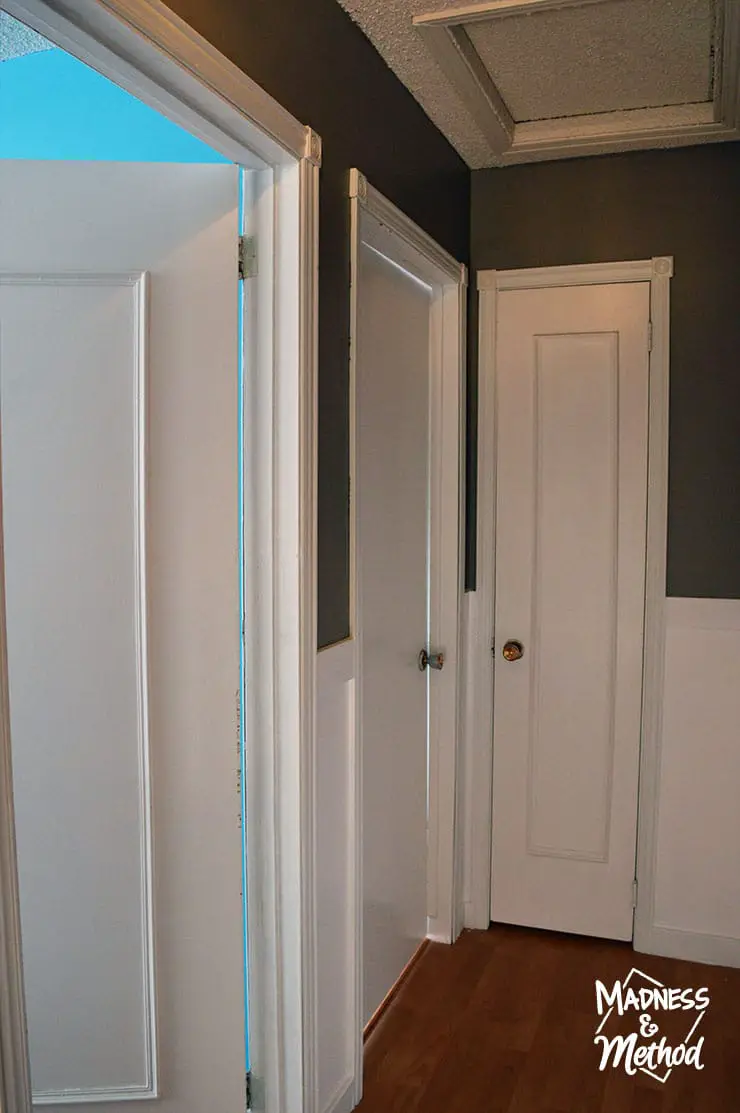
For some reason, the door to this new nursery was the only one that didn’t have a nice panelling treatment, and since I was renovating this room – I figured might as well change it! (Also, ignore the fact that all the doorknobs in the hallway are different… that’s a future issue to solve).
I decided to also copy the same single frame panelling look on the inside of the doors as well. Thankfully, Metrie provided the Fashion Forward Panel Moulds for the space, and they fit in perfectly with the rest of the wainscoting (that I’ll be sharing in a few weeks!).
I was working on these doors for the past while, so you’ll see some progression of the rest of the room too – ha!
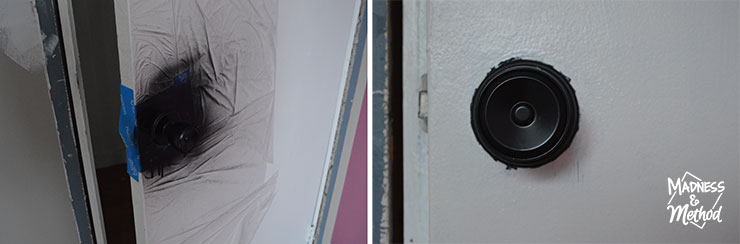
Before I got started, I did give a coat of black spray paint to the doorknob so that it would match the hardware in the completed room. I figured it was easier to paint this BEFORE I painted the rest of the room (and the doors), just in case there was some overspray. There wasn’t, but I did get a bit of bleeding under my tape (all fixed with white paint though, don’t worry!).
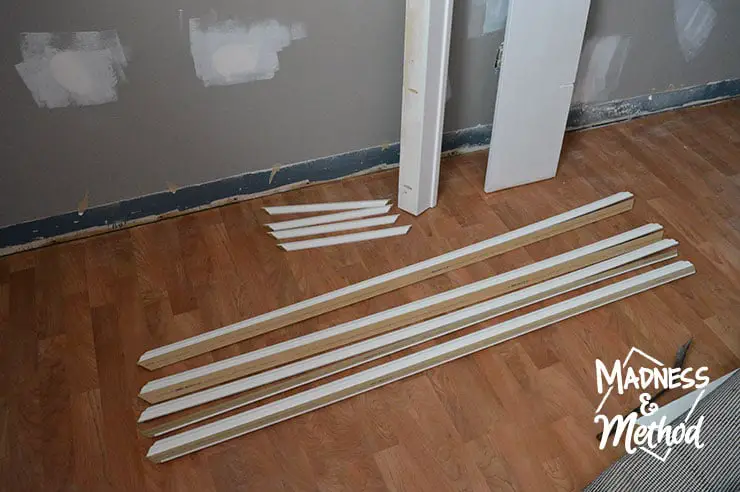
Since the doors in the hallway were already fancified, I used the same measurements for the mouldings and cut all the long pieces to match. For the inside of the regular door, I used the same measurements as the outside and decided to see what looked best for the closet.
If you’re doing the same single rectangle design, you can probably get by with just two pieces of moulding per side like me! Otherwise, you can totally make up your own pattern, just make sure to get enough panel moulds to suit.
Mirroring the hallway side, I used some masking tape pieces to mark the outside perimeter of the rectangular frame I would be adding. I’ve seen people also use the tape to mark exactly where they want their panelling pieces to go, I just didn’t feel like taking the tape down before install (or do you leave it up forever?).
DIY Tip: I’d suggest making your top and bottom pieces of tape reach all the way across. You’ll need to line up the long/vertical pieces first, and it’s easier to get the height right when you don’t have to go back and forth!
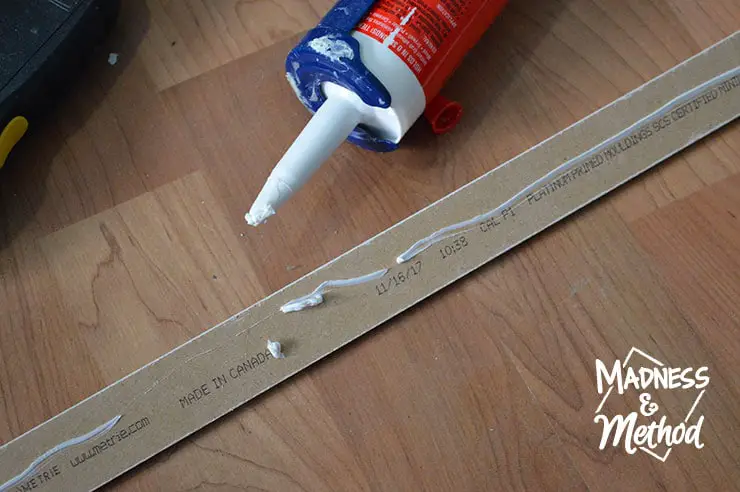
Because I was working with hollow-core doors, I added a bead of construction adhesive to the backs of the panel moulds so they would stick. I would also be nailing them in, but how much do the nails really hold when the door is hollow?
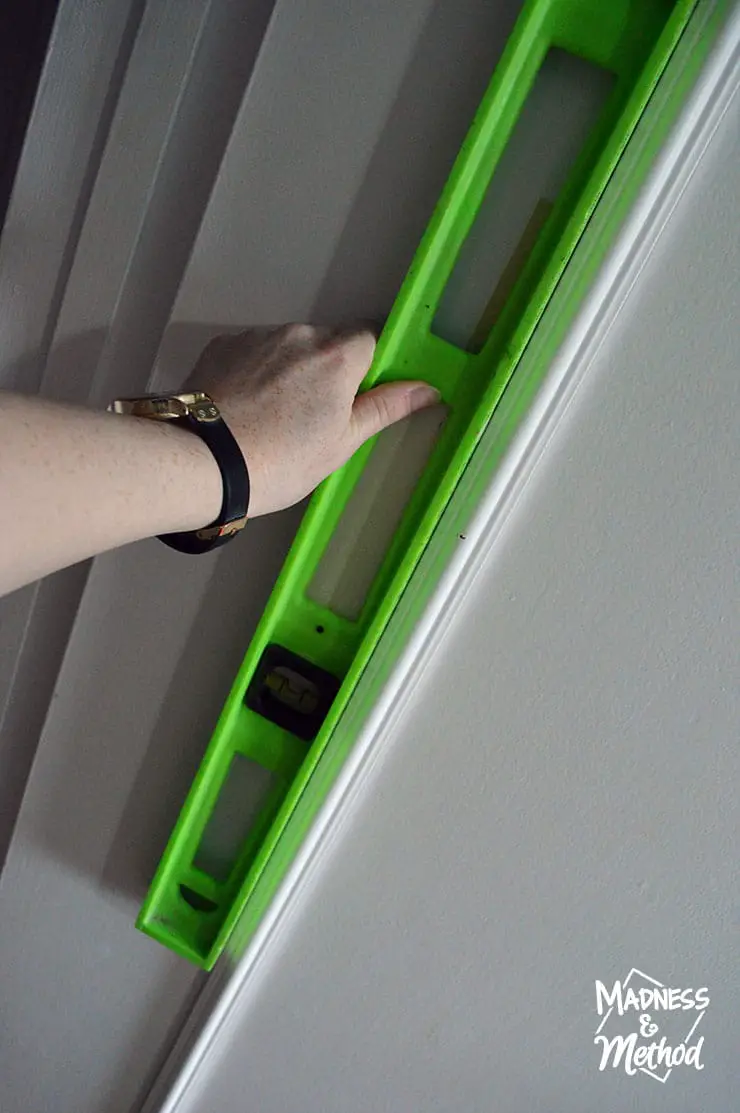
Anyways, I started with the long piece on the left side; lined it up to my piece of tape, then got out a long level to make sure it was perfectly placed. Then I nailed it in with the nail gun every foot or so (making sure the top and bottom nails were near the edge).
I repeated a similar method for the small top piece, but changed up my technique for the long moulding on the right side.
Because I had my moulding pieces all cut, I would first only put one nail in the top right corner. Then I would take my (final) bottom piece, line it up with the nailed in left-side, line up the right side moulding (there would be play because it wasn’t fully nailed in yet), and install them both at the same time. This ensured that all my lengths would be the same, and I wouldn’t end up with an uneven trapeze shape or something!
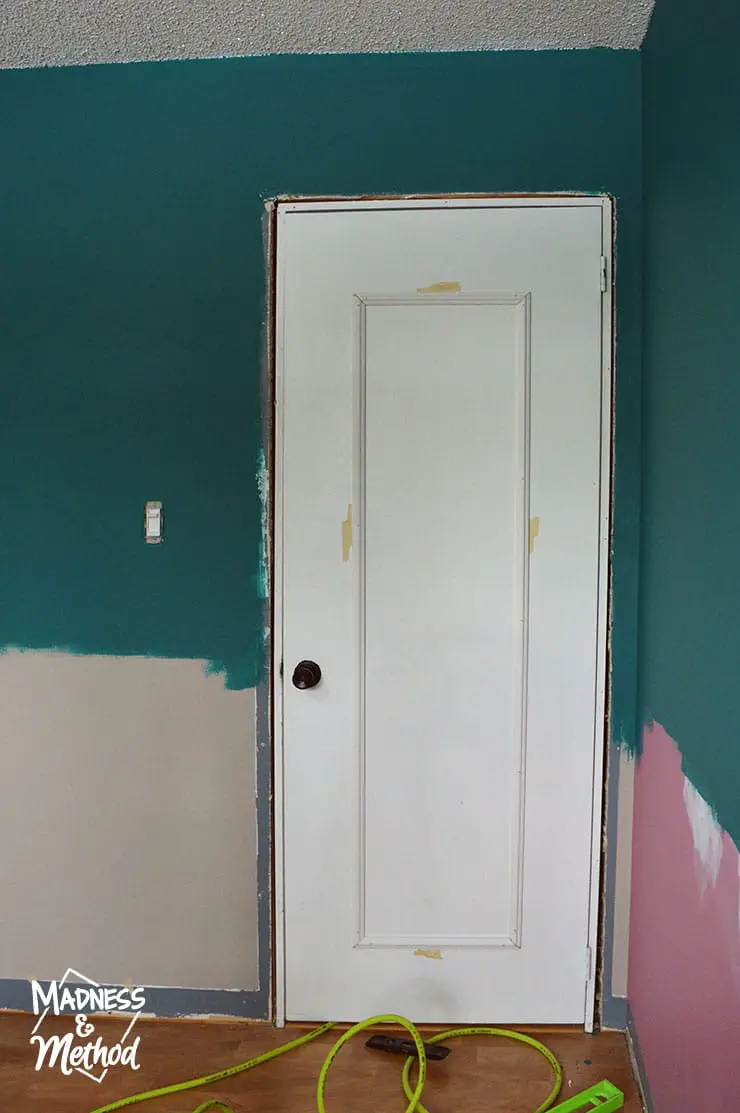
I mean, the pieces of tape are still up in the photo above, but you can see how adding 2 pieces of moulding really upgrades the look of the flat door right!?
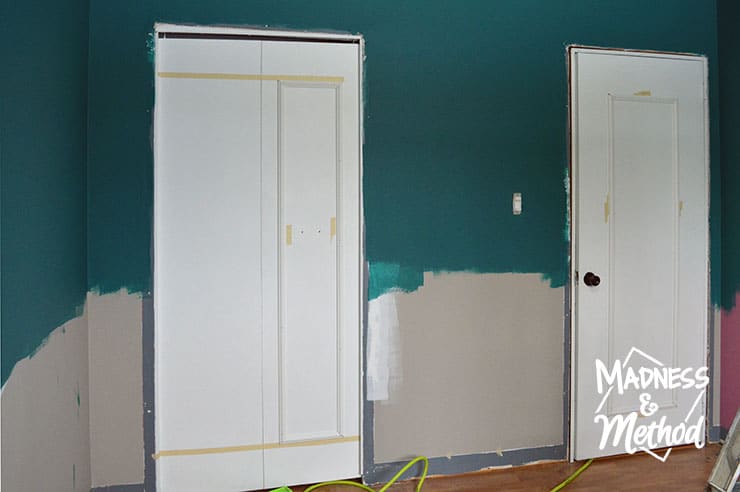
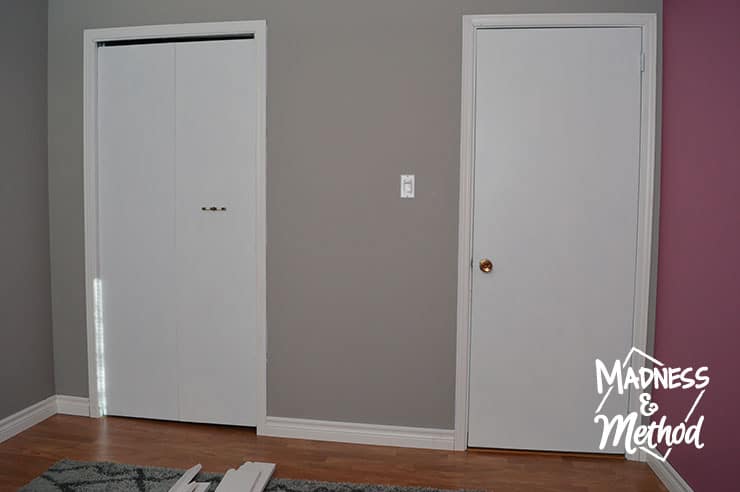
Our closet doors were all kinds of wonky (check out the earlier photo, the floor has a way bigger gap on the one side!) AND they were 1 inch shorter than the regular door. Since both sets of doors were on the same wall, I wanted to make sure that the pieces of moulding lined up (rather than have them centered on the doors). I measured the top and bottom heights from the door I finished to the closet doors, then held up my long pieces of moulding to see what placement I liked.
I think the regular doors (which were about 30 inches wide if I remember correctly) have a panel rectangle that measured 16″ across. For the closets, the short sides are about 11″ (I centered them with the doors closed, rather than open – since about a half inch of door tucks in behind the wall when closed).
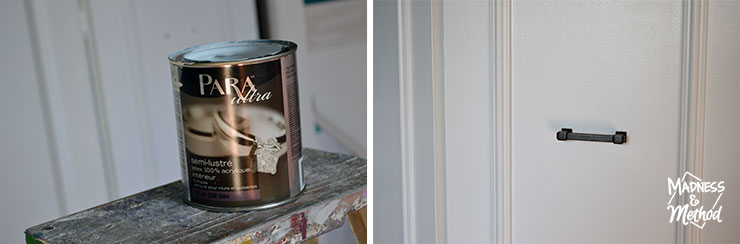
Once everything was installed and looking good, I removed the pieces of tape and gave the adhesive some time to dry. I then caulked all the seams and nail holes to hide the gaps and primed over the caulking. PARA Paints provided some bright white semi-gloss paint (just an un-mixed, off-the-shelf white) and I gave everything a good coat! I then installed the new 3″ Classic Square pull thanks to Liberty Hardware – and I’m happy to have another task scratched off the to-do list :)
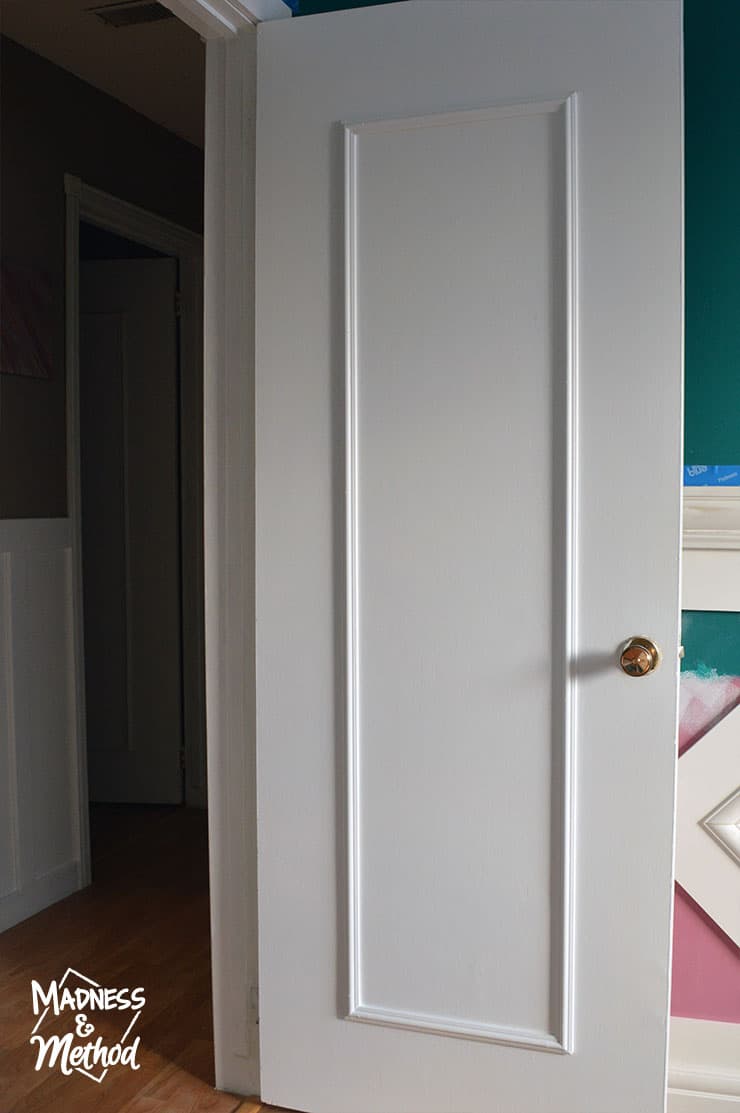
But seriously, look how much better the newly upgraded flat doors look! The hallway no longer has one random door that stands out, and the new nursery is slowly coming along…
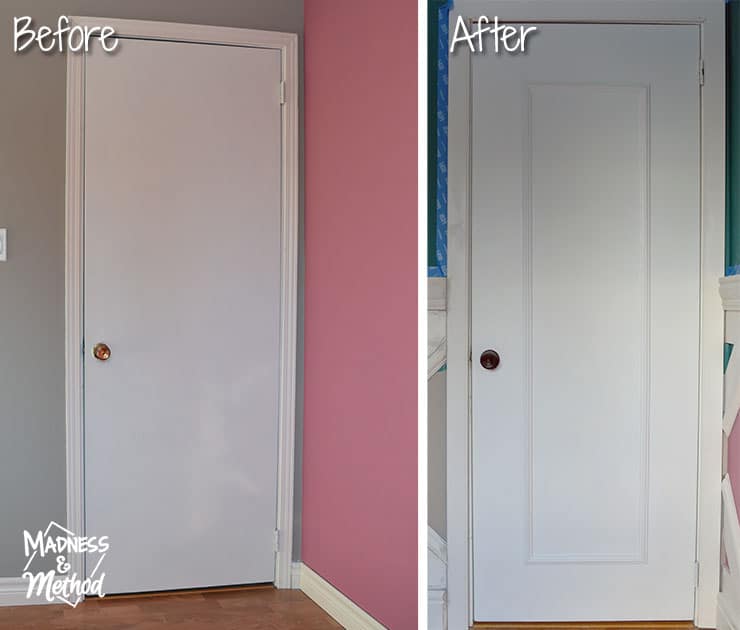
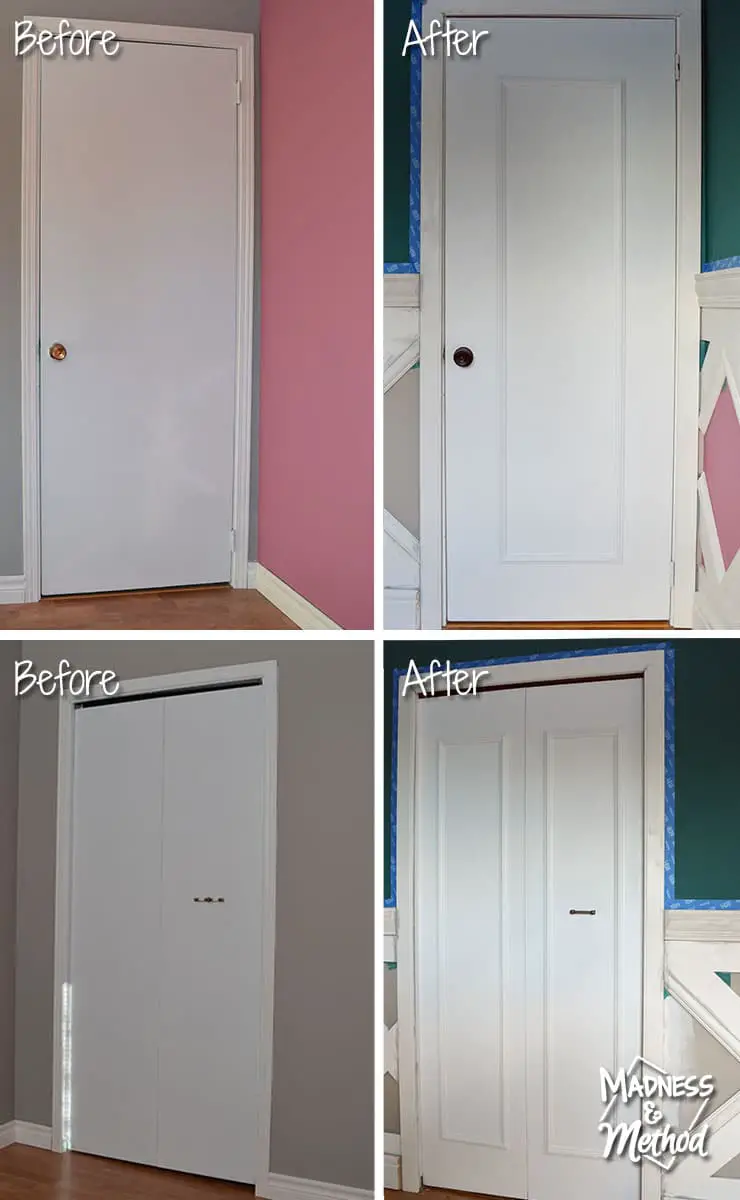
Here’s a before and after of the regular door showing the transformation (ha, I’m working on the wainscoting too and it’s tricky to show pictures of the doors without giving too much of that project away!).
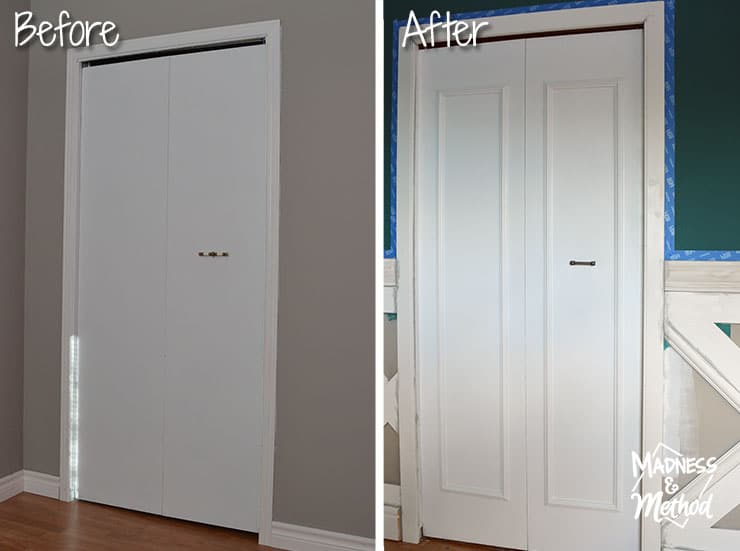
And here’s a picture showing the transformation of the bi-fold closet doors too. (See that crazy un-level ground I was talking about?) We also made the gap at the top of the door a bit smaller too by lowering the casings as much as we could.
I have a few Pinterest-ready images made up if you wanted to save this project for later:
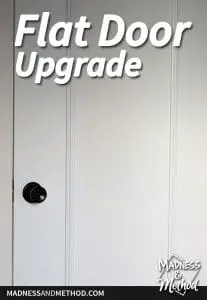
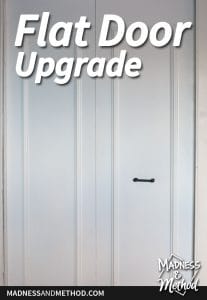
And even this one showing the before and afters:
Feel free to save them all :)
Eek – are you getting excited for the transformation of this nursery (especially with those super tiny sneak peaks of how the wainscoting is looking!)? I have a few small projects that I need to complete (not to mention finishing the wainscoting, it’s not supposed to be rainbow-white-pink-gray-and-teal ha!), but having the flat door upgrade done is getting me excited to have everything done.
Here’s an update to last week’s to-do list:
Take everything out of the roomPatch and prime holesPaint deep teal colourInstall new casings and baseboardInstall wainscoting trimDoor makeover(s)- Patch and caulk all trim (almost done)
- Paint all trim
- Paint closet
and photo ledge - Dresser makeover
- Build change table pad holder (almost done)
- Fix fan blades and install new lightbulb
- Install curtains and rod
- Clean everything, bring in rug pad + rug
- Assemble crib
- Finalize and bring in accessories
- Organize all the baby clothes + stuff
Although it looks like I haven’t gotten anything new accomplished, I know the last half of the list includes a bunch of stuff that is much quicker/easier than the first tasks. I’m pushing for one more super busy weekend of work (aka how I’ve spent the last few), then slowly getting into the finishing details and accessories…
Wish me luck :)

Thanks to all my nursery project sponsors:
![]()
![]()
![]()
![]()
Follow the Nursery Series:
- Week 1: Nursery Colour Journey
- Week 2: Deep Teal Nursery Plans
- Week 3: Upgrading Flat Doors
4 Comments
Mommy aka Louise
February 20, 2018 at 8:19 pmCan’t wait to see it!
Nicole
February 27, 2018 at 1:35 pmWe’re getting so close to the finish line now :)
J
February 22, 2018 at 8:18 pmLooks great so far, Nicole! Can’t wait to see the finished product!
Nicole
February 27, 2018 at 1:36 pmThanks, it’s starting to look really good :)