
In keeping with my photo ledge project last week, I’m sharing another DIY that I completed a while back! Late last year I made some unique artwork and I finally got around to hanging the pieces in our home. This wood canvas art was actually pretty cost effective, and it’s an easy (and large) DIY project that I’m sure anyone can replicate :)
– Note: This post contains affiliate links. See more information about affiliates here. –
Technically, I made these wood canvas art pieces for a local artwork sale (anyone could submit art) because I wanted something large and cost-effective. I was originally thinking of buying a roll of canvas and making my own regular canvas background (like Sharon Joyce Interiors shared), but found the perfect backdrop in our crawlspace!
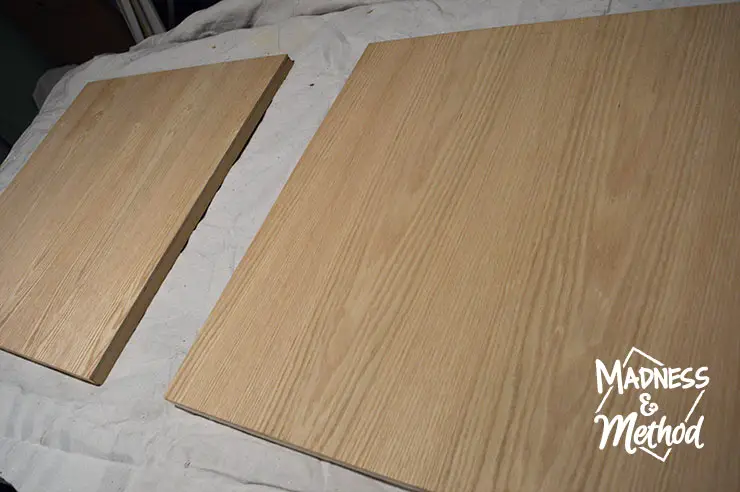
We had purchased a 2×2 piece of oak board (originally to fix our closet floors) and I figured it was the perfect size for some art! You can buy a few different 2′ x 2′ pieces of wood at Home Depot (here’s a link to a birch one), and I just had to go back and get another one so I would have 2 pieces.
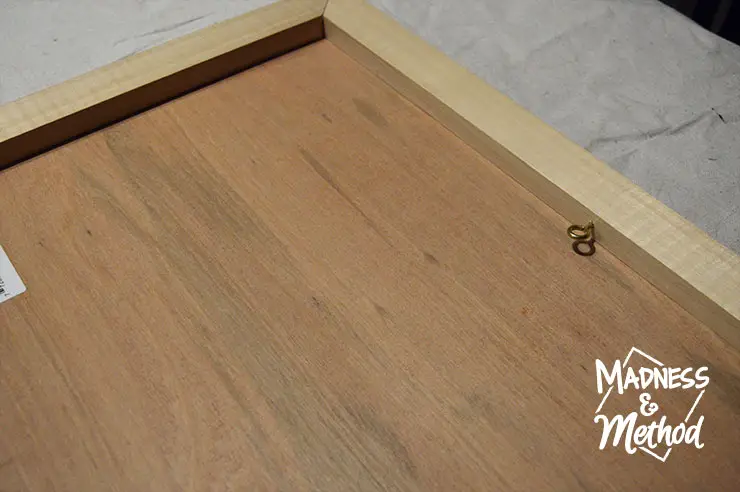
For the “frame” I simply used some No More Nails and glued some pieces of 1×2 board along the back edges (I clamped it down for a long time while the glue dried). I screwed in some hooks on the sides, and then added a ball chain across the back so that it could be hung.
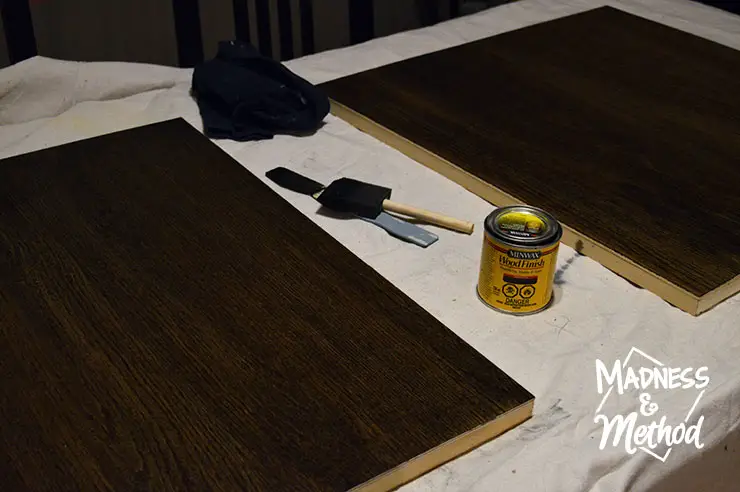
Once the frame was made, I finished the front of the wood canvas art with a coat of Minwax Ebony stain. I gave it a good wipe (which brought down the colour from what is shown in the image above) and waited for it to dry.
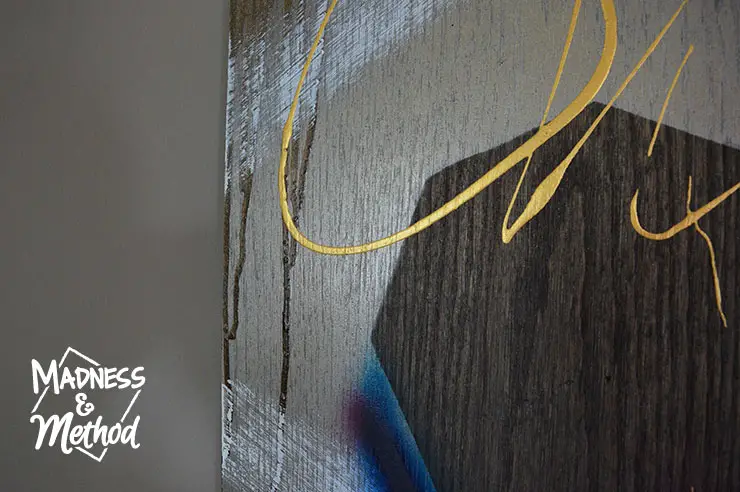
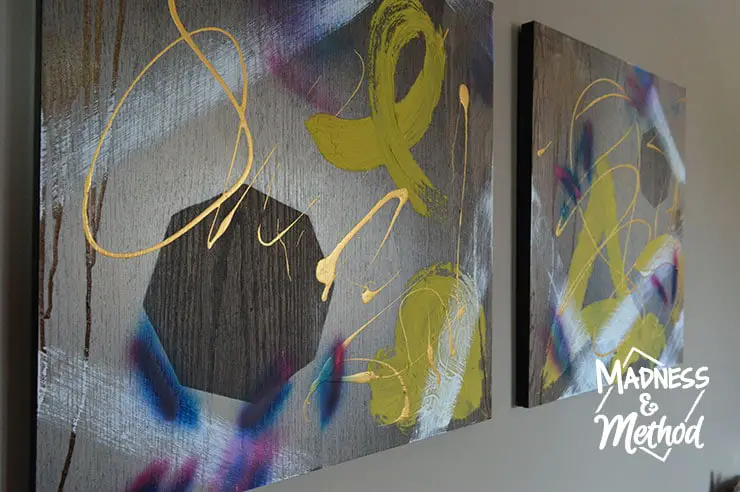
Then I got to work finishing my artwork! I covered an area and used metallic spray paint to create a “stencil” shape; then added different wall paints, spray paints and craft paints throughout the pieces. (I even added some drywall compound for extra texture!).
Unfortunately, my pieces didn’t sell at the fundraiser art sale and I had them sitting in the living room waiting to be hung. Once I got around to removing the old photos that were up (then patching and painting the wall), I could finally install them.
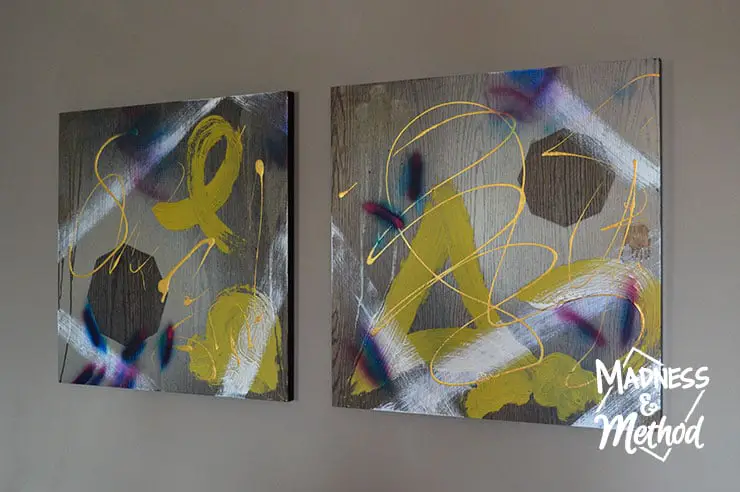
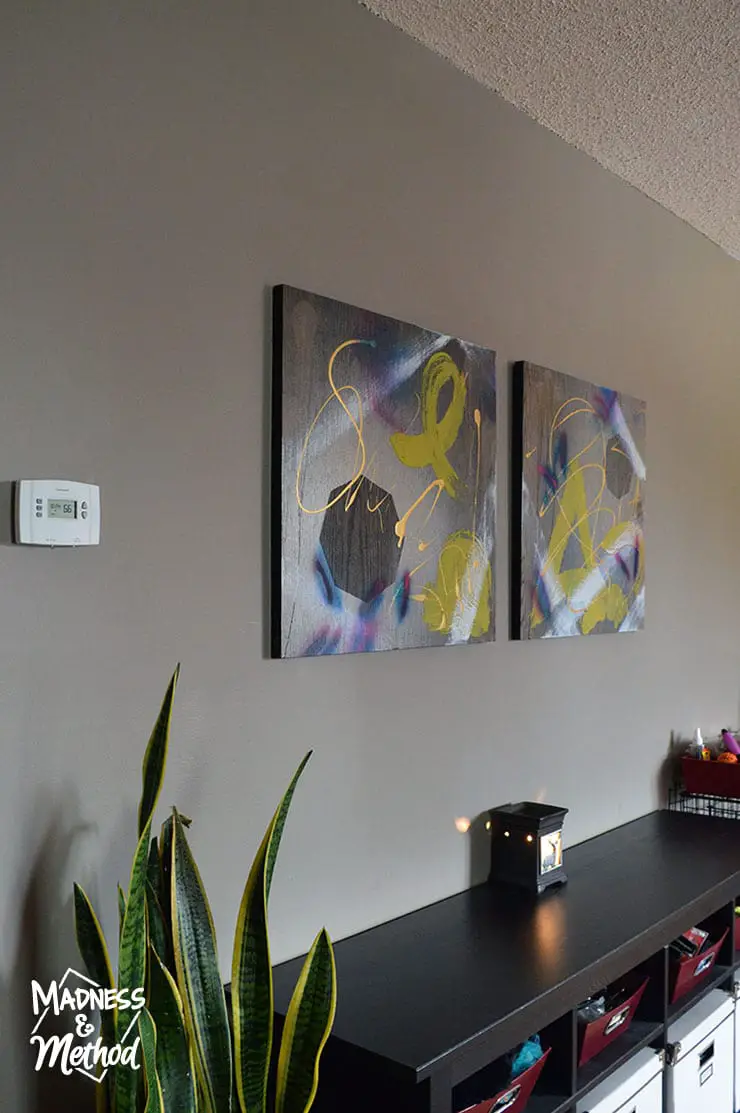
My pieces were called “North” and “South” (I think I’ll eventually make an “East” and “West” to complete the directions ha!); and I finished the edges by painting them black (although you could use any colour, or keep them plain if you wanted).
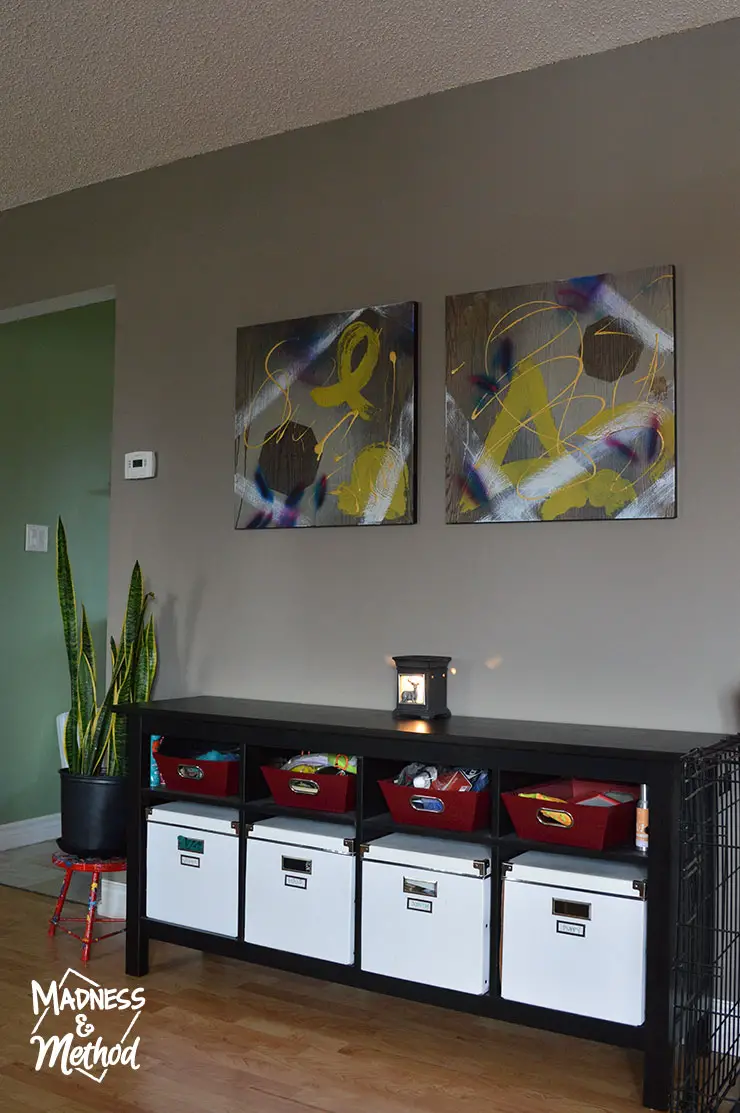
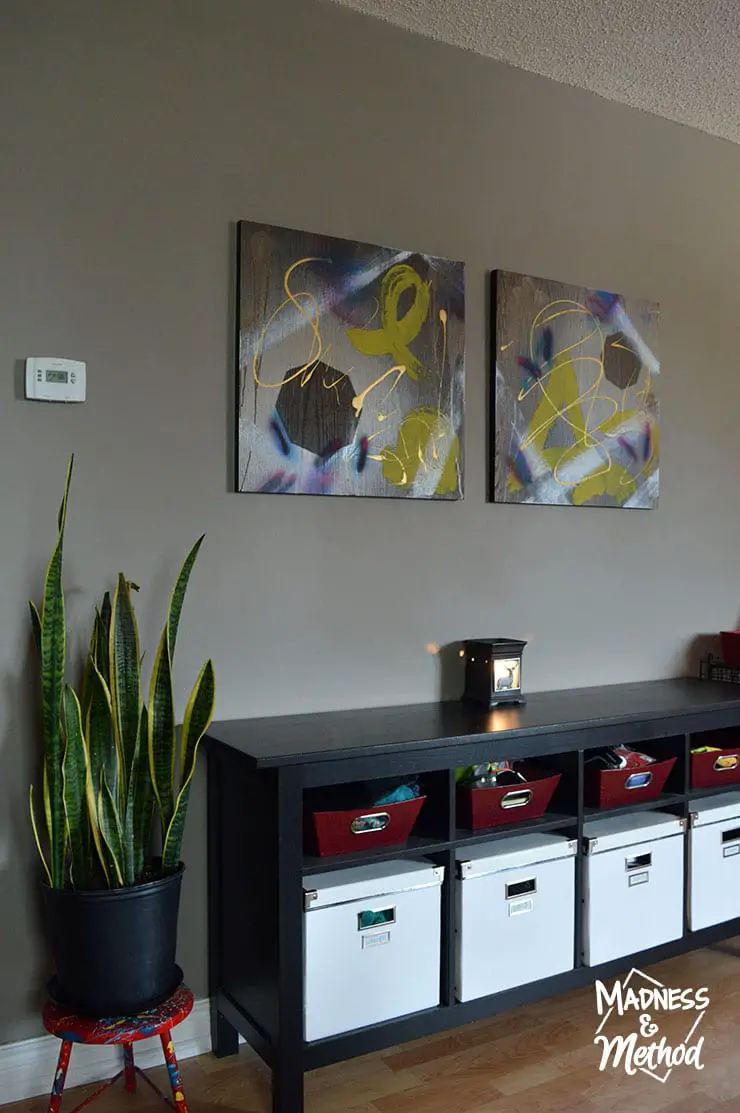
I hung them side by side right above our organization console (similar) (although they aren’t centered on the wall!). Unfortunately Tootsie’s crate takes up a large spot in our living room, but I’m not about to hide it just for the photos.
I’m happy to have something large up there compared to the small photos from before, and find that it anchors the space much better.
I’m really liking how this area is turning out (since it’s the first thing you see in our home) although I’d like to do something about those red baskets… (I think I mentioned that before?).
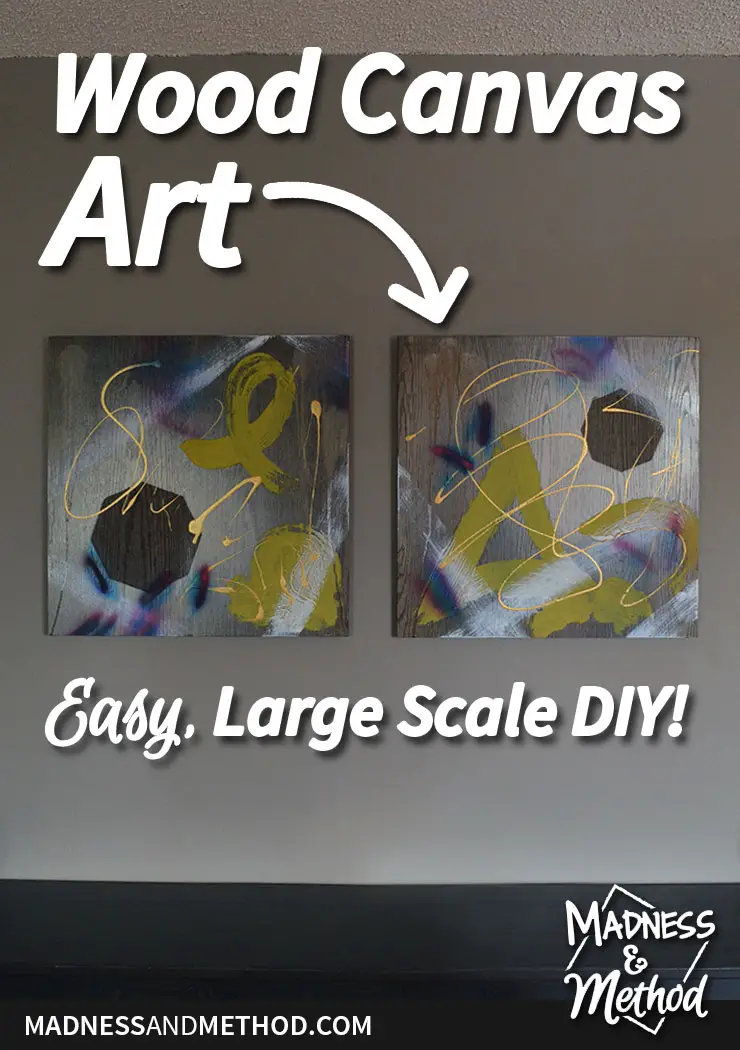
Either way, these large wood canvas art pieces really do make the space seem more fun and fancy! (I think so at least, ha!) Since I made them a while ago, I don’t have the exact costs, but if you were to buy all the materials – I’m guessing they would come in at less than 15$ each (not counting the paint). And considering they are 2′ x 2′, I’d definitely consider it to be a low-cost, and large-scale DIY project!
I don’t want to say that I’m the first one to come up with the idea to do wood canvas art; but I don’t think I’ve really seen anything similar before!? I think I’ll definitely have to recreate this DIY project (think of the possibilities with size, stain and paint used!) and maybe share something again.
But until then, I’m just happy our wall isn’t blank anymore :)


2 Comments
Louise aka Mommy
July 22, 2017 at 2:17 pmThey look really good on your wall!
Nicole
July 24, 2017 at 11:50 amThanks! Ya, the metallic somehow blends in well with the wall colour – and they’re a good size!