
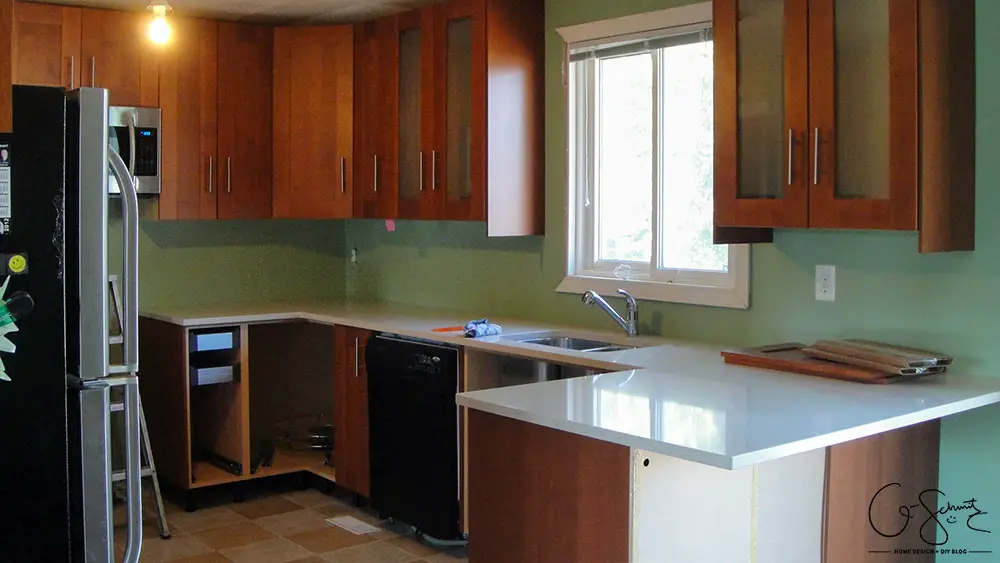
It’s strange that I posted about installing the door handles all the way last week and now I’m talking about putting up the Ikea doors, because in reality they happened almost one after the other. However, there are other things like tiling the floors or building and painting the walls that actually took a lot longer (about one week each or more). Nevertheless, scroll on down to see some great pictures of our kitchen starting to come together as soon as we started attached Ikea doors and panels!
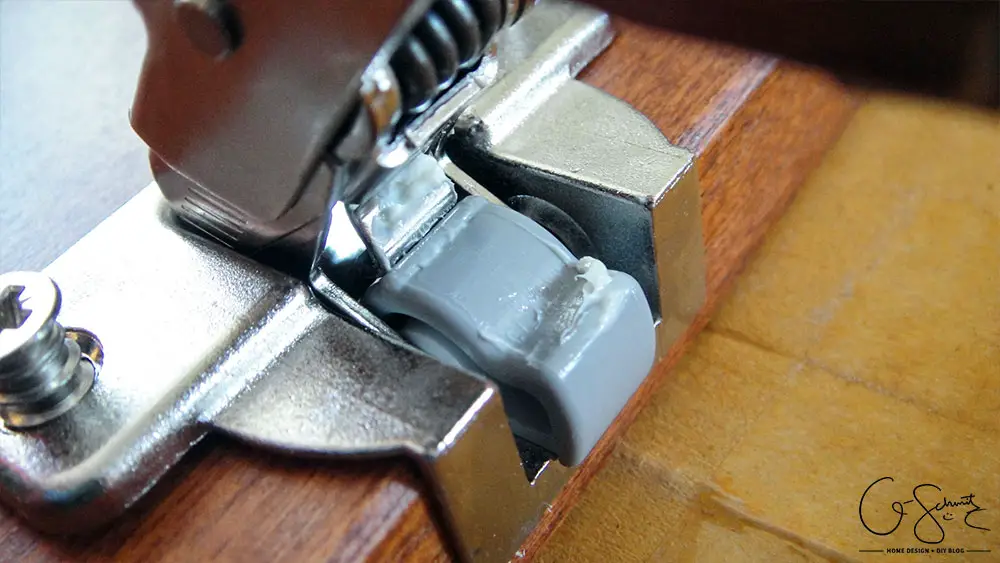
First thing we did was latch on all the hinge parts for the doors; which is super easy and you barely even need any tools! Some of the hinges were still a bit greasy with some goop, but other than that, this was probably the fastest step of the ENTIRE kitchen. Just “click-click” is pretty much what the instructions say to do, and so of course I made that sound every time I had to describe to someone how to install the hinge hardware. The corner cabinet (where the Lazy Susan goes) had a bit of a more confusing hinge, but it was still the basic principle as all the others.
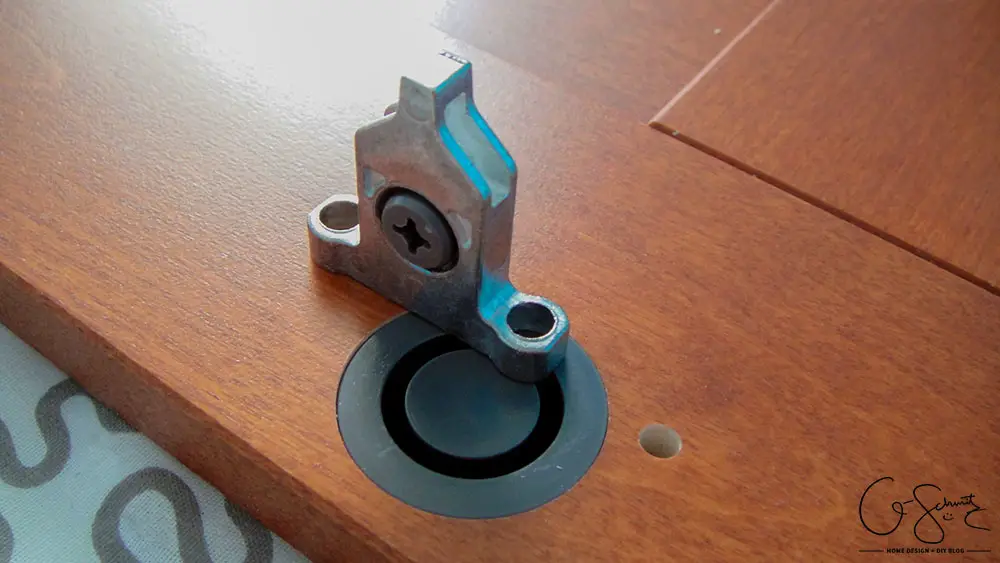
For the drawers, attaching the hardware to the drawer itself is really straightforward, and attaching it to the cabinet isn’t difficult either; however it does become a bit tricky to determine where to actually attach the sliding part to the correct part of the cabinet. Because it depends on how many drawers you have and how big they are, the instructions don’t point out the exact spot to affix them. You simply take your drawer and line it up and mark where it’s supposed to go.
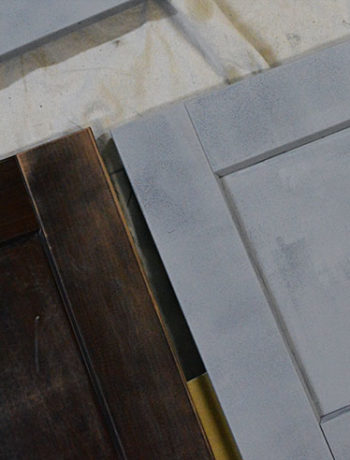
We have a pullout drawer to the right of the oven where we planned on keeping all our spices and cooking ingredients. Although it’s a normal style drawer hardware-wise, it was on a super long door and we had to drill the holes ourselves (it was a hinge-style door, and not a drawer door, if that makes sense). I was pretty confused since it lined up where we put the plastic caps to block the hinge holes, but I called Ikea and they assured me that’s where it was supposed to go. There were also some little grey plastic plugs that came with this door to block the other holes, but they kept falling out.
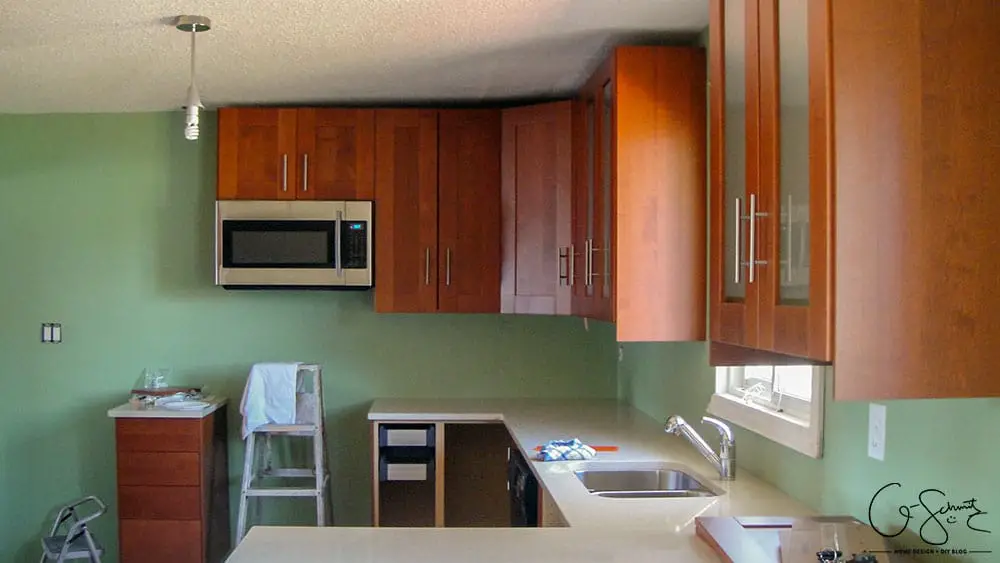
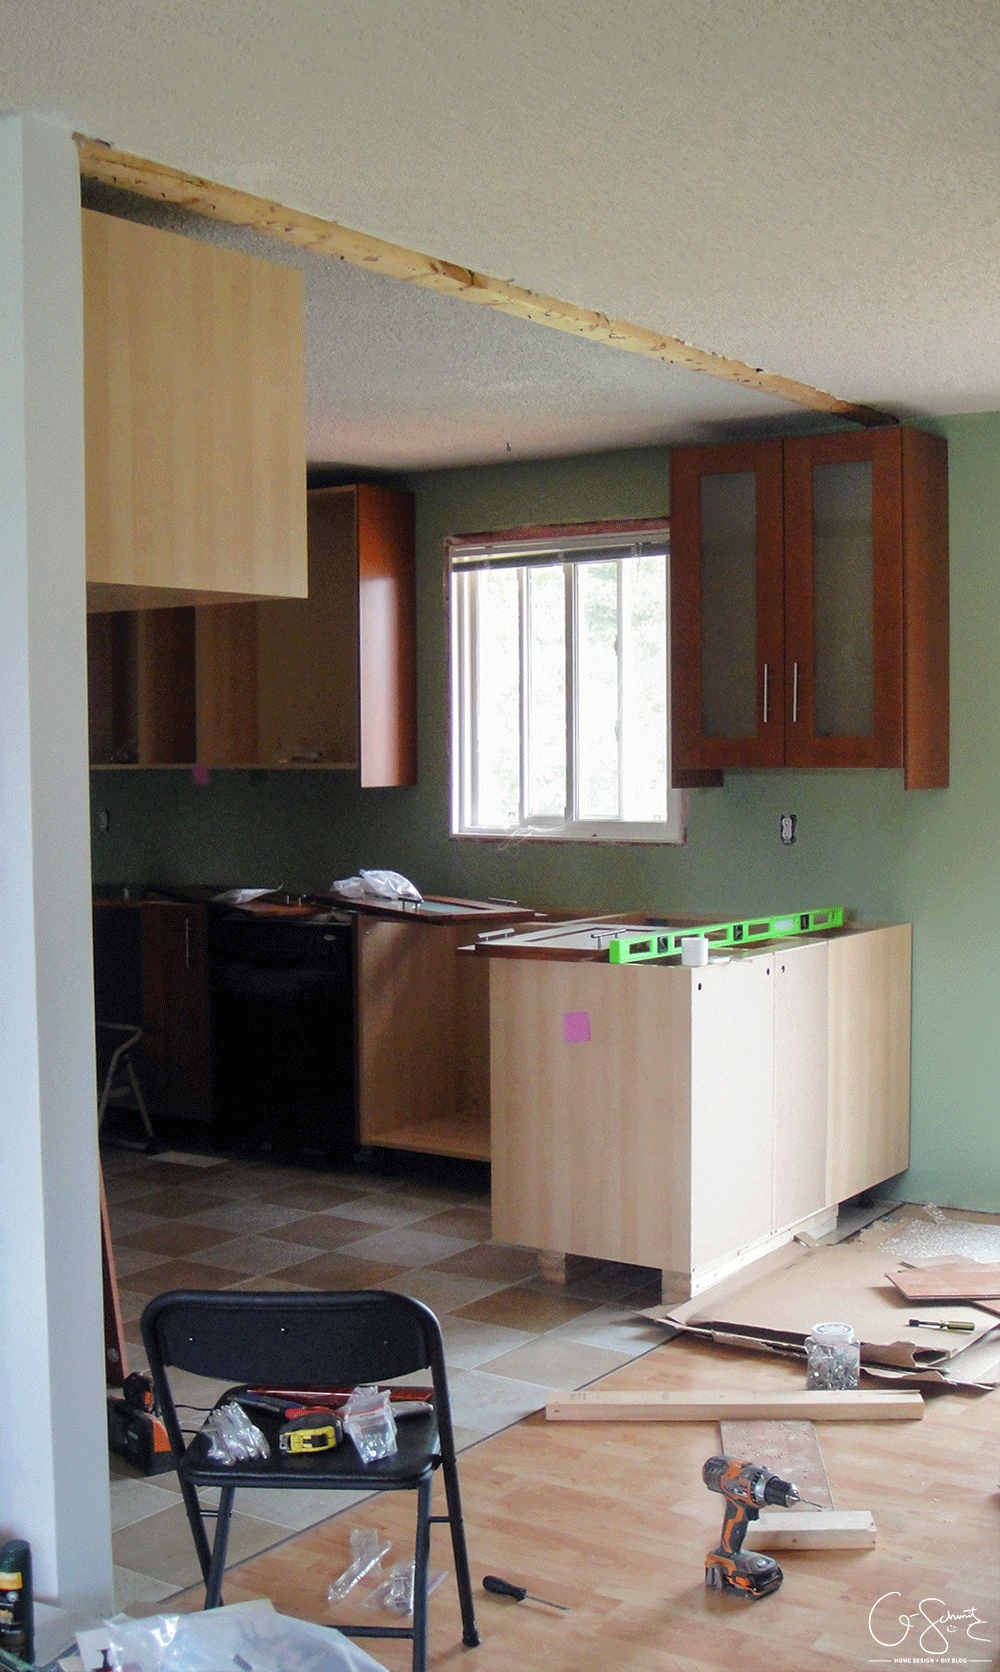
In the photo above you can see the pullout drawer cabinet I was talking about, and my confusion on the assembly of that door caused it to be the last one we installed. We did put up some panels in between the cabinets of different heights and depths during our wall cabinet installation, but once we put the end pieces and doors up, it really started coming together! We were also able to install our over-the-range microwave, bring in and hook up our dishwasher, and slide our fridge back in place.
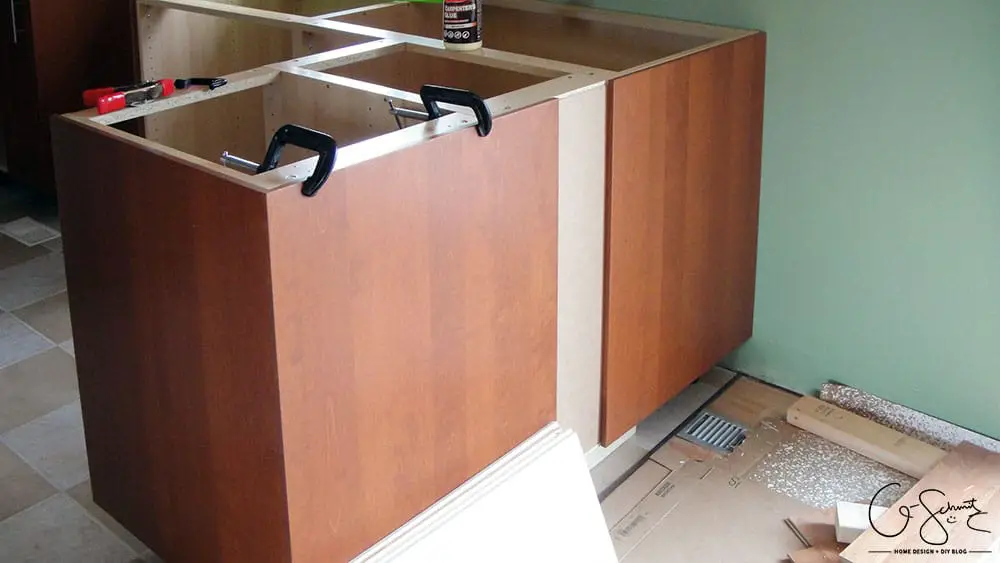
For the back of the peninsula, we didn’t have a strong cabinet frame section to screw the panel into (like on the sides of the other base cabinets). To attach this piece, we used some wood glue and clamped it into place, and our plan was to buy shorter screws to go into the thin cabinet backing on the panel. Spoiler alert: the glue did not hold during our counter installation. We then got the idea to use the metal attachment from the sink cabinet (used to secure the fake drawer panels together at the top) and put our screws through that, but the only screws we found that were short enough were too skinny and slipped through the holes. I know there are small, fat screws available, but the Husband was tired of fussing with this cabinet and nailed it in. Yes, nailed it in. From the front. Meaning there are some lovely little finishing nails poking out for all to see! I think this will be something I will fix in the future, but for now it’s been up for a few months and I have no desire to change it anytime soon.
And here is a quick little animation showing a bit of the “before/during” and “after/during”. Notice how our countertops got installed in that time? Yes, we have to admit that we did not install them ourselves, and considering it’s a several hundred pound piece of quartz, there was no way we could have DIY’d that! I mean, even if we were able to procure a large piece of stone, there’s still the process of cutting it to exact measurements, polishing it and then installing it!
Anyways, make sure to stop back in next week for an in-depth look at installing a tile backsplash!
No Comments