After we had all our base cabinet frames and wall cabinet frames installed, and before we started attaching the side panels, drawers and doors, we first had to attach all the handles to said drawers and doors. It’s much easier to attach the handles first on a horizontal surface, rather than trying to screw into doors that are already installed and swinging all over the place. Today I’ll be sharing some tricks that I learned to mount kitchen handles (or any cabinet hardware!).
– Note: This post contains affiliate links. See more information about affiliates here. –
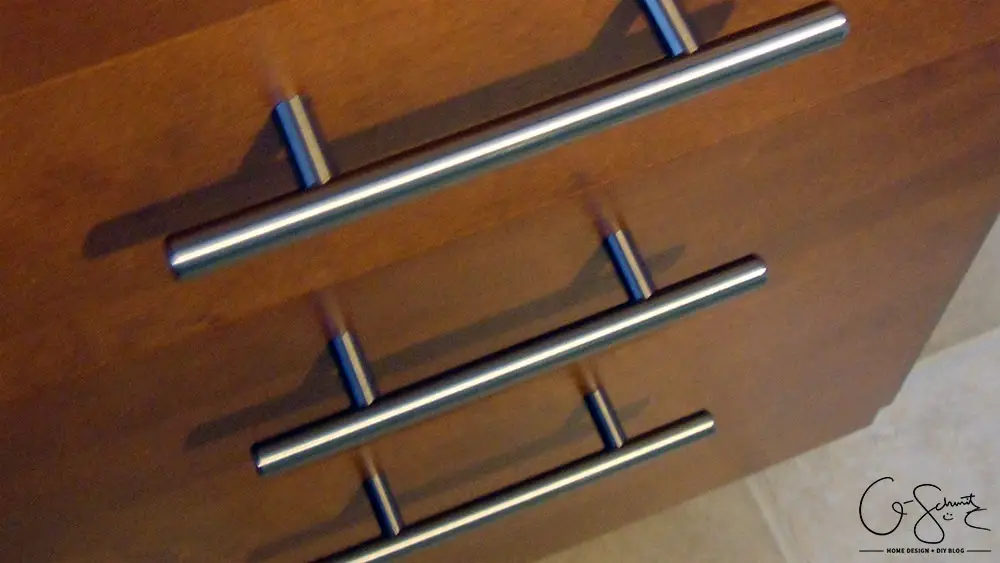
For cabinet handles/hardware there are two main types: knobs and pulls. Knobs are attached with one screw in the back, and are generally rounded (but can be square or other shapes) and pulls are attached to the cabinet with two screws. I will probably use the words pulls and handles interchangeably, but know that we only had one type (some gorgeous, straight rounded brushed nickel ones from Rona, that we got on sale).
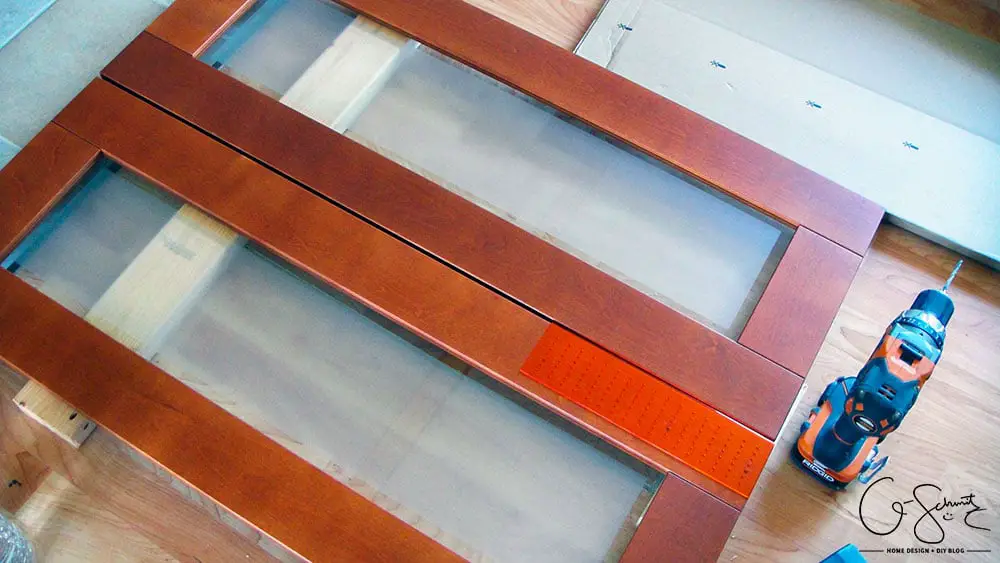
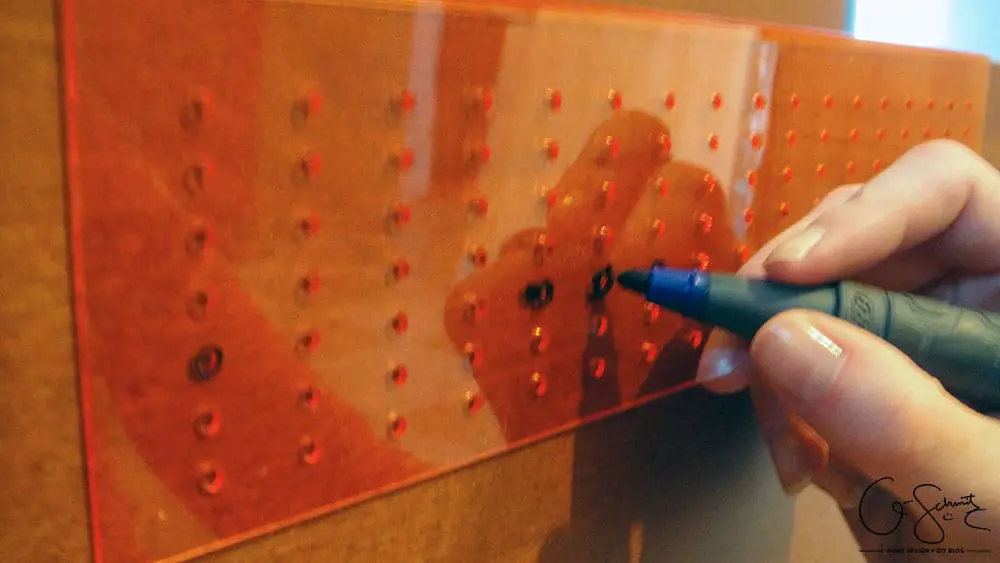
First thing you NEED to do: buy the Ikea Fixa Drill Template. It’s a small plastic tool/accessory with a 90° edge and a bunch of holes specifically made for lining up and installing your cabinet handles/knobs. Before I found this doohickey online, I was trying to think of a way to make some sort of “jig” or template myself to help eliminate all the measuring you have to do (maybe I would make it out of cardboard?). Anyways, this was the best 3$ we could spend.
You simply plan where you want to put the handle on your doors/drawers, measure its size, line the Fixa along the side (and to the bottom of the door if necessary) and mark the holes where the handle is supposed to go. We didn’t buy our pulls at Ikea, and the Fixa holes still lined up.
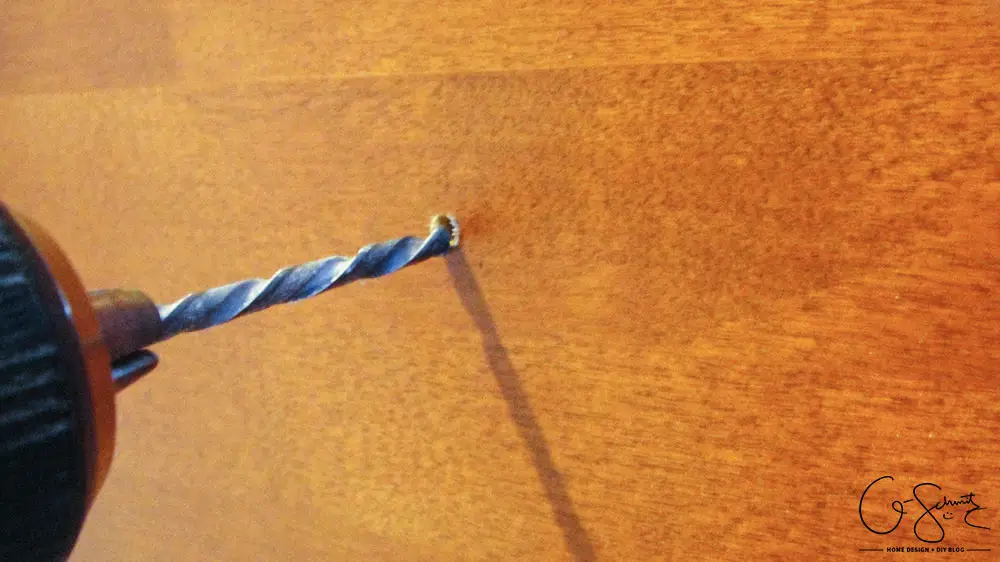
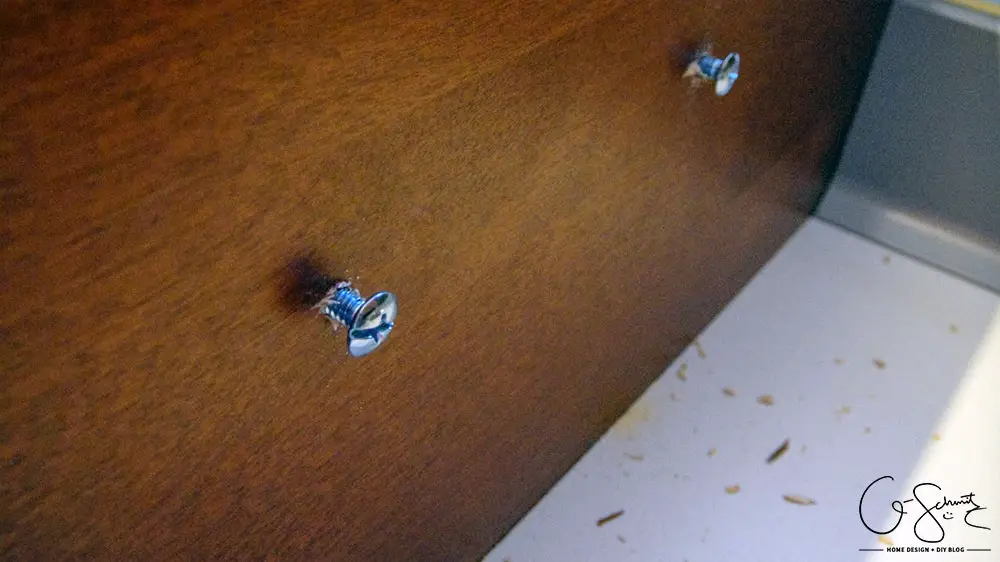
I used a drill (I think with a 15/32″ bit) to make the holes for the pulls where I had them marked. DIY/PRO Tip: drill the holes from the front of the doors to the back to hide any splitting from the wood. It does involve a bit more work, since you have to mark the holes, drill the holes and then flip the cabinet around to screw in the handles, but you avoid any unsightly splits along the face of the doors. (Ok, the extra work is only the flipping of the doors, which isn’t actually that hard… but when you have a bunch to do and you’re lazy, it seems like a lot!).
You can sort of see in the picture above what I mean about the “splitting” of the wood. Where you push through with the drill, it chips away and doesn’t make a nice hole. Luckily, the heads of the screws (that came with the pulls) covered most of the uneven edge.
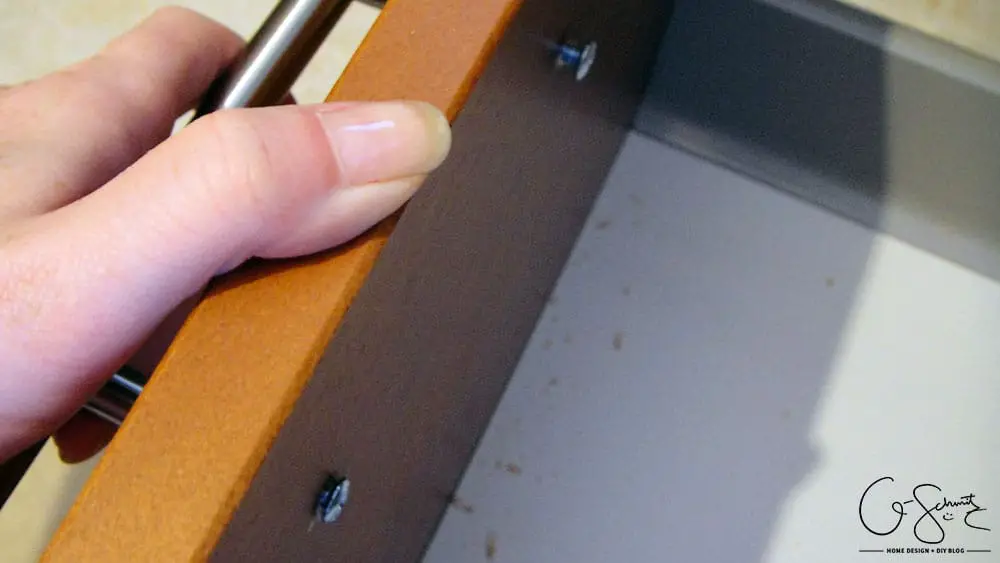
To install the handles, I held the pull on one side and used a screwdriver to attach the screws on the other side; going halfway through on both sides, then tightening it fully once I was sure that everything was lined up properly. (Sometimes I would have to unscrew the handles and drill a bigger pilot hole because apparently I hadn’t drilled it perfectly the first time around – this was also time consuming).
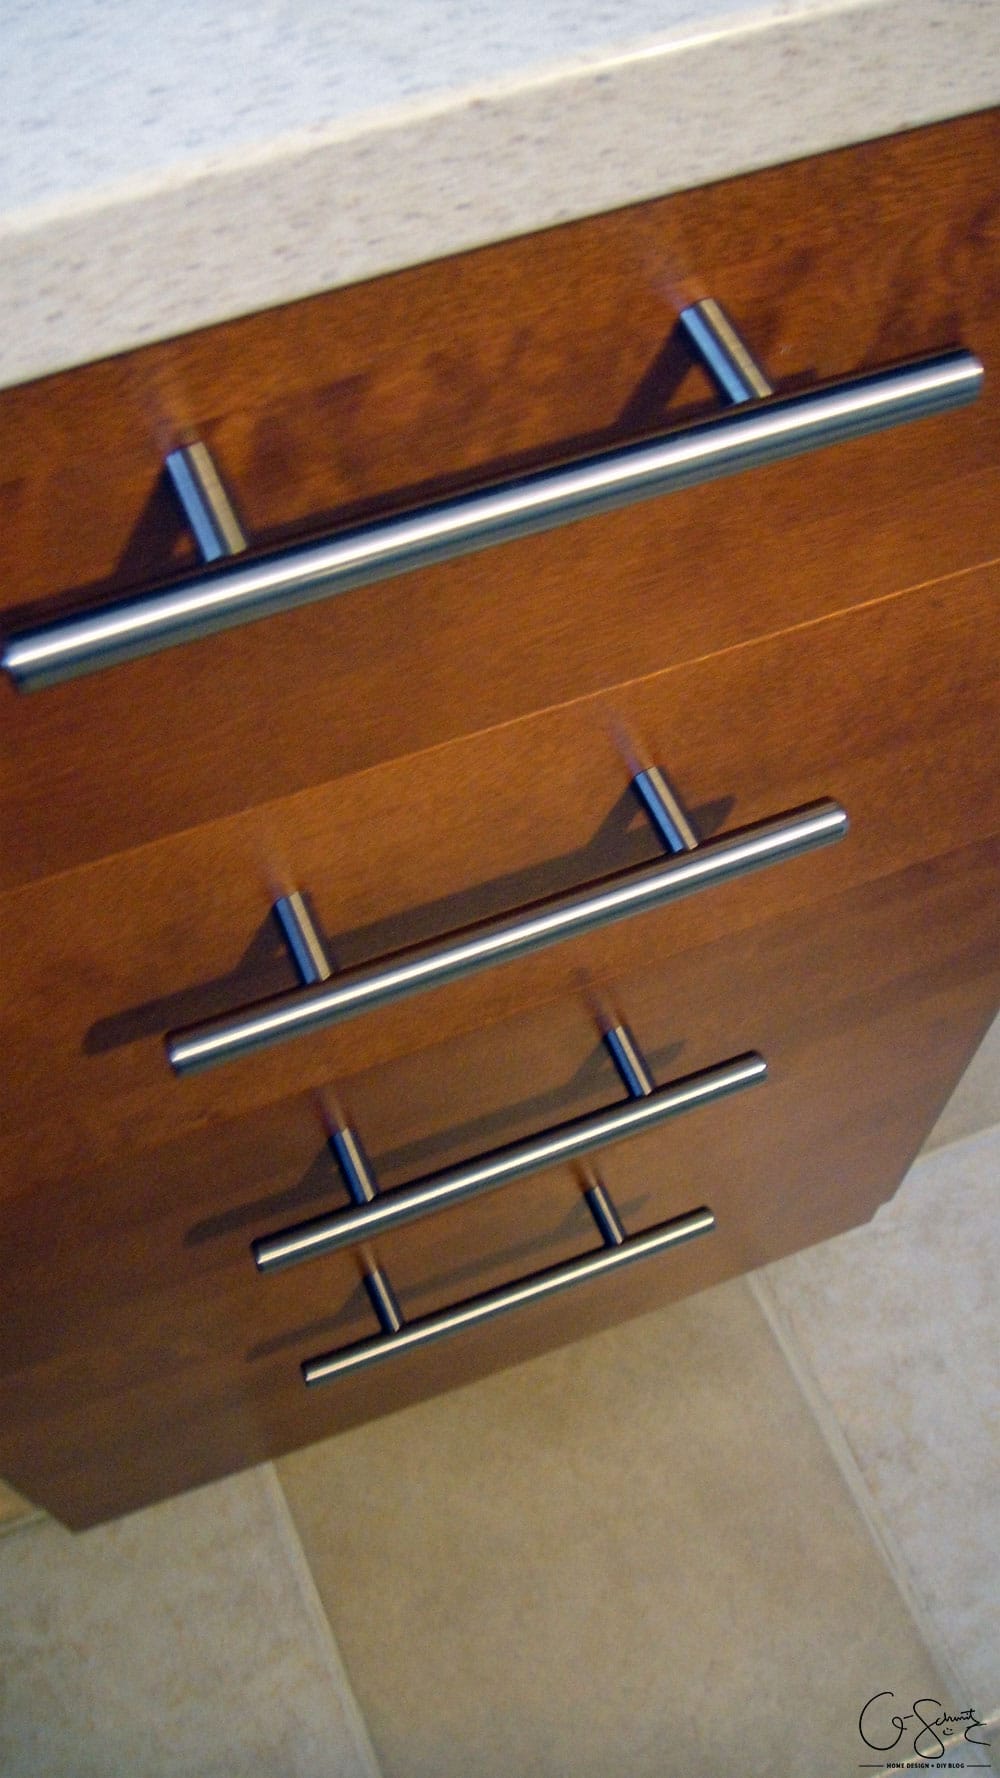
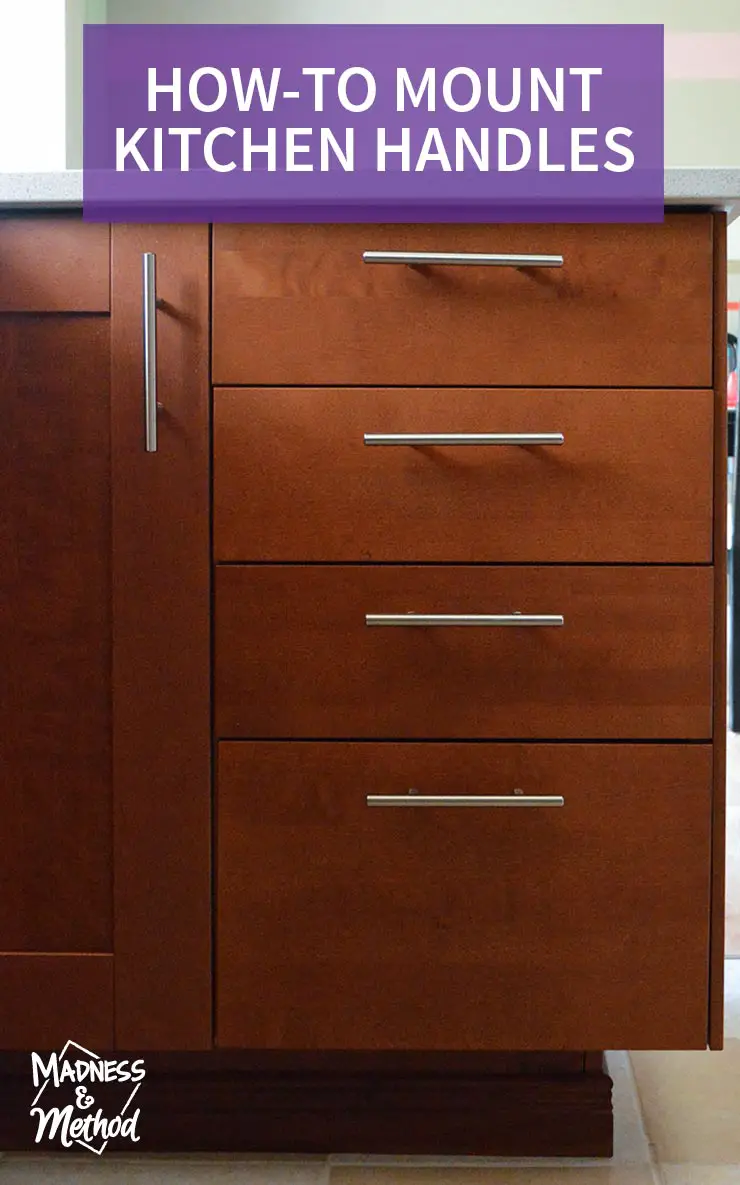
And there you have it! Some lovely, lined up and even cabinet handles! Stop by next week when I share the photos of the cabinet doors and drawers installation!
DIY/PRO Tip: Make sure to put in all the shelves for your cabinets BEFORE you install the doors (we made that mistake and had to take some doors down to fit in the shelves – not productive!).
See you next time :)


2 Comments
Builder hardware
June 18, 2022 at 2:47 amGreat, I liked your content related to Mount Kitchen Handles you well explained For cabinet handles/hardware there are two main types: knobs and pulls. Knobs are attached with one screw in the back, and are generally rounded (but can be square or other shapes) and pulls are attached to the cabinet with two screws.
Nicole
June 21, 2022 at 1:38 pmThanks!