
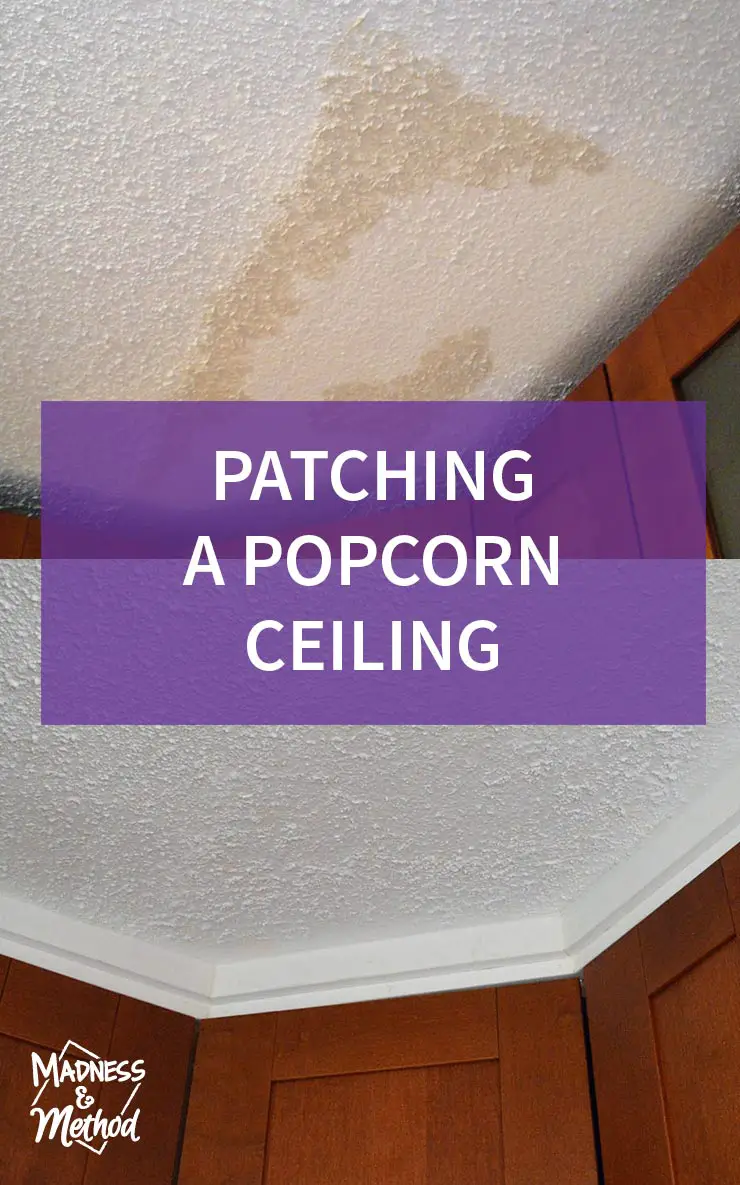
Our house was built in the 1970s, which means that the “popcorn” ceiling style is prevalent in all of the rooms. While it may be harder to blend your ceiling if it’s a smooth finish; I find that the popcorn/stucco texture helps to disguise any differences there may be. Today I’ll be talking about how to seamlessly blend the old and the new sections, and also which products to use (and avoid!).
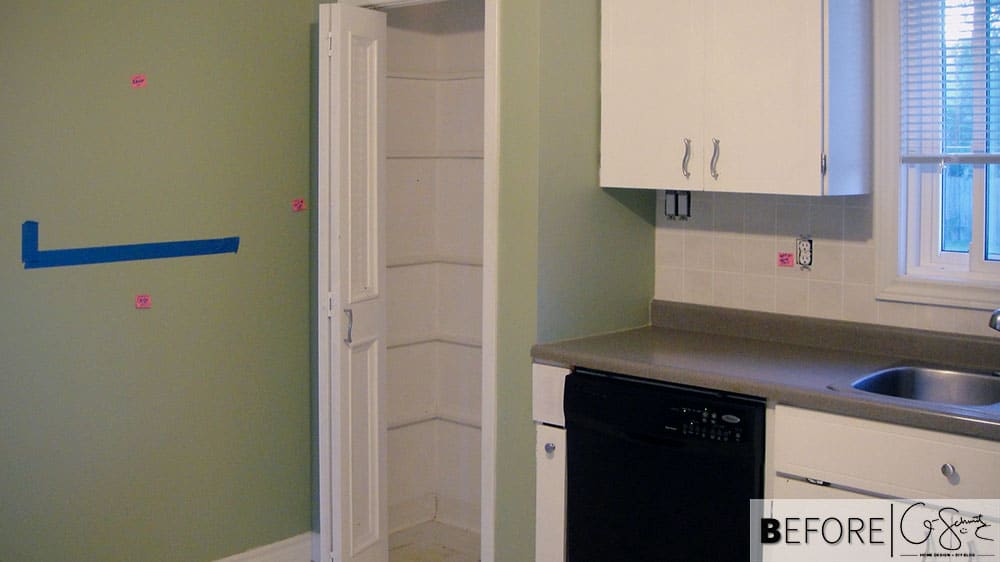
Photo First Appeared in “Deciding the Renovate the Kitchen: A Top Ten List“
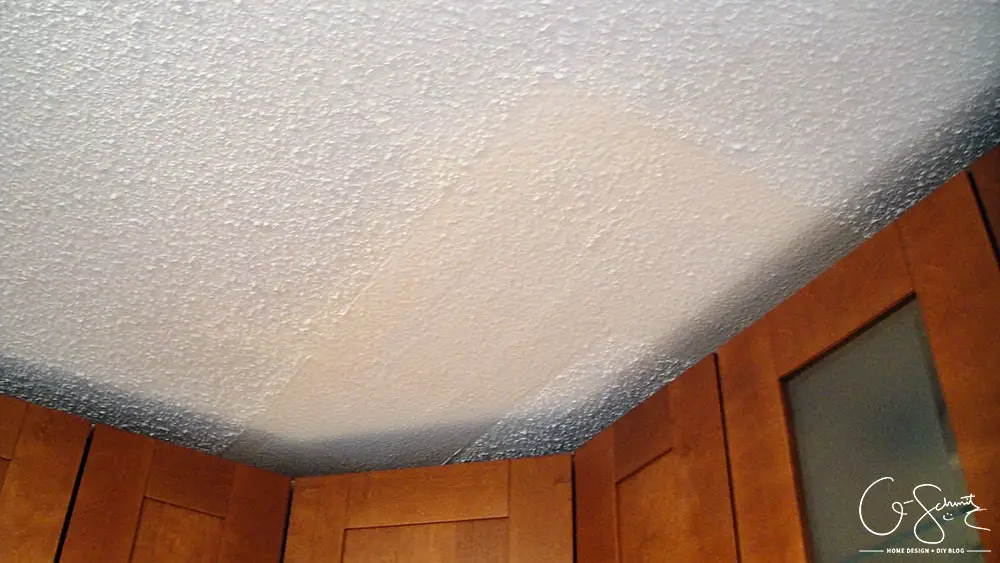
But first, a blast from the past! Remember that we removed the built-in pantry from our kitchen? Well the photo above shows it still in place, and you’ll notice that the drywall construction goes all the way up to the ceiling.

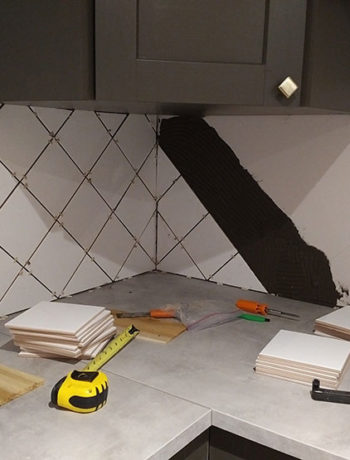
Photo First Appeared in “Patch, Prime and Paint: The 3 Ps of Wall Installs“
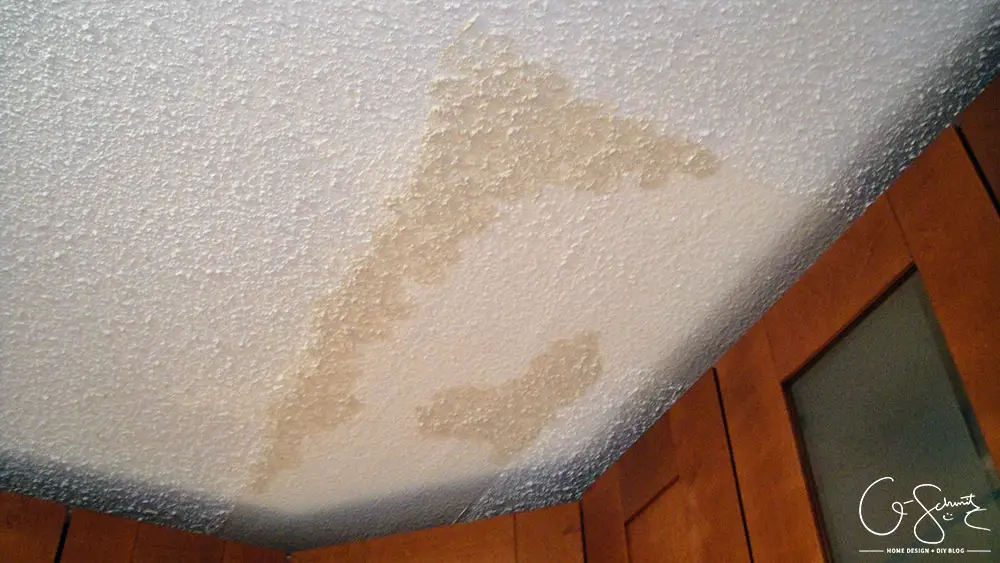
Once we removed the pantry, we had to patch up both the edges and ceiling so that it was smooth with the adjoining surfaces.
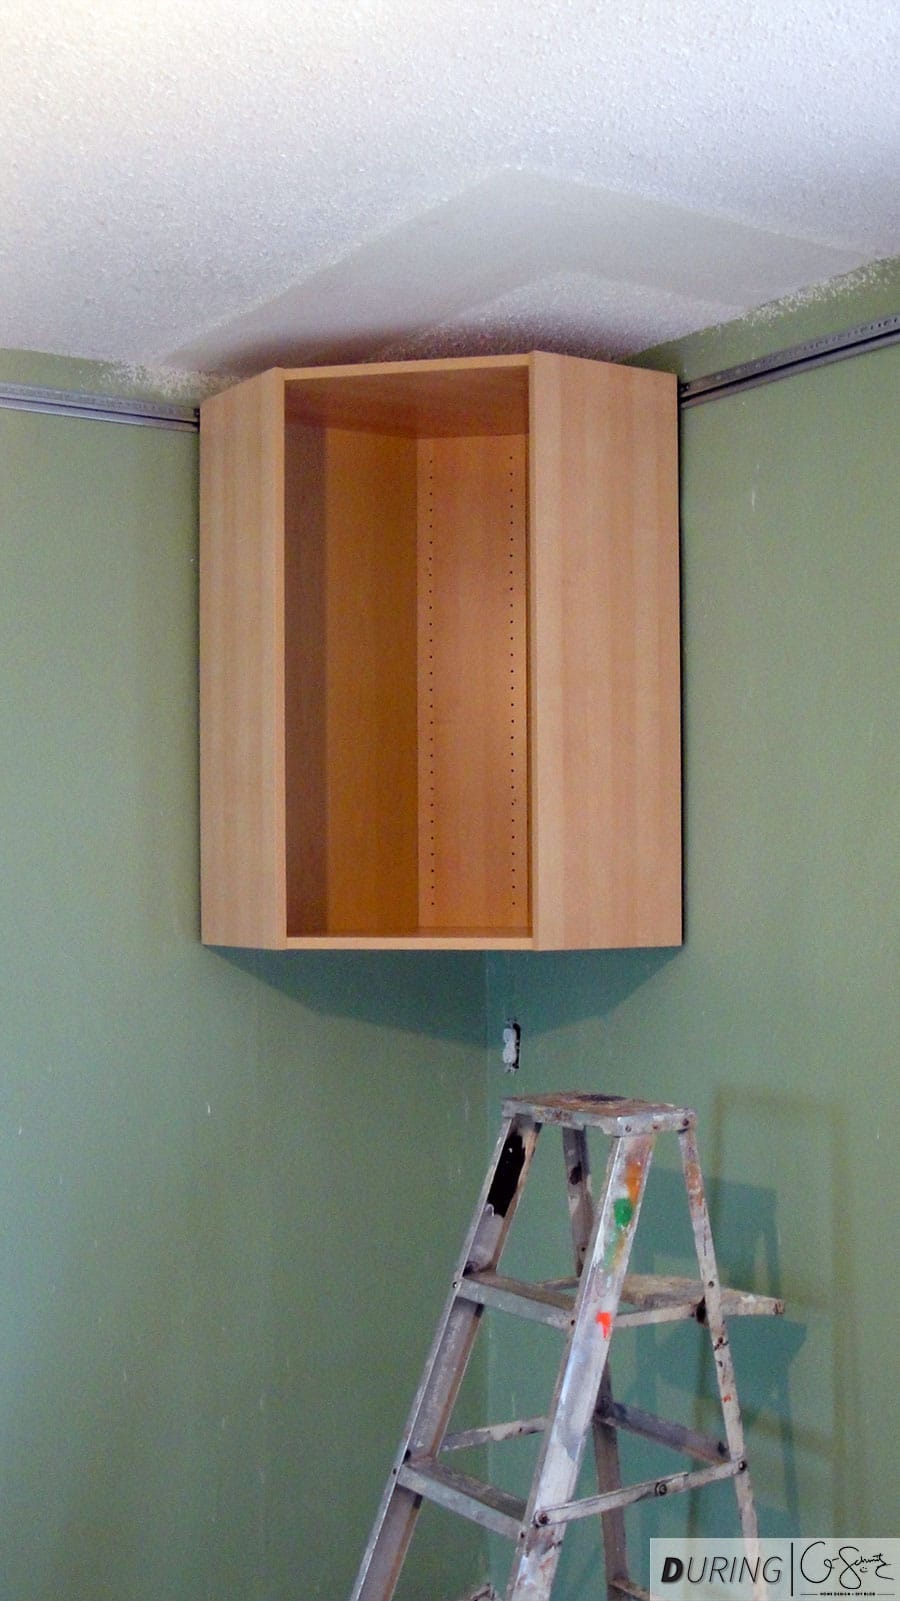
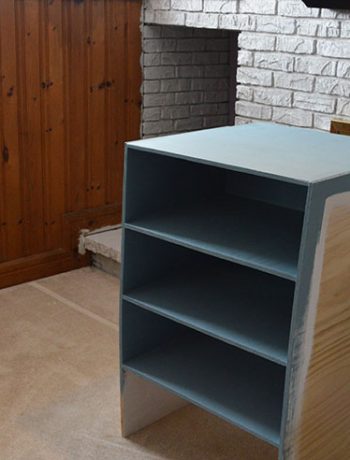
Photo First Appeared in “Installing Ikea Wall Cabinets“
Now, we should have definitely fixed the ceiling (ie: added the popcorn texture) before we installed our cabinets. But this is where I made my first mistake. I had purchased the spray-on popcorn, because I distinctly remember it working perfectly in our previous house. It almost matched 100% to the ceiling that had been there previously, but for some reason I could not get the spray to work for our kitchen renovation. I think I even tried two different brands, but it would just come out more liquid than solid, and just made a huge mess (notice the beige splatters on the wall in the photo above?)
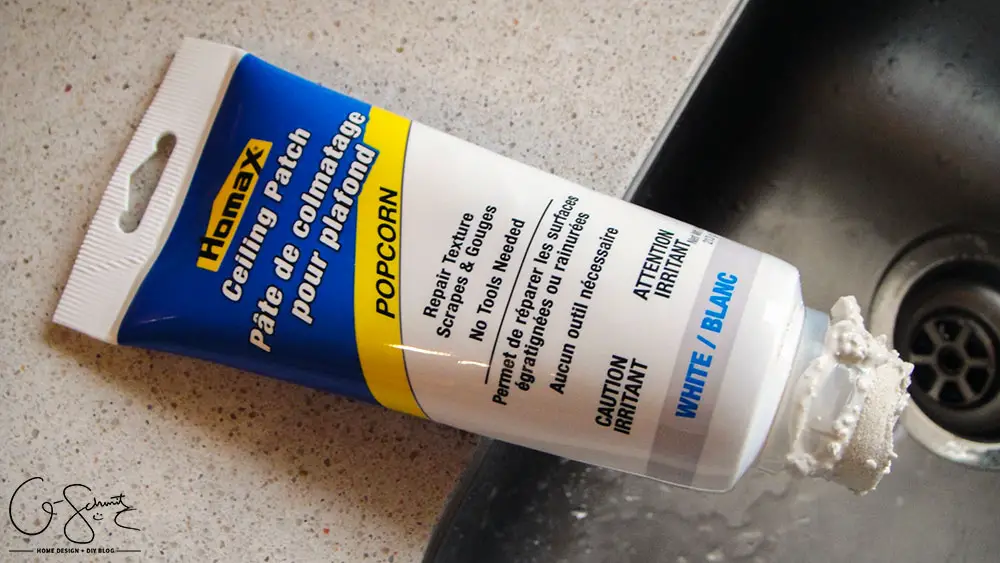
For our bathroom renovation, we had purchased an entire tub of plaster stuff because we had a much larger area to cover. I didn’t want an entire tub to go to waste so I found this aptly named “Ceiling Patch: Popcorn” which was the perfect size! You even use the tube itself as the applicator, so you don’t need to buy any special sponges.
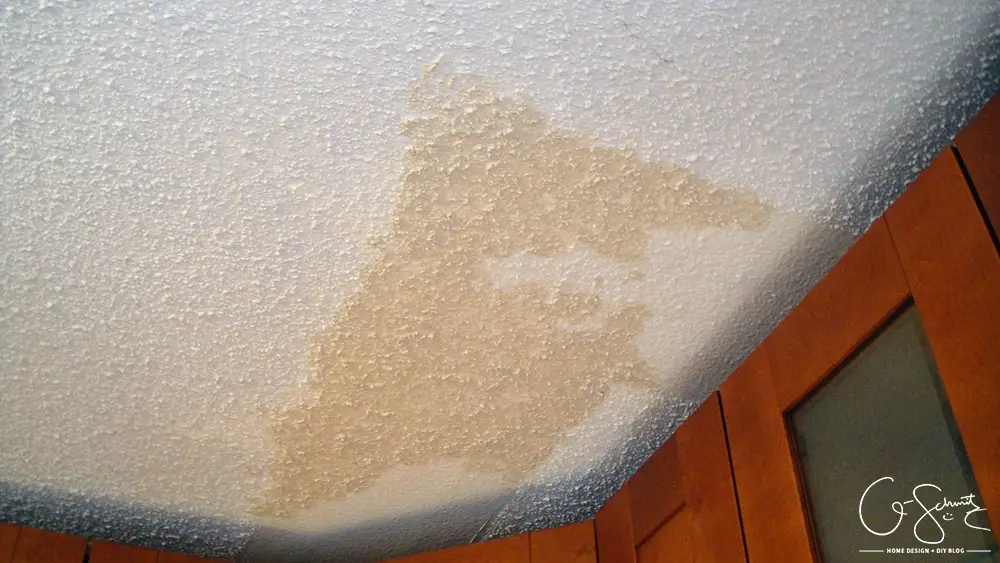
Long story short, it worked perfectly for the tight edges we had to fix (ignore the bad paint job in the photo above) and I think I ended up using two of the tubes for the whole kitchen. All you have to do is gently squeeze the tube and then use the spongy part to squish it up onto the ceiling. The chunky pieces in the tube guarantee that your texture won’t go flat after a few hours of dry time (like the smooth sprays).
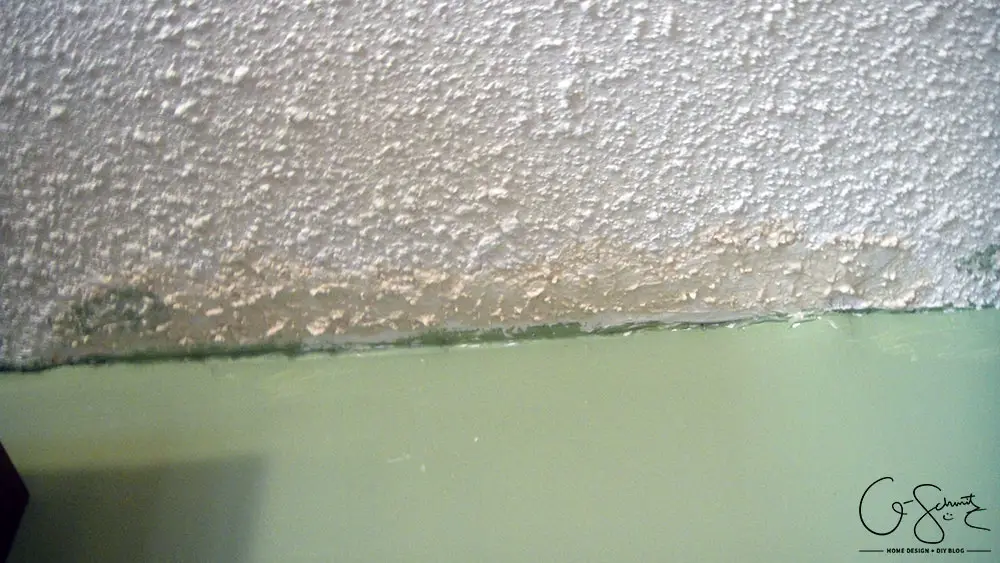
Remember the North-West corner where our pantry was? Rather than having to carefully spray the popcorn on (and make a huge mess anyways), I was able to go in and do a much better job with detailing the texture where I wanted it to go.
The spray did sort of leave a small bumpy surface, so I just had to try and blend the edges to match better. It’s really just about eye-balling, and then coming down and looking at it from different angles. Don’t go crazy, because a lot of the shadows you see will be hidden once it’s all one colour.
The texture in the tube did dry into a bit of a lighter colour, and a quick coat of primer helped seal everything in and ensure it blended a lot better together. Once we have our cabinet crown mouldings up, the old section should be completely concealed!
When you’re fixing a small section of drywall, doing so at an upside down angle adds a degree of difficulty; so patching a ceiling is definitely easier if you have a bit of texture to play around with! I’m not saying you should go popcorn crazy and update all your flat ceilings; but hopefully my quick instructions will give you the confidence to tackle a bit of the ceiling patching yourself (rather than have a professional come in for a small area).
I’d love to hear your thoughts!
No Comments