
When we removed the wall in our Master Bedroom closet, we were left with a large gap in the laminate flooring. The previous homeowners had left some extra pieces of laminate, so we were able to cut a few to size when we rebuilt the closet. Today’s post is all about how to patch gaps in laminate floors, just in case you wanted to attempt the same DIY!
– Note: This post contains affiliate links. See more information about affiliates here –
First things first, assuming you have extra pieces of laminate available, you will need a few additional materials.
Supplies Used
- Wood filler
- Putty knife
- Wood stain to match (I used this one and this one)
- Paint brush
- Sanding block (or sand paper)
- Paper towels or rags
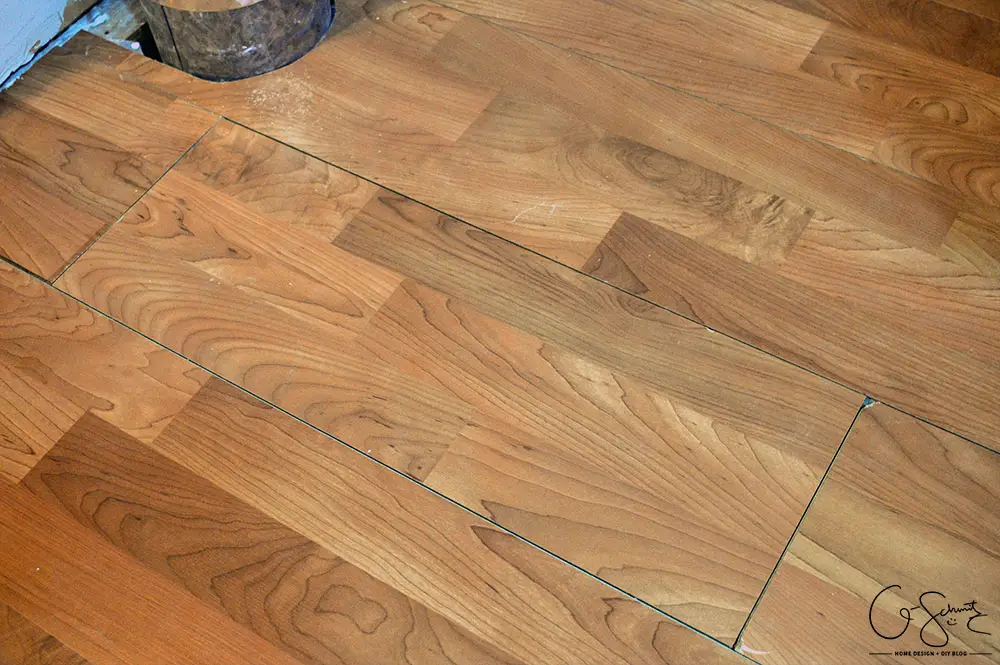
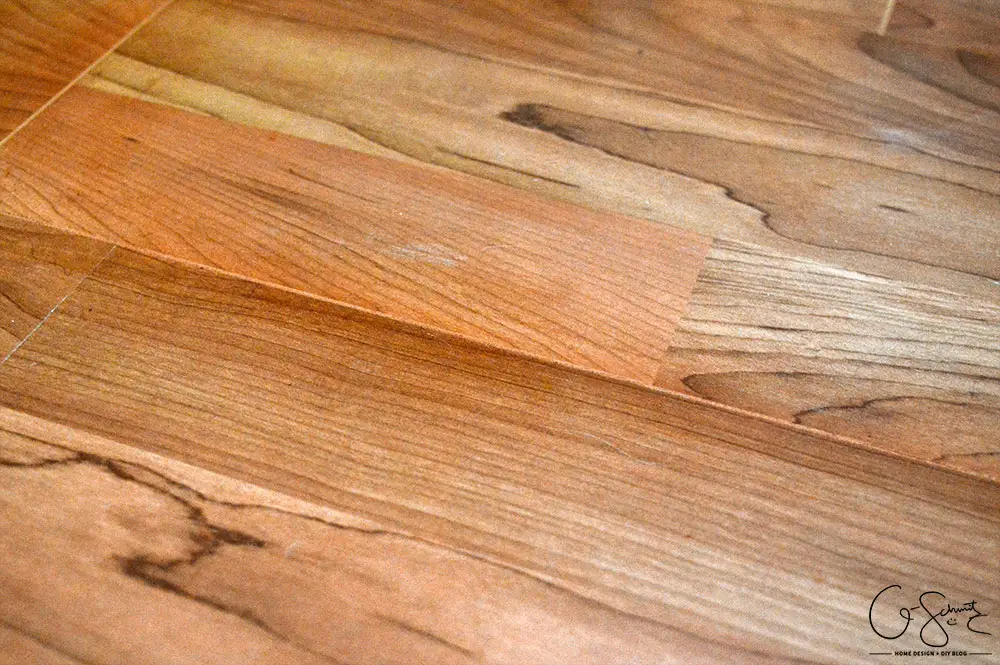
Ideally, you would be able to install the laminate as normal and you wouldn’t get gaps. But, if you’re like us and are trying to squeeze two sections together, you will likely end up with the same situation!
We also had some spots with scratches/dents caused by hammering the wall out. If anyone knows how to cleanly remove some 2×4 frames, could you let me know for future reference!?
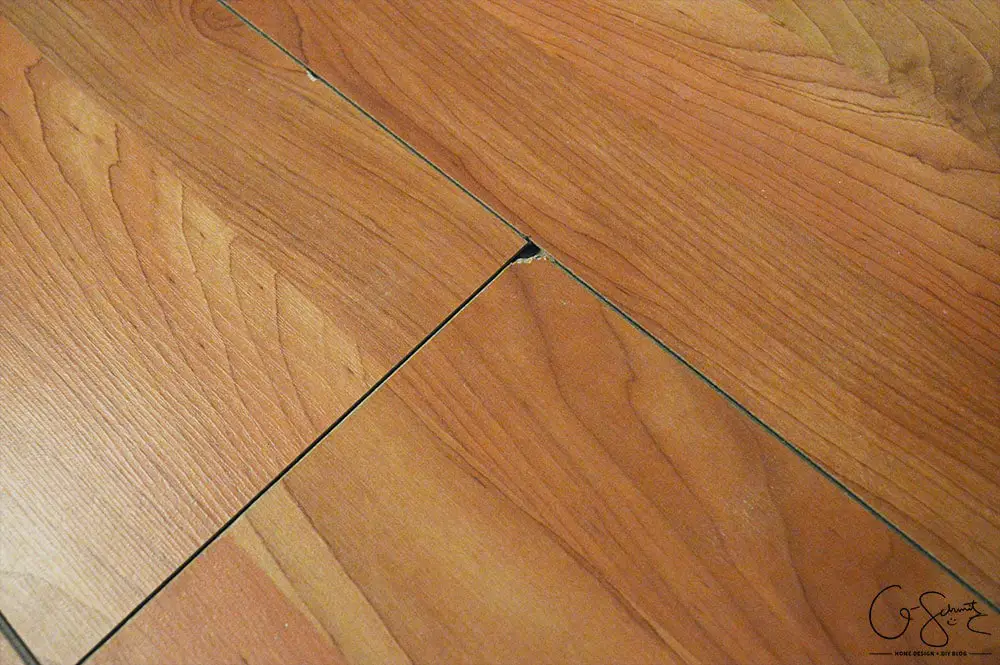
Anyways, so we have these little bitty gaps in between the different sheets of laminate and I thought of a quick-ish way to patch them.

Step 1: You’ll want to vacuum any dust out of the cracks and gaps, then wipe the surface with a damp cloth (or paper towel). This is probably the easiest step, but don’t skip it or you’ll end up with gunk in your soon-to-be filled edges.
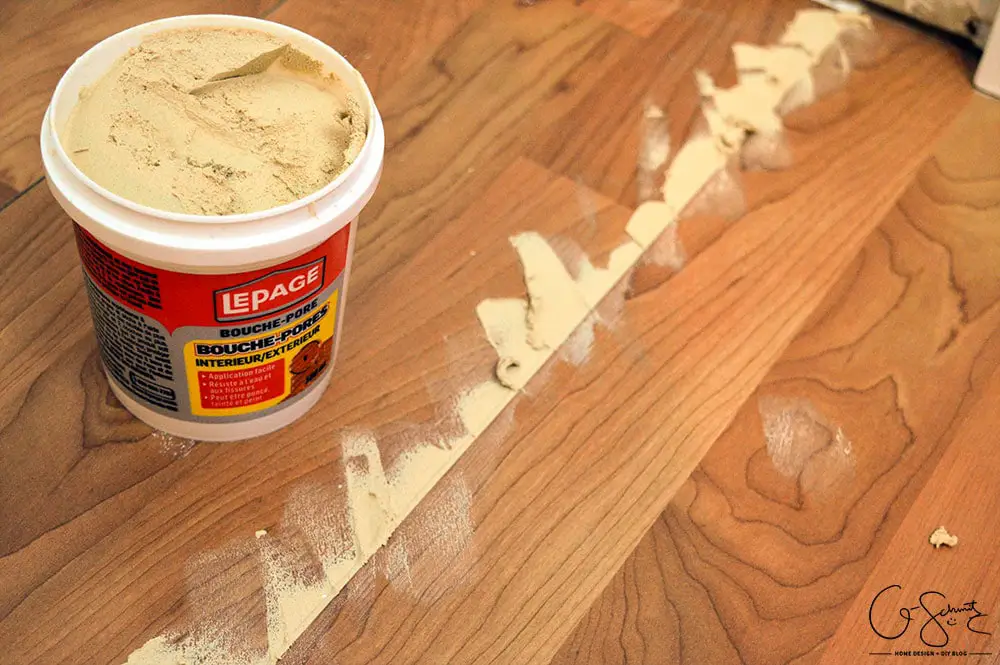
Step 2: Using a small putty knife, I squished the wood filler into the gaps, and also tried to even out any cracks too.
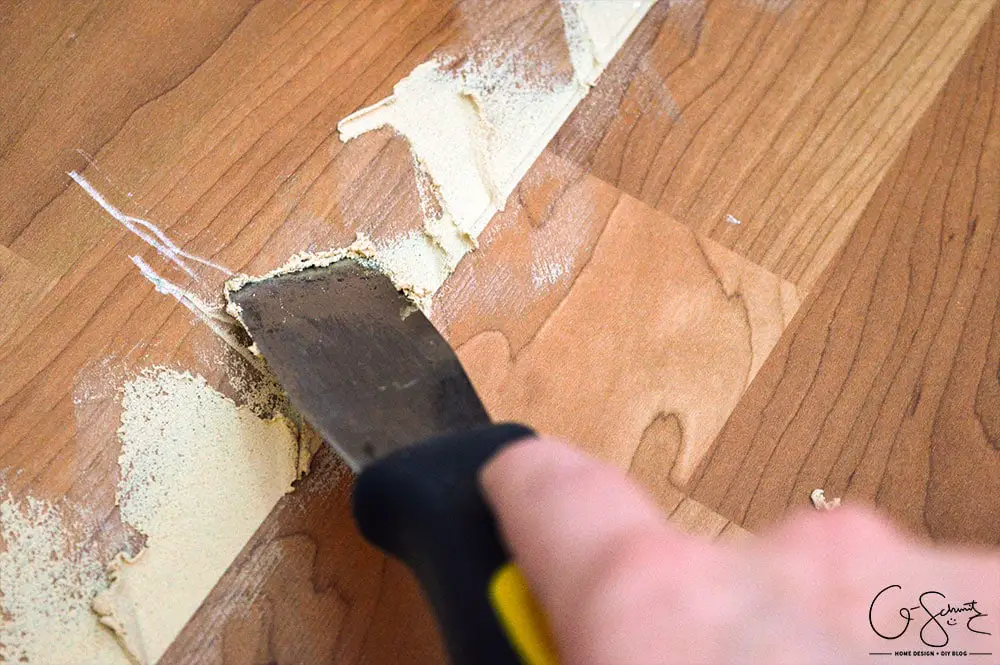
I would do about a 2 foot section at a time, then would go back and wipe up the excess with the putty knife, using this extra to fill in the other gaps.
Basically, I would scrape the wood filler in the same direction as the gaps so that the line was even along the top.
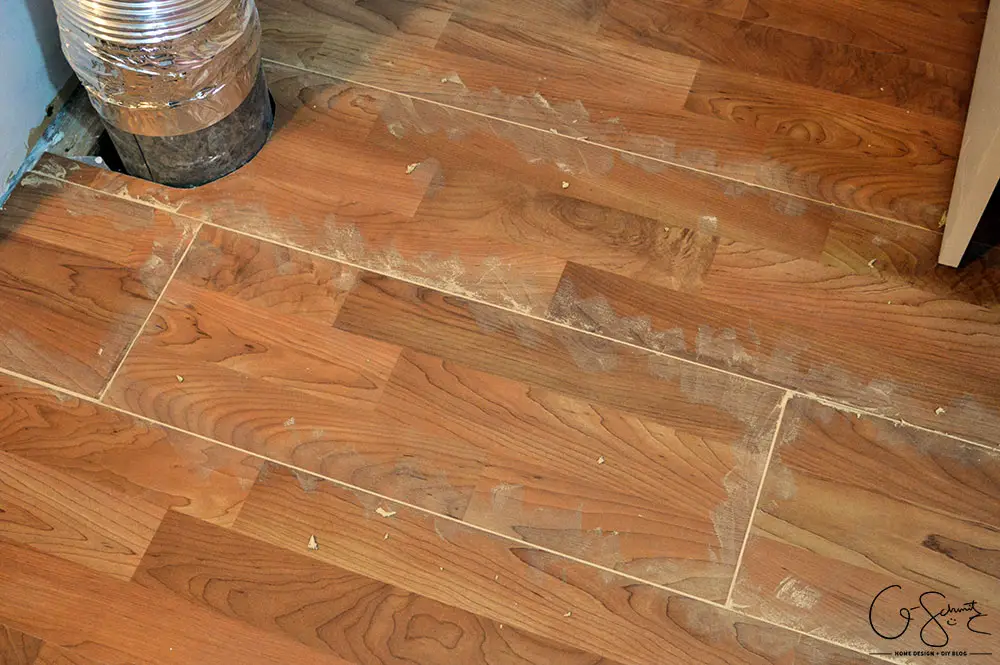
You’ll eventually end up with filled edges and a bit of extra wood filler on the top of your laminate.
USE A RAG TO CAREFULLY CLEAN UP THE WET WOOD FILLER BEFORE IT DRIES.
Did you get that warning? Go wipe up the mess now!
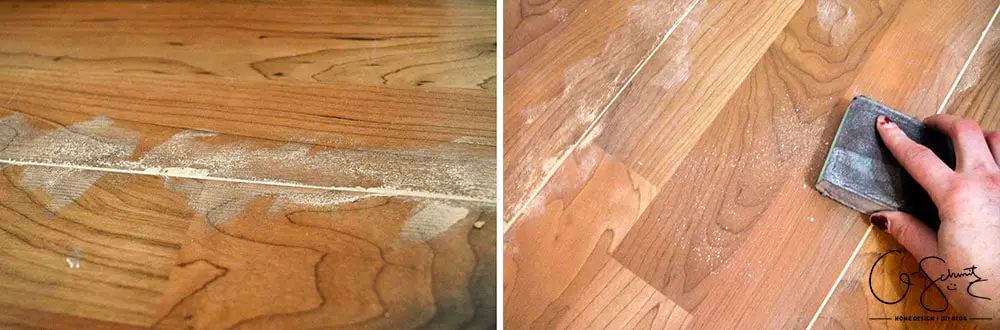
Maybe you were lazy like me and let the wood filler dry completely? No problem, except now you have to add an extra step of sanding all the wood filler from the top of the laminate. And trust me, you’ll need a bunch of elbow grease for this job!
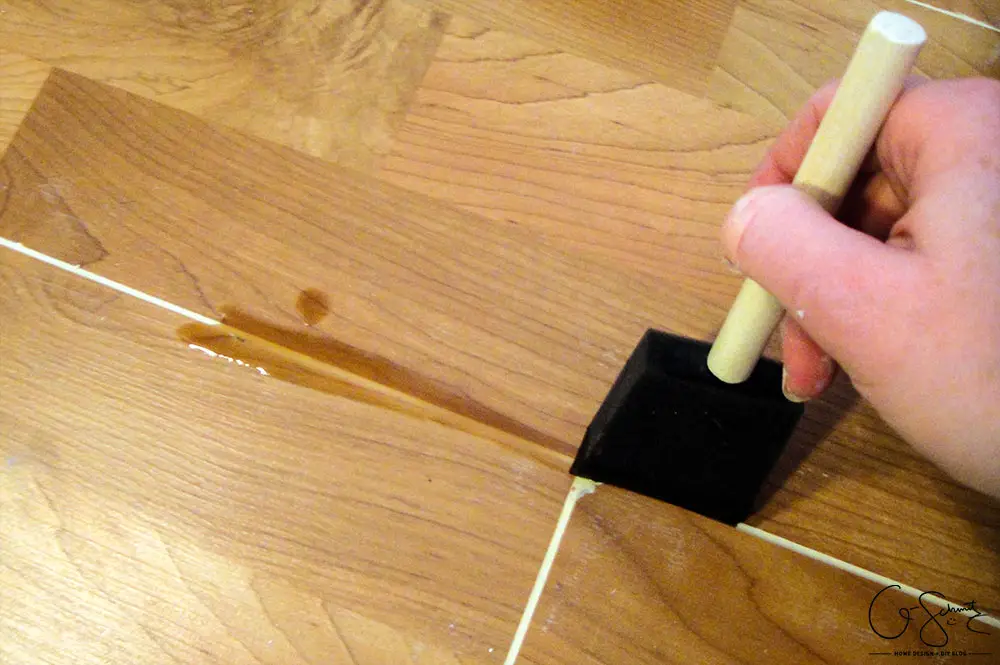
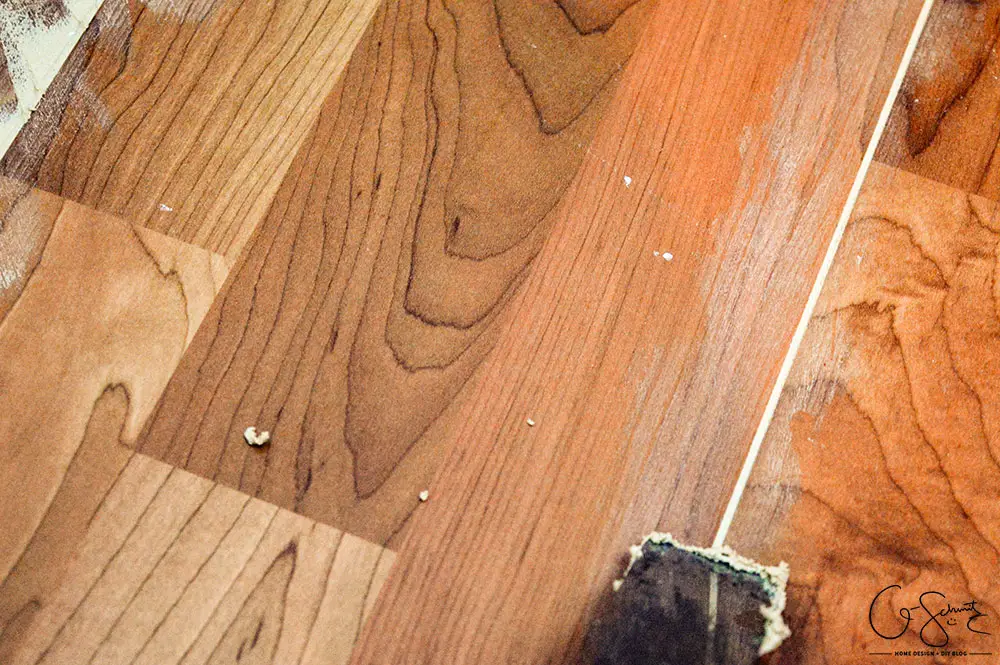
Step 3: Okay, so the gaps are now filled completely, but the colour doesn’t match the floors right? Well time for staining! I first did a couple of coats using this stain in Classic Oak Satin. I would brush it on, then wait a bit, then wipe the laminate, and repeat.
Maybe I’m impatient, but the stain was not staining as well as I would have liked. (You can sort of see what it looks like under my shoes in this post).
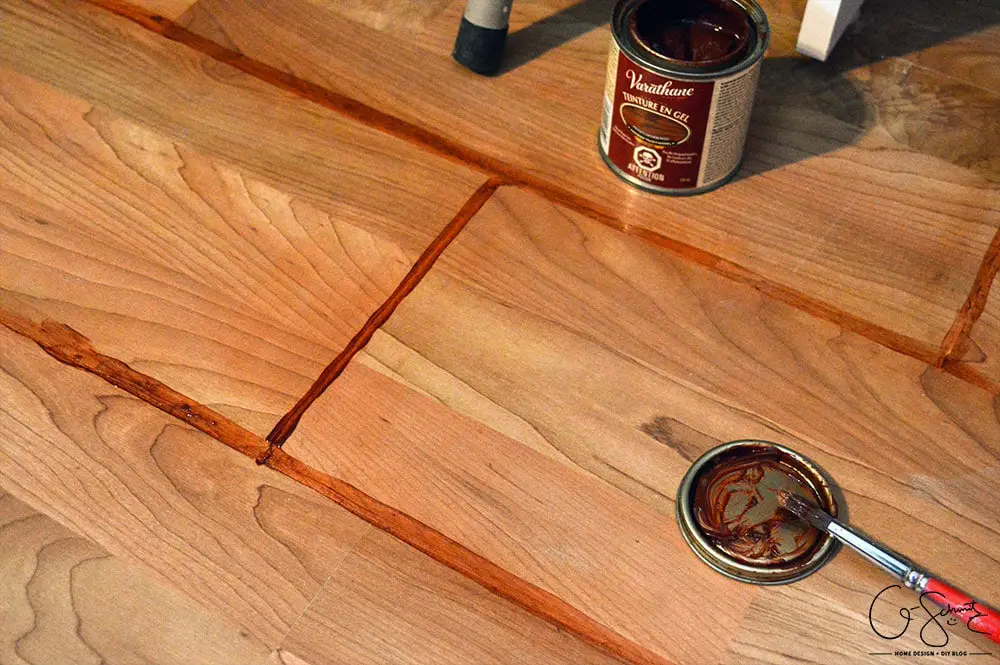
So a few days/weeks later I brought out the big guns (aka a much darker gel stain) and did the same technique.
Obviously, you’ll want a stain that matches perfectly (this one was a bit redder than I would have liked) but I had it left over from when I stained our kitchen accessories.
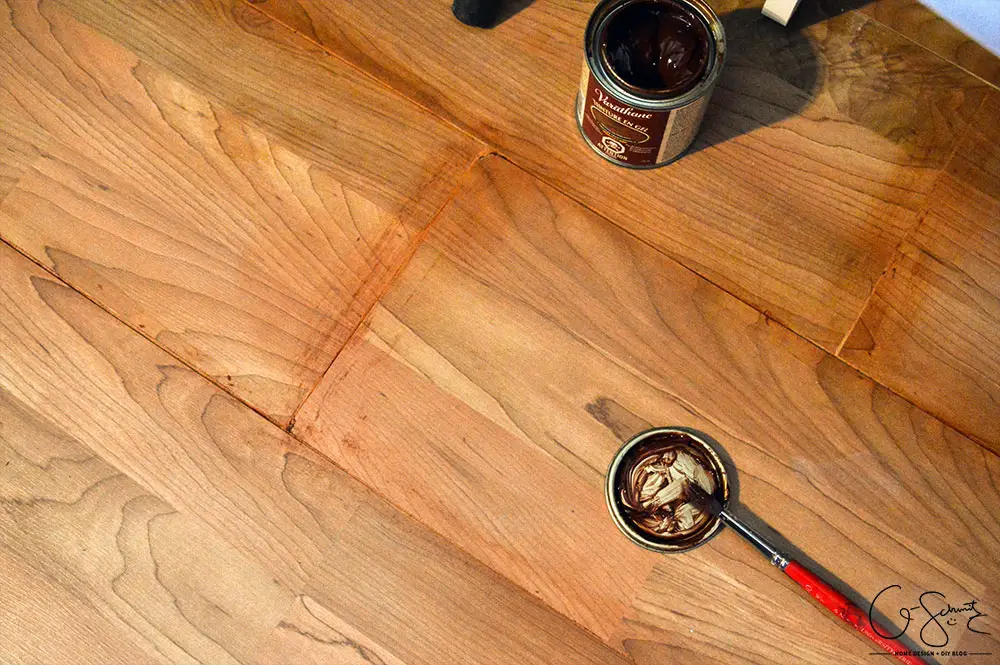
It did leave more noticeable stains along the top of the laminate… which were hard to remove as well.
My suggestion!? Apply tape along the top of the laminate, and that way you can stain all you want, and then just rip up the tape when you’re done. Easy-peasy and I wish I would have thought of that sooner!
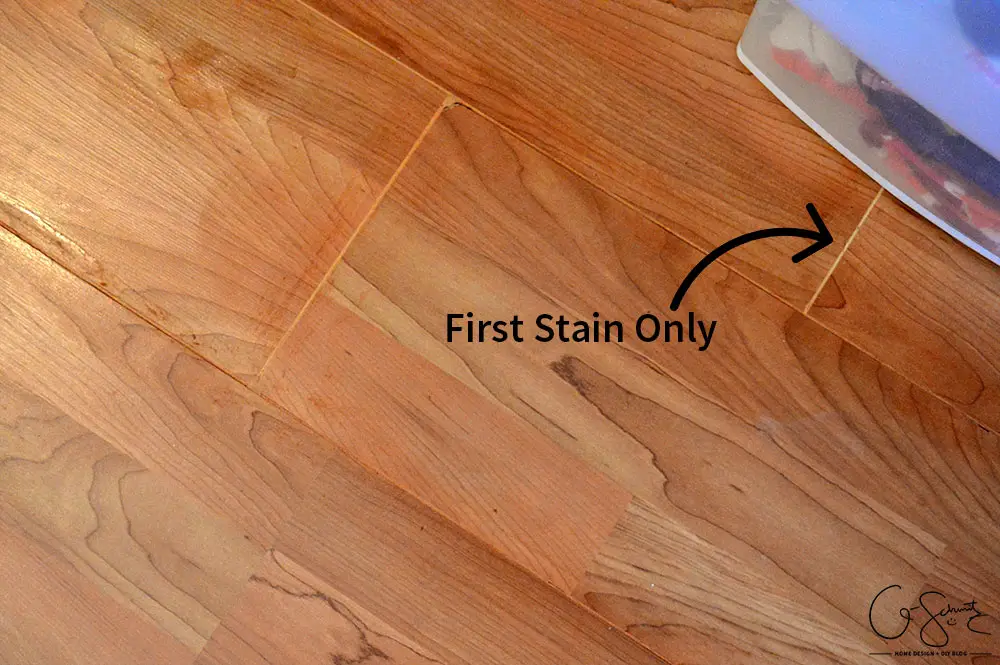
I did a few coats of the darker stain as well because I wanted to wipe up the excess on the laminate as quickly as possible before it set. If you go with the tape technique I just mentioned, you can probably let your stain soak in a bit longer and do its magic.
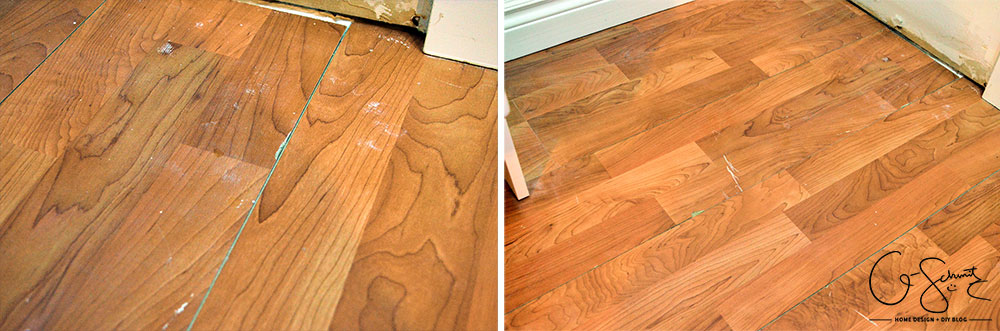
And this is pretty much how it looks now! There are a few spots where the stain shows a bit more, but I plan on randomly trying to scrub off the extra stain in the next little while until it’s gone completely.
It’s much better than having the gaps and getting dirt and dust stuck in there all the time, and the edges aren’t too noticeable from a distance so I’m very happy with this project! Because it’s located in the closet in the master bedroom, there isn’t too much foot traffic, but I will for sure update everyone how it holds up over the next few months!
Do you have to patch gaps in laminate floors? Or maybe you’re one of the lucky ones that have perfectly installed floors with no gaps :)
I’d love to hear your thoughts – and maybe you have a suggestion on how to easily remove the extra stain?!
See you next time :)

11 Comments
Jon
July 17, 2018 at 2:15 amHi Nicole
Love the DIY tips on using wood filler on laminate flooring gaps. I’ve recently installed used laminate to a couple of rooms. Didn’t realise what a nightmare it is to installed 2nd hand laminate as they aren’t perfectly flat (moulded to the shape of the old floors) and was a nightmare to install. My tip is don’t every buy second hand laminate!
Can I ask how has the flooring faired post the wood filler? Thinking of using it on all our laminate flooring gaps.
Cheers Jon
Nicole
July 19, 2018 at 2:57 pmHello Jon, I wouldn’t even have thought that used floors would be warped – what a great tip! We’ve had ours patched for over 2 years now, and everything is still in place and looks the same; however it’s located at the edge of our closet, so we definitely don’t walk on it too much at all. If your floors have a lot of give/movement to them, you may be better with a malleable material like caulking so that it would move with them (but still keep everything attached); the wood filler will definitely create a nice strong fill though (and is much easier to match the stain).
scott parker
July 22, 2018 at 8:25 amyou can add the stain to the wood filler when you mix it up and apply it…saves staining the floor
Nicole
July 25, 2018 at 8:48 pmThat’s a great tip! I have a bunch of staining to do in the near future and will keep that in mind :)
Simple House Repairs - How to Fix It Yourself! • The Budget Decorator
May 26, 2020 at 5:43 pm[…] is a common (and easy!) home repair from ‘Madness and Method’. Floors are an investment worth taking the time to keep in good shape. A well maintained […]
Réparations simples de la maison – Comment le réparer vous-même ! • Le décorateur du budget – La femme de ta maison
July 5, 2021 at 6:22 am[…] une réparation à domicile courante (et facile !) de ‘Folie et méthode‘. Les sols sont un investissement qui vaut la peine de prendre le temps de les garder en bon […]
Joel I Blauvelt
August 20, 2021 at 10:32 amThe pros use latex caulk of matching color……
Nicole
August 27, 2021 at 7:07 pmMakes sense – caulk is very flexible!
Simple House Repairs – How to Fix It Yourself! • The Budget Decorator – TUNPAL
February 13, 2022 at 6:59 am[…] is a common (and easy!) home repair from ‘Madness and Method’. Floors are an investment worth taking the time to keep in good shape. A well maintained […]
Joan
January 15, 2024 at 12:51 pmWill I be able to mop it?
Nicole
January 22, 2024 at 1:41 pmYou should be able to! I just wouldn’t let a large amount of water sit on it for too long