
Do you have any sharp, chipped glasses or dishes that you don’t want to throw out? Here’s a quick little project that will hopefully save you some money (and cut fingers!). Did you know that you can sand chipped glassware so that your items are still usable, but won’t be sharp and dangerous!? This quick and easy DIY saves money – let me show you how it’s done!
– Note: This post contains affiliate links. See more information about affiliates here. –
First, you might be thinking – why would I want to keep my chipped items, can’t I just throw them away? Sure, that’s a plausible solution, but what if you have a set of dishes and only one plate is chipped? Wouldn’t it be easier to repair the damage and keep the set whole, rather than pay to replace the item and/or have one less plate?
Maybe you have a perfectly good casserole pan, but the glass lid has a little missing piece on the side. Or just found a vintage trinket that will work with your collection. Or worse, want to serve drinks to guests and there’s a chip in a glass that can potentially cut them :(
While it makes sense to get rid of items you no longer need/love, it makes even more sense to not throw things away that still work! I’d hate to be missing a plate or two if I was hosting a larger gathering – just because they had a little chip.
And yes this same technique applies to all types of “glass-like” dishes. Think porcelain, ceramic, glass etc. (And technically, this is the same way to sharpen knives – so very versatile!).
This post was originally written July 23 2016. It has been refreshed and republished July 1 2022 – with a new video!

Materials You May Need
- Chipped glass, bowl, plate, etc.
- Waterproof/wet-dry sandpaper (here is the 600 grit pack I used, and here is a combo pack of different grits)
- Bowl of water or nearby sink
- Rags for cleaning
- Optional: a backer piece for the sandpaper
To sand chipped glassware, all you need is some super fine waterproof sandpaper! I like to stick with a 600 grit, and one sheet should be fine.
For sandpaper, it’s handy to note that the lower the number, the grittier the paper is. So a 40 grit sandpaper will be really coarse with big chunks of sand, and a larger number will be smoother. You can certainly choose a lower number (say 400) BUT it needs to be marked “waterproof” or “wet/dry”.
How to Sand Chipped Glassware
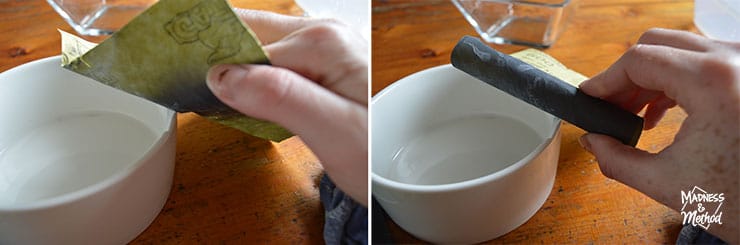
Simply rip a little square off your piece of sandpaper (1/4 of the sheet should be good) and dip it in water. Gather your chipped item(s) and lightly sand the area. You can sand your items over a sink of running water too.
Keep in mind that you are working with chipped glass here, so be careful to not cut yourself. If you want, you can also wrap the sandpaper around a hard object (like a piece of wood) to create a sanding block so your fingers aren’t directly against the damaged glass. Simply use a rigid household item and wrap the sandpaper around it (with the gritty side out). In the video, I used a tube of craft glue – but anything can work.

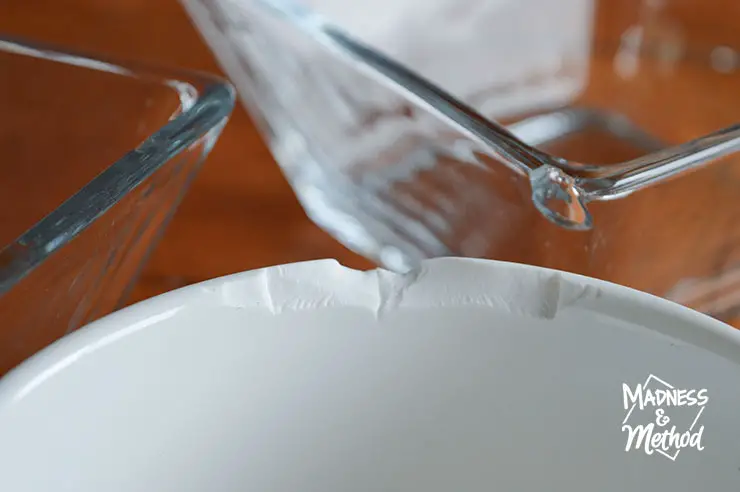
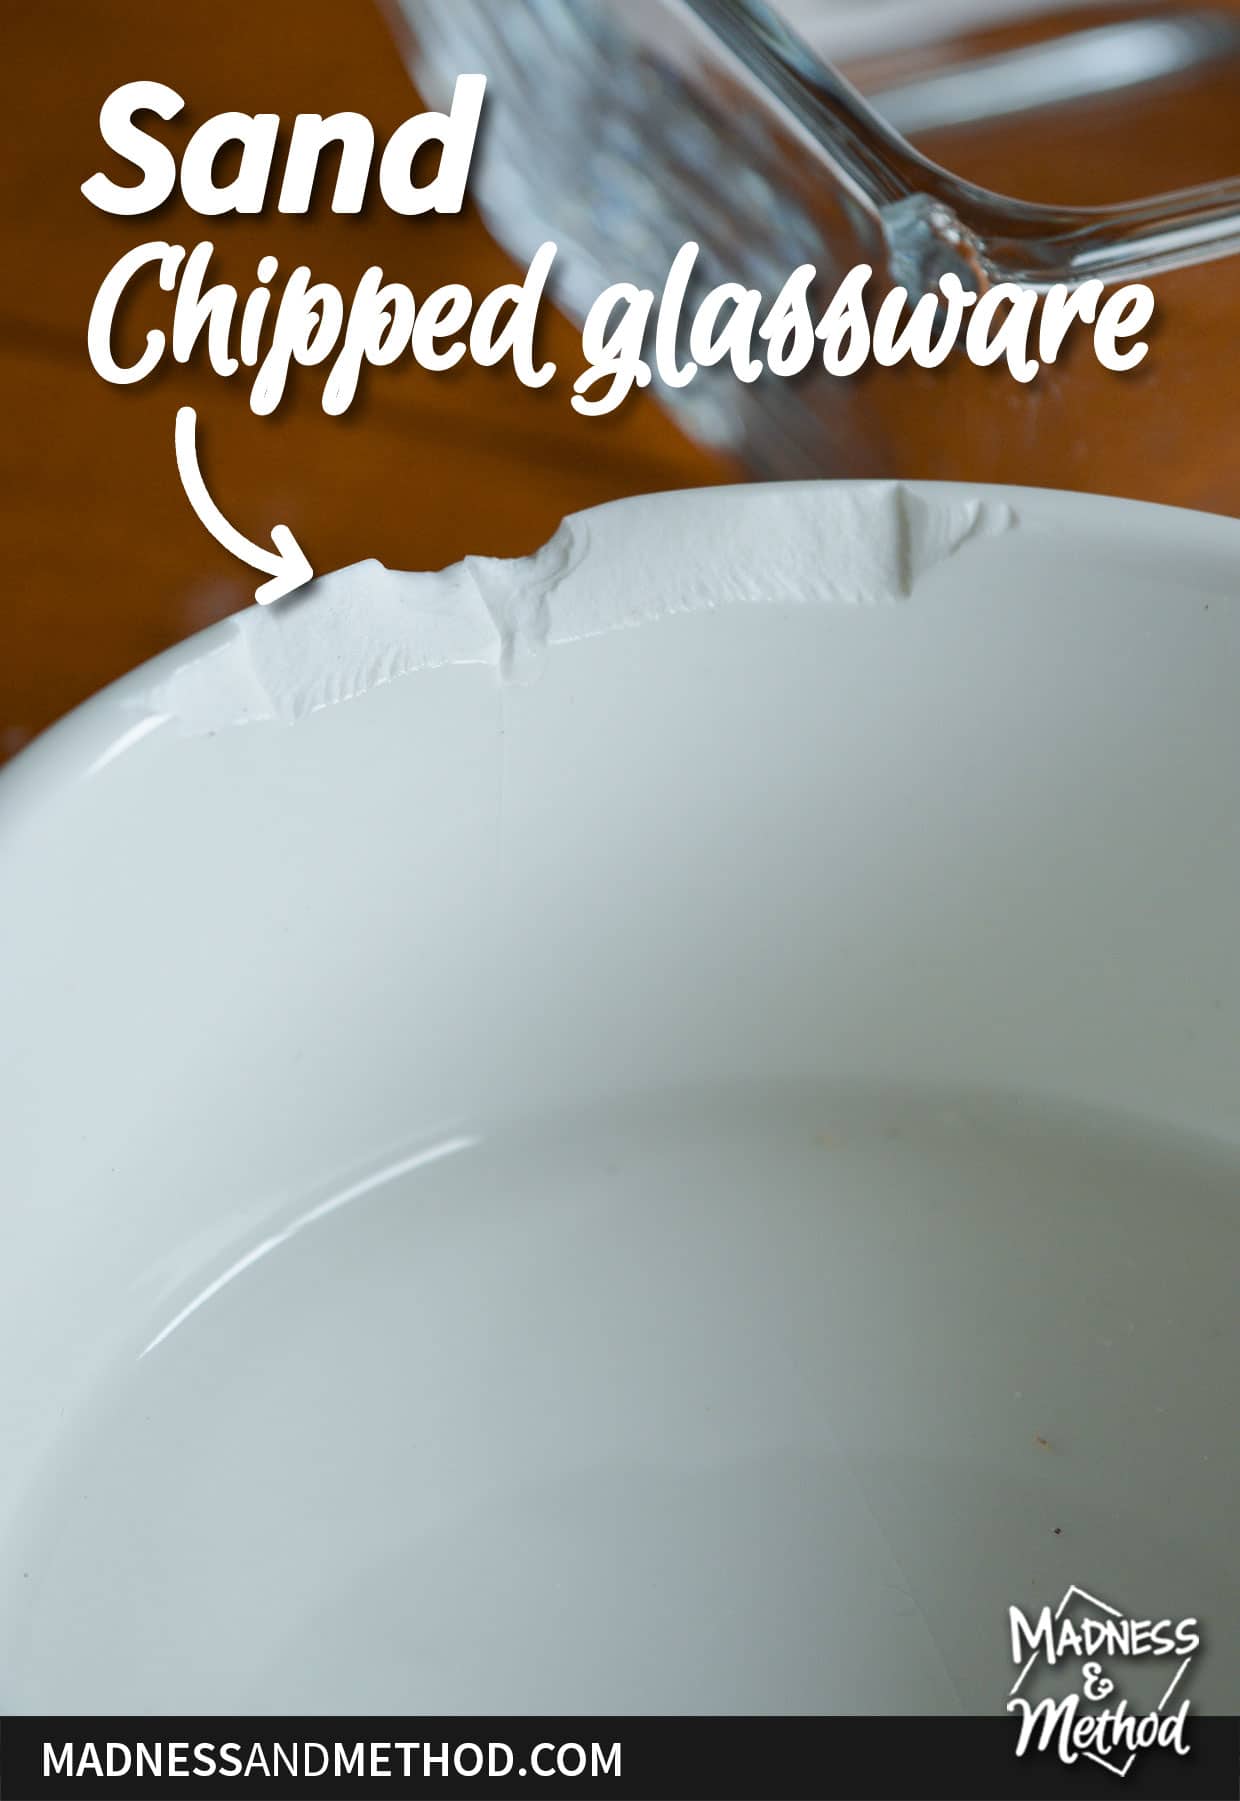
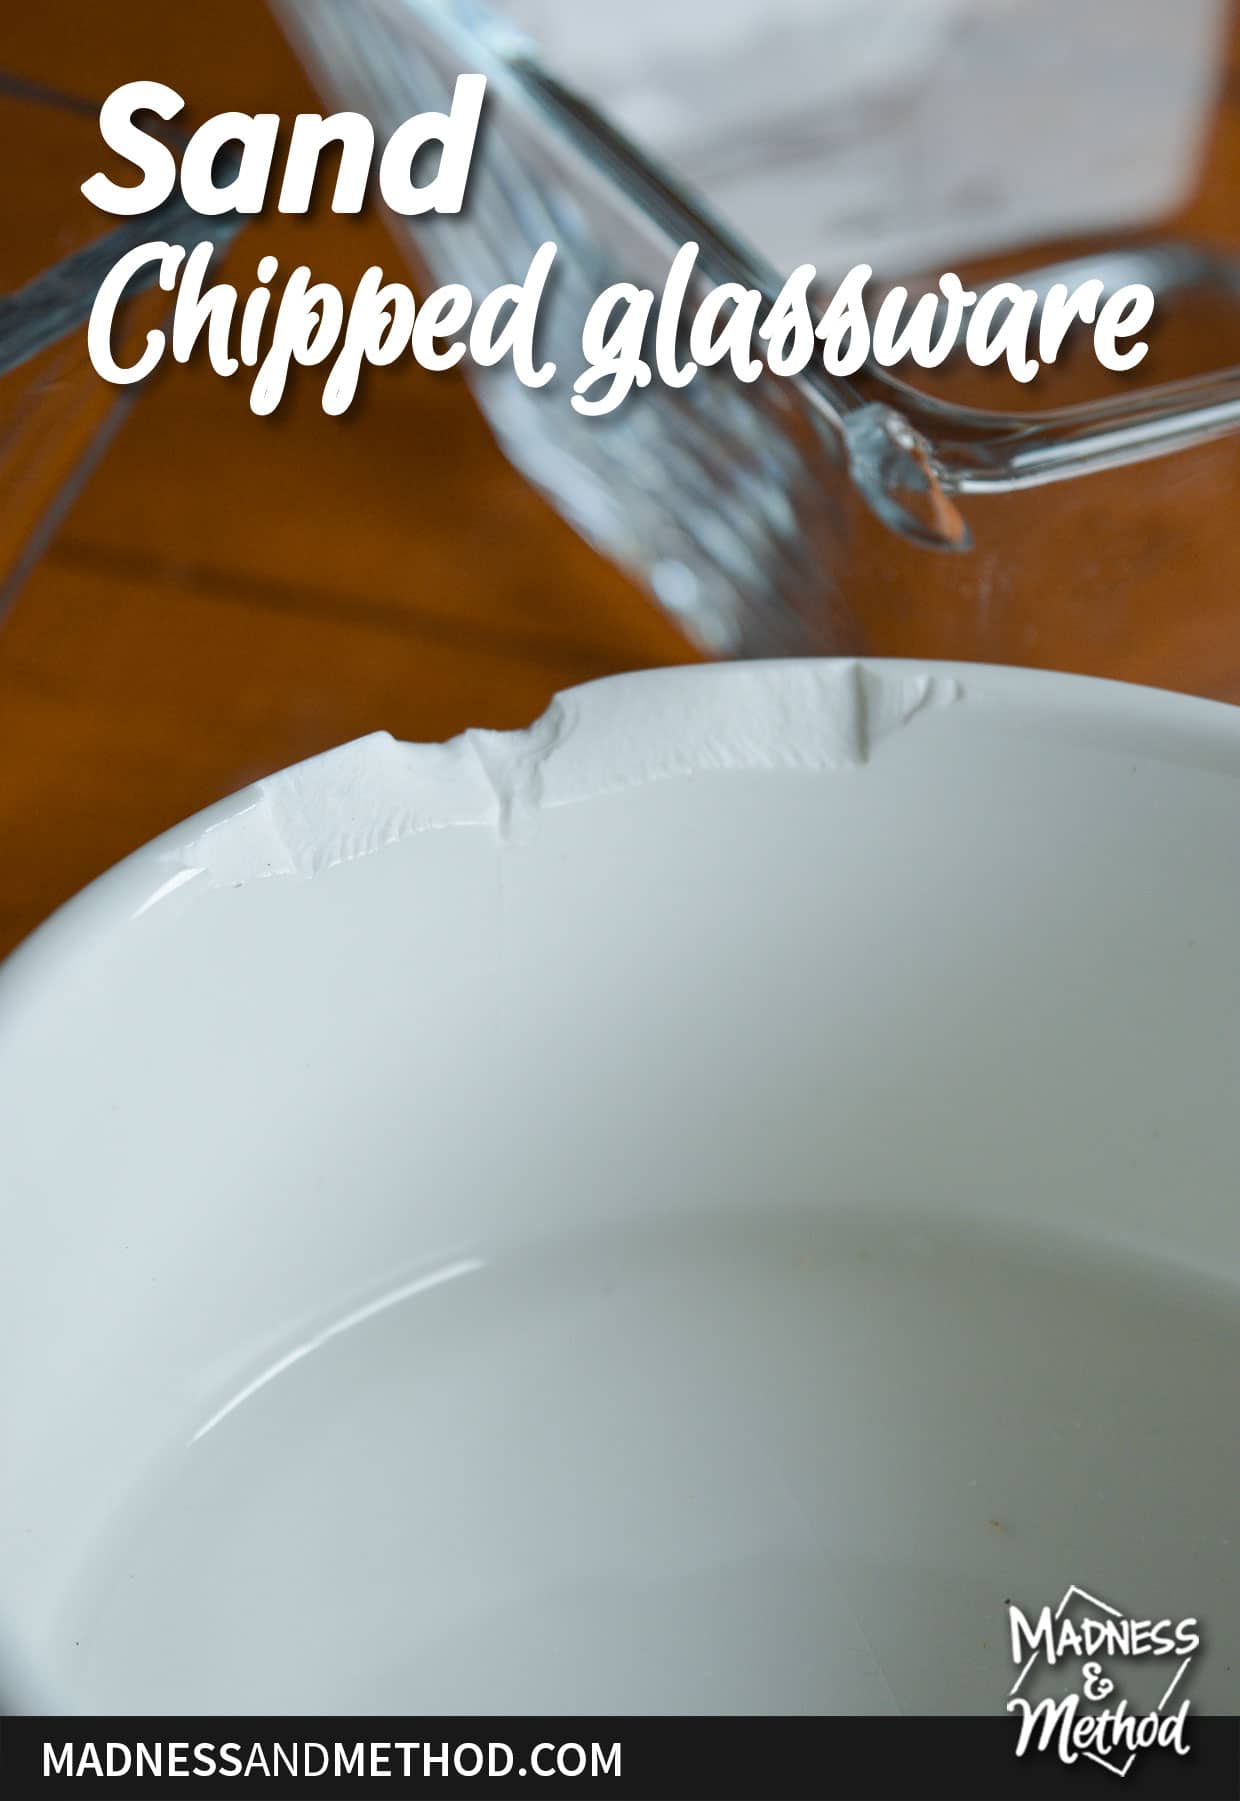
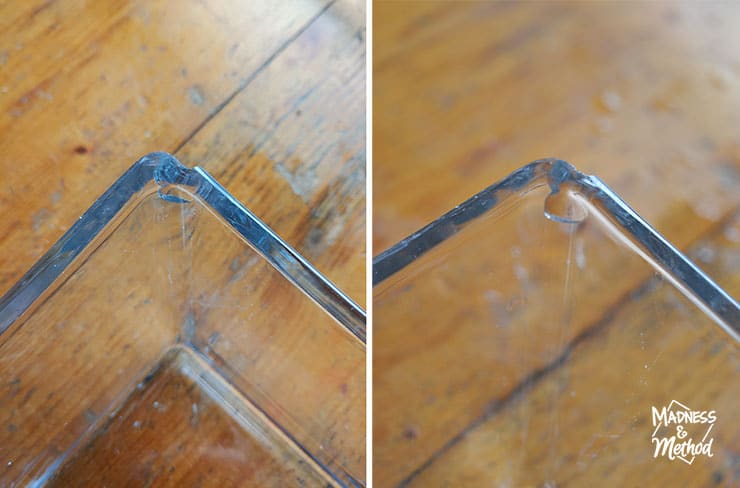
Chipped bowl before sanding
Carefully sand the chipped area of the glass with the wet sandpaper and in no time it will be much smoother! You may have to continually dip the paper in the water so that it stays wet. We use sandpaper dipped in water to help cool down the paper due to friction. It also helps to catch all the dust/debris.

Chipped bowl after sanding
You only want to sand chipped glassware enough so that the area is smooth and no longer sharp. You will probably need to feel the glass with your finger to see how it’s coming along. (Again – be careful!)
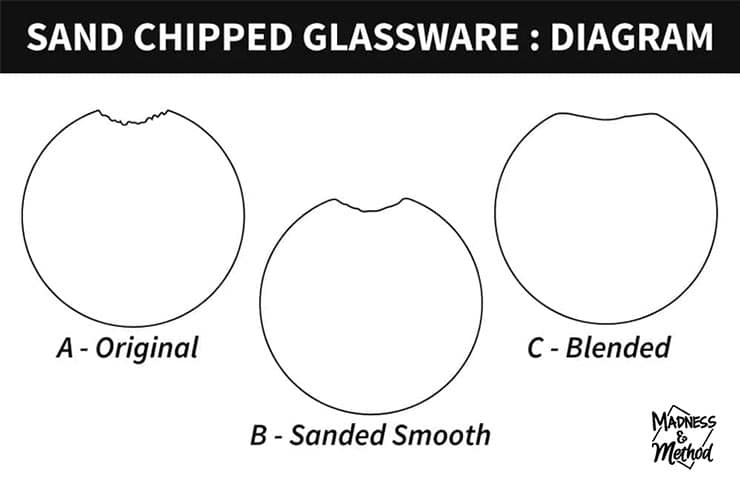
Since it’s hard to show the difference with images, I made this diagram, and you want to get it smooth like Option B. If you want, you can always go crazy and smooth out the area so that it blends into the dish more (Option C) – just note that any additional removal of glass will further compromise the strength of the dish. Also, you’re in for a long time of sanding!
Remember, the chipped area is already not as strong as the rest of the glass. Be careful when holding and sanding!
Have I said to be careful enough :)
Sand Chipped Glassware Video
Because I was updating this post – I figured it made sense to add a video. Sometimes it helps to see the action! If you can’t see the video player embedded above, watch it directly on YouTube here. And subscribe to my channel while you’re there :)
All in all, this is a quick little project that can save you money by not having to replace your dishes. And you can potentially save your lips and fingers from getting cut by cracks in the glass! My dad was the one who originally showed me this method. He was sanding a chip from an old Pyrex baking dish – I think he kept the whole thing submerged in water though. So that’s another method to try to really keep the friction down!
Depending on how sharp and large the damage is, it shouldn’t take too long to sand chipped glassware either. So go ahead, fix those cracked and chipped dishes and save yourself the embarrassment of not having enough plates for your guests :)


15 Comments
Annette
July 23, 2016 at 11:42 amcool, didn’t know that.
Nicole
July 24, 2016 at 1:52 pmIt can be a new fun rainy-day afternoon activity haha :)
Mrs. K
January 28, 2021 at 8:49 amWould a Dremel type tool work? I chipped the top edge of a Pyrex baking dish on the long side of the oblong shape.
Nicole
January 28, 2021 at 8:01 pmI think that you could… just make sure to use the proper Dremel bit. There might also be a bit more flying dust/pieces using a dry/power method.
Daniel
April 11, 2021 at 6:49 amWhy do you want the sandpaper to be wet?
Nicole
April 13, 2021 at 3:35 pmThat’s the way I was taught – I think it has to do with either the glass sand/shards not getting everywhere and/or because it’s a smoother surface when it’s wet (so you won’t scratch it as opposed to smooth it).
Lorena
June 30, 2021 at 9:11 pmWhen you sand glass, heat is created on the spot that can crack the glass, therefore you need to keep it cool by wetting it, and also that it doesn’t scratch.
Nicole
July 5, 2021 at 8:59 amGreat tips!
Lorena
June 30, 2021 at 9:13 pmYou can but keep the Dremel bit wet or the surface of the glass wet. It creates heat by friction that can crack the glass.
Peter
November 18, 2023 at 4:04 pmOther websites mention the Dremel method, but also say to wear some kind of breathing protection due to glass dust that can be given off by the Dremel.
I have a Dremel, but the wet sanding seems safer to me, so I will try it first.
They did not mention eye protection with the Dremel, but I was do that too.
Nicole
November 20, 2023 at 9:47 amA dremel could work – but I would be wary using anything with power on more delicate items. Doing it by hand ensures you have more control on the pressure (and yes, a wet-sanding method would keep the dust down)
Dre
September 6, 2021 at 4:55 pmDoes it have to be 600? Can I use 400?
Nicole
September 7, 2021 at 10:02 amYes, you could use the 400 – as long as you can get it wet :)
Nomi
February 15, 2024 at 9:47 amI have a glass file and have learned that you are supposed to do the filing under water both for the friction reasons mentioned in these comments and also to keep glass dust from flying around. But what is the safest, most environmentally responsible way of disposing of the water, containing glass dust, afterwards? I can’t find anything about this. Thanks!
Nicole
March 19, 2024 at 2:09 pmHello Nomi, I think it would be fine to rinse the water down the sink (or even dump it outside). I think the glass dust is so finite that it would be the same as sandy water.