
Once we had purchased and organized all the boxes from Ikea, it was time to start assembling and installing cabinets! It’s always best to do the upper/wall cabinets first, that way you don’t have to lean over and have the base cabinets in your way during install. While I had built many items from Ikea over the years, assembling an entire kitchen is definitely more time consuming. Luckily, most of the components are the same, or are very similar, so once you get a rhythm going it becomes easier as you go. Continue reading to find tips on adding the wall cabinets and see to visualize the kitchen and how it will look when it’s done.
Note: I am talking about the Akurum cabinet line, not the new Sektion cabinets
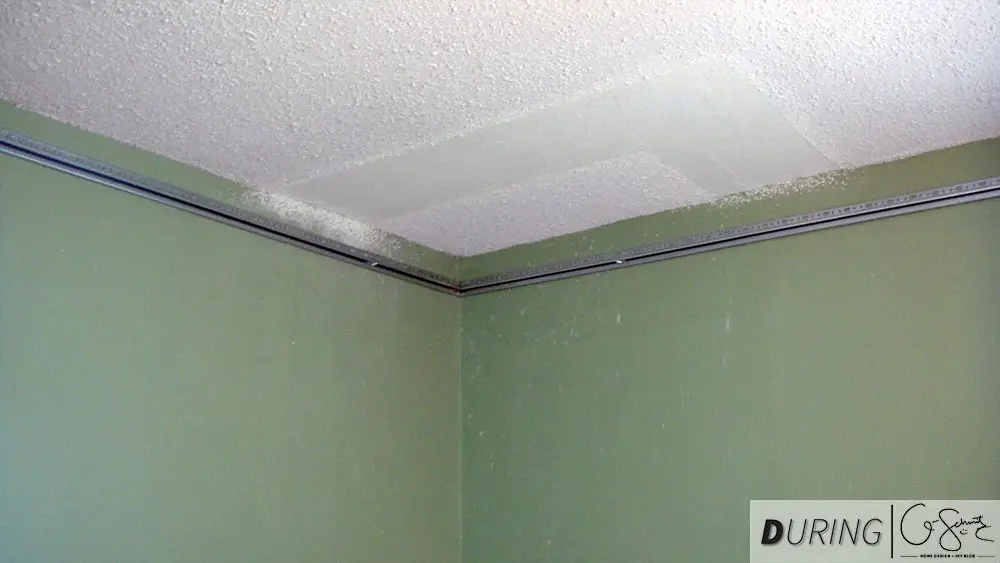
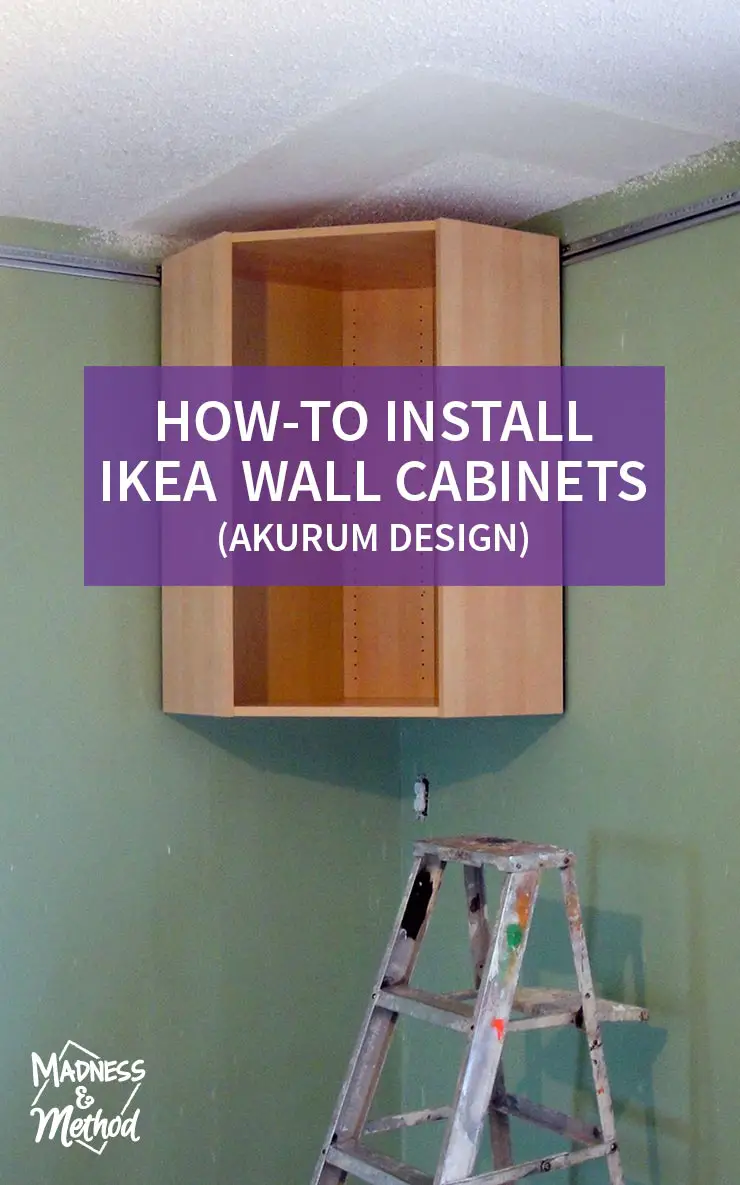
The first step when you are installing Ikea cabinets is to measure where the track is going to go and cut it (with a hacksaw) at the correct length. Ignore the weird ceiling overspray in the photo above, we were trying to patch up where the pantry used to be (the cabinets will cover most of that spot anyways!).
Update: We patched the popcorn ceiling seamlessly!
You place the track down from the ceiling where you want your cabinets to go (we have the tall 40″ cabinets, and held one up to eyeball a good height). Make sure that the track is level all the way across and put some screws into the studs to secure it in place.
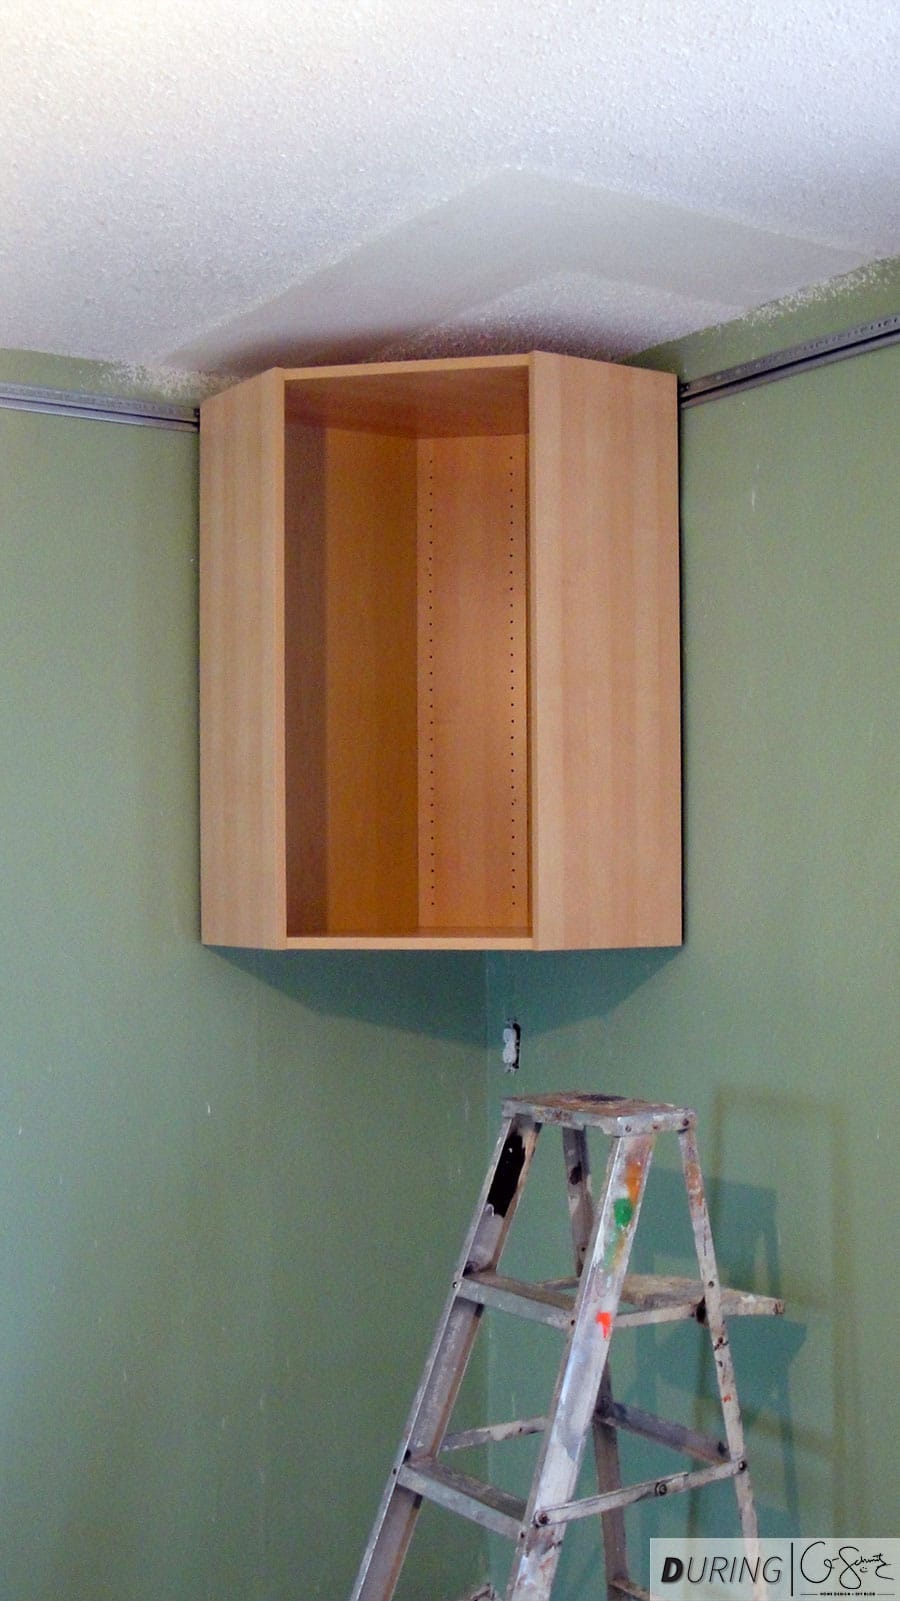
Once the track is in, we started from our corner piece and attached it based on Ikea’s instructions. Again, you need to make sure it is level, both left and right because it is a corner piece, but also front and back (you don’t want your stuff rolling around in there!).
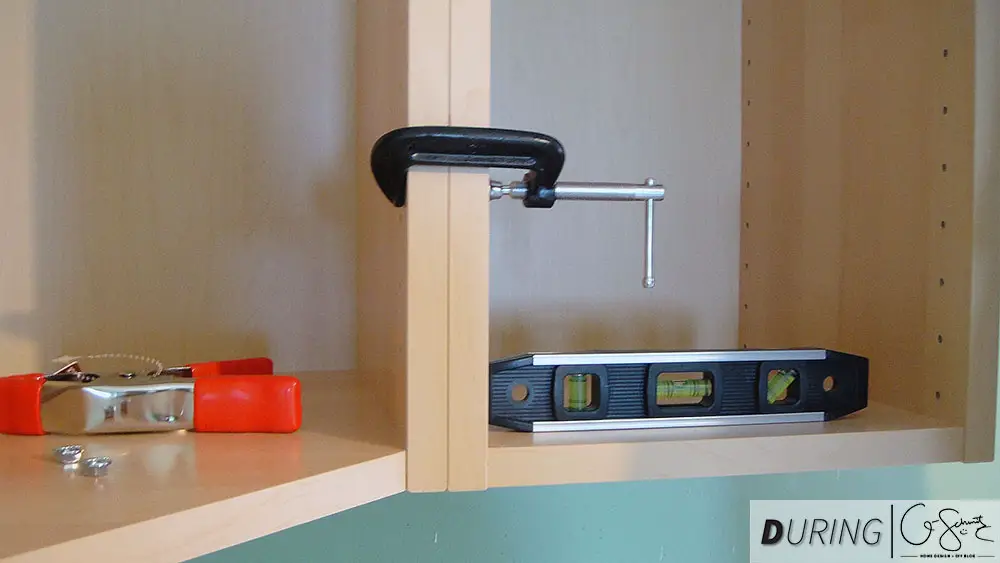
When you are ready to install your second wall cabinet, it’s always best to have extra clamps on hand to hold the pieces together. After verifying that it’s again level (front-back and sideways) you attach the cabinet to the wall and then to each other. DIY/Pro Tip: You’ll need a drill to put holes through from one panel to the other, and make sure you don’t use the ones where the doors are supposed to go! We accidently used the assigned “door” holes for our joining bolts and had to unscrew them all and put them in a new spot – very annoying.
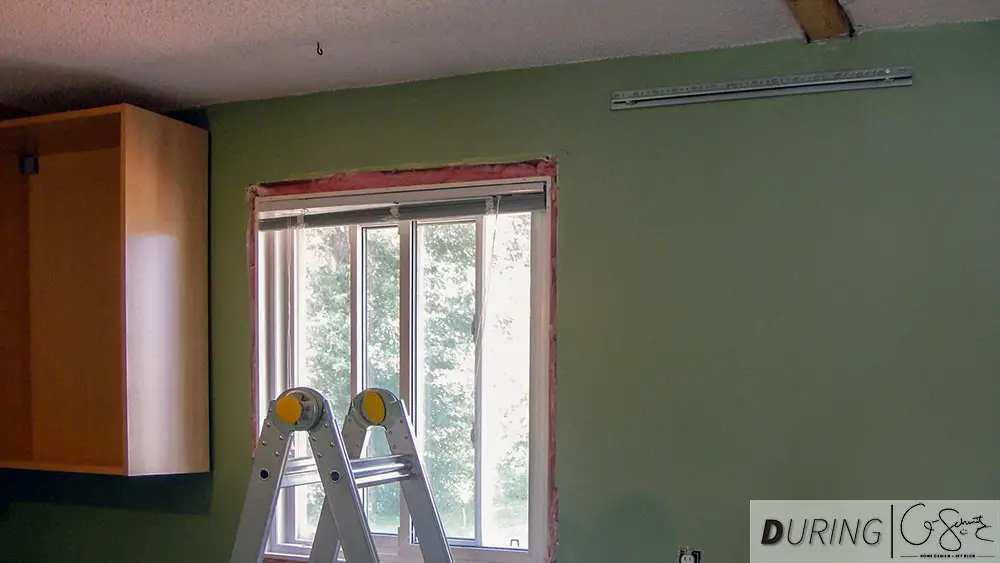
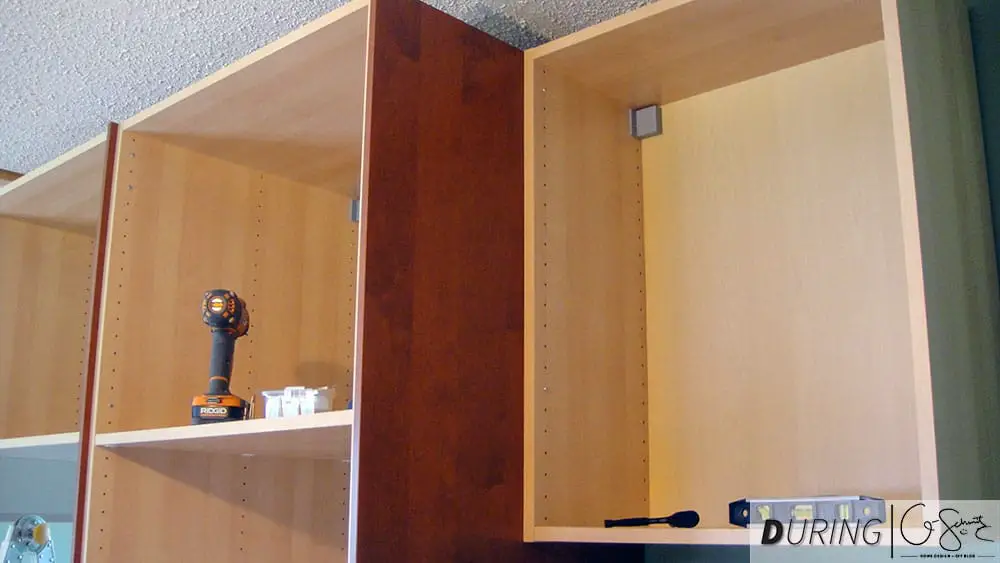
On the north wall, we have a window (above the sink) that separates the wall cabinet space. Because of this, we had to make sure that the cabinet we hung to the right of the window matched the height of the cabinets on the left side. Being off by an inch or so probably wouldn’t make that much difference visually, but if you want to have crown moulding above your cabinets, it would look off if there was a large variance.
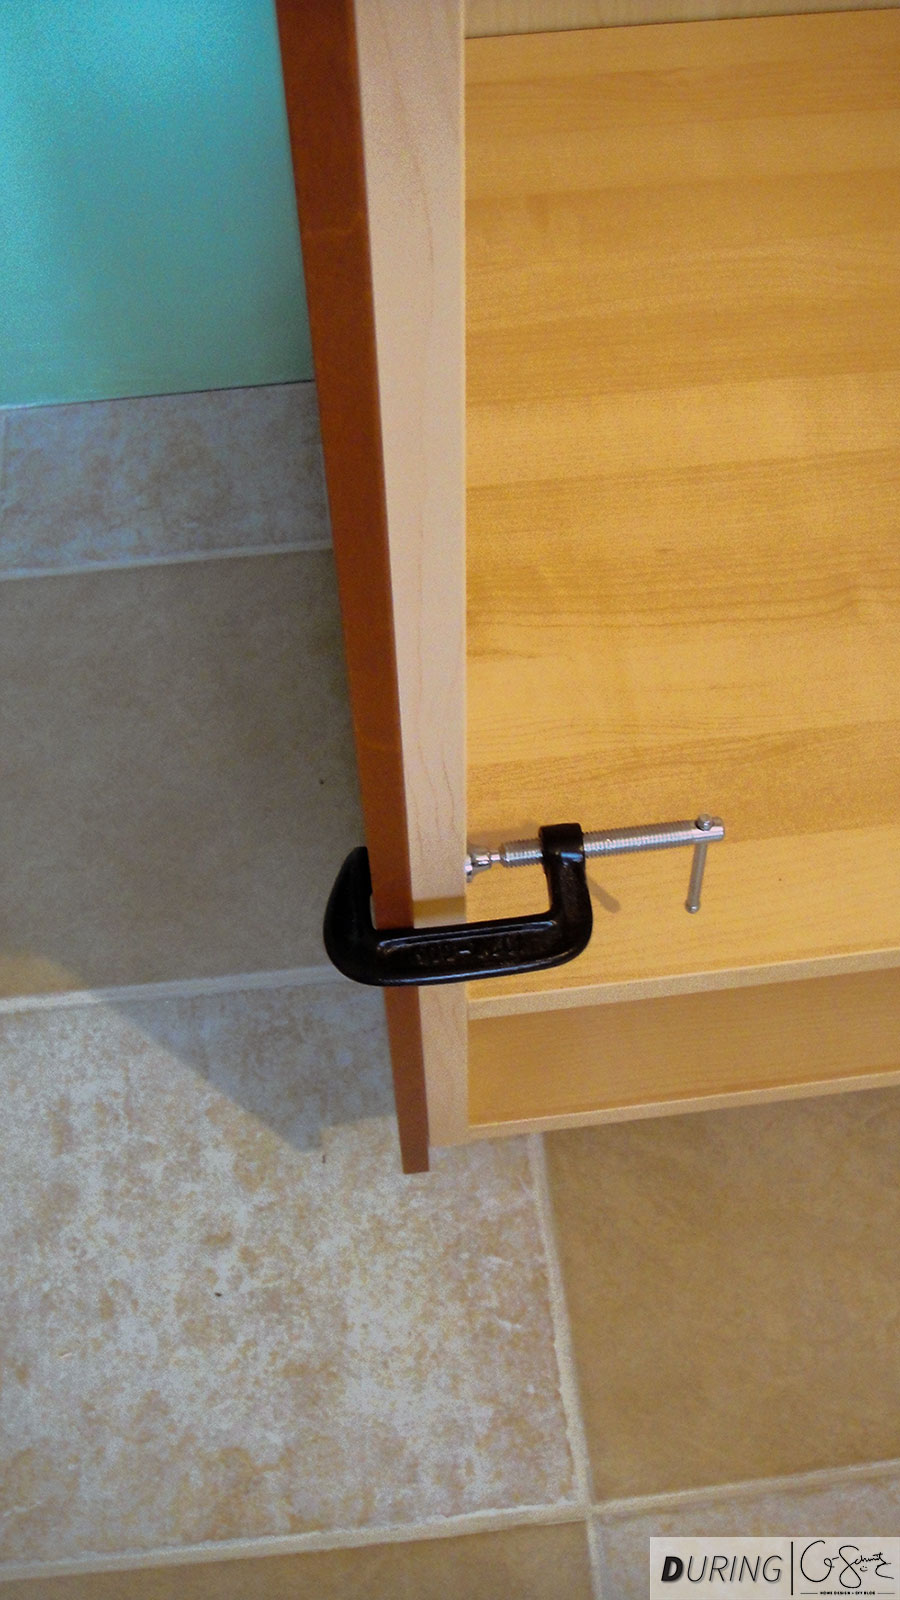
On the south wall, where we have the fridge, there is a pantry that we are putting in the centre of the wall. We installed the pantry (a tall cabinet) first, so that we could then install and attach the wall cabinets off of that. Once it was in place, we had to install a large finishing panel to the sides. Again, it’s a good idea to make sure that you have some clamps on hand. DIY/Pro Tip: The C-Clamps (shown in the photo above) work the best over the “pinch” clamps, but sometimes you can thread them too tightly and they leave an indent in the wood panels.
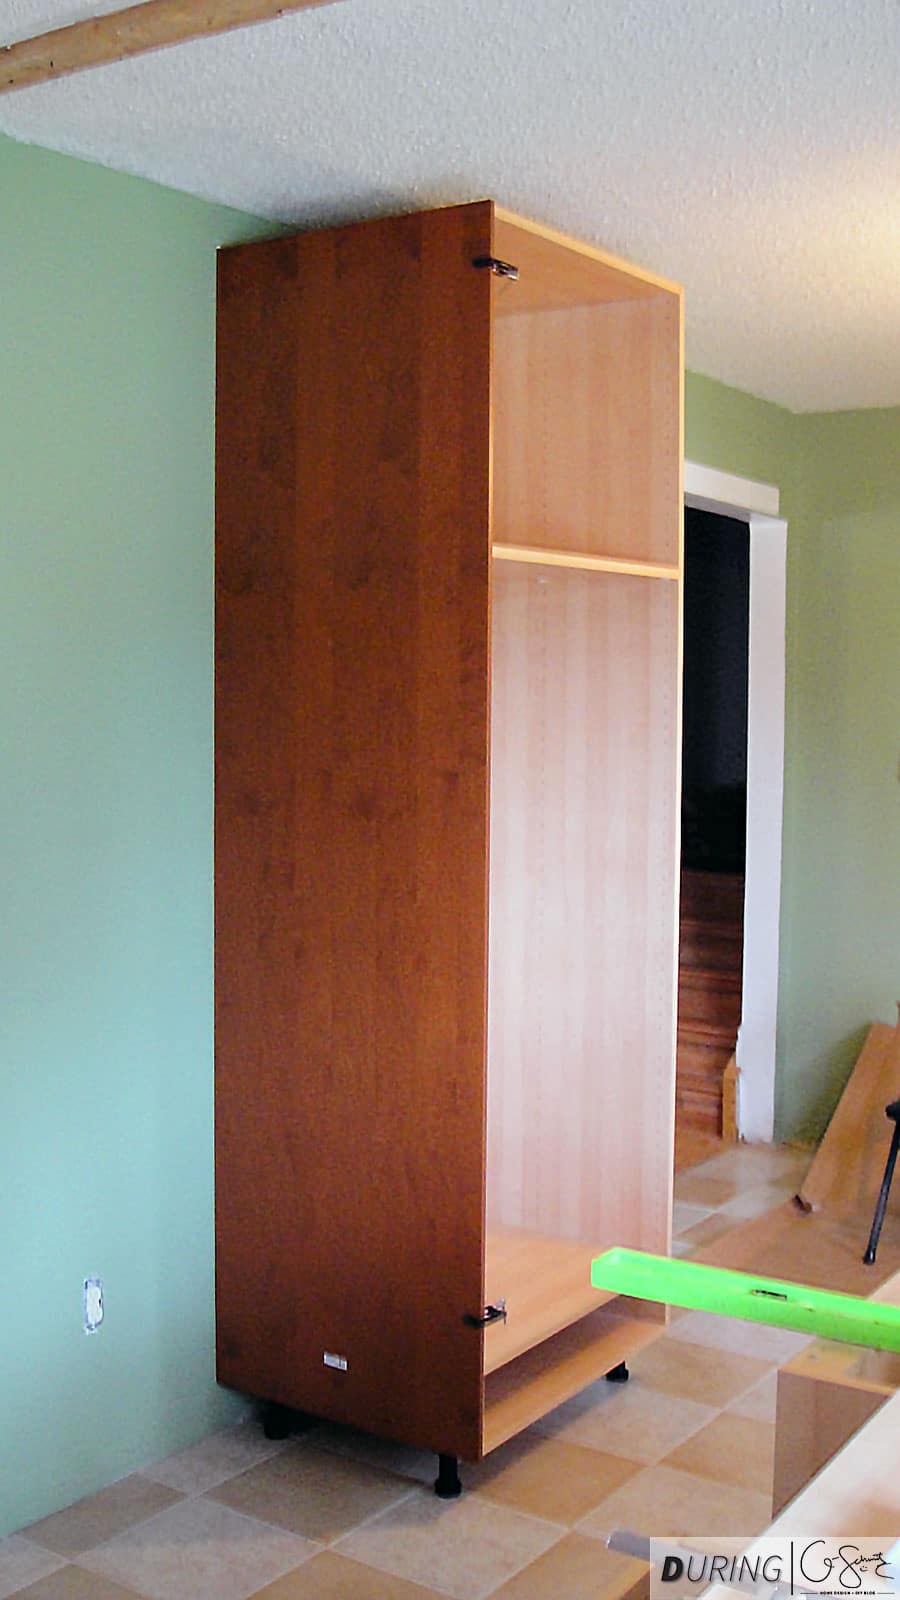
Once the panel is securely fastened (again, using the hardware and instructions provided by Ikea) you can then add the other wall cabinets. A decorative panel is only used when you are going from cabinets at different heights or different depths. Note: the tall cabinets (like this pantry) have both the upper track installation system, and the little feet (like in the base cabinet installation – to be discussed next week).
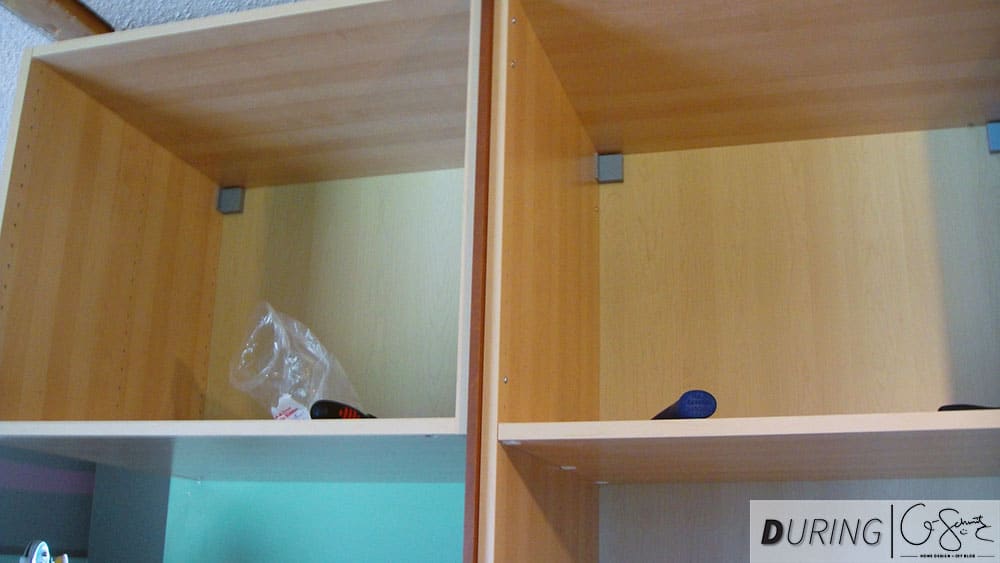
Regular wall cabinets have a standard depth of 12″, and any wall cabinets that go above fridges (like the one shown in the photo above) are 24″ deep. I was really worried that the track system wouldn’t be able to hold a cabinet this deep with a lot of weight, but we’ve have some heavy stuff in this one for a couple of months now, and it’s held up just fine.
DIY/Pro Tip: The joining bolts that are standard from Ikea are only long enough to go from one cabinet wall to another, therefore are too short to go through a panel as well.
We brought both the male (bolt) end and the female end to the hardware store to find a longer bolt that would fit. I have no idea what the female part is called, a coupling maybe… it has a smooth exterior with a threaded interior that goes around the male end. Anyways, the female part is not easily found at a hardware store, and the male part is a simple bolt; and FIY the Ikea hardware is all metric – so make sure not to try and shove an imperial bolt into the female part because it won’t thread properly!
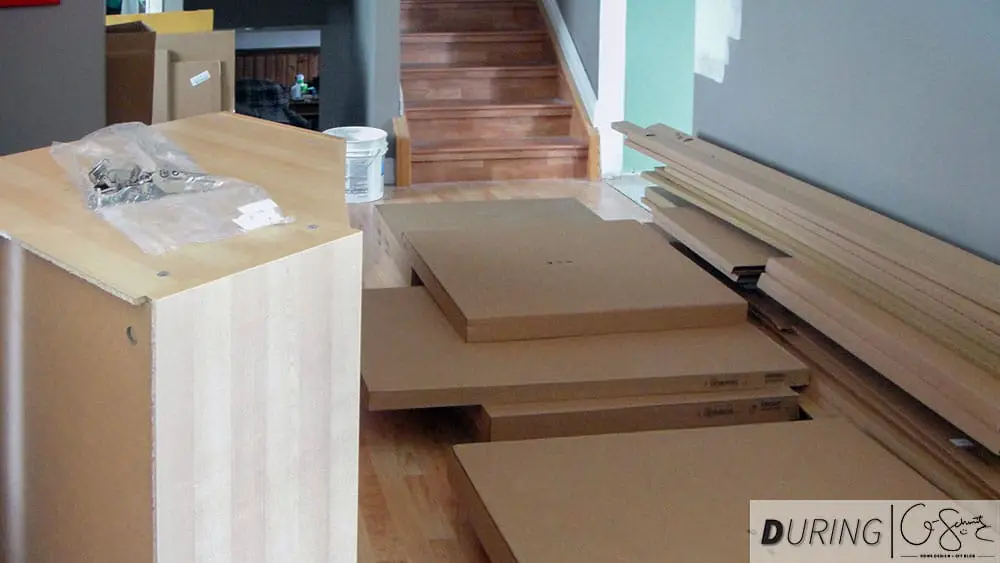
After building all the cabinets, our big pile of Ikea boxes got a lot smaller! We still had a lot of boxes, considering all the panels and décor pieces were like 1 inch thick and didn’t take up as much room. As mentioned above, come back next week to see our progress on the installation of all the Ikea base cabinets.
I’d love to hear your comments and any tips/tricks you might have for installing Ikea cabinets!
No Comments