
After an impromptu blogging break, I’m back to share an easy DIY project! Building an over the stove shelf is something I’ve done twice now, and it’s honestly added so much functionality (and problem-solving) to our kitchen. Let me show you photos and a quick tutorial!
When I originally designed our kitchen, I didn’t plan for anything to go behind the stove – other than the backsplash. We lived with a normal stove pushed up against the wall forever, so why change?

Well, enter me dropping an bottle of Worcestershire, and it tipping on the counter and glug glug glugging behind the gap at the back of the stove. UGH! I grabbed it, but unfortunately, had to carefully move the stove out of the way and clean the mess. (PS: our stove is gas and you’re not supposed to move it a lot or risk damaging the gas line).
I knew I needed to create something that would block the gap at the back of the stove to prevent that from happening again.
(There are photos of our current kitchen/shelf below, but I’ll share the tutorial for the over the stove shelf at the cottage since I took photos of the progress).
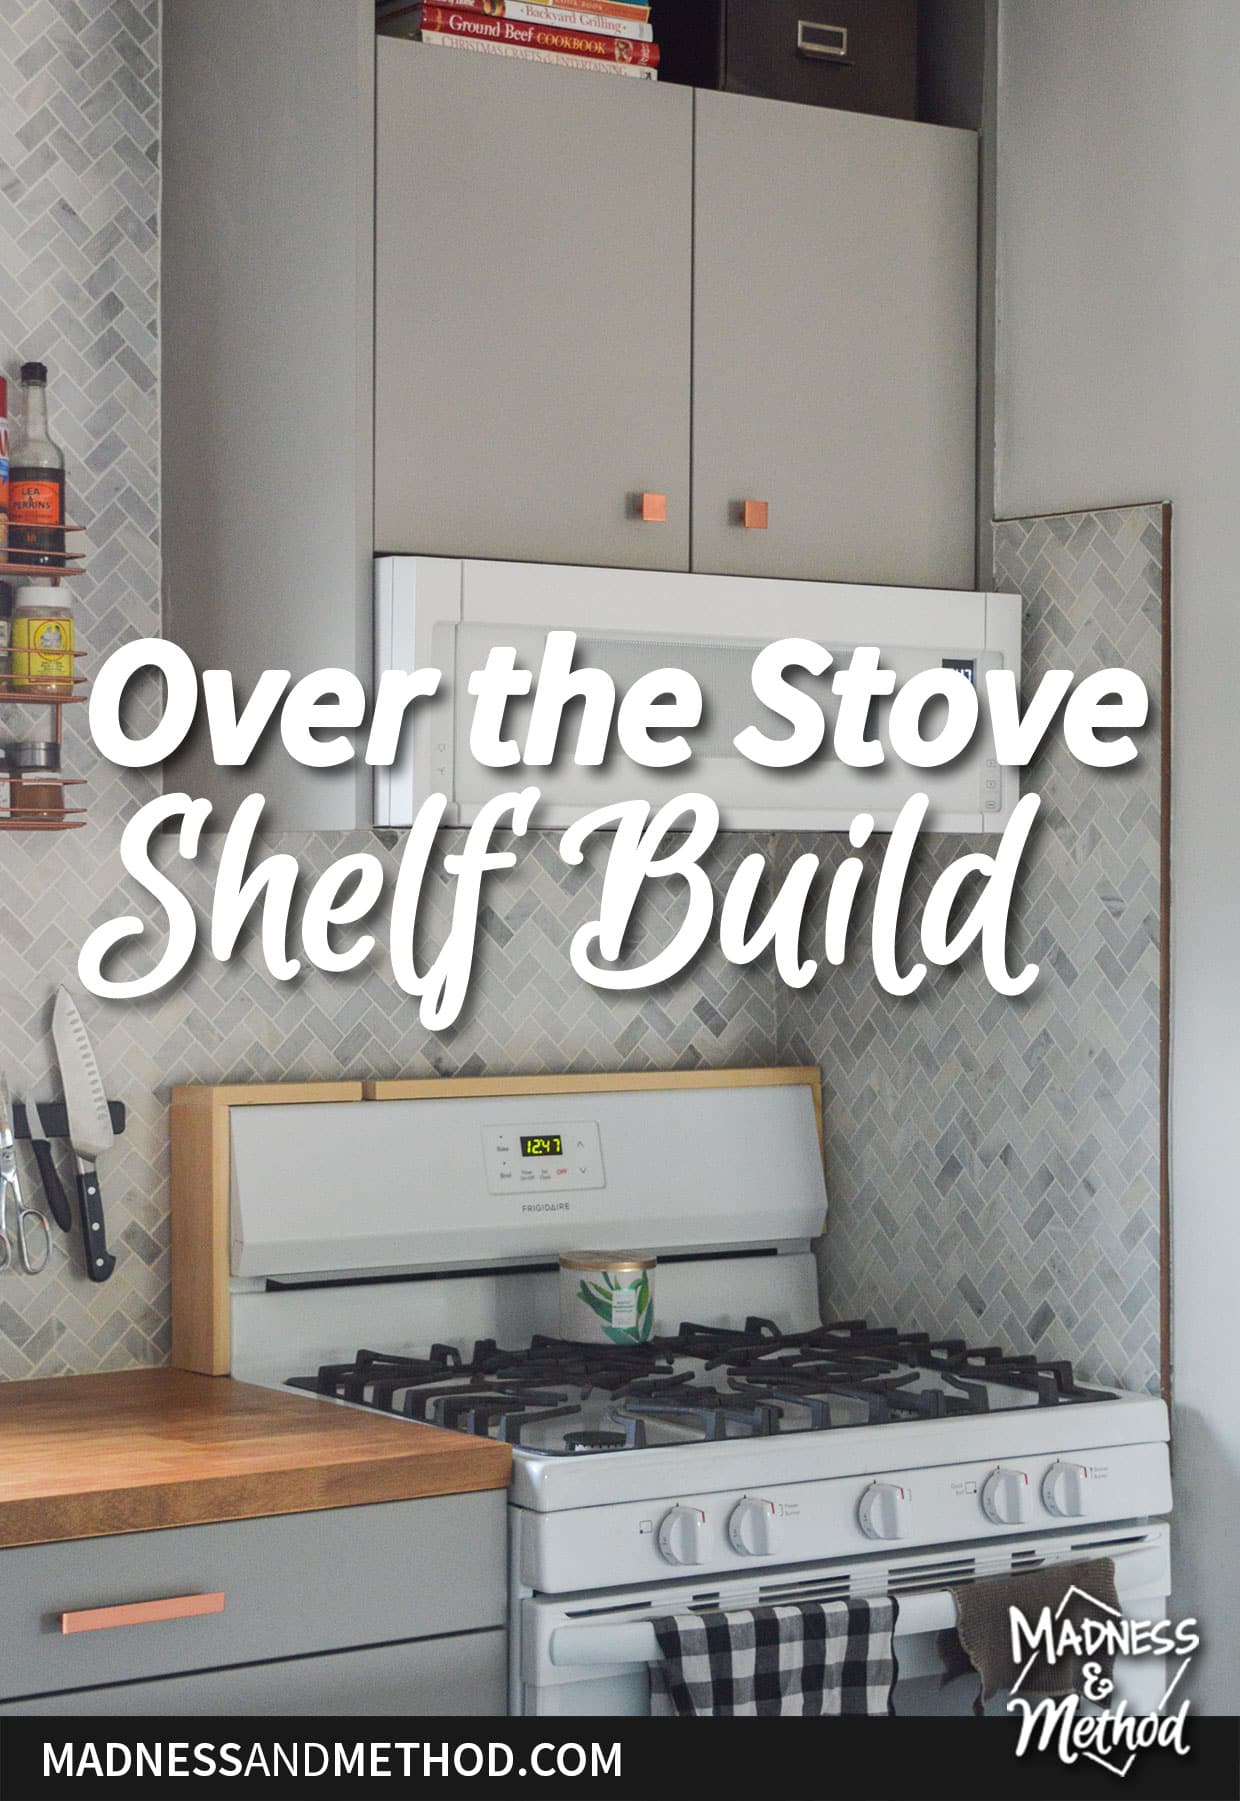
Over the Stove Shelf DIY
First thing I did was measure the depth of the stove – about 3-1/2 inches. Luckily, there are boards that are available in that width, so I picked one up (pine).
Then, I measured the height from the countertop to the top of the stove and cut two little pieces. If your stove is not against windows/trim like ours, you can measure/cut the top piece from here.
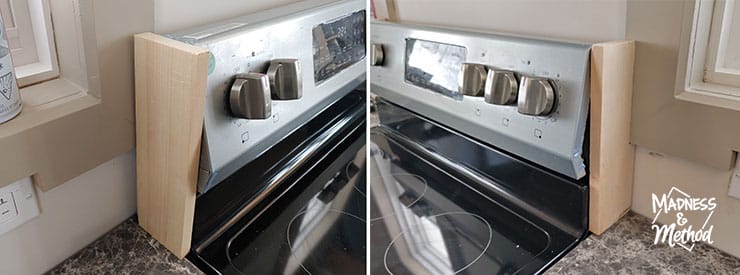
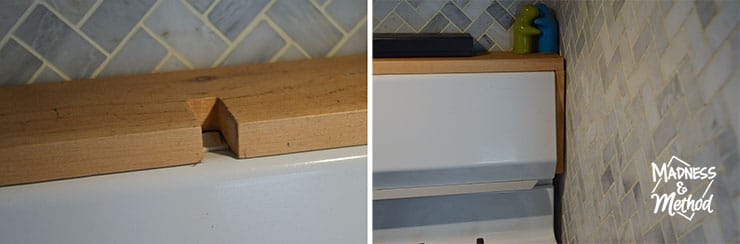
In the kitchen at the cottage, the stove sits in between two windows. It fits nicely, but the trim comes up right to the sides, so I had to mark notches in my wood to account for that. (Otherwise there would be a gap, which would defeat the whole blocking-behind-the-stove-thing).
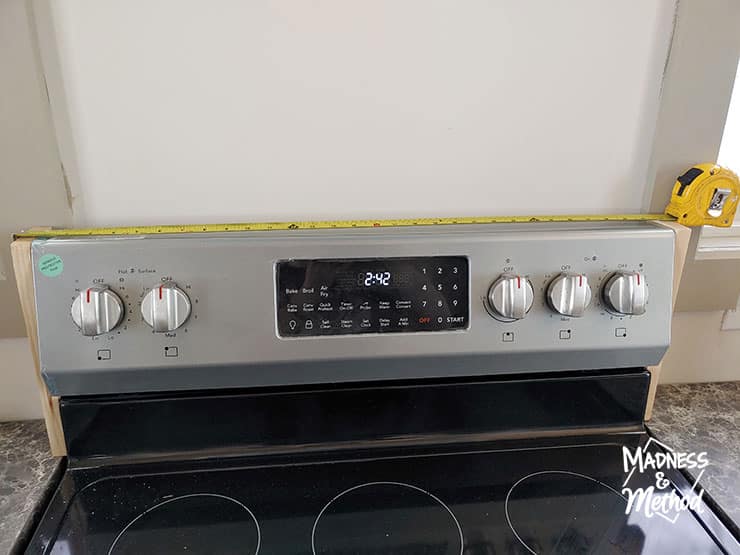
Anyways, once I had the notches cut out, I measured along the top of the oven, where the shelf would sit. You can always do mitered corners, or have your sides come up higher. But I wanted an easy build and a tight fit.

I also had to notch out a bit from the top for the window casing. The photo above shows it better, plus Félix helping me add a clear coat. We made the shelf around the same time I did the trim around the mirror.
(Oh, I had pre-drilled some pocket holes on the bottom too and attached it together).

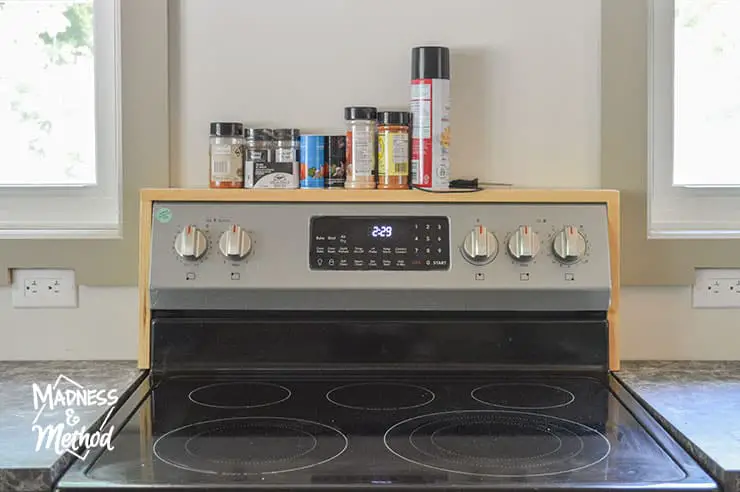
Once it was clear-coated and dry, I installed the over-the-stove shelf at the cottage! It’s not attached to the wall or the stove in any way, but fits in nice and tight because of the notches. IE: you could easily move it if you need/want to.

For the cottage, my main motivating factor for building an over the stove shelf was for storage! We don’t have any upper cabinets near the oven, and I wanted somewhere to hold spices/oils/etc.
Special Considerations
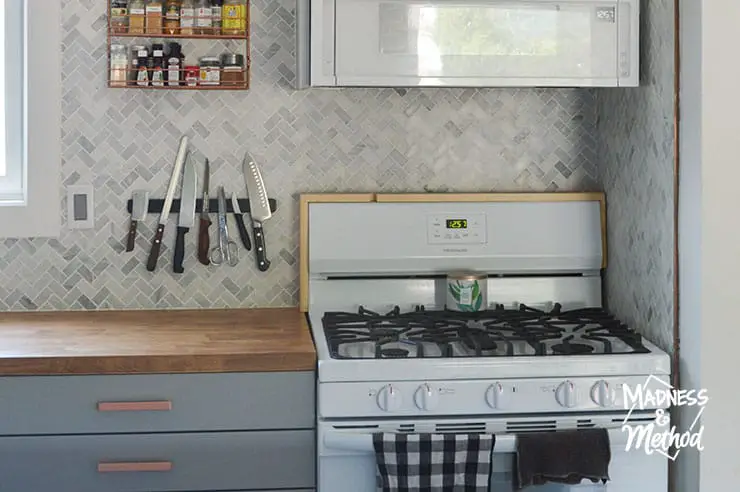
At our house, there is a spice rack nearby. So, I use the shelf to hold my spoon rest, candle and lighter (not pictured above).
Our oven has a light switch on the top, so I cut out a notch so that we could still turn it on. ALSO, the stove is close to the wall, so I did a narrower 1/2″ thick board on the right side. It doesn’t go all the way down, and just helps to keep the shelf snug in place. (I originally built it with just the left side and top, but it would fall down easily).

I hope my over the stove shelf examples give you a good idea of how to build your own! Remember, you can stain, paint, or seal your shelves however you want. Both of mine are un-stained pine, but feel free to match the look of your kitchen.
I should also mention that I am not worried that my wood shelf will catch on fire. Yes, it is made of wood near hot burners, but it only goes out as far as the stove does.
Honestly, it’s just the perfect flat surface for storage AND blocking the sides/behind of oven, so it’s a win-win project :)


No Comments