
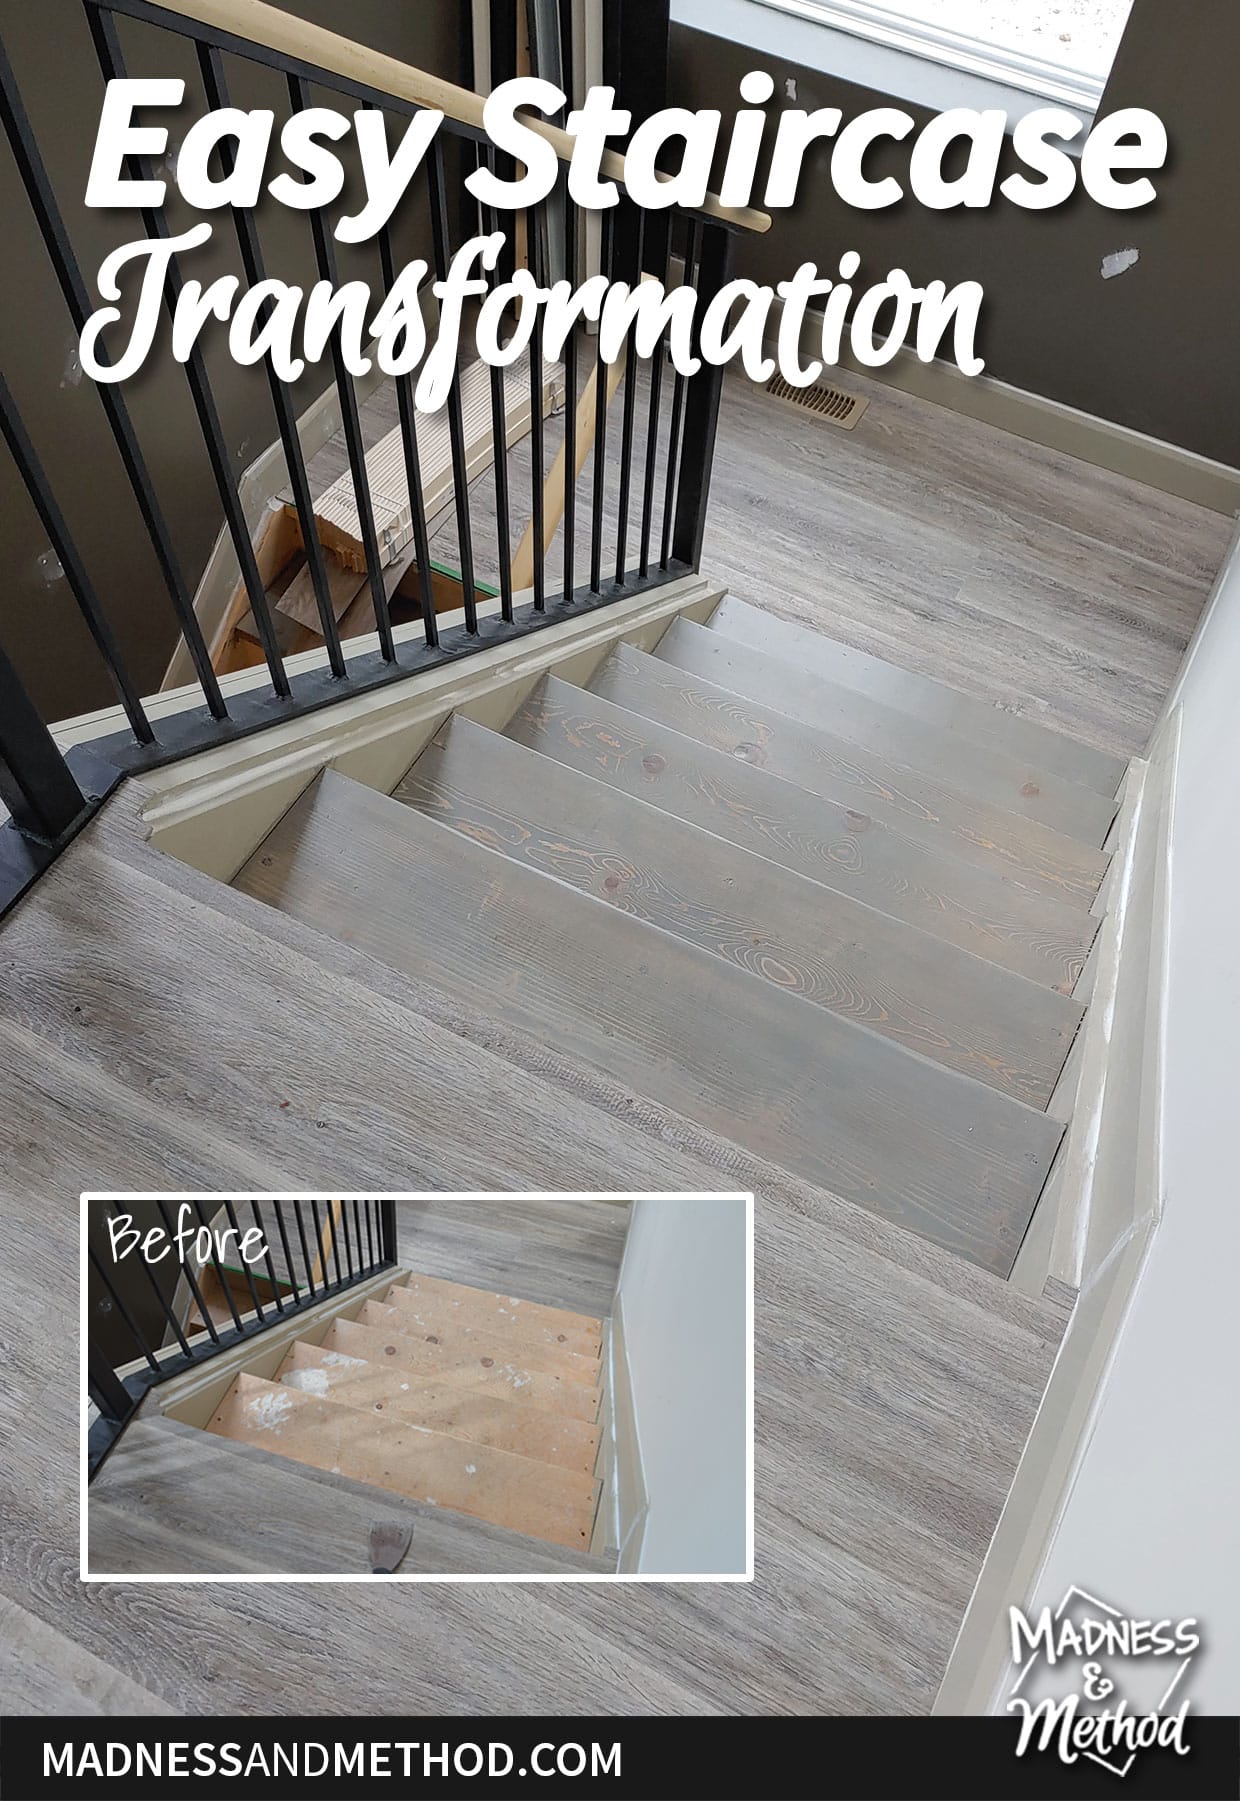
I have an easy, big-impact project to share today! Something we finished at the cottage a couple of months ago and I’m finally getting around to blogging again :) Read all about our staircase transformation!
Alright, let me give a bit of a pre-amble: we did a similar project for our house staircase a couple of years ago. Essentially, painting/staining wood steps to match vinyl-plank floors. Our house floors had been pre-painted by the previous owners, so I just painted on top BUT they have recently started peeling/marking.
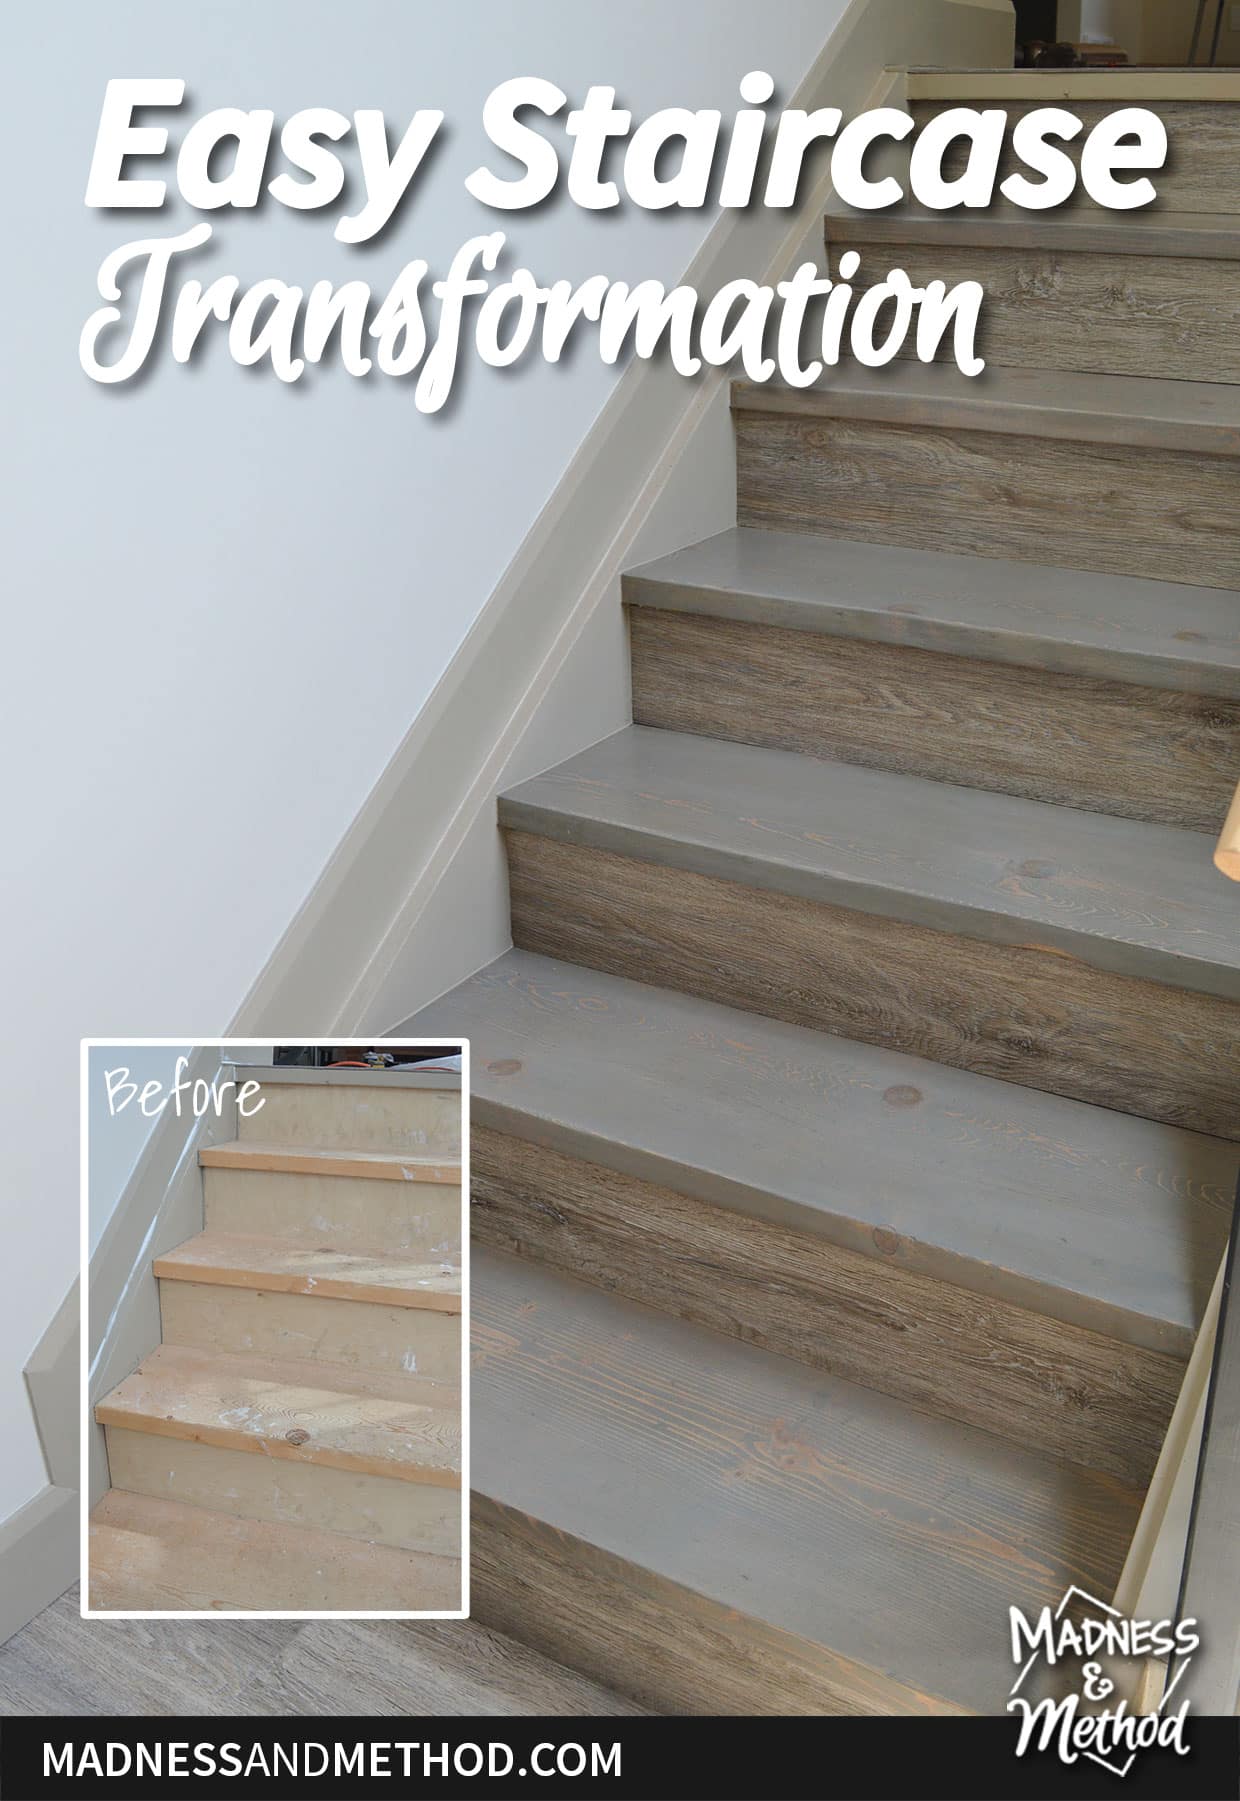
For the cottage, I wanted to achieve the same look, but have it last. Only time will tell – but I am 90% sure this method will be a lot longer lasting for a few reasons. (1 – better prep, 2 – stain vs. paint, and 3 – clear coats)
Let’s get into it!
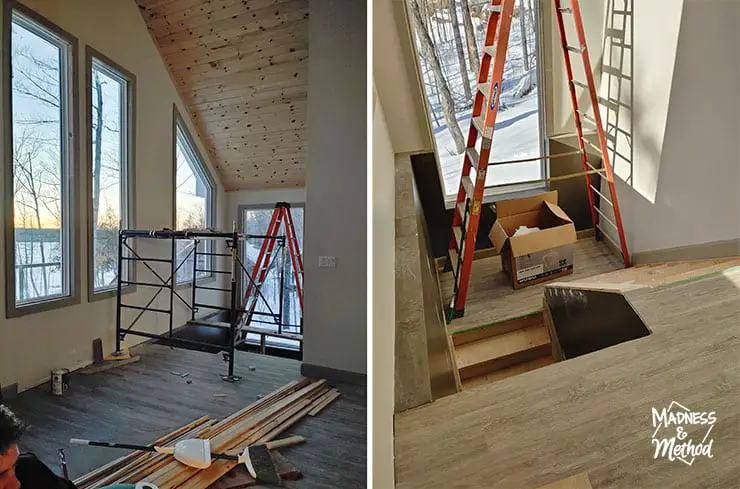
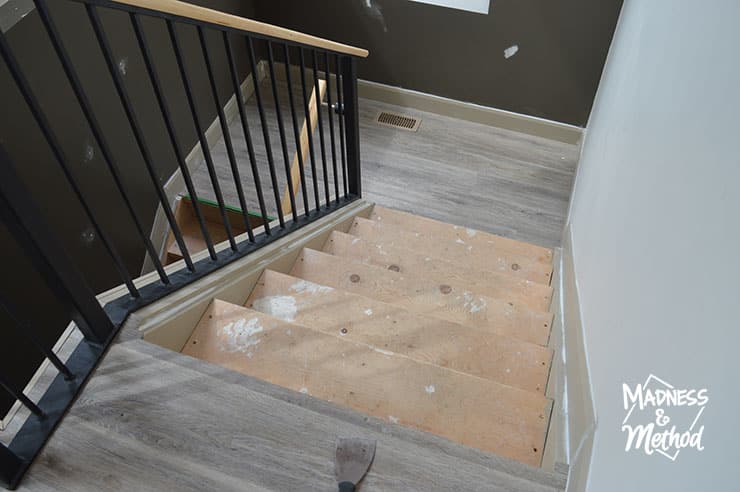
Alright, so the staircase at the cottage separates the top/main level with the walk-out basement. It’s a split staircase style with a landing in the middle and some big windows all around.
For the longest time, we did not have a railing – so it was a bit perilous.
(But also, we needed to jimmy-rig our scaffolding across so the railing would have been in the way).
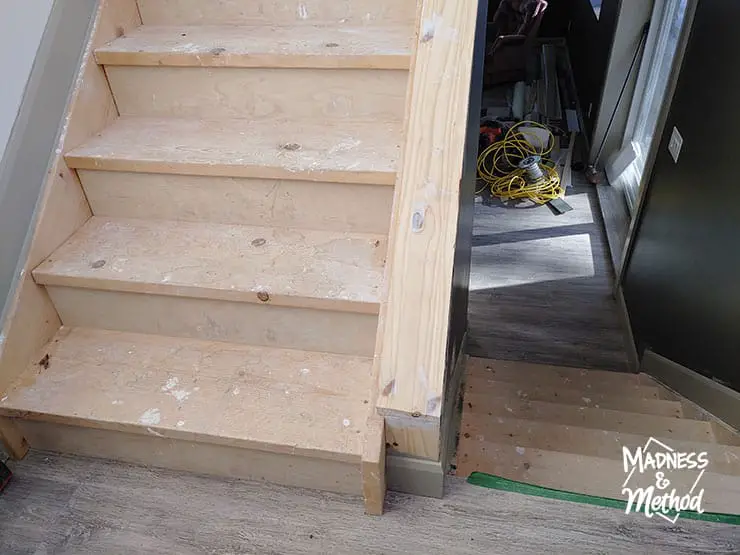
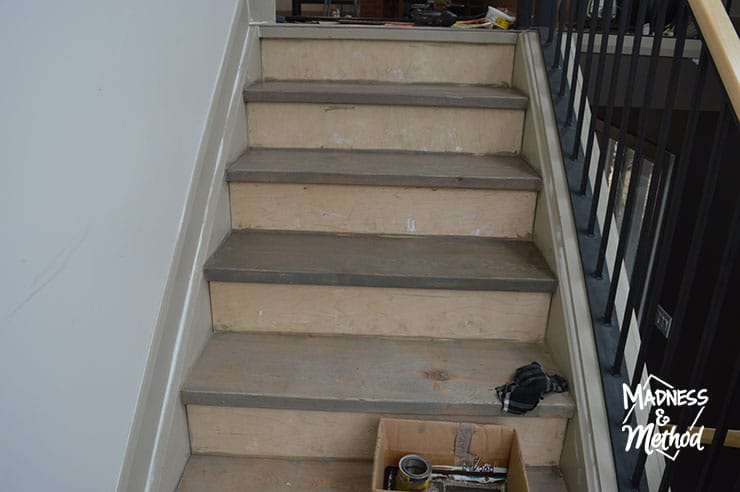
Anyways, once all the main construction and all the window trim was done – we could finally focus on our stairs! Which, obviously had gotten dirty from the construction the last year or two.
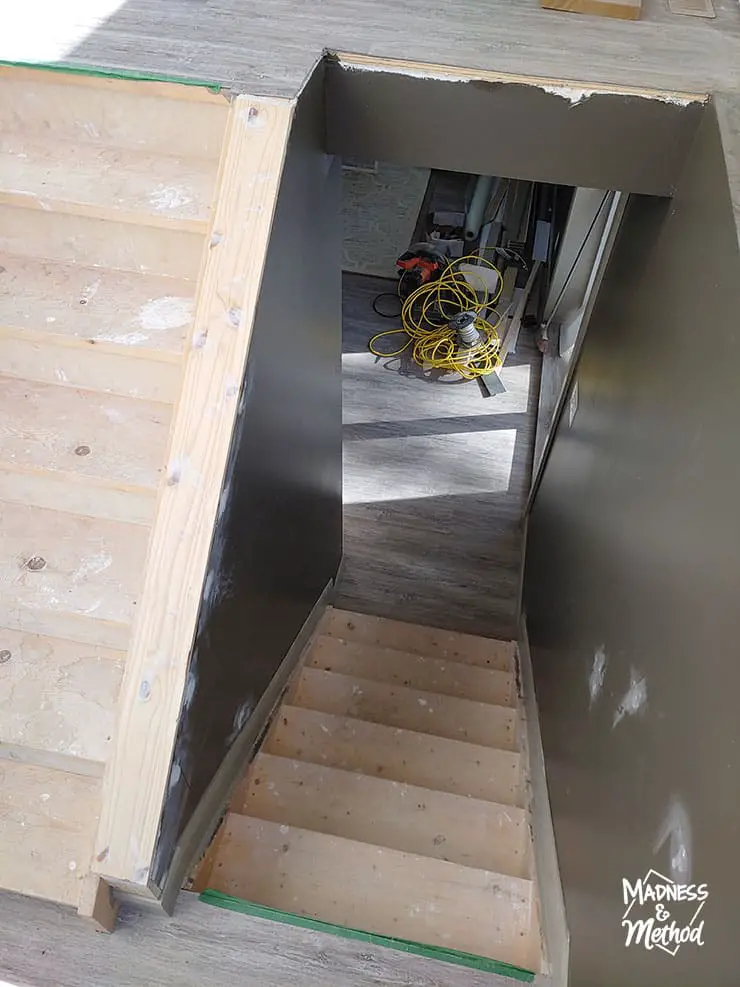
BUT I knew the whole time that I did NOT want to put vinyl flooring on the steps. My main reasoning is that I hate those little edge pieces that catch all the dust.
Sometimes you just gotta sweep all down the stairs without catching things, right!?
Stained Staircase Transformation Prep
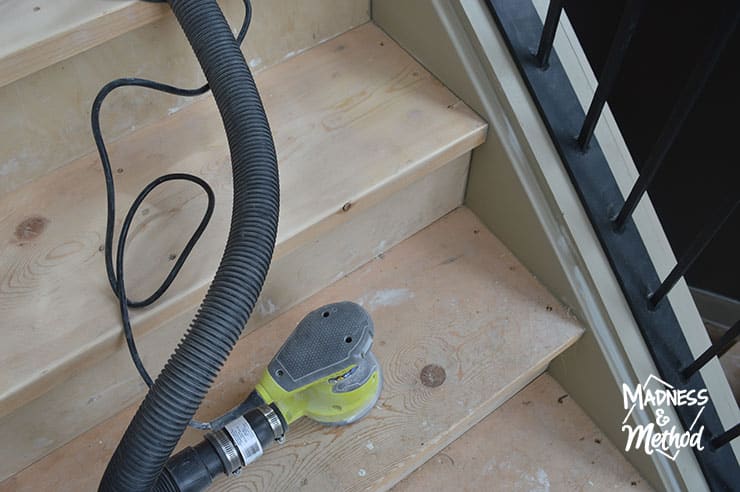
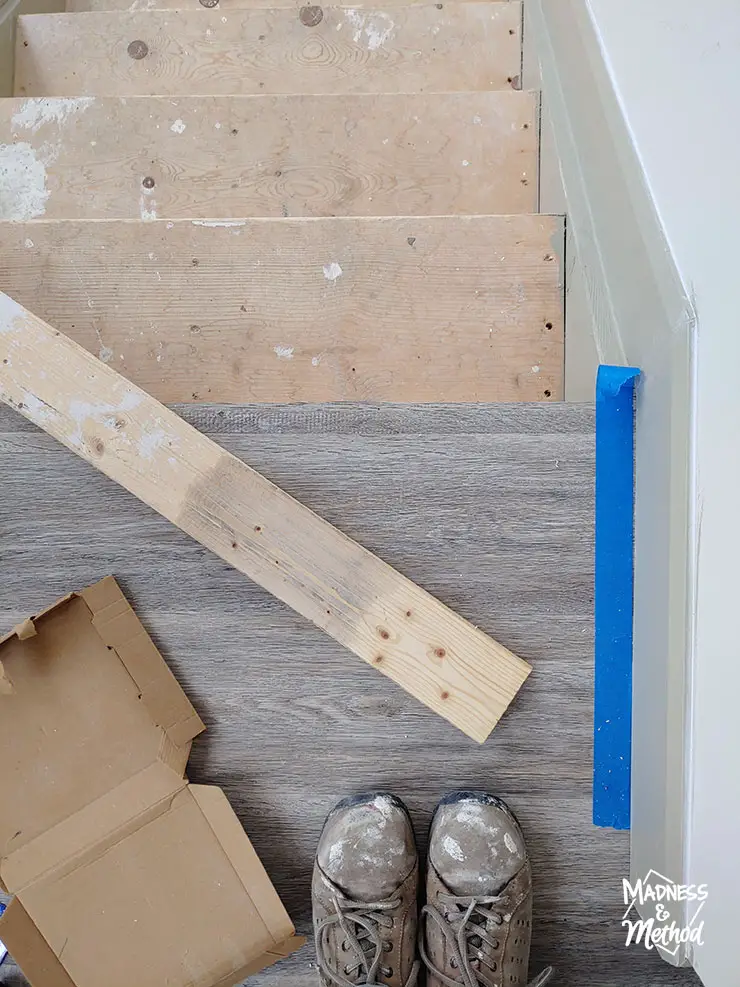
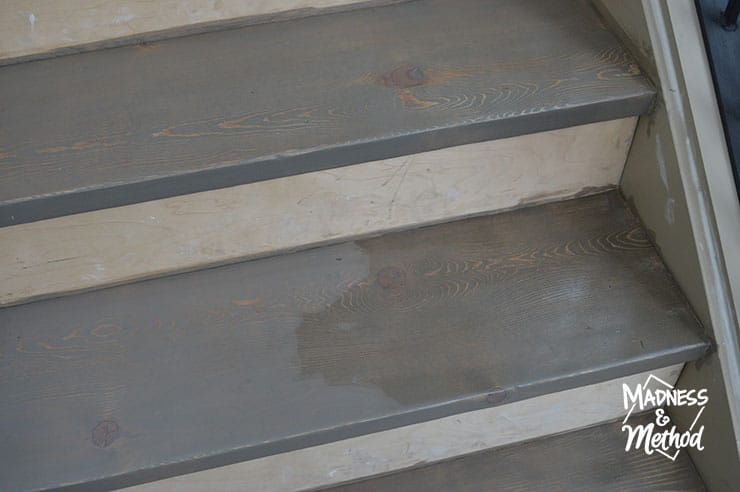
So the first thing to do was get all the paint and drywall mud and general mess off the stairs. I used an orbital sander that I hooked up to my shop vac and gave everything a nice clean-up.
In the photo above, you can see the difference between the sanded step (higher up) and the areas that needed to be sanded.
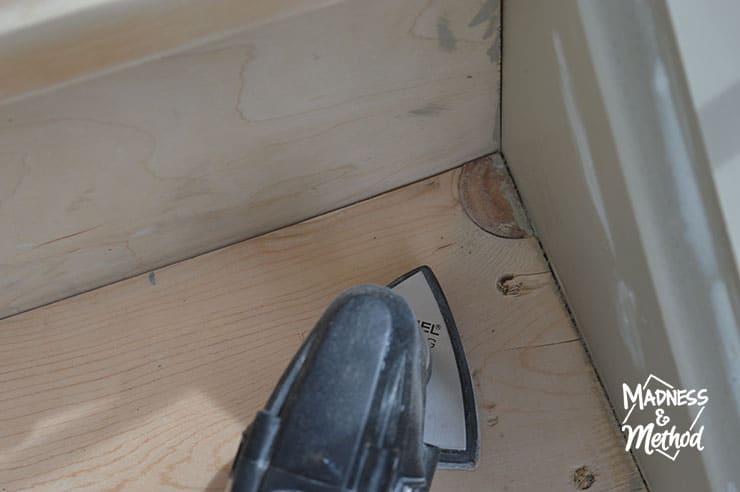
For all the edges, I used a smaller Dremel multi-tool sander.
There were also some screw holes that I filled in with wood-filler and sawdust. You can also made little wood-plugs for these that can be sanded down, but this worked okay too. There were some knots and other areas I had to fill in anyways.
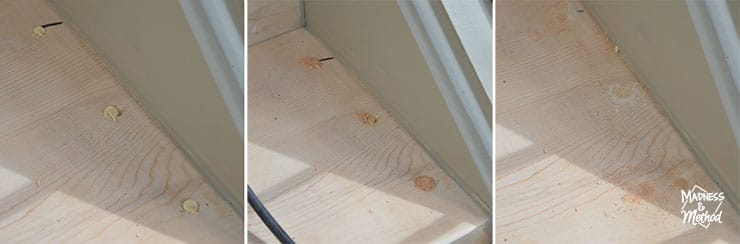
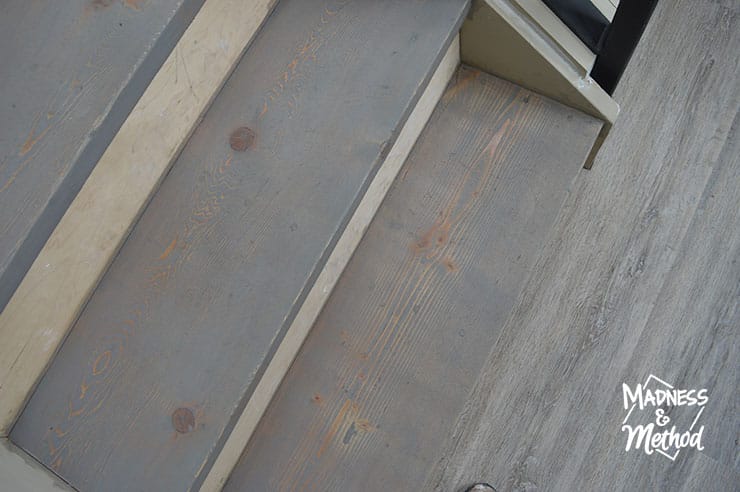
The photo above shows the staircase before sanding – but I wanted to include it because I was also testing some stain colour options at the time. Again, I wanted the stairs to match our vinyl-plank floors, so I chose a weathered gray.
Stained Staircase Details

I believe I did one coat of Weathered Gray and let it dry about 24 hours. It was better than the bare wood, but still a bit light.
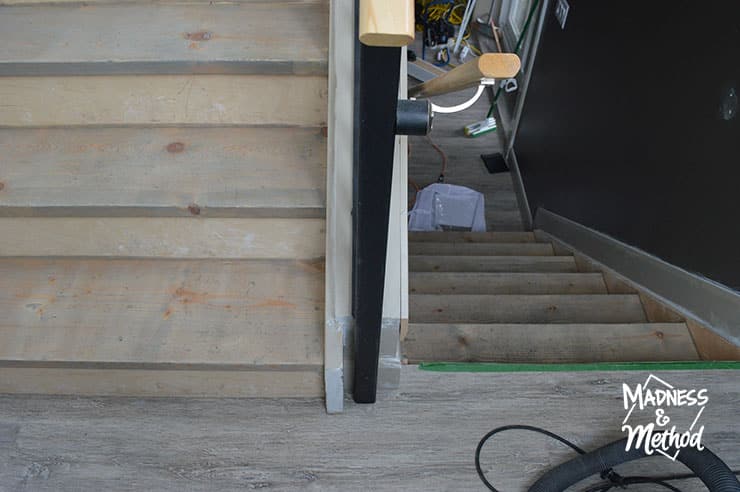
Luckily, our basement has a walk-out, or else I would have worked from the bottom up so that I didn’t get trapped :)
For the second coat, I did a 50/50 mix of weathered gray and ebony (I think). It was something with a green undertone so that I could try and counter-act the red/orange from the spruce wood.
There’s a video embedded below that shows my technique a bit too, or you can watch it on YouTube here.
Once that was dry, I did a gray-wash paint layer to lighten everything just a smidge. I think it was a 4:1 water to paint ratio.
Staircase Transformation
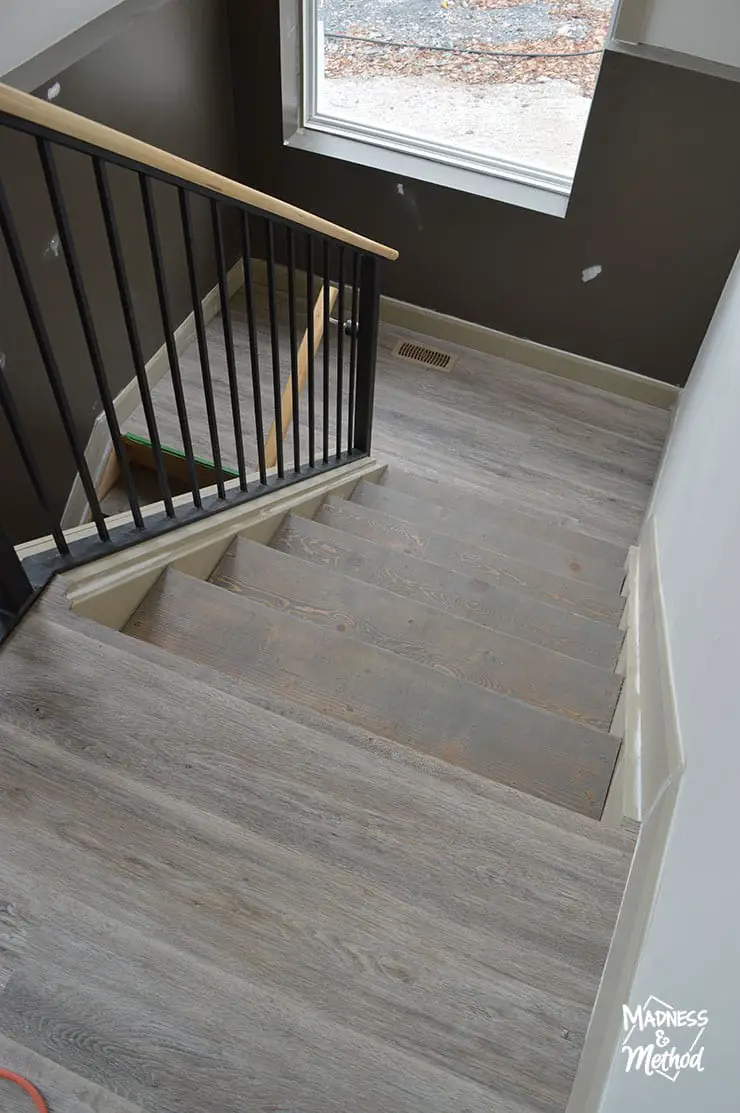
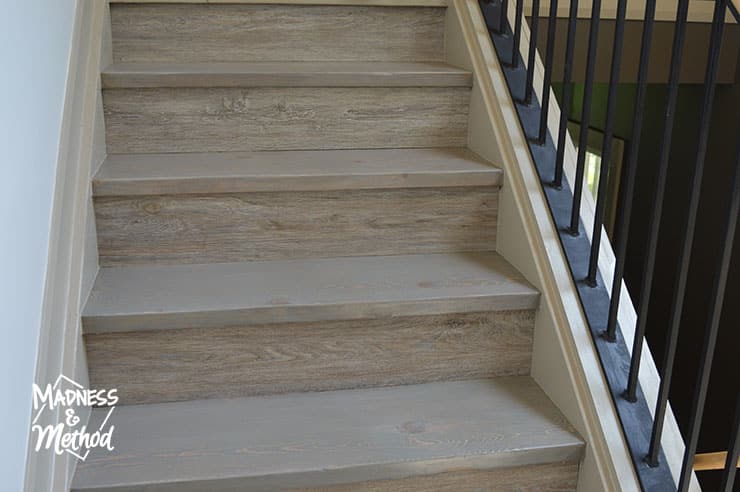
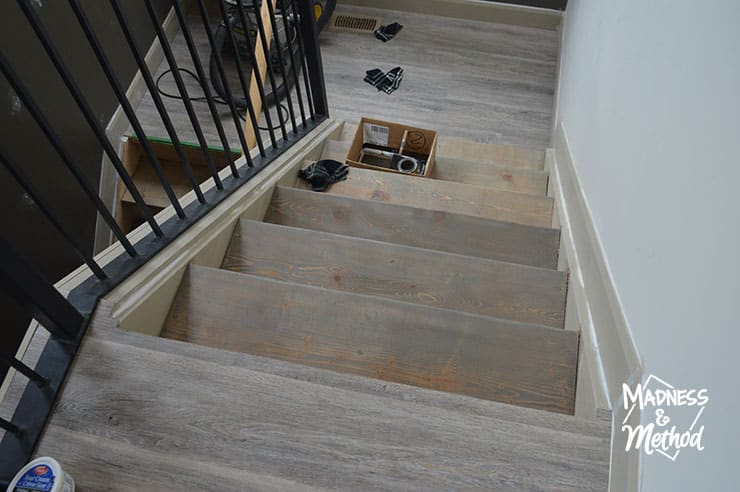
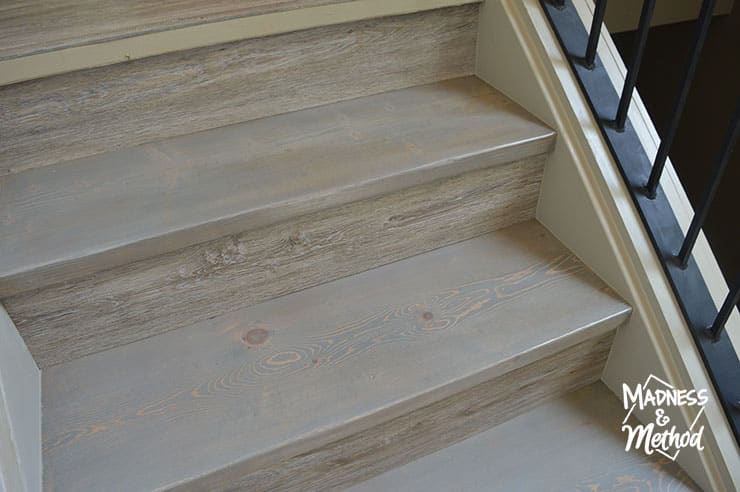
Here’s how it looked when it was all done!
The vinyl plank floors have more ‘grain’ and colour variety, but again – I wasn’t going for something perfect. Even so, I did manage to get my steps pretty close!
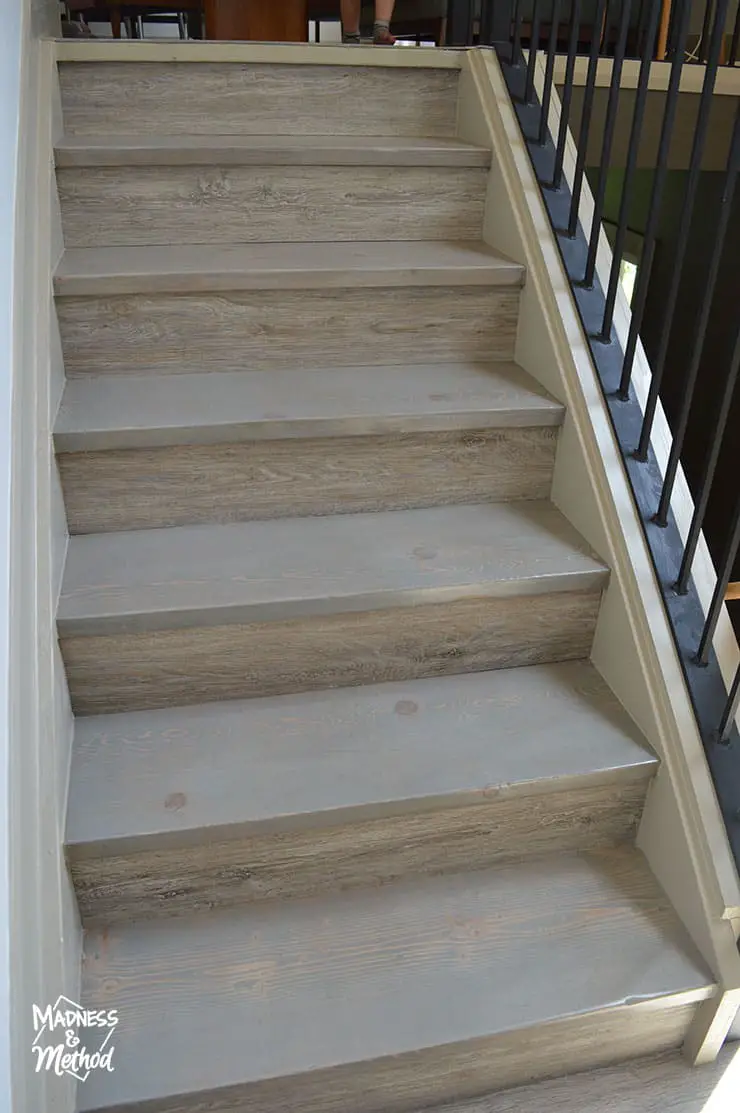
Finally, we took extra pieces of vinyl flooring cut to size and glued them to the risers of the steps. (The Husband and our friend did this part). Oh, I also had like 3-4 coats of Polycrylic added too :)
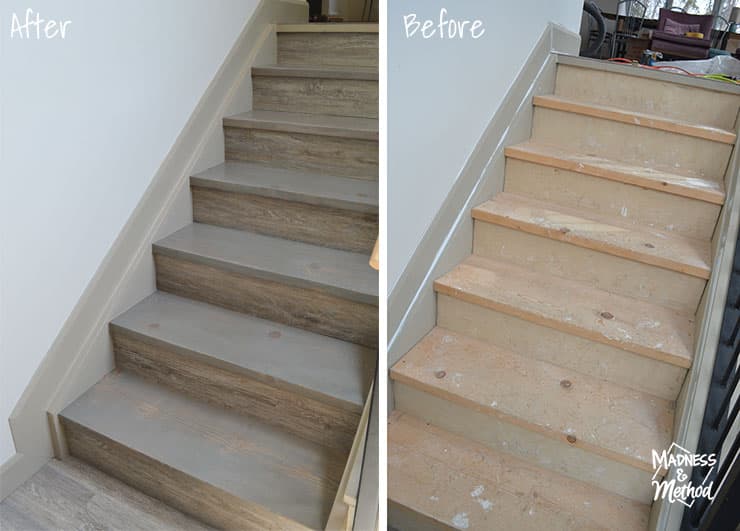
Here is a side-by-side of the same area! There were some areas along the edges of the wood where I added caulking and painted it to match the stringer/baseboards.
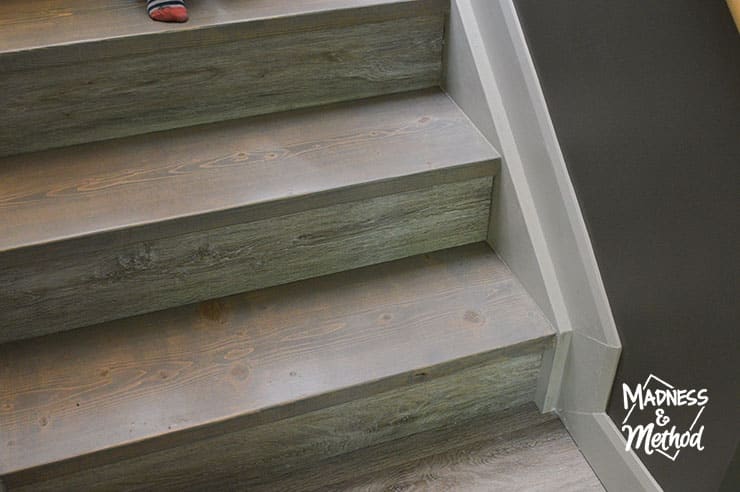
I did the same technique on the basement section of the staircase too (spot those little feet in the photo above, ha photos were tricky that day!).
I really like how smooth the steps are, it makes everything super easy to sweep and clean. Technically, we still have to add the nosing to the top and landing – but we’ve been lazy, ha.

And here’s a quick little animation that shows the staircase after each stain/paint coat.
If the video above isn’t showing up/playing, you can watch it on YouTube here. It’s a quick (under a minute!) overview of the different steps I described here.
I hope you enjoyed reading about our easy staircase transformation! I have more projects about our Rocky Retreat Cottage here (but I do need to update that page soon, ha).
You can check out all the cottage projects tagged here as well.
Let me know if you have any questions!

No Comments