
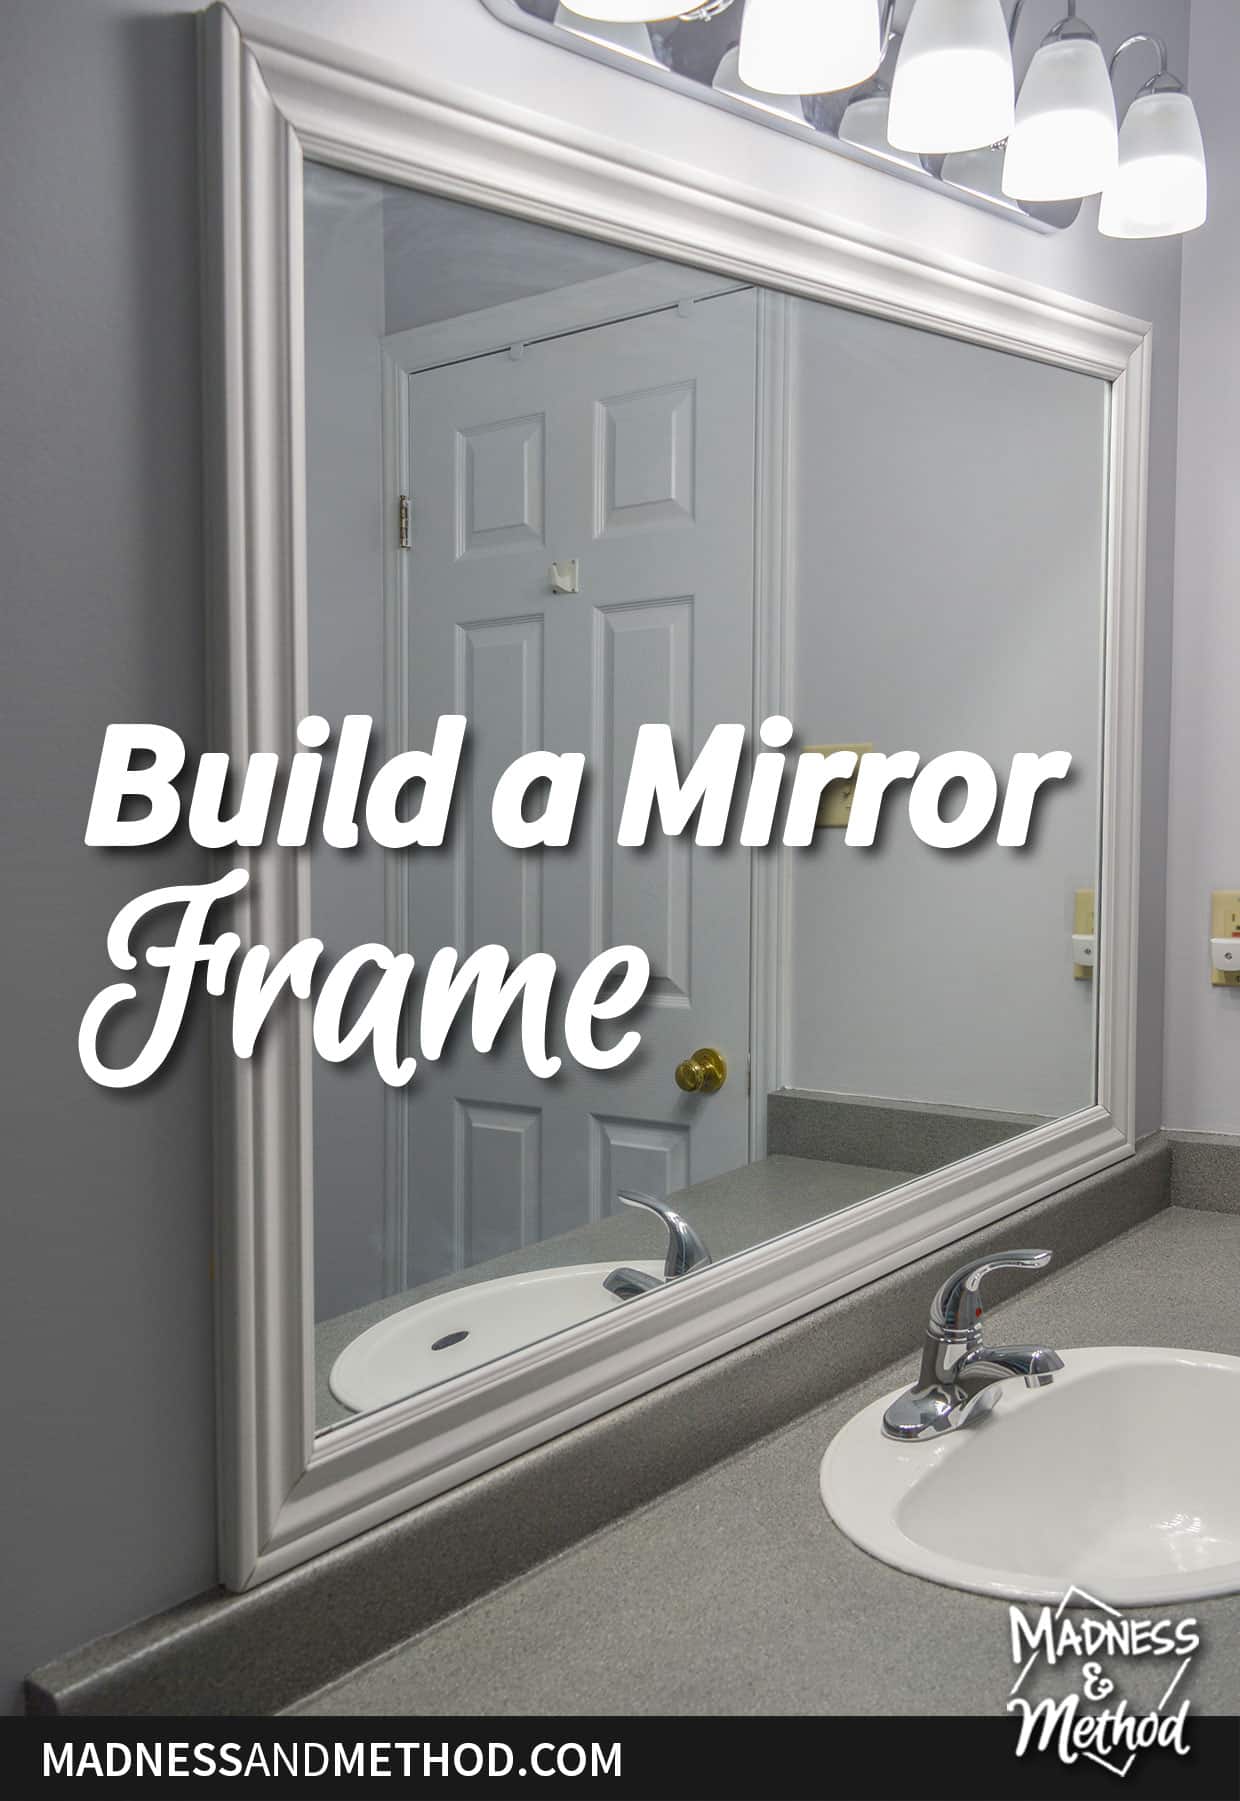
Do you have a builder-grade mirror that you want to jazz up? This simple project can be completed in an afternoon, and takes your basic mirrors from boring to finished. Plus, you can do this project without using any power tools (that’s what we did). If you want to know how to build a mirror frame – I’ve got all the tips (plus a video)!
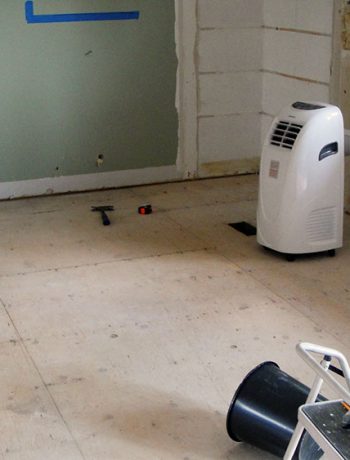
It’s the 5th week that I’ve been writing about my brother’s bathroom makeover for the Spring 2023 One Room Challenge. Here’s a recap: beige bathroom intro, painted floors, toilet installation, tub and tile paint – and now the mirror!
Most of this bathroom makeover was completed over the March break week. There were a few unfinished projects, and I got the chance to visit him this past weekend to finish off the room. In fact, I worked on this mirror from start to finish (it’s a super easy project) in one afternoon. It wasn’t even on my radar the first time around, but I’m glad I did it.
You can also adapt this project to other things you want to frame on the wall. For builder-grade mirrors, aka the frameless ones that are usually attached with little clips, it elevates their look. The casing/trim you choose can also change the look of your mirror – so feel free to experiment!
Here are a couple of supplies you may need:
- Hand saw and mitre box (or a powered mitre saw)
- One or two pieces of lattice (it’s thin and flat trim)
- Casing pieces (enough trim to frame the mirror)
- High-hold glue (and hot glue gun OR nail gun with nails)
- Caulking/paint
And, if you’re wondering why you would want to build a mirror frame – rather than replace the mirror, our reason was simple. The mirror at my brother’s house was glued to the wall! We probably couldn’t remove it without breaking, plus it would be way more expensive to buy a new mirror (especially one that big). AND better to reuse and recycle :)
How to Frame a Mirror
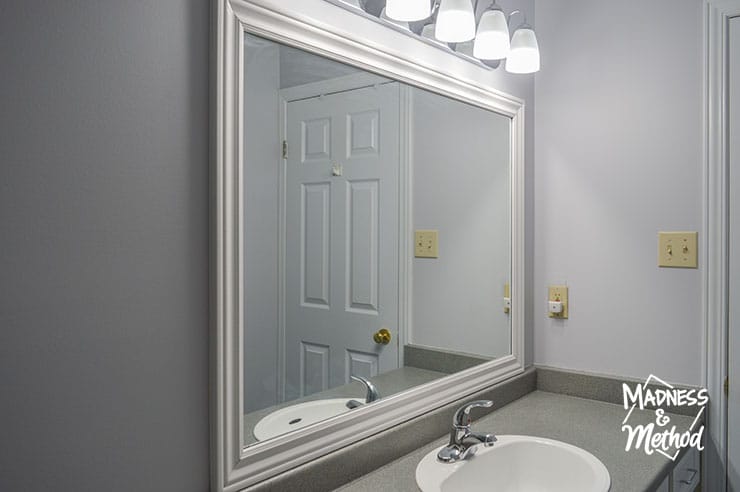
First up, you will need to measure your mirror to see how much trim to buy. The mirror at my brother’s house was 4′ wide x 3′ tall, and the bottom was flat against the counter. From doing this project before, I knew my best option would be to put some lattice pieces around the mirror.

To save money/time, I only got one 8′ piece of lattice and cut it for the sides. I couldn’t put it on the bottom anyways, and no one would see the top – so I through up the extra piece there. The lattice was cut to size PLUS I added the width of the lattice (that would be on the top). You can see in the photo above that the side pieces go a bit higher (to match with the piece that would be there).
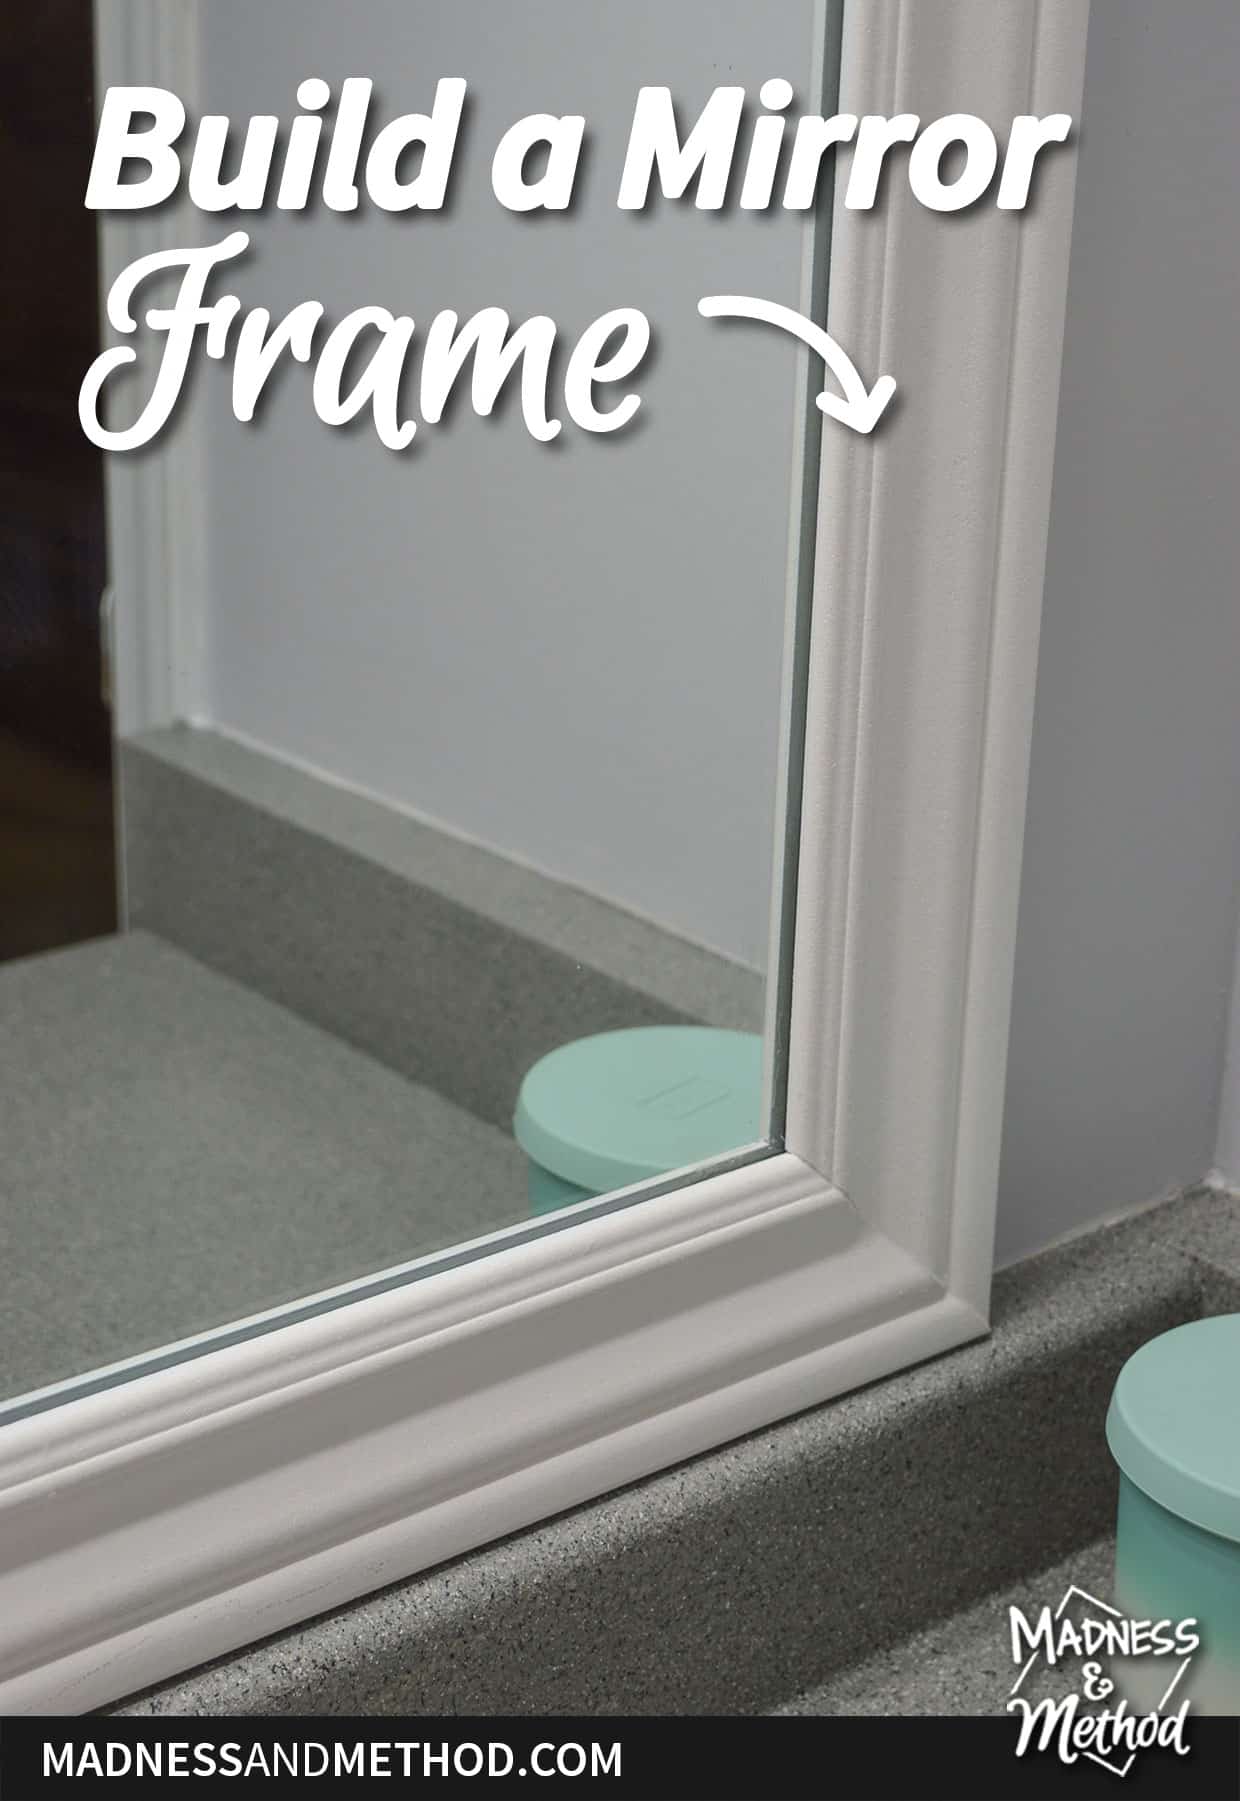
Then, I measured the new width/height of the mirror with the lattice included. Casing pieces were cut to length with mitered 45º corners that would create the frame. These sit on the lattice and butt up against it, so that when you look at the mirror from the side, you only see trim. You can read this post about building a mirror frame before adding it to the wall for more details.
 For this mirror, I glued all the pieces onto the wall directly. If you have a nail gun, you can certainly go that route too! It would have been a bit quicker/easier, since you don’t have to wait for glue to dry. I made sure to do the lattice pieces earlier, so that they would be fully set before I added the finish casing on top.
Framed Mirror Tips
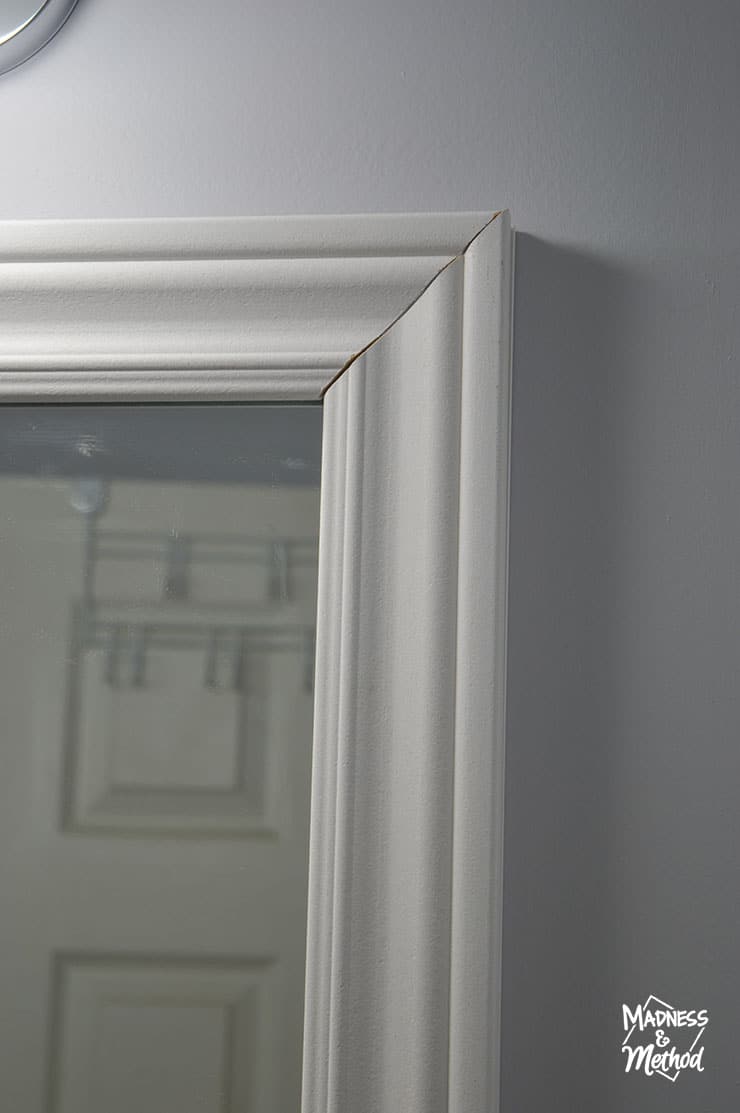
If you have hot glue available, it’s a good idea to add a bead or two of that. It will set right away and hold your piece while the proper glue dries. I did have one corner that was giving me a bit of a problem, but I figured out the technique as I moved on. (And went back to hot glue the corner).
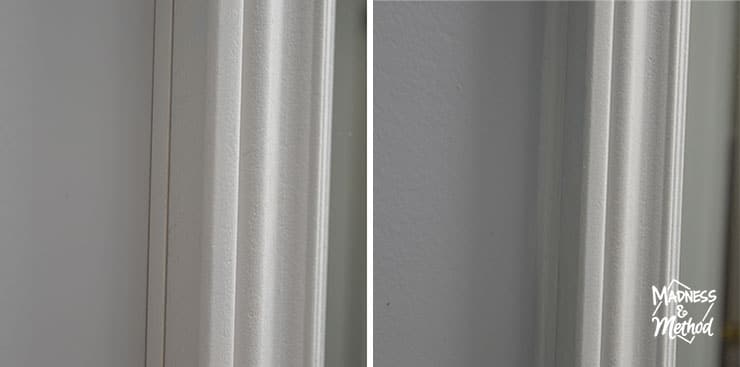
Finally, you can add caulking to all the joints and edges of your mirror. Once that dries, feel free to paint your mirror in whatever colour you want!
Here’s a little before and after animation showing the same edge before and after caulking. Once paint is added, the seam will disappear a lot better too.
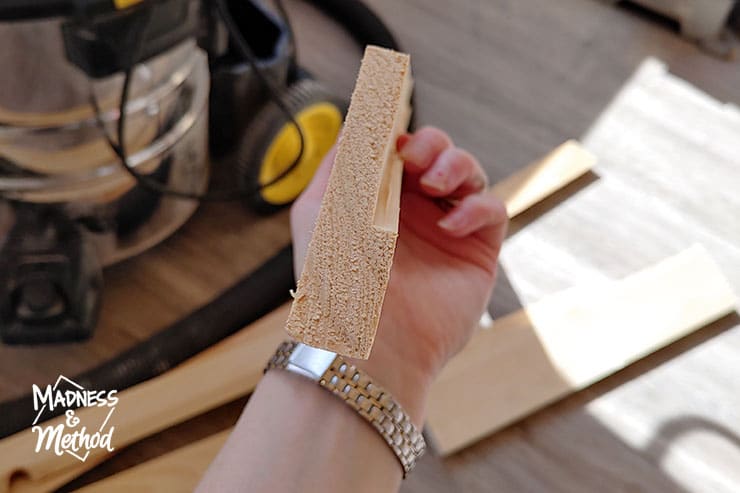
But what if you want to build a wood mirror, and not one from MDF? Or, you can’t find lattice? For the mirror at our cottage, I wanted to use some extra pieces of pine trim we had laying around. Fortunately, we had a table saw available and ran the trim through to create a notch.
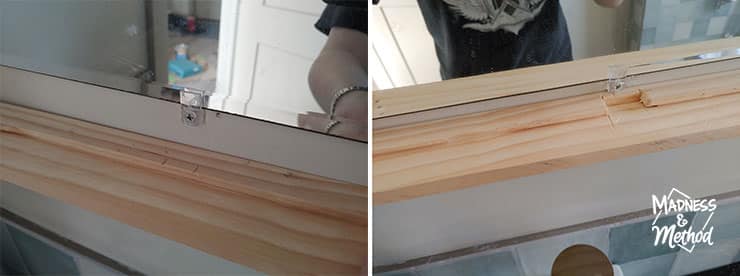
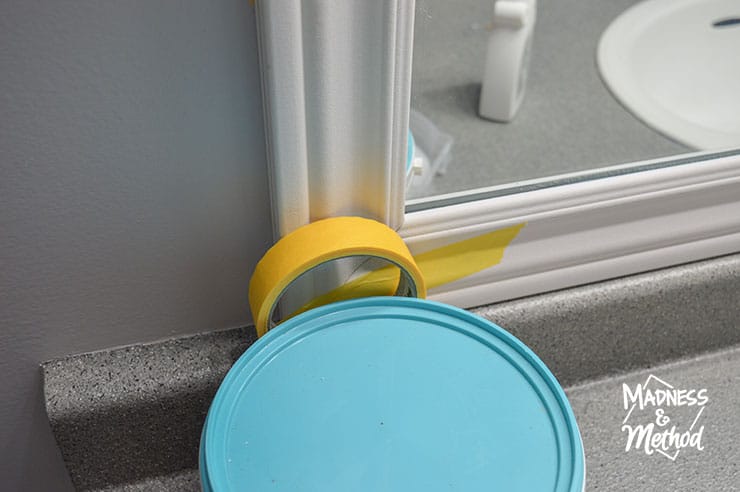
AND here’s what I did to work around the plastic mirror clips. Rather than buy new clips (aka the metal ones that my brother has that are flush) you can cut a notch out. It’s a bit trickier than just sticking a trim piece on, but I wanted to include the images here just in case!
If you can’t see the video above on how to build a mirror frame, watch the video on YouTube here. I didn’t mention, but I also painted the back edge of the casings white. That way, any reflection would show white (rather than the cardboard brown of the MDF). I probably could have skipped that step since there was a white edging already.
Oh, and I totally didn’t paint the frame, but I may have to do that in a few years if the caulk gets grungy :)
About the One Room Challenge
Check out the One Room Challenge blog to see all the projects!

Follow this bathroom renovation:
Beige Bathroom Before (+ Plans)
Faux Tile Painted Floors
How to Install a Toilet
Tub & Tile Paint Project
Do you have any mirrors that you’d like to build a frame around? I’ve done three different methods in the last few years – and I’m not sure if I have a favourite. Either way, the framed mirrors look a lot better than the plain mirror. And again, you can choose what trim to use and what colour to paint it – so the look can be updated for almost any style.
Next week I’ll talk about the vanity makeover! You certainly see a lot of the countertops in these photos, so it will make sense to go over that project soon. Let me know if you have any questions about this bathroom renovation project so far!
Related Posts:

No Comments