
Did you catch the post last week about measuring a room to create a rough plan? Today we’re going to take these rough outlines and learn how to draw a to-scale floorplan. It does take a bit of patience, but I’ve created a step-by-step video to help guide you through.
Okay, so let’s assume you have your room measured and your rough outlines created. If not, go back to the post last week to see how to get that done.
Ready to draw a to-scale floorplan now?
You’ll need a few different supplies:
- Graph paper
- Pencil
- Ruler
- Optional: calculator
- Optional: scissors (if you’re adding furniture)
Step 1: Determine your drawing scale
To figure out the scale that you can draw your floorplan (each room layout will be different), first, count the complete squares on your graph paper. My graph paper was about 33×42 squares, and the room I wanted to draw was 10′ x 12′.
Knowing that the short wall should go on the short paper size, I did some math to figure out that I could get 3 squares for each foot (32/10). Before I continued with my drawing, I made sure that I could get my long wall on the other side of the paper using the same scale (this time doing 42/3).
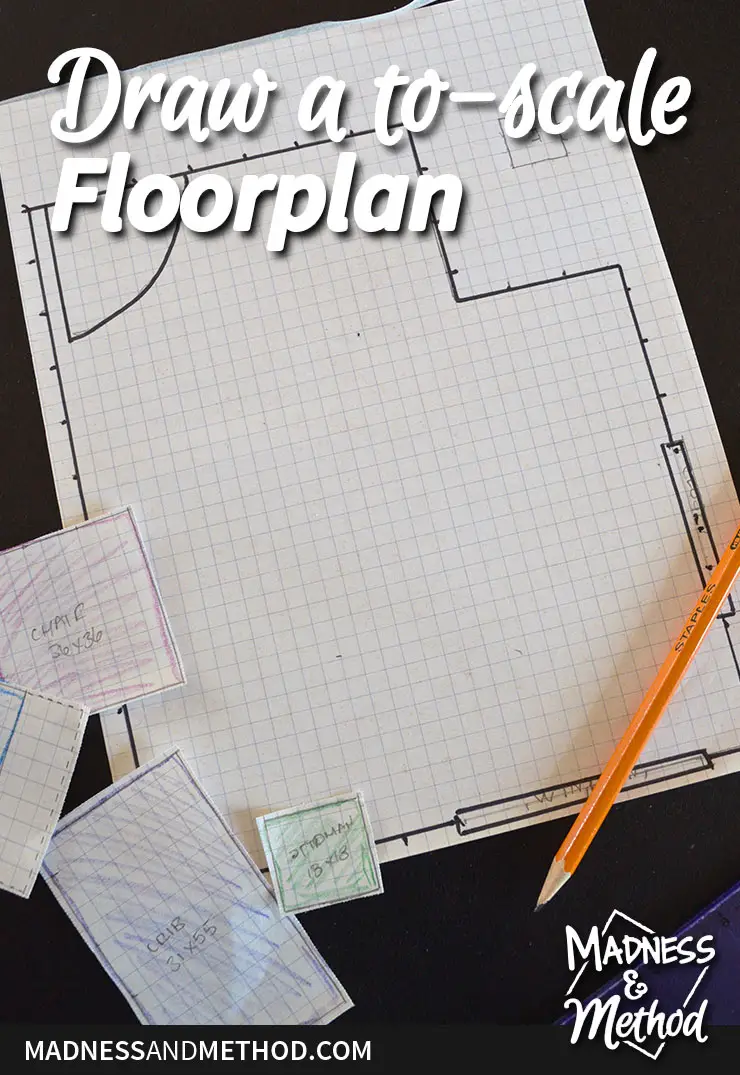
Step 2: Draw your room outlines
Using a ruler and starting in a corner, I drew my long wall on the long side, and short wall on the short side. I make little lines for every foot (in my case, every 3 graph squares) so I can easily see my scale and count the length of the room.
(I also went back in afterwards and traced my lines with a marker, but it was just to see the room better on the video).
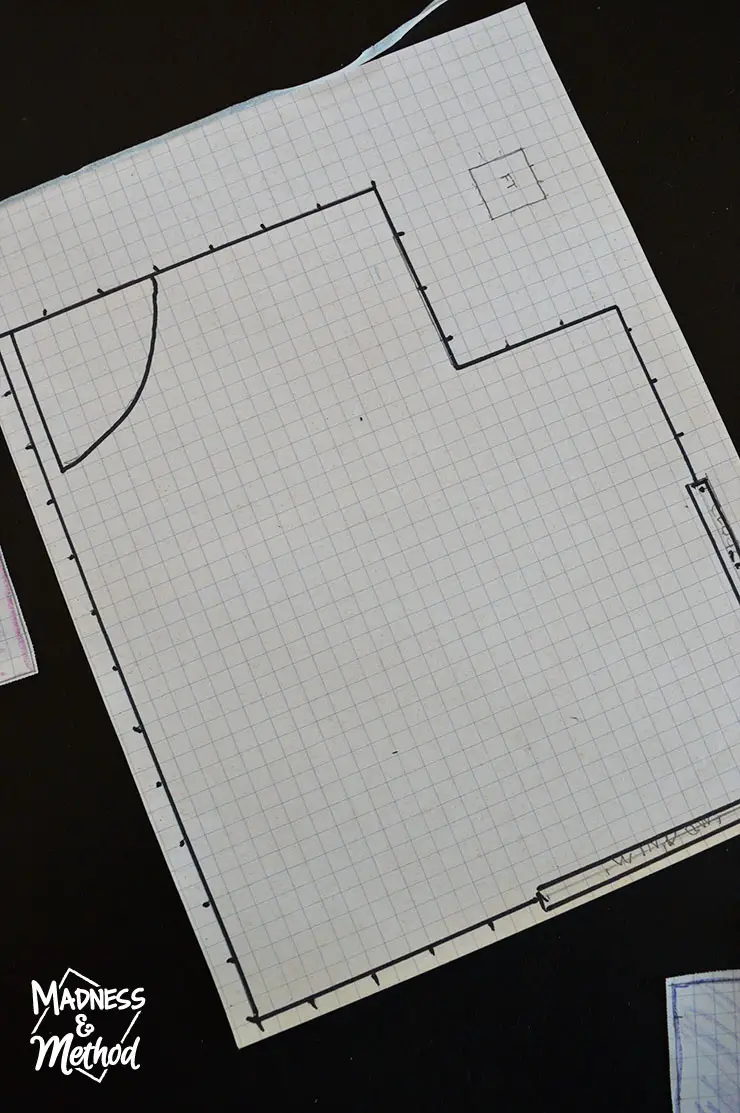
Step 2b: Draw your obstacles (doors/windows)
To draw a door, you mark off two dimensions: where the door opens to, and where it opens from. Then, you can draw a semi-circle connecting the lines, or even do a straight line if you’re not as handy :)
For other doors/windows, I just mark a box where they are and go into the room a bit. Funny fact: I actually screwed up the one measurement for the closet, but I only noticed when I was reviewing my video before posting (oops!).
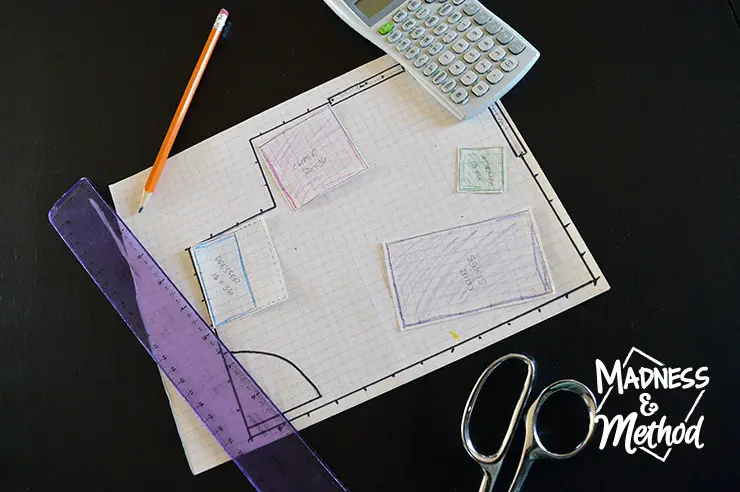
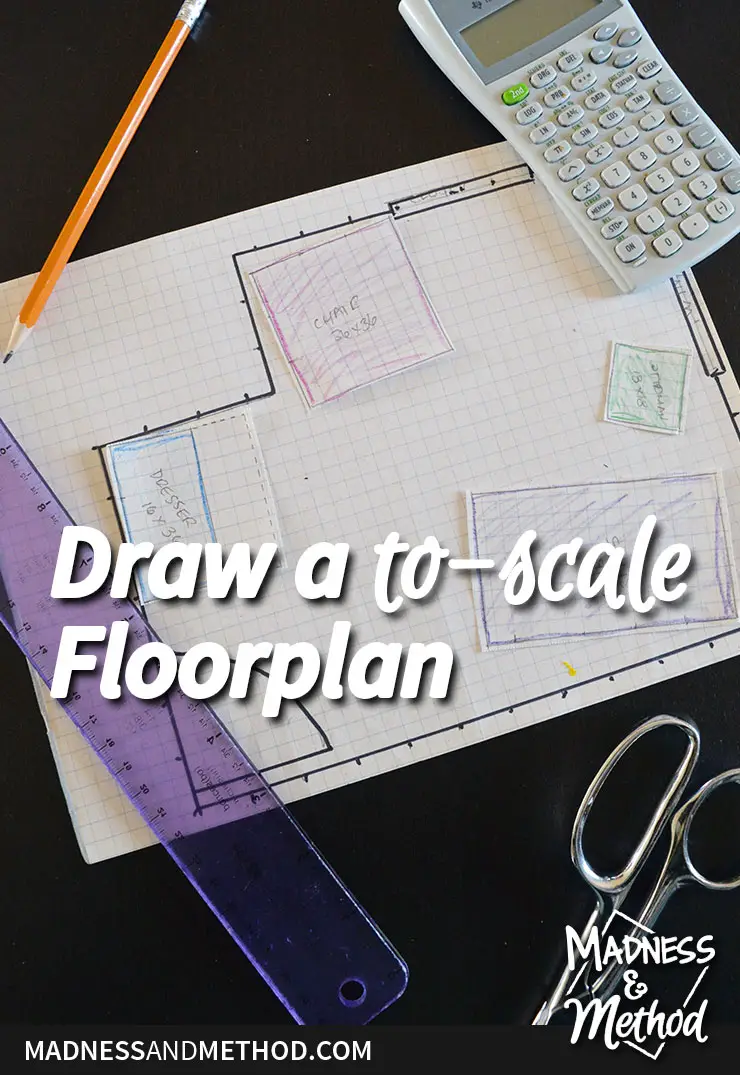
Step 3: Measure and draw out furniture (Optional)
For furniture, I like to use a separate piece of graph paper and draw out each piece individually. Make sure to use the same scale, and then cut out all the little pieces and have fun moving them around your room!
Make sure to check out the video below to see my handy tip about drawers :)
Video: Draw a To-Scale Floorplan
See all the step-by-step details:
I’ve been using this exact same method to do my hand-drawn floorplans for years now. However, I just found this How to Draw a Floorplan article that details the same method… so I guess it’s the best way :)
Hopefully, these instructions detailing how to draw a to-scale floorplan help you with your room layout needs – and please check out the video for a bit more in-depth coverage. I go through everything step-by-step, so as long as you can tolerate me speaking, you should be good to go, ha!
Oh, and I’ve also recently launched some Design Services, SO if you’re looking at creating a to-scale floorplan or two on the computer, I can certainly help you out with that :)


No Comments