
You guys, the DIY concrete walkway is done for the summer. Seriously. Like, I don’t want to think about it until next year! Okay well… I do need to do a bit of landscaping still… but let’s just put that in a different category? Actually, let’s just lump that in with the work on the side yard (which I want to finish this weekend) and call this Project Walkway: Done for 2015! Want to see what I did this weekend to “finish” this project for this year!?
Remember that the concrete was framed and poured, then we took off the frames last week and I shared some photos then. Well, today I’ll be sharing some more photos of what it looks like, conveniently packaged in cute animations showing the progress.
But first, a bit of work okay?
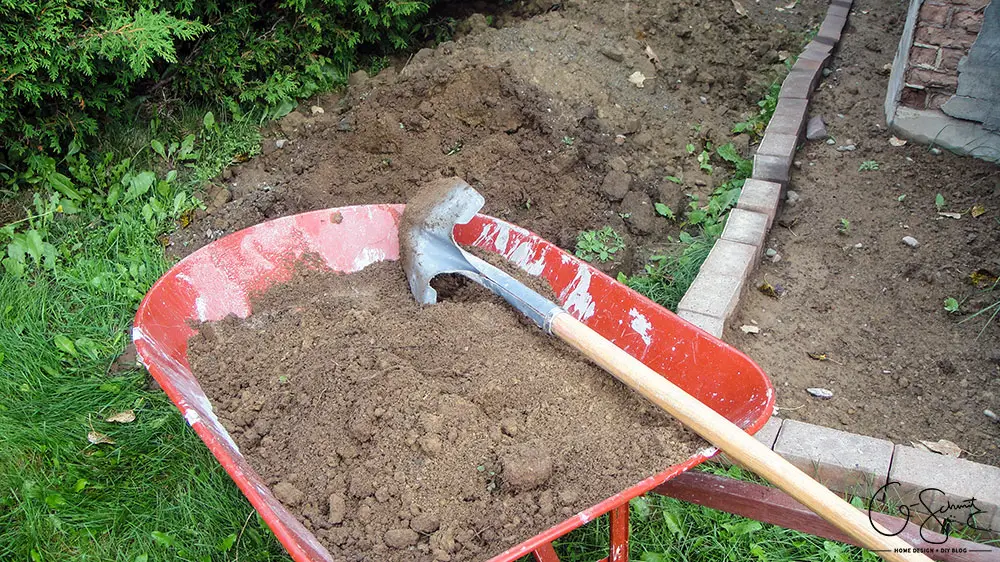
I removed a few wheelbarrows full of dirt from our side yard (that happened to become a casualty when we were digging out the dirt for the concrete).
I filled in about a foot of space where the old flowerbed was (where we extended it to give more room to the Hostas).
And the rest went to fill in the space where we dug out for the concrete frame.
Unfortunately we still have dirt left… go figure… I guess I can just fill in some more holes in my yard?
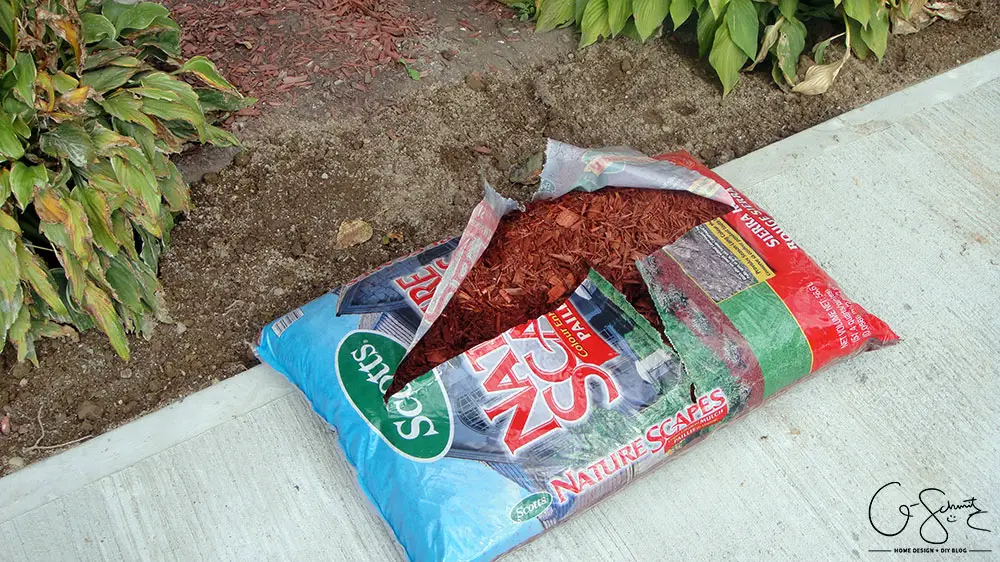
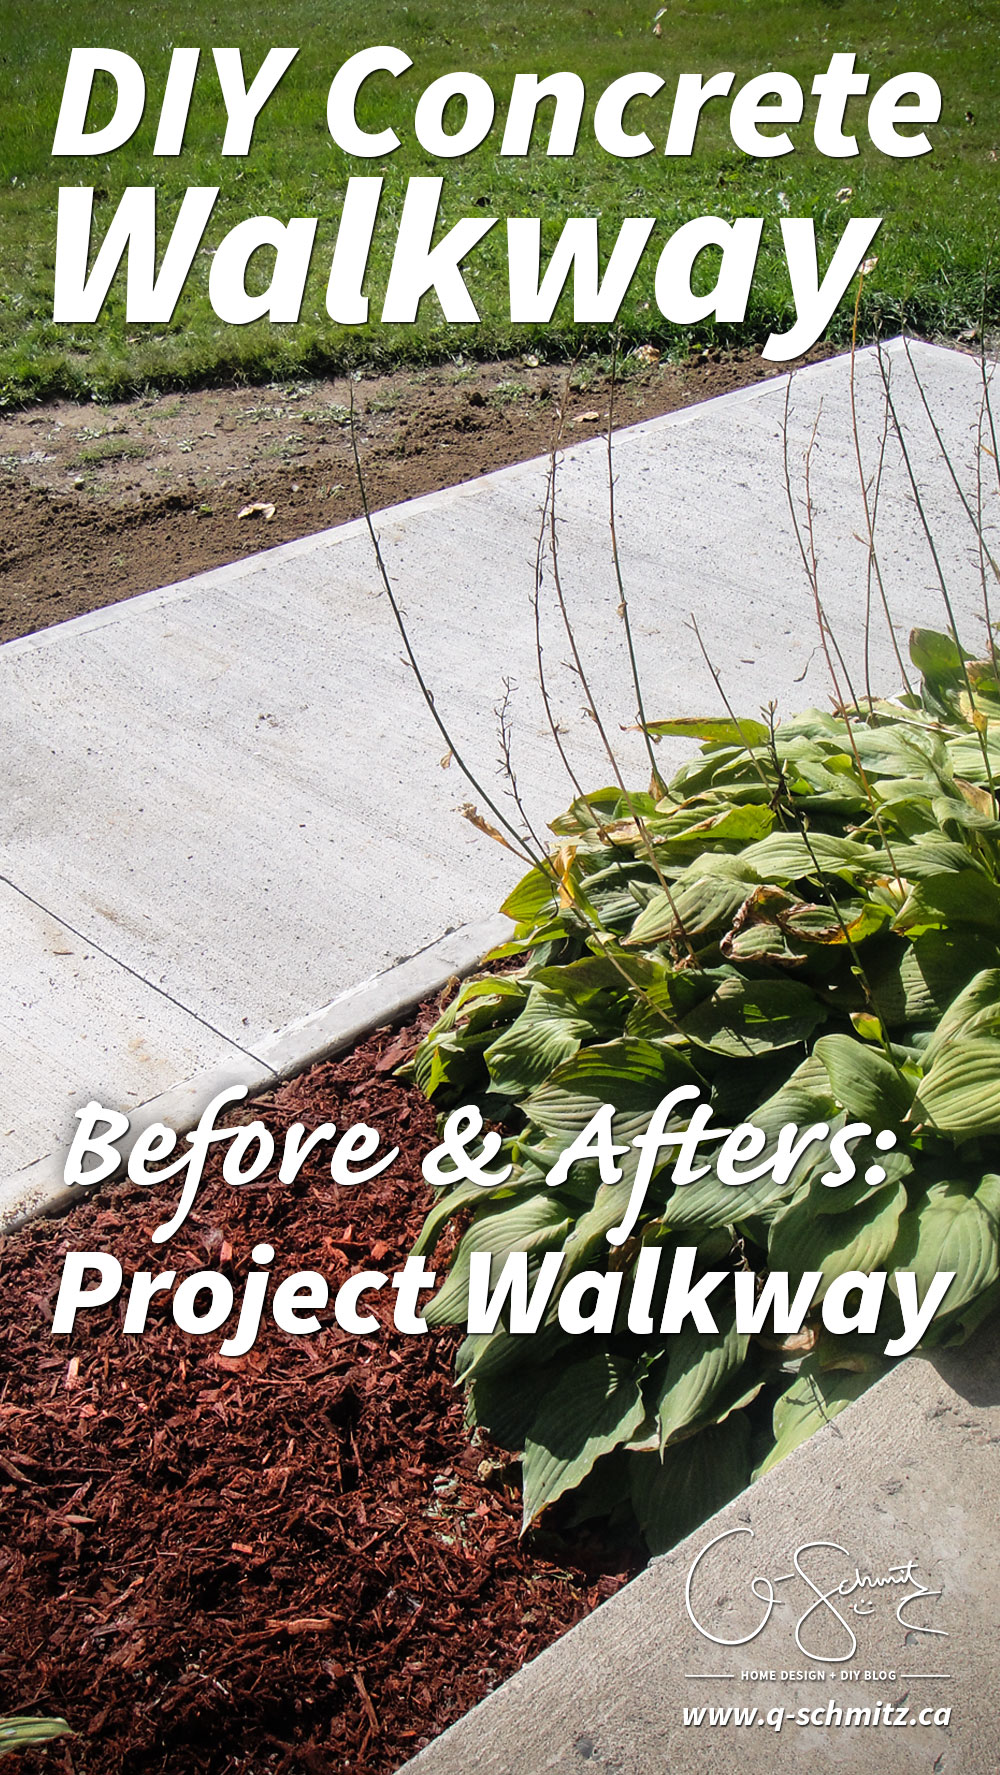
Anyways, I bought one bag of red mulch to cover the dirt and blend with the old red mulch that was there. Yes, thankfully they were still selling mulch, even though some stores already have their fall stuff out! (Side note: the bag said that for an area of 24 sqft, 5 cm deep you need 2 bags of mulch – I only got 1 to do a 16 sqft area, and I had a bit extra to cover the old mulch too).
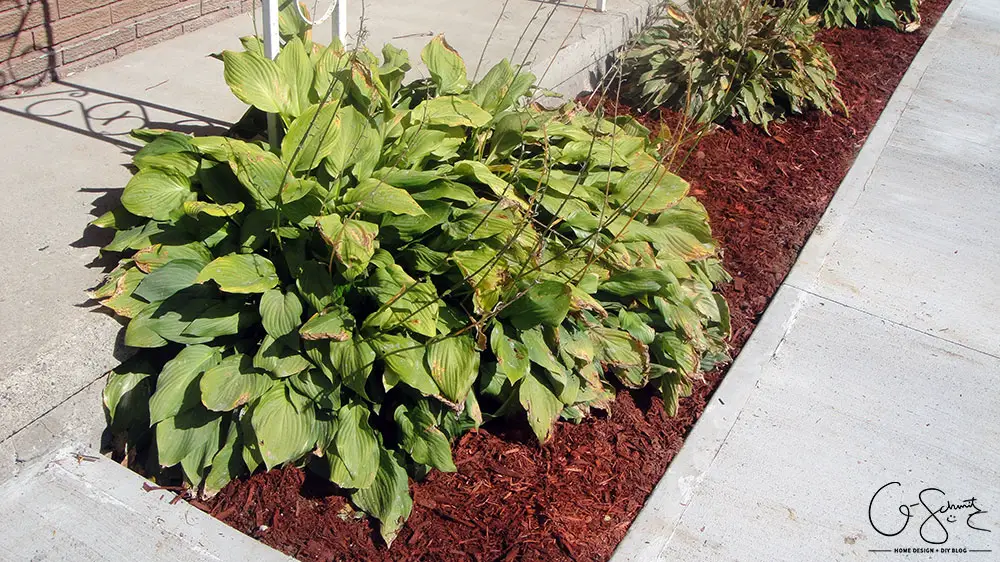
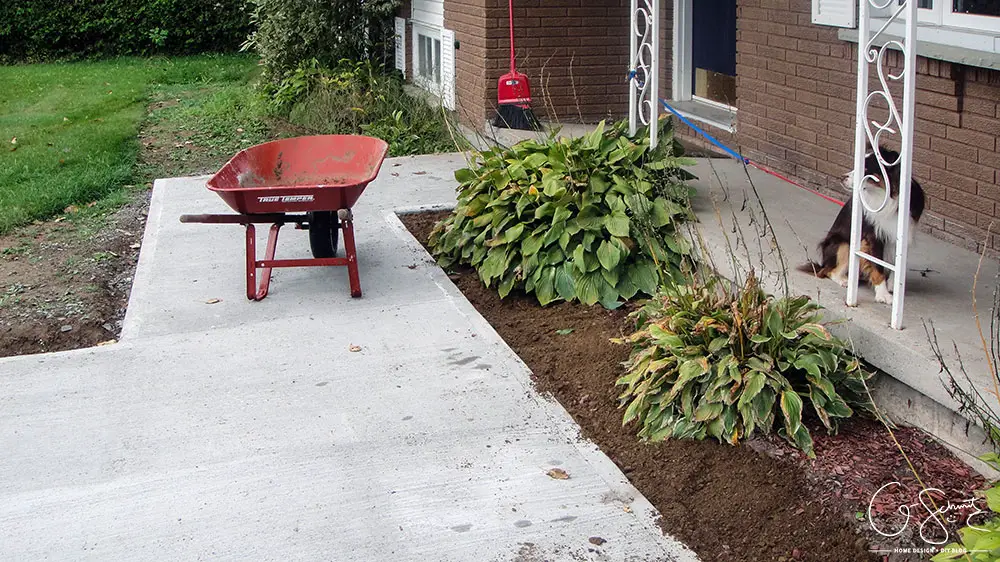
See how much better it looks now! Almost like a professional did it :)

If you remember, on the other side I still need to build some little fences (next year) and then do some planting here too. The Husband actually really wants stones in this area apparently, so maybe we can put those in next year, instead of mulch? This weekend I want to do the perimeter with our leftover patio stones, so it creates a nice border between the grass and the (eventually to be covered) dirt.
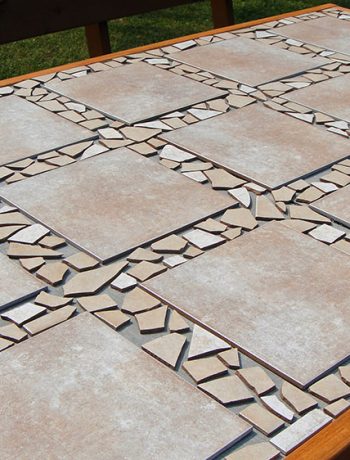
Before + After Photos
Without further ado, here are the (as promised) before and after photos during the entire project walkway!
Here (above) is the view looking from the front door straight out.
And here is the view of the walkway from the door, looking towards the driveway. (Yes, we have cleaned the porch since then, haha!)
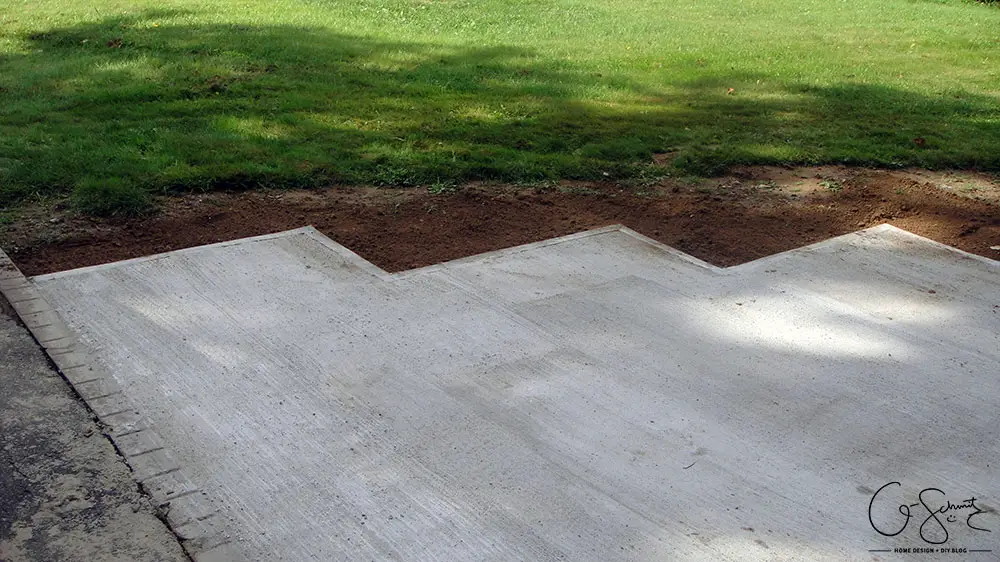
Here is the view from the driveway looking straight at the walkway. (Again, see above)
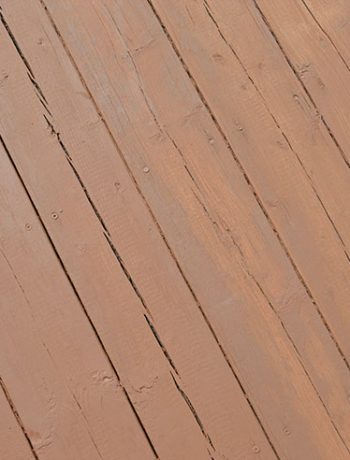
And finally, the 3/4 view from mid-driveway-ish to the front door. And don’t forget we painted the front door too, so it definitely adds to our curb appeal.
Now that the DIY concrete walkway is in, we just have to do a tiny bit more landscaping and beautification before I can cross this off my project list. So, Project Walkway, like Demi Levato said, “we’re cool for the summer” (although I highly doubt she meant a concrete walkway… but whatever!). See you next year!
Let’s all pretend we didn’t look at this side of the walkway okay?
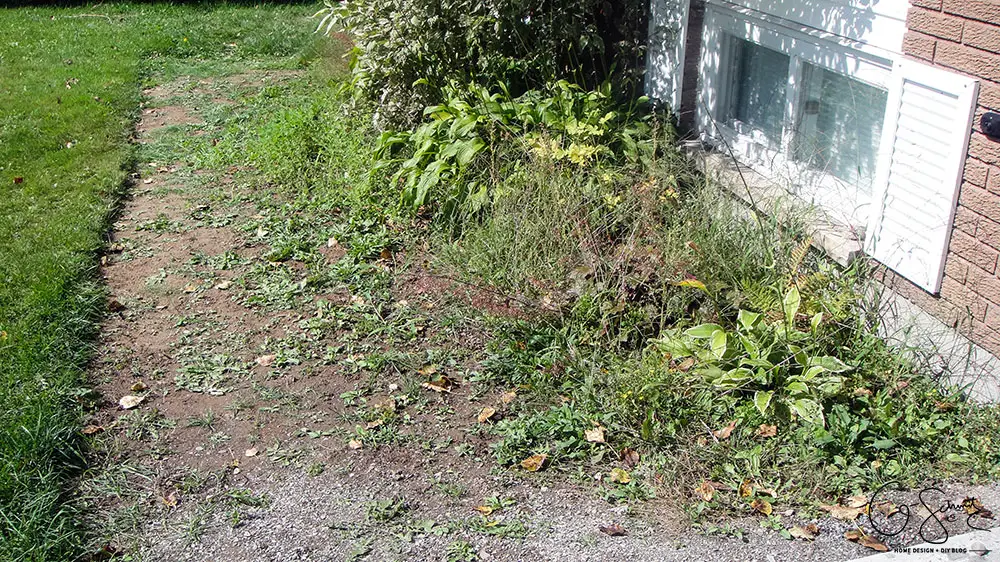
Honestly, it’s the end of the season and there are so many weeds I’m just tempted to throw the leftover dirt on everything and call it good for the year. What do you think? Are there too many weeds to kill with Round-Up, or should I maybe do a combo of pulling, spraying and dirt-covering? I’d love to know your thoughts, thanks!
4 Comments
Louise aka Mommy
September 22, 2015 at 9:31 pmpull the big stuff .. wait a couple days then round up what is small and or comes back. Then cover it with mulch, plain wood chips or even pine needles to keep the weeds down. You can always work it in the ground next spring and put more decorative stuff down
Nicole
September 23, 2015 at 7:01 pmI will try that!
Sharon
September 24, 2015 at 9:57 pmIt looks great, Nicole! Very modern and clearly much less of a tripping hazard than the old walkway. Like your husband’s idea to add the stones. We have river rocks in our front yard and pea gravel in between the flagstone pavers in the back yard. Now you have to focus on the inside, right? Doesn’t it start snowing next week? (Still hot here.)
Nicole
September 25, 2015 at 11:27 amThanks Sharon – I think I “may” like the rock idea too, but I have months to think about it and decide. I wouldn’t be happy if it started snowing this early, but at least I could test the walkway on how it handles shoveling (which was a big issue with the pavers). I’m trying to savour as much outdoor time as I can though!