
The plastic has come off and the DIY concrete walkway has been revealed! I was hoping to show you some pictures of the whole “unveiling” but the Husband jumped the gun and removed the plastic when I wasn’t home… I know right!? Anyways, check out the pictures of how it looks currently and read my pros and cons of our DIY walkway versus professional concrete.
First thing I should remind you to do is to read the post on framing and pouring concrete, in case you have not done so already. There I mentioned that the concrete had gotten all over our patio and my newly painted front door :(

Yep, just look at those splashy chunks! I tried wiping away as much as I could when it was wet, but I had to help actually make the walkway… so that took priority. I’ve since gone back and scraped the big chunks off (it easily wipes away from the plastic shutters) BUT I will need to do another coat of paint in a few areas on the door… boo!
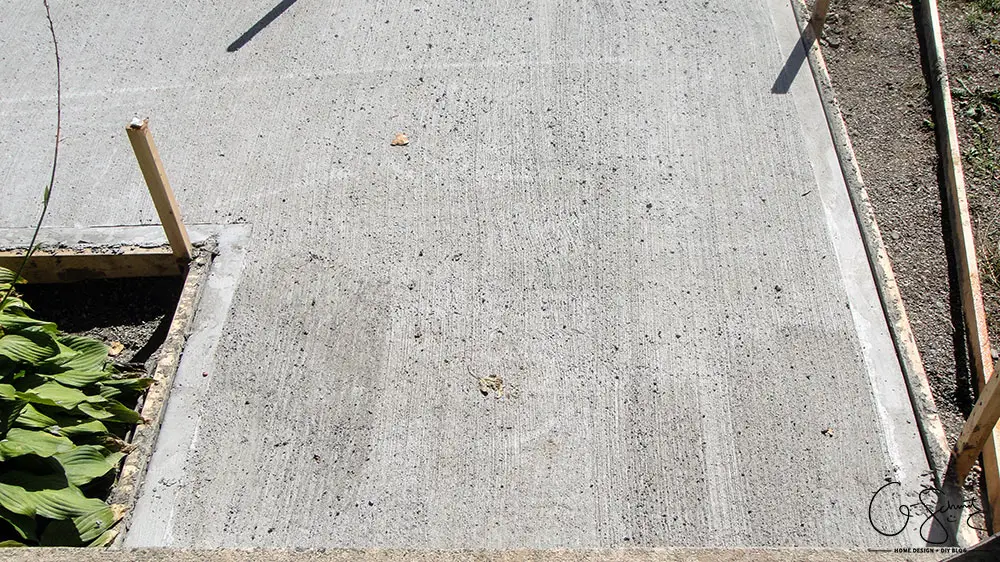
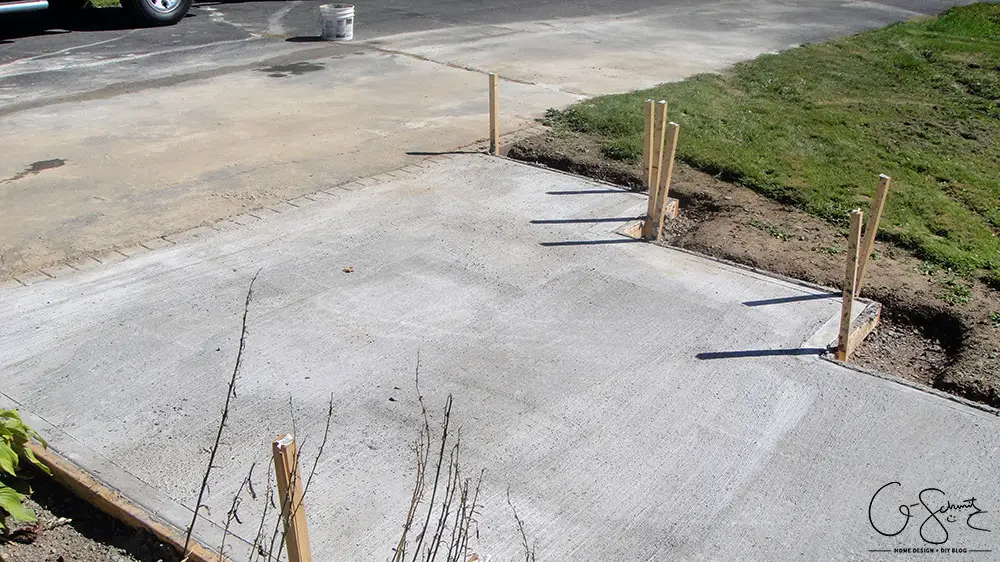
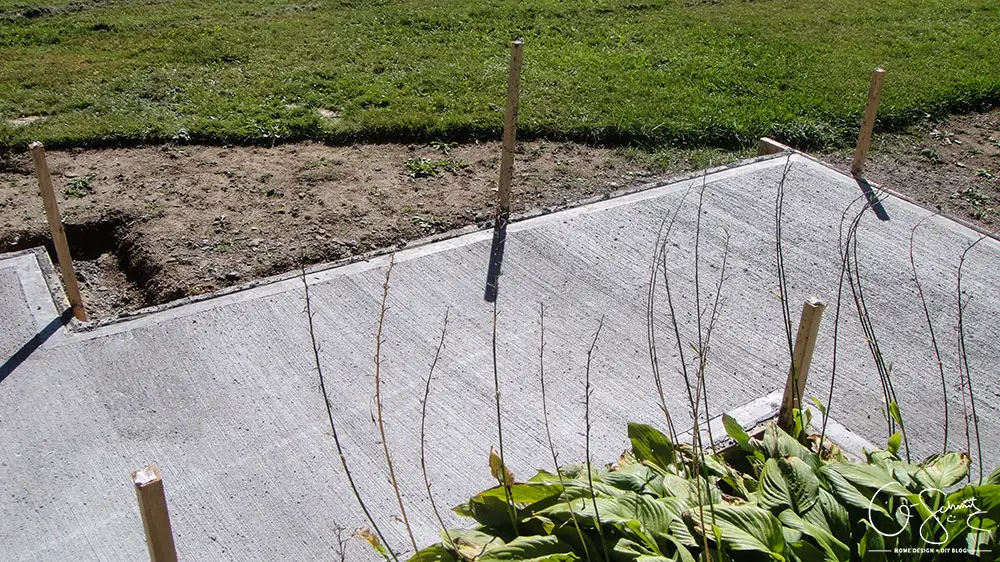
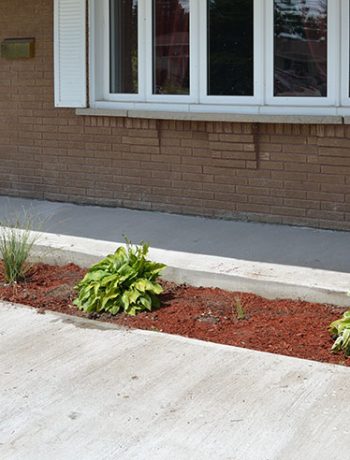
Look how glorious and dry our DIY concrete walkway is though! There are a few little splotches and some colour variation, but a good sweep fixed most of those issues.
In the photo above you can see a bit more of the differences in colours (depending on how set the concrete was when we brushed it). I think we still have to wait for it to completely be set, and if there is still a bit of a difference next summer, we can always stain or colour it…
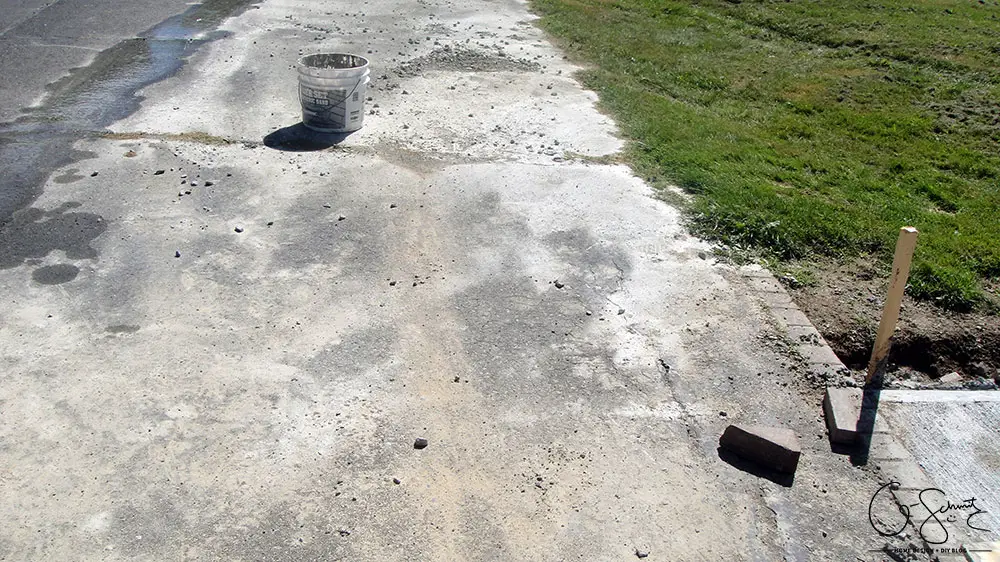
Speaking of which, did I forget to mention that we left a big concrete-y mess in our driveway? Ya, see those little piles of dried concrete/stones… I would carefully maneuver my car around them all week. It was one of those “Oh we’ll clean it up tomorrow”, and tomorrow turned into a week.
It was another task that owning an ice scraper came in handy for. Who would have known? Unfortunately, I think our driveway will be dirty brown/grey for a while. I did spray it with a hose, but it seems like it would have been a crazy waste of water to clean up entirely (and it was really stuck on). Oh well, it will go away when we reseal the driveway next year.
Removing the Frame
Last week, I talked about how you’re actually supposed to cut the stakes down so that you can properly level your concrete with a piece of wood. For us, they did come in handy a few times…
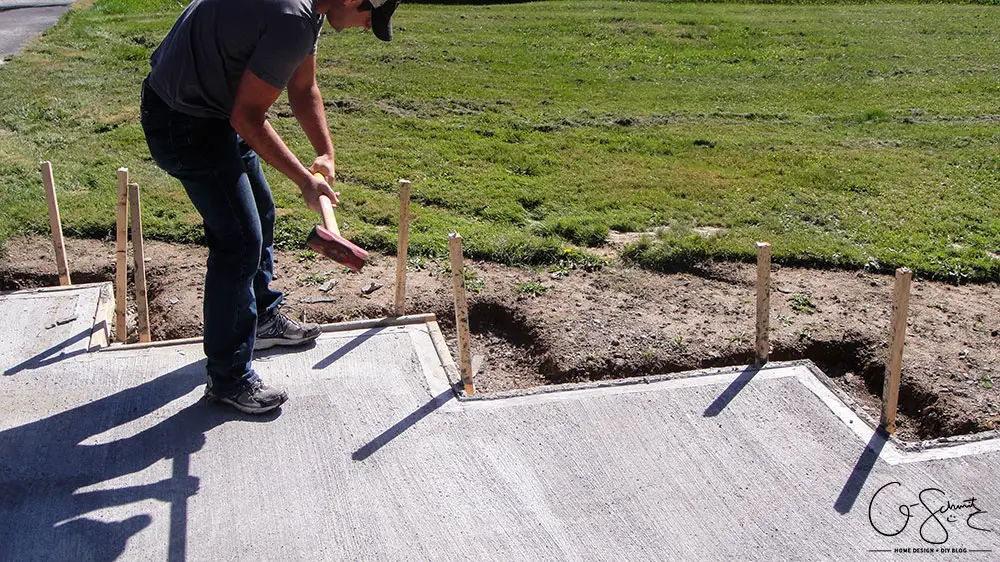
In fact, the Husband even used them to hammer out (with a sledgehammer no less) to remove the frame. When we installed them, we screwed inwards to the outside (so that the screw head was on the concrete side). My theory was that if we had gone from the outside in, then we could have simply unscrewed the wood from the outside. Make sense right?
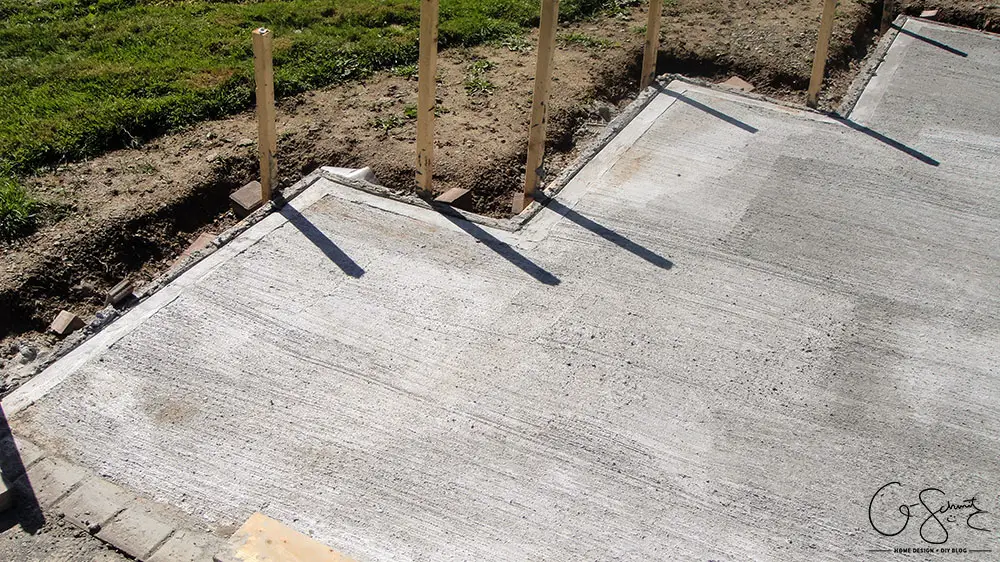
Luckily the hammer method worked and the wood came apart pretty easily, although there were a few places where the stakes broke leaving the tips in the ground.
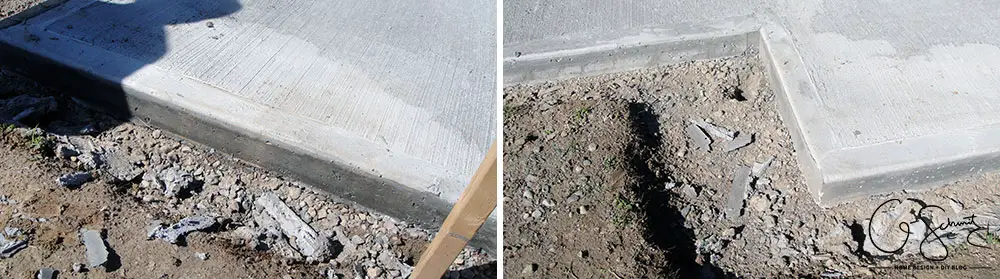
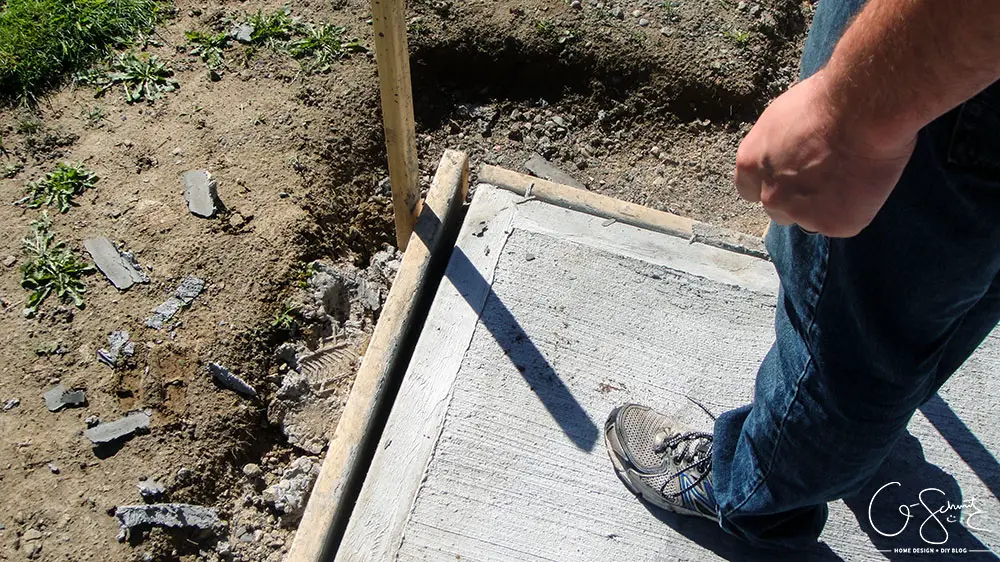
Ooh baby don’t those edges look smooth! The Husband was reluctant at first when I showed him the edge smoother, but he agreed to use it because it added a nice finish to our work (making it look professional and all!).
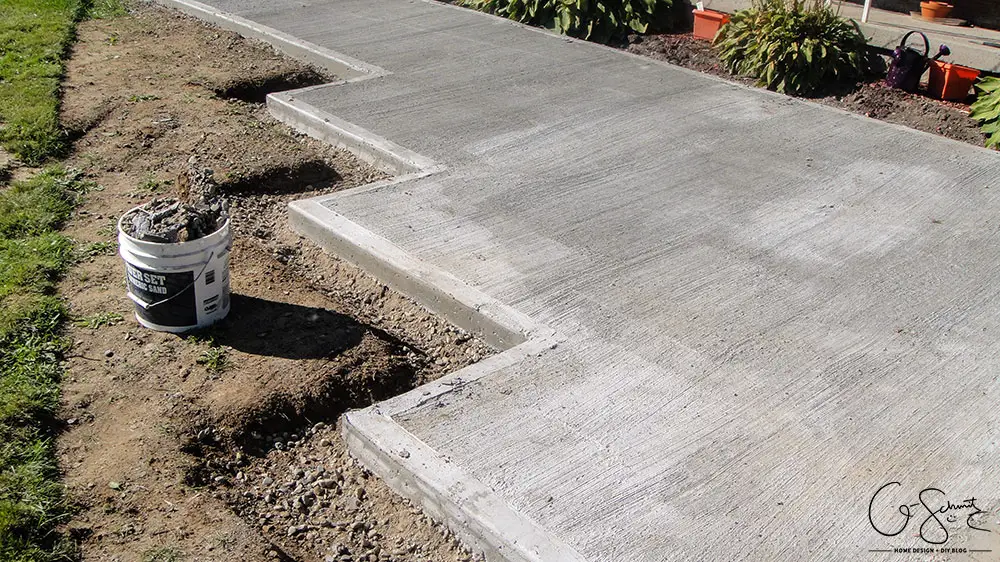
I simply went back along all the edges and took out all the fallen pieces of concrete. We’ll be filling the ditches up with dirt, and it just makes more sense to get rid of it than bury it all, right?
Cutting a Concrete Expansion Joint
There are two ways you can cut an expansion joint (which is recommended to avoid cracking). The first method is to do it while the concrete is still wet (kind of like edging it, but somewhere in the middle instead). And the second method is to cut the concrete when it’s dry. We went with option #2.
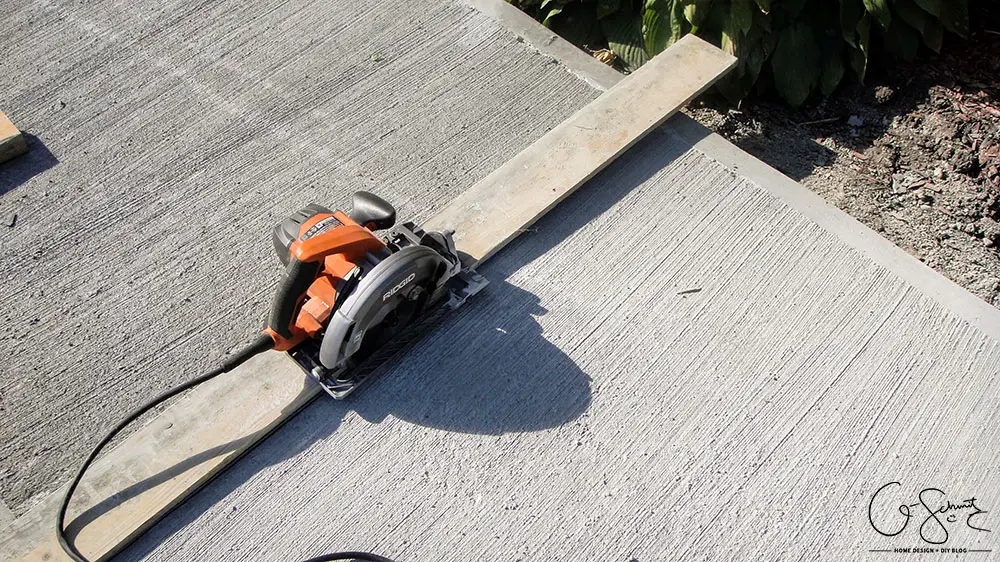
I simply placed a 1″ board perpendicular to our walkway at one of the corner sections. Expansion joints are recommended if your concrete is a certain size, and we only went with one. You need to cut 1/4 of the depth (so for us, was about 1″ deep).
It’s very important that you get a diamond blade to cut through concrete (or stones, bricks, etc.). I picked one up at the hardware store for our skill saw, and the Husband plopped it on.
I stood on the piece of wood (which acts as the guide for a straight cut) while the Husband pushed the saw through.
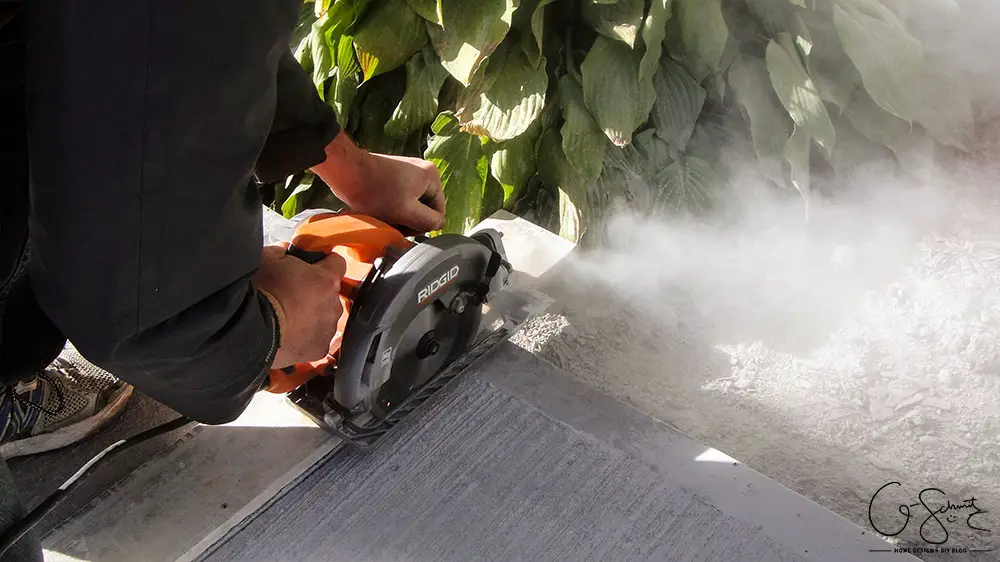
We were worried that big chunks of concrete would come flying out, so put on long sleeve sweaters just in case (we were obviously wearing safety glasses). Thankfully there were no chunks, but there was a lot of dust. Like, we should have been wearing face masks type of dust (we did have to take a break halfway through to let it settle).
Oh, and add earplugs to your list of safety gear for cutting concrete too!
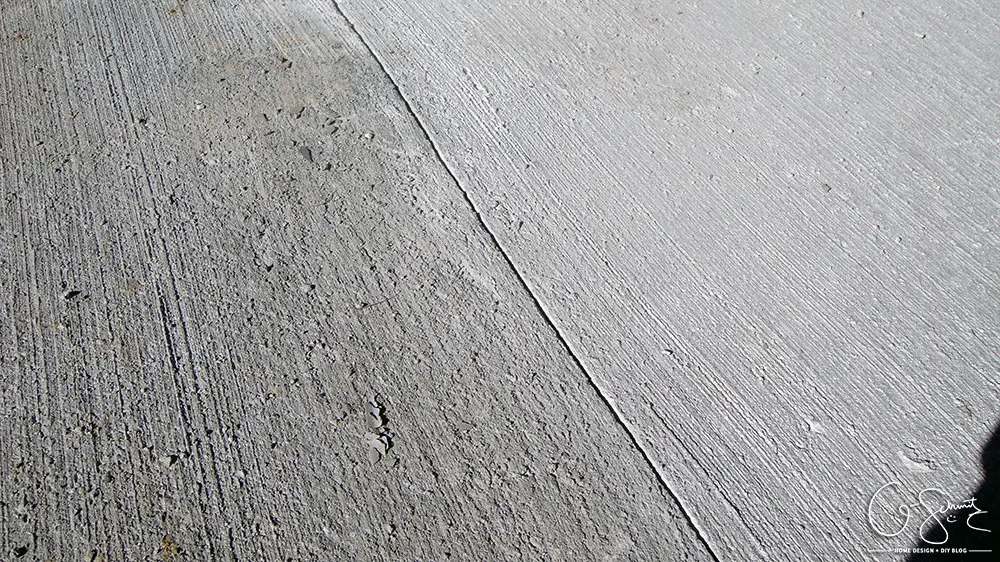
And so here is the result of the nice straight line we cut (“we” because even though the Husband did the sawing, I did the whole standing and making sure it was straight part). The idea is that if the concrete decides to crack, it will do so at this point and the gross jaggedy line will be hidden below the nice smooth cut we made. Fingers crossed it doesn’t crack anywhere else!
Pros/Cons to a DIY Concrete Walkway:
I mentioned most of my “warnings” in the framing and pouring part of this project, but I decided to do a nice recap here as well:
Cons: (Why you should hire someone)
- A large area is hard to do without the proper tools
- The proper tools are expensive if you are only planning on using them once (ie: a large float to smooth out the entire surface)
- We didn’t have a large float, so some areas feel “lumpy”
- I read that puddling is not good, so I am worried that we may have some low spotty areas. Even though it rained torrentially the week after we poured (and had the concrete covered), since removing the plastic it’s been sunshine and rainbows (minus the rainbows)
- Cleanup is easier if someone else does it!
- Concrete work takes muscles! If you don’t have any, don’t attempt (I could have NEVER done this on my own, thank goodness the Husband and our friend were here to help!)
- Professionals do this for a living! No amount of reading articles and watching videos can adequately prepare you and take the place of real-life experience
Pros: (Why you should DIY)
- DIY work is so satisfying!
- Much cheaper because labour is free (material costs are the same)
- You have more control over the shape/pattern (I assume that if I had went to a professional they would have told me this “step” style was weird)
- You can work around your schedule
I think I covered it all? If you’ve done some DIY concrete, let me know if I missed any major points! And hey, if you’re a professional – I’d love to get some insight too :) As always, I’ll keep everyone updated if anything changes – and hopefully we make it through the winter un-cracked…
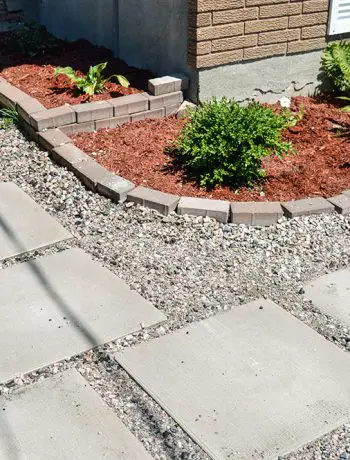
So there are all the finishing images of the now set concrete walkway. Next week I’ll be working on filling in the areas around with dirt and prepping everything for planting next year. Once that’s done, I’ll share some better overall pictures… because I just realized that I forgot to take some wide shots, sorry :(
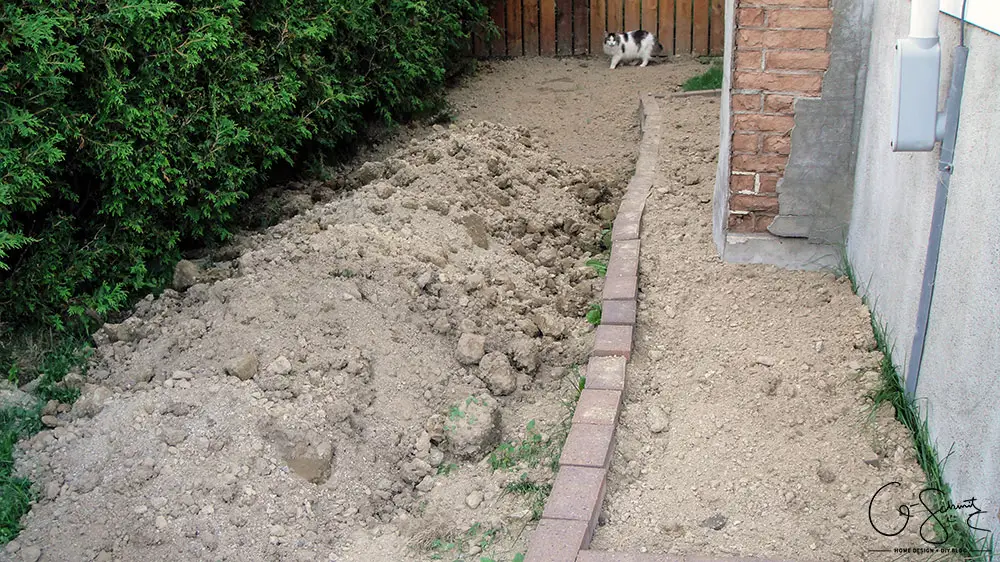
Oh, remember my nicely levelled side yard? The Husband thought he could hide the excess dirt there… so now I have EXTRA work to do before we can bring the stones in and complete this area… bah life!
(And no, that’s not our cat).

2 Comments
Penelope Smith
August 4, 2018 at 12:58 amThis is some really good information about concrete walkways. I didn’t realize that you can make a walkway like this. It is cool that you cut the lines into the concrete. I wonder if you can buy premade slabs of concrete.
Nicole
August 6, 2018 at 8:04 amYou can make almost any shape with concrete, and you definitely need the lines as expansion joints so that it doesn’t crack in a weird way. You can buy 2×2 pieces of concrete (like patio pavers), but they are heavy (and I’d imagine are much heavier the larger you go)