I’m still on vacation – I’m back from Miami but still not home yet, so I have no idea what our front walkway looks like. I’m guessing/hoping the same as when I left it last week. Because I knew I wouldn’t be back, I made sure to save my pictures of the side yard landscaping progress so I could share them with you today. (No blogging vacations for me!)
– Note: This post contains affiliate links. See more information about affiliates here –
Materials You May Need:
- Patio Pavers (or edging stones)
- Garden Spade/Shovel
- Landscape Fabric
- Dirt
- Long Level
- “Strong” Rake
Looking back at how the side yard was in the spring, you can see that it was pretty much a blank canvas. (Well, from what you can see with all that snow).
UPDATE: We added some pavers a few months later, added some more the next summer, and finally finished the sideyard!
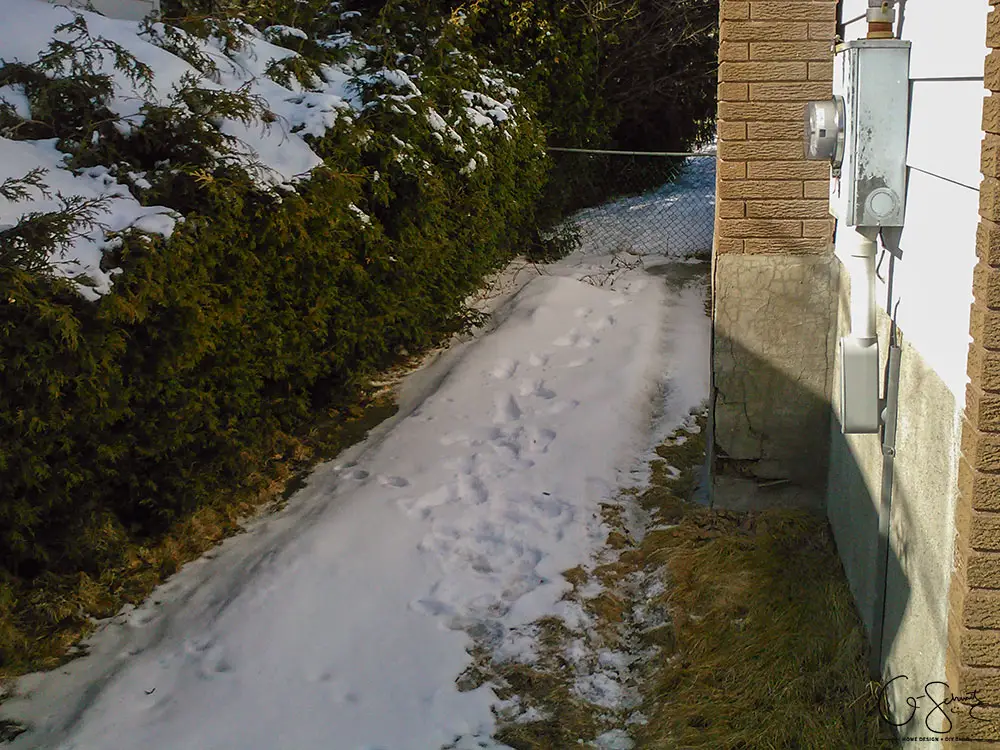
Photo First Appeared in: Side Yard Plans
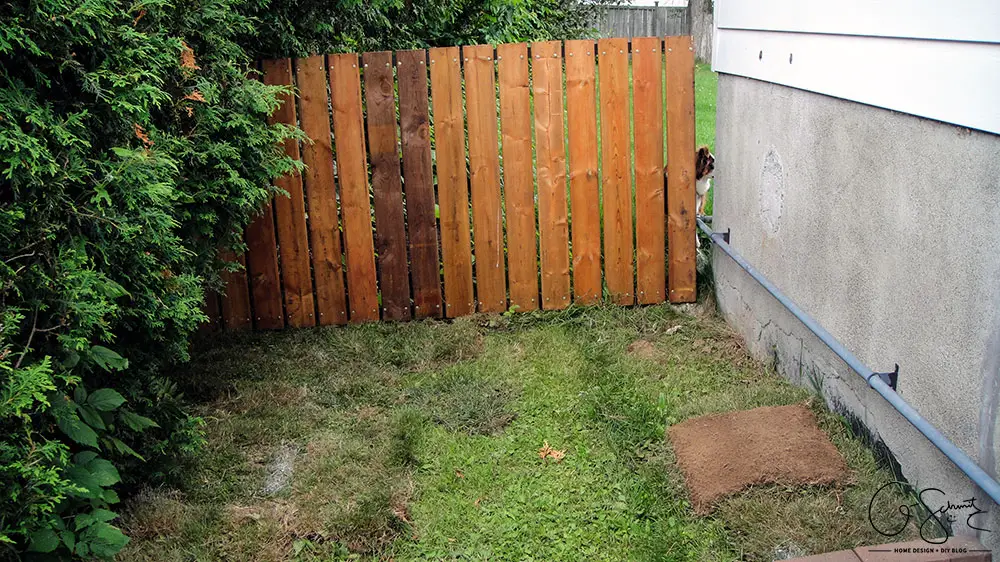
We knew we had to tackle the fence/gate situation, and so added a door sometime at the start of the summer. But the ground wasn’t very level, so the door was kind of slanted. Eventually, we’re going to add a caster wheel at the bottom so it slides nicely, and a handle and lock too.
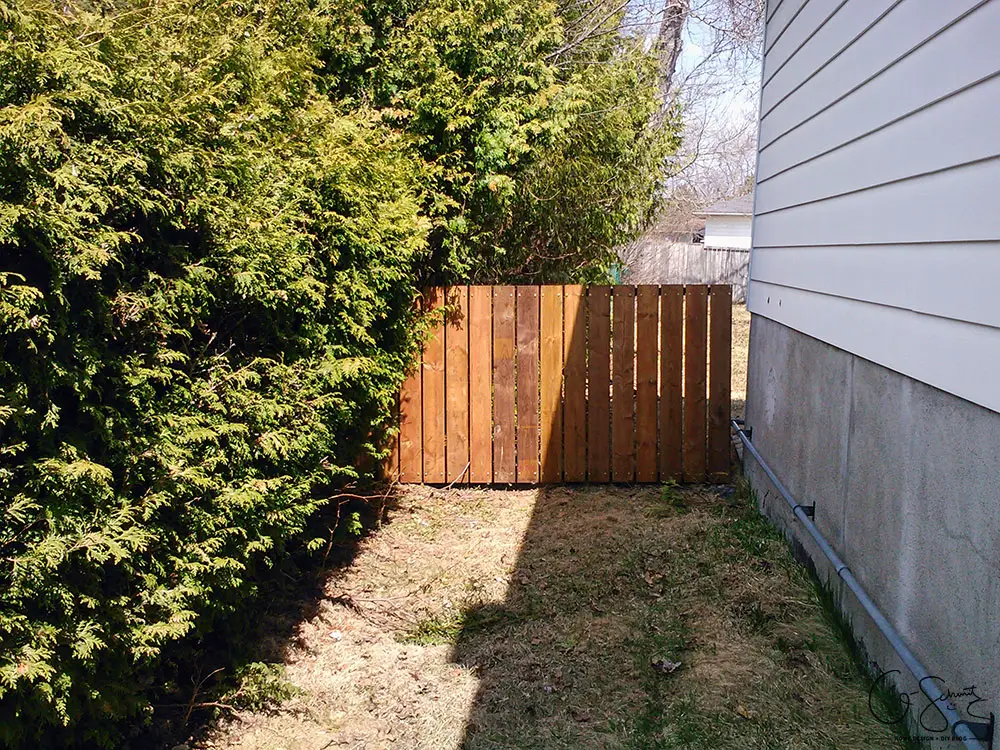
Photo First Appeared in: Install a Gate with Hardware
And finally, we began working on the landscaping for this section near the start of August I think? And I had given a little sneak peek when we started working on the front walkway, so we have been working slowly on each space as time has gone on.
Building a Brick Flower Bed
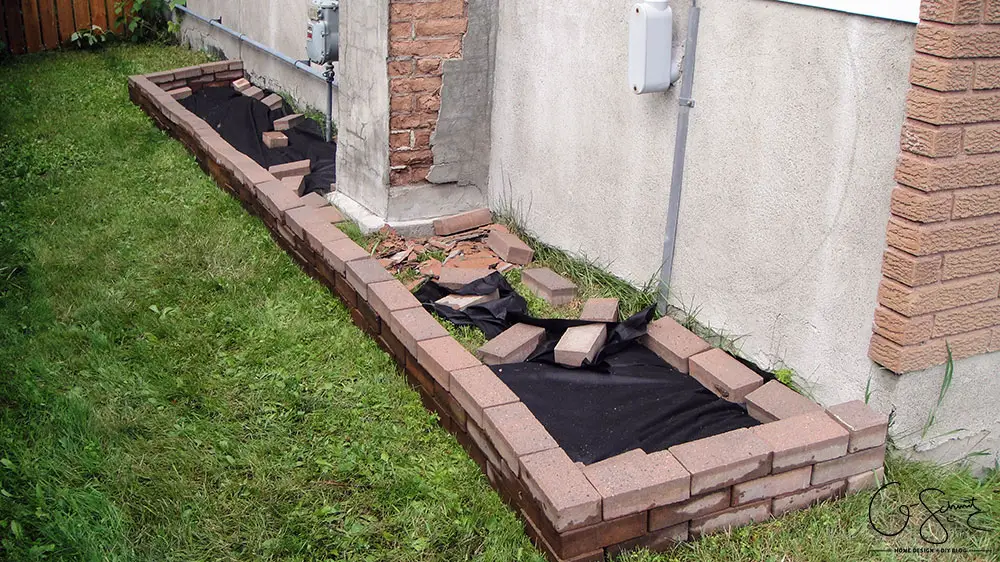
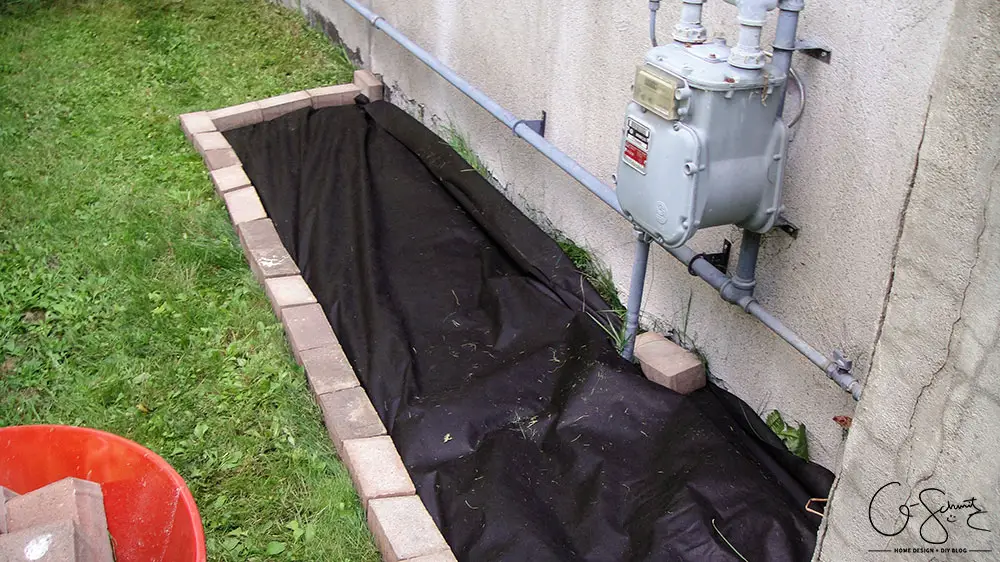
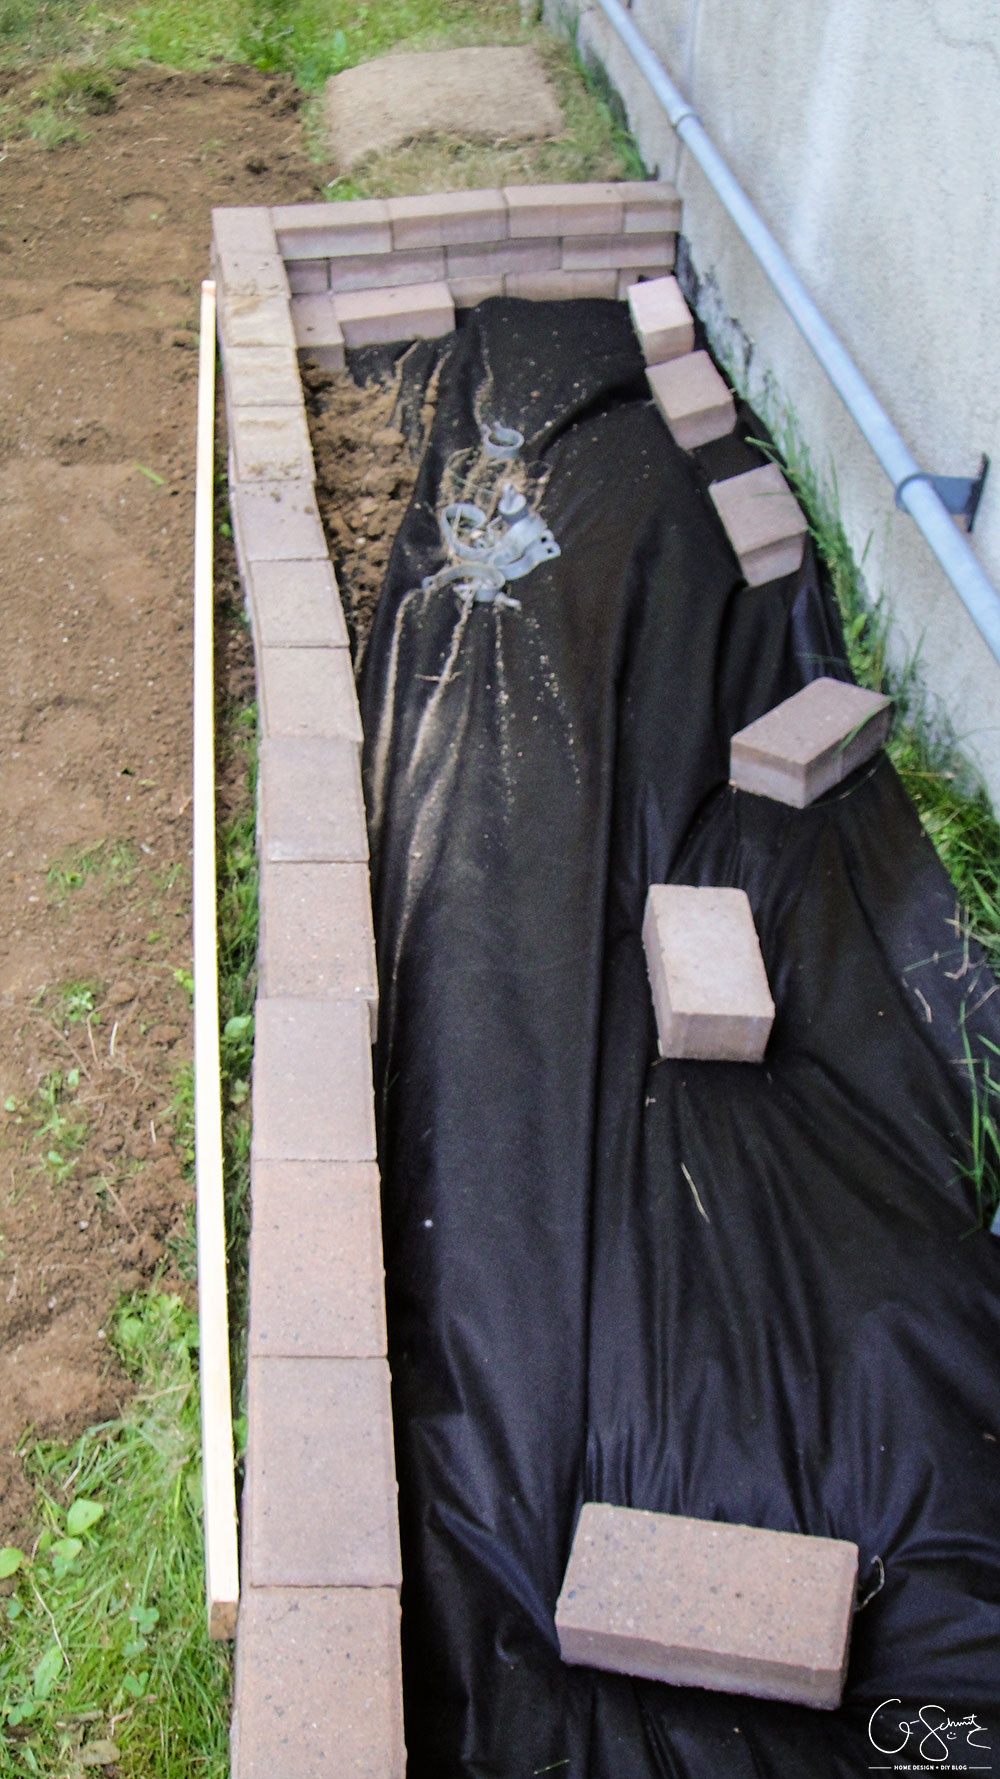
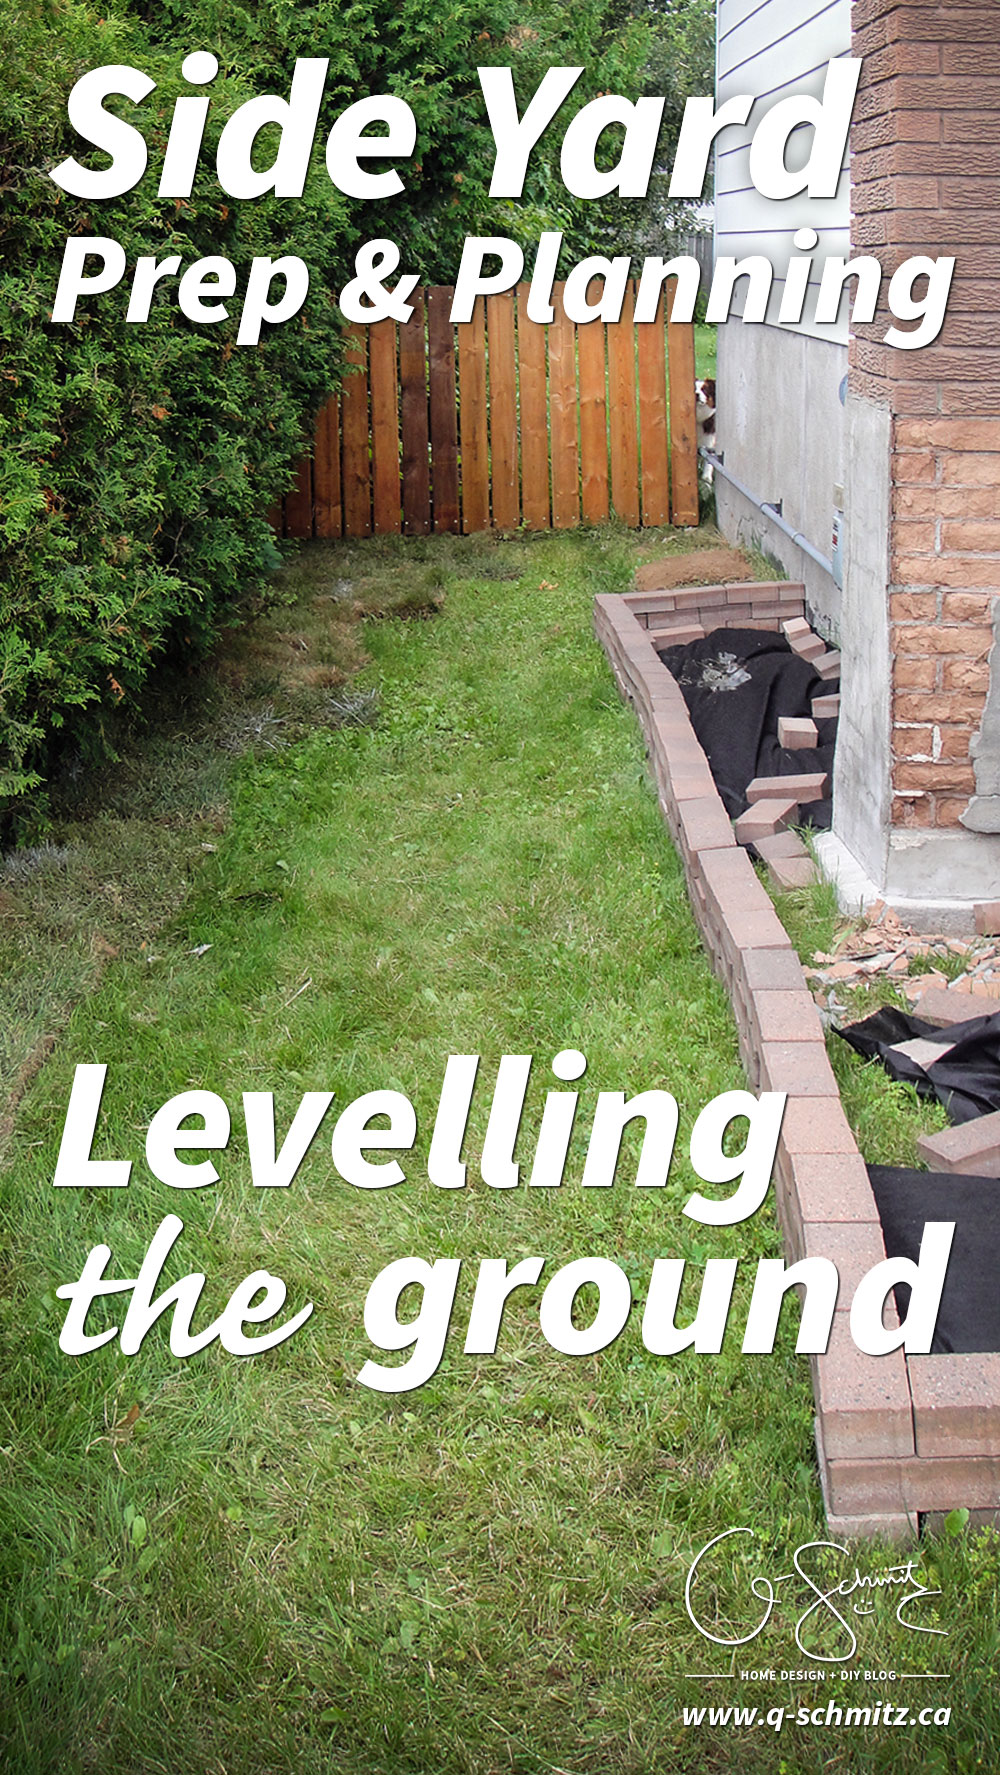
We started by adding a layer of leftover pavers to create a flower bed section along the wall. We had just a bit of landscaping fabric left from when we filled out garden beds.
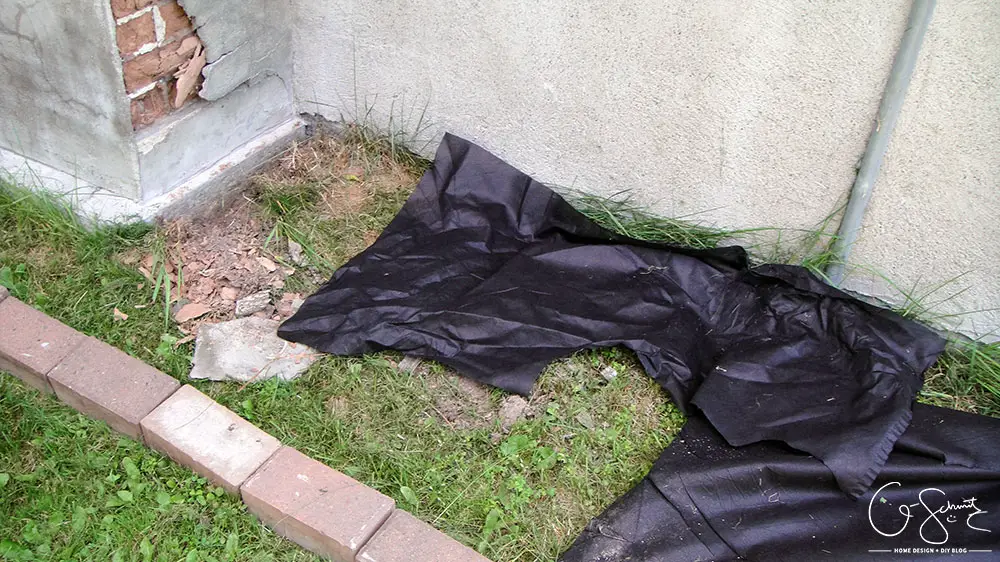
But not quite enough to fill in the entire space :(
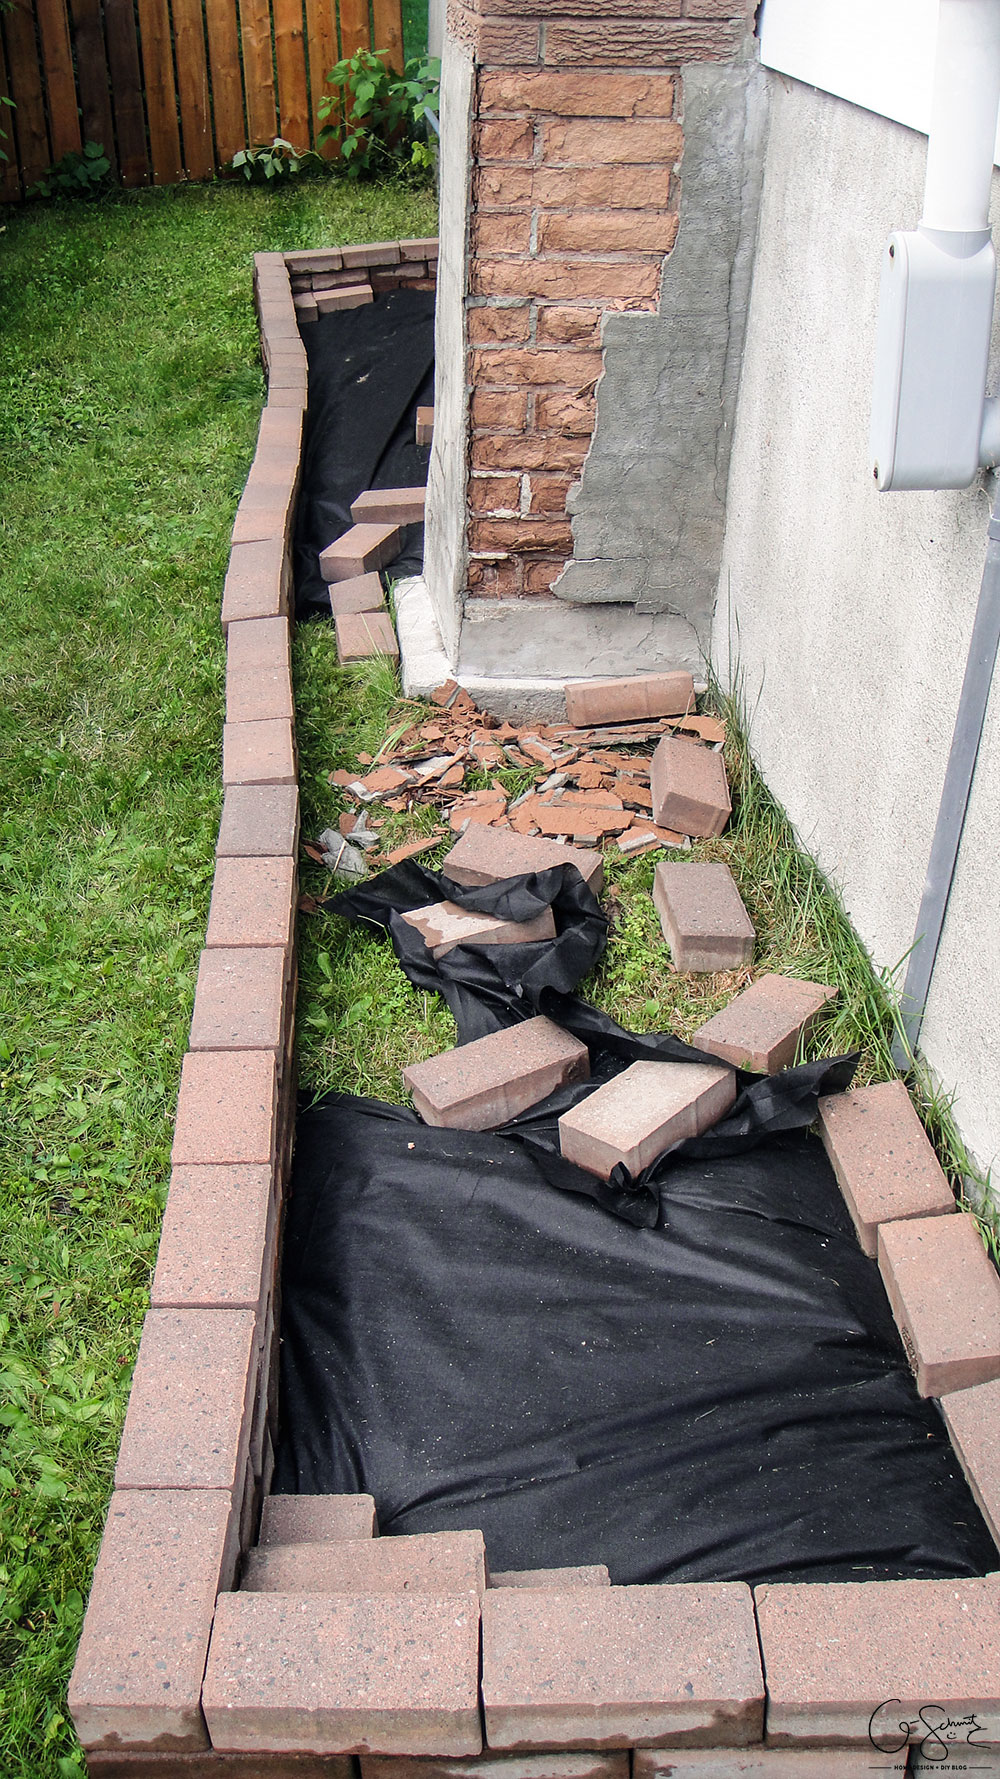
We ended up building the stone blocks 3 levels high, and reinforced some of the corners. As you can tell, we still have not done anything to fix the breaking concrete and bricks from our chimney. Although, when I was researching concrete for our front walkway, I think I came across somewhere that said that if you put the wrong type of concrete on bricks, it causes that splitting and cracking. Not sure if we’ll fix it this year, but I think we may need to consult a professional.
Because we hadn’t actually removed the sod in this area, and just put the bricks right on top of the grass, we didn’t really make that straight of a line. Oh well, it stayed like this for another week or so until we started working on this area again.
UPDATE: I wish I would have leveled the blocks a bit more AND added landscape fabric to the grass area
Levelling the Ground
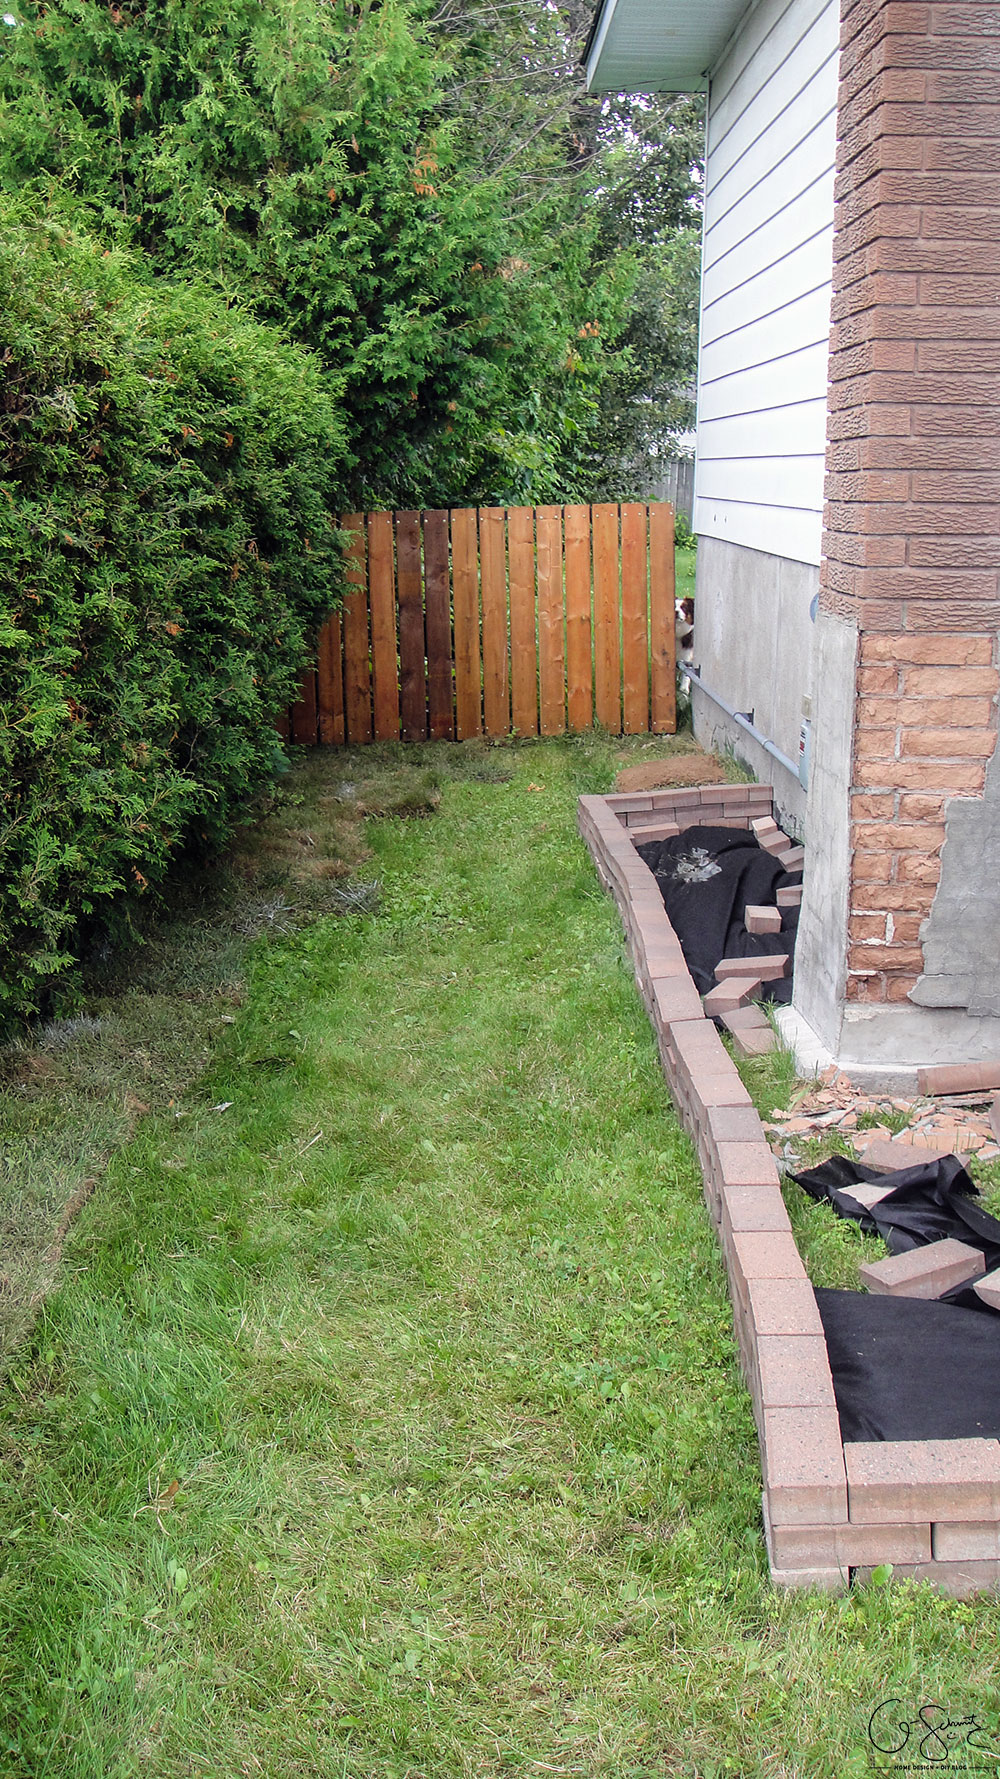
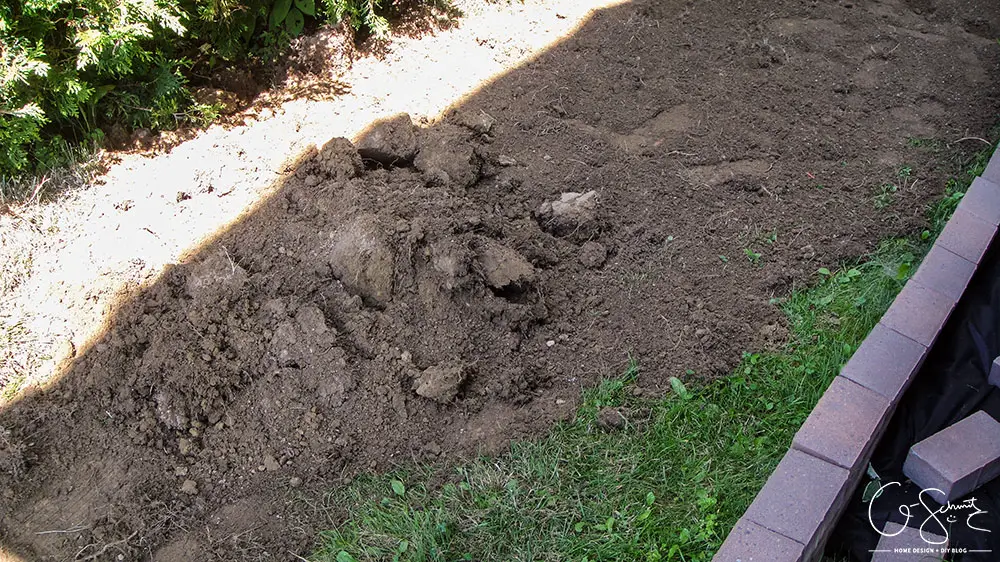
When we removed the sod from the front yard where our new walkway will be going, we had a lot of extra pieces to get rid of. And while I did put a bit in the front and back yards to level out some bumps, most of the sod was going along this side yard to help build up the ground here.
You always want to make sure that the ground drains away from your house, but this area was a bit extreme and was interfering with the gate swing – so we had to try and make it a bit more level. (And yes, that is Tootsie you can see in the backyard).
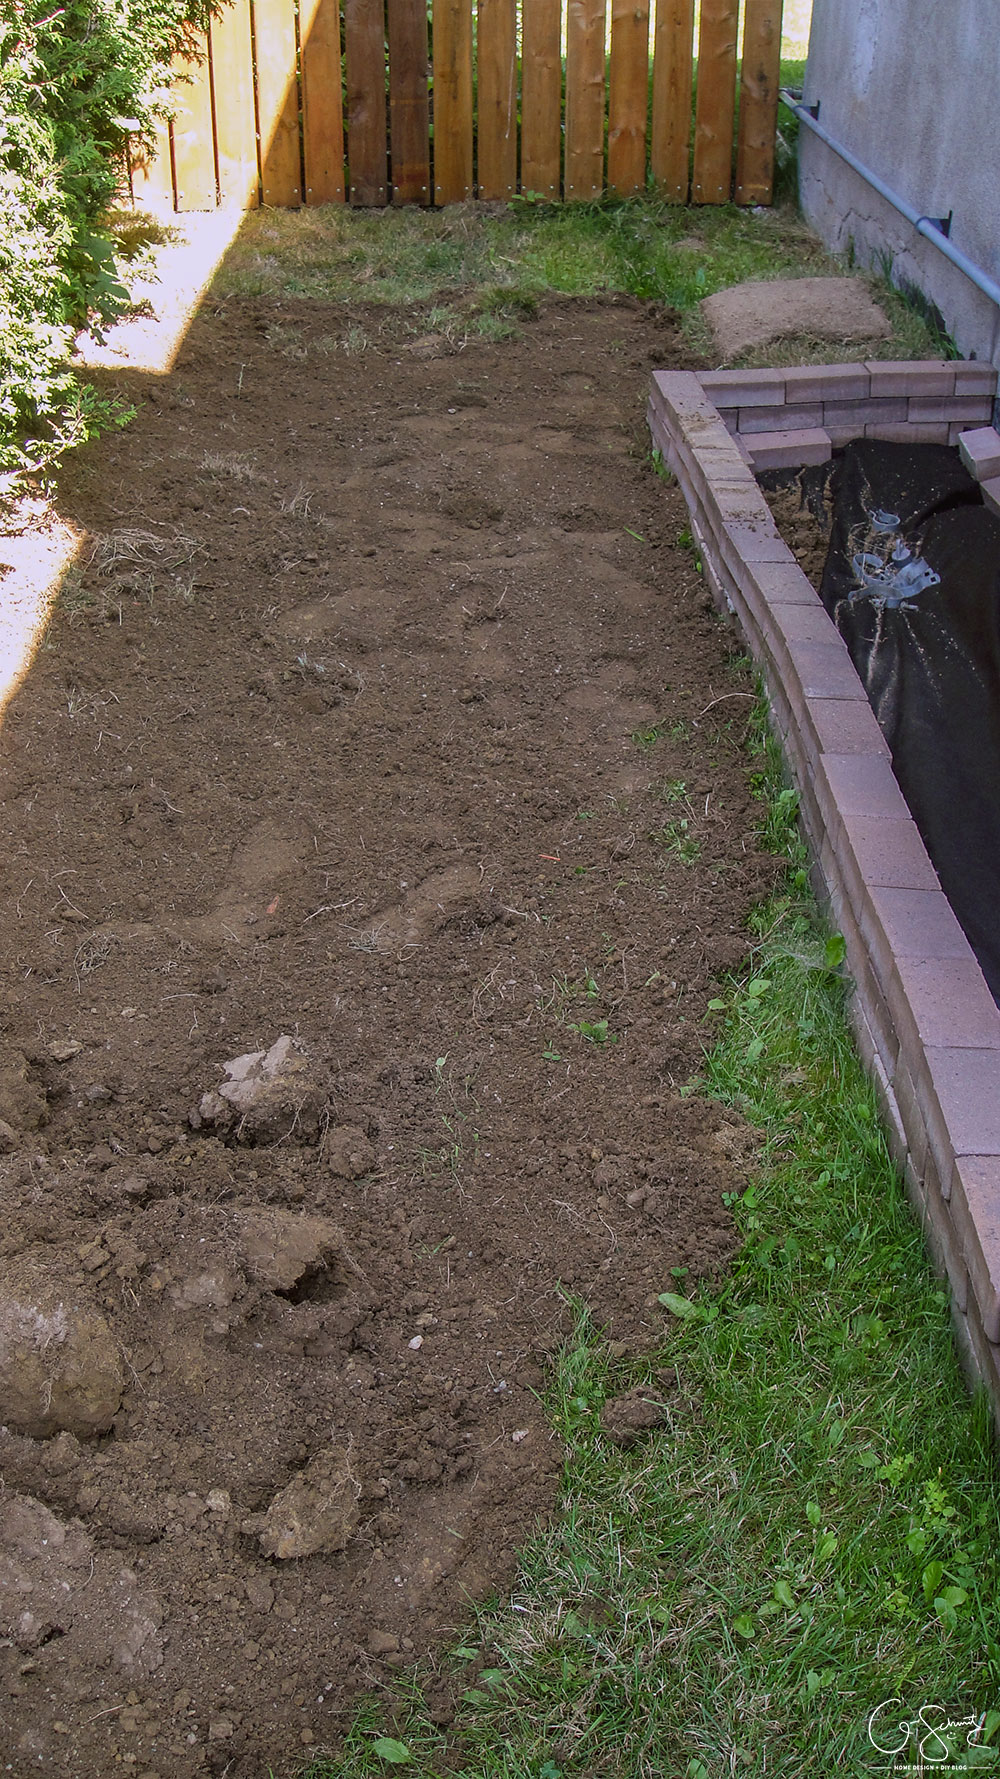
Once we had a row or two of sod along the far side, we brought in some dirt to make it all even. And again, this dirt came from our front yard when we were removing it there for the walkway.
I realized that a lot of the work you do in your yard has to do with digging up and moving dirt! Which is kind of annoying if you don’t like physical labour… but maybe I have more arm muscles now?
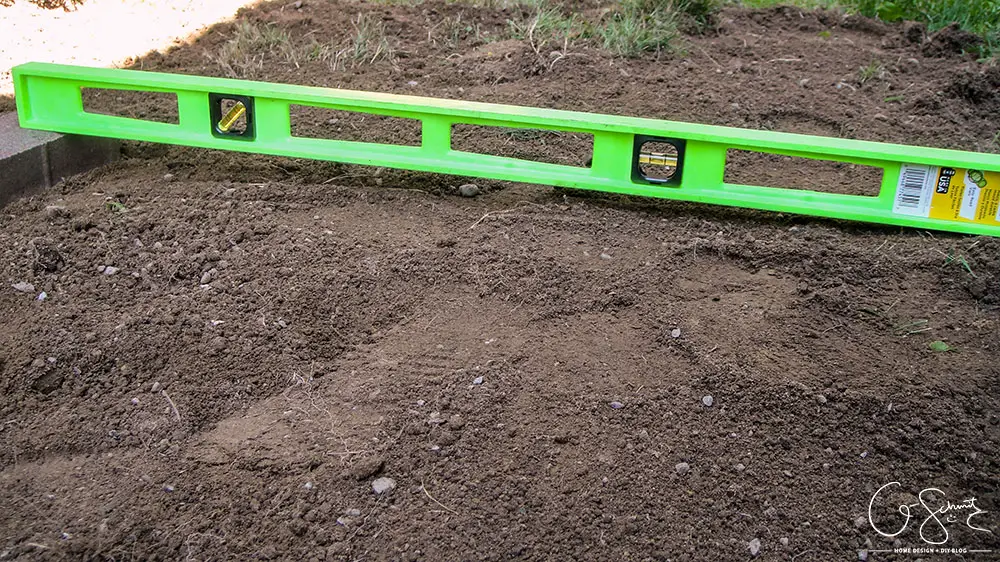
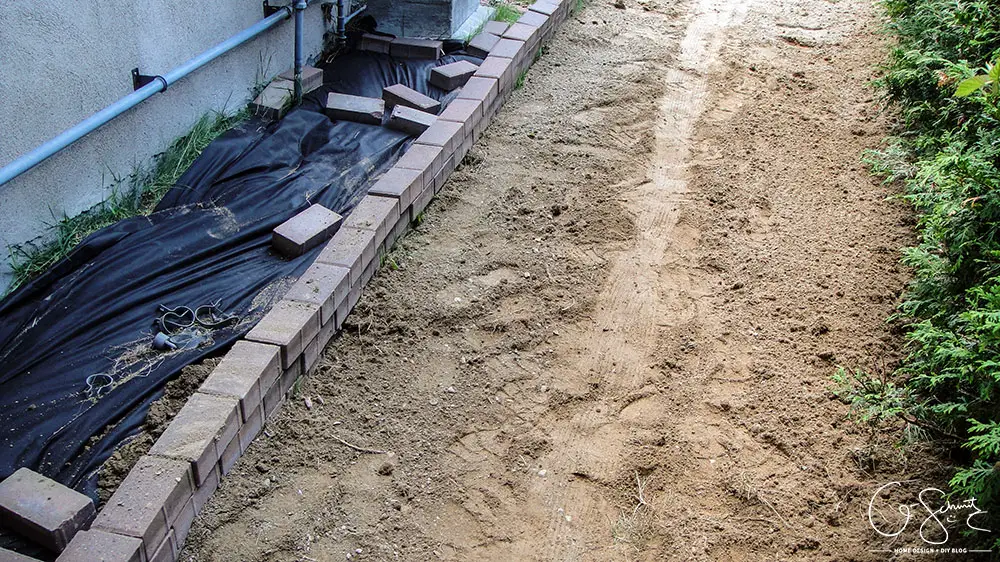
We even brought our handy long level out to make sure the ground was as even as possible (but still sloping slightly away from the house).
Above I did mention that the stones weren’t straight, so I brought in a piece of wood as a guide and slowly pushed them over to fix before we started bringing in too much dirt.
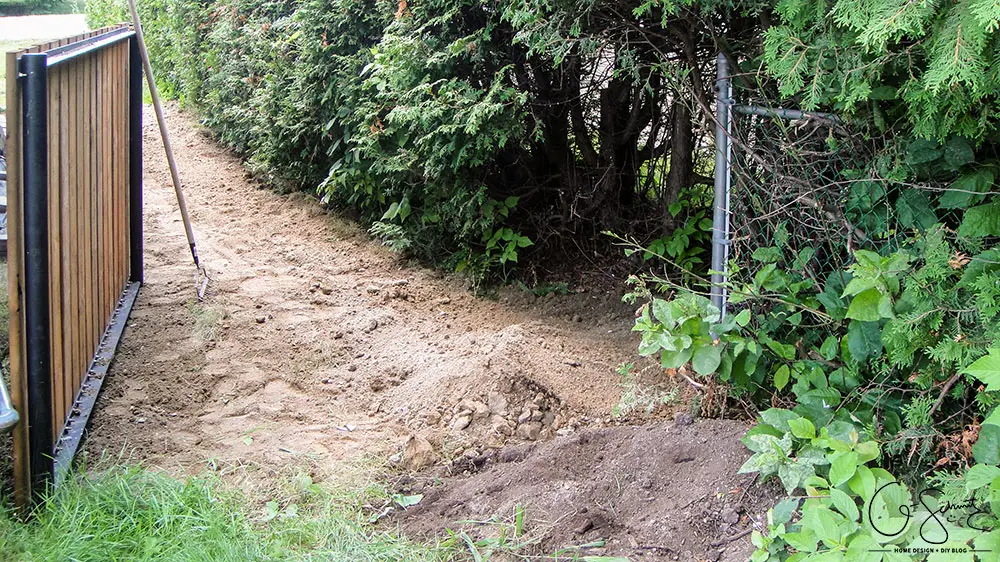
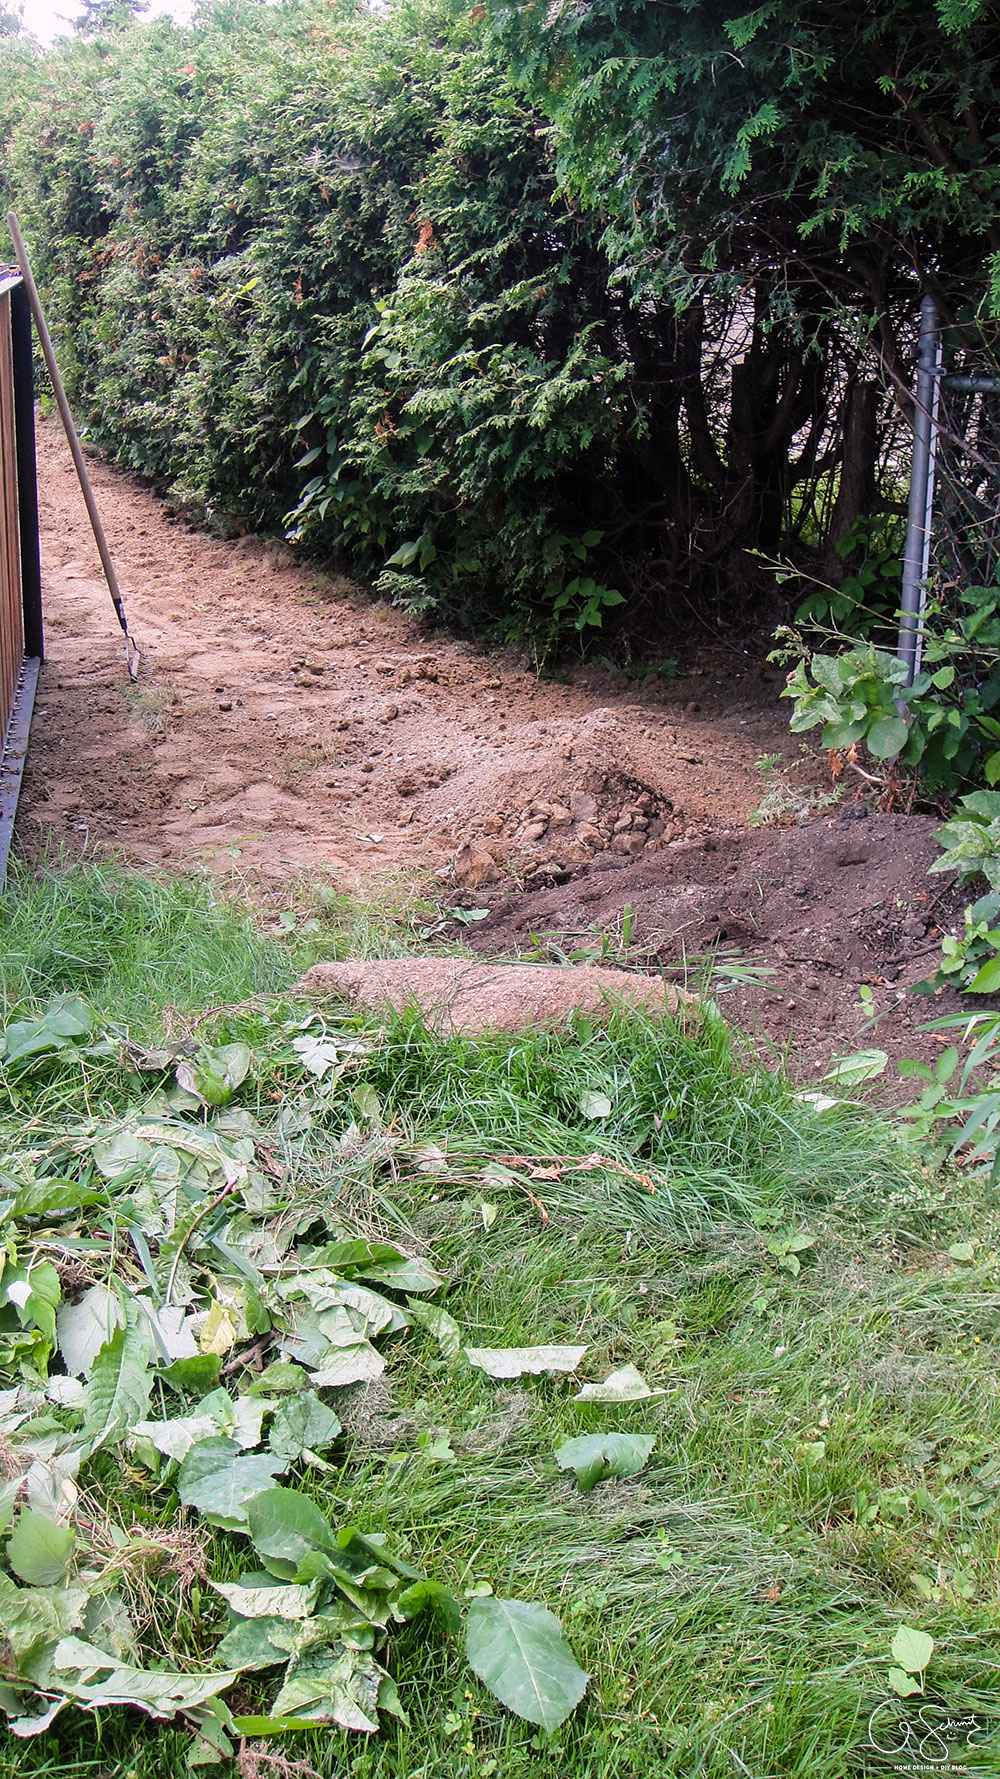
We then opened the gate and spread the dirt evenly in that section too. Actually, I had put at least 10 wheel barrows full of dirt here from the extra we had when we filled in our garden beds.
This area was weedy and overrun by some large plants that I had to remove before we went too far. I honestly thought most of them were Stinging Nettles which is a type of weed that grows and burns/stings your hands when you try to pull them out. BUT they turned out to be raspberry plants (which have to same pokey skinny spikes on the stems). AND I had only discovered this after pulling them all! Now I don’t have any delicious raspberries :( and this is another case of nature beating me yet again!
And miraculously, loads of dirt later, this area is pretty much ready for some large pavers and small stones! We will also need to fill dirt in the actual flower bed part, but since we won’t be planting anything this year, it can probably wait until next summer.
At the start of August I had asked what would be better to work on, the side yard landscaping or building the front walkway – and I think that we would not have been able to do them separately since we used components and remnants from the walkway to build the side yard. I mean, we could have, but it would have probably been more expensive since we would have to bring in the dirt and stones instead.
So what do you think so far? Do you remember the side yard plans and vision I was going for? I’m hoping we can order in the pavers and stones sometime in September, then put the hardware on this gate and finally be done with this project until next spring, when we do the actual planting.
Until, next time!
UPDATE:
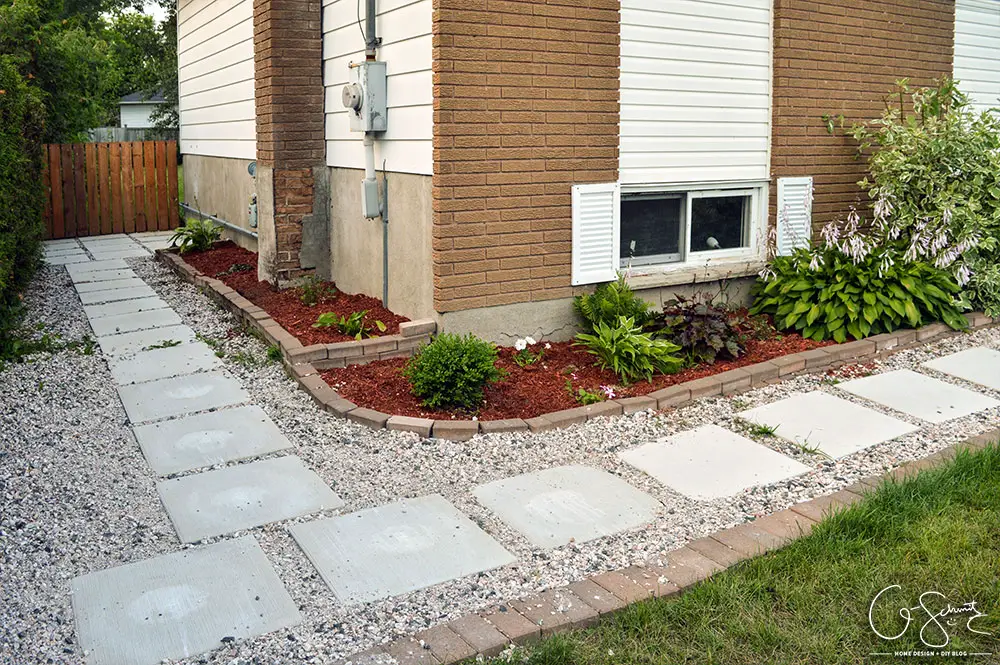
Can you believe that it now looks like this? See the latest Sideyard Landscaping post here!

9 Comments
Louise
August 26, 2015 at 5:17 ammaybe you should just make the side yard a rock garden .. smaller pebble rock layer on the bottom some larger rocks strategically placed then collect some pretty coloured decorative rocks that are a good Tootsie size and scatter them in between .. and you (I) won’t have to weed it ..
Nicole
August 26, 2015 at 7:28 amMost of it is going to be rocks anyways (all the ground level will be at least) – the only part that will need weeding will be that small section on the side
Louise
August 26, 2015 at 8:53 pmsigh
Leah
September 27, 2016 at 9:28 amHello!
I had a quick question about the stone wall for your flower bed. How did you keep them together? Did you mortar or cement them together or simply just stack and allowed gravity to do the work? Thank you in advance for your help!
Warmly,
A new gardener
Nicole
September 27, 2016 at 3:38 pmThese are just regular pathway pavers, and all we did was stack them and they stuck pretty good! I know you can purchase interlocking ones for garden bed edging, which would be the best option; but I found that only the top row moved if we ever knocked into it really hard (but once the dirt is filled all the way up, it adds an extra thing to lean against). You will want to make sure that your first ground layer is all level and straight across (our wasn’t that level in this area) so that they stay even as you go up. Good luck :)
mike michael
October 17, 2019 at 12:04 amKinda sloppy work there. pavers look like they they were just laid down with no order bricks look very crooked, weeds growing in there. Naw very sloppy!
Nicole
October 18, 2019 at 3:59 pmThat’s right – the bricks were very crooked when we installed them. We had to re-adjust them (as shown), but I still would have wished there was a proper base at the time. And I’m not sure I would do a rock type garden again because the weeds tend to grow easier there.
Greg Sungreen
June 25, 2023 at 10:41 amEmbarking on starting the side yard landscaping has been an exciting endeavor. I’ve transformed the neglected space into a functional and aesthetically pleasing area, incorporating features like a small garden, seating area, and pathway. Thanks to side yard landscaping, I now have an inviting outdoor space that complements the overall beauty of my home.
Greg Sungreen
July 19, 2023 at 6:05 amEmbarking on side yard landscaping has transformed a neglected space into a hidden gem. From thoughtful plantings to creative hardscape elements, the sideyard has become a charming and functional extension of my outdoor living. Starting this project has brought new life and beauty to my home.