
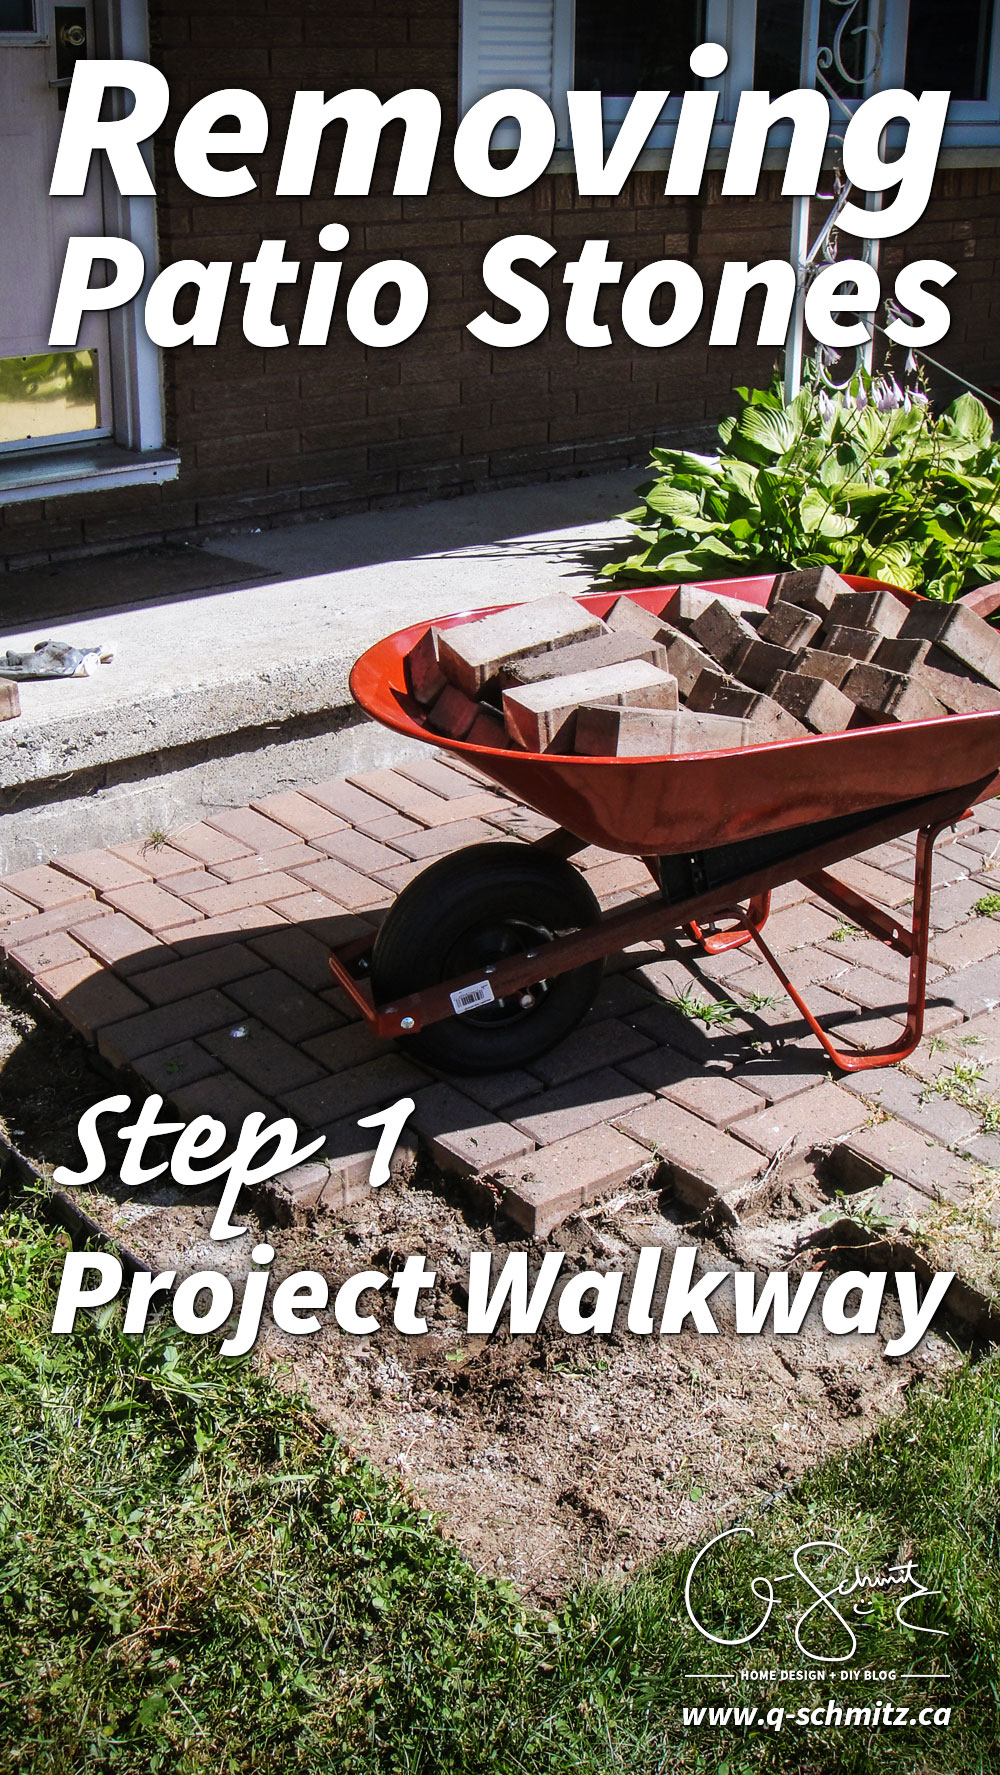
The wait to find out which project we decided to tackle is over! When I did our backyard “reveal” I had asked which we should do this year, the front walkway or the side yard. In case you couldn’t figure it out from the title, we decided to start the front walkway remodel. And yes, I did title this series to sound like a play on “Project Runway” – I feel so clever :) But enough self-praise, let’s get on to the details!
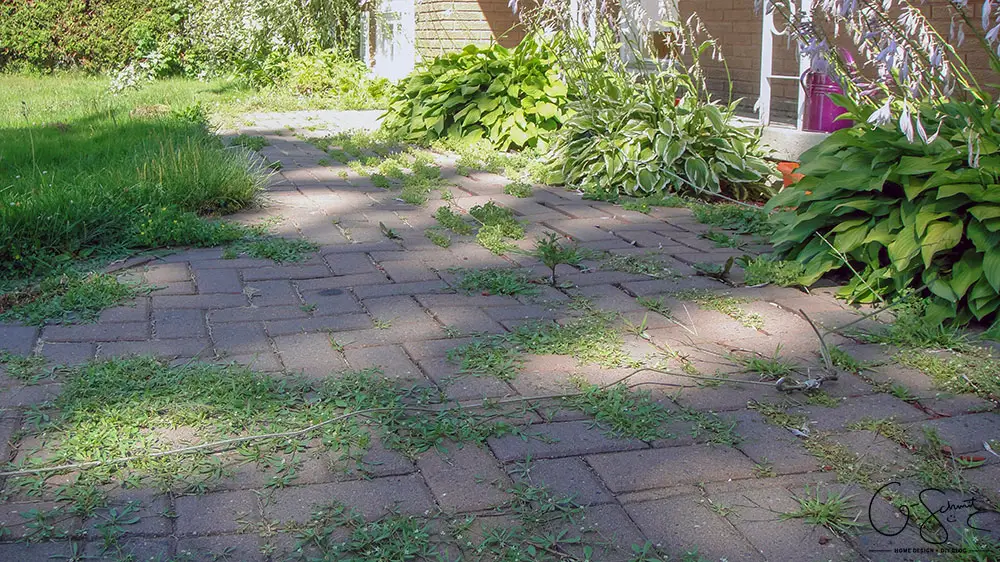
This is what our walkway looked like right before I started the “demolition”. I know I’ve mentioned a few times that the weeds are taking over my yard, and this walkway was a prime example of their slow takeover.
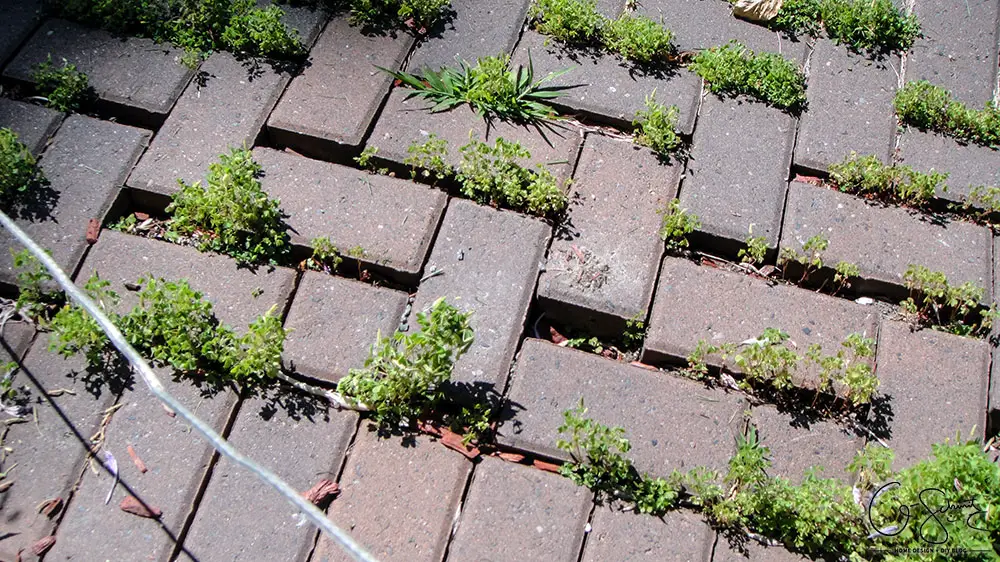
I mean, there would obviously have been fewer weeds if I had cared to remove them diligently throughout the summer. But why would I do that work when I knew I wanted to remove the pavers anyways? Besides, no amount of weeding could ever take away the humongo cracks/spaces we had between the stones. A tripping hazard I say!
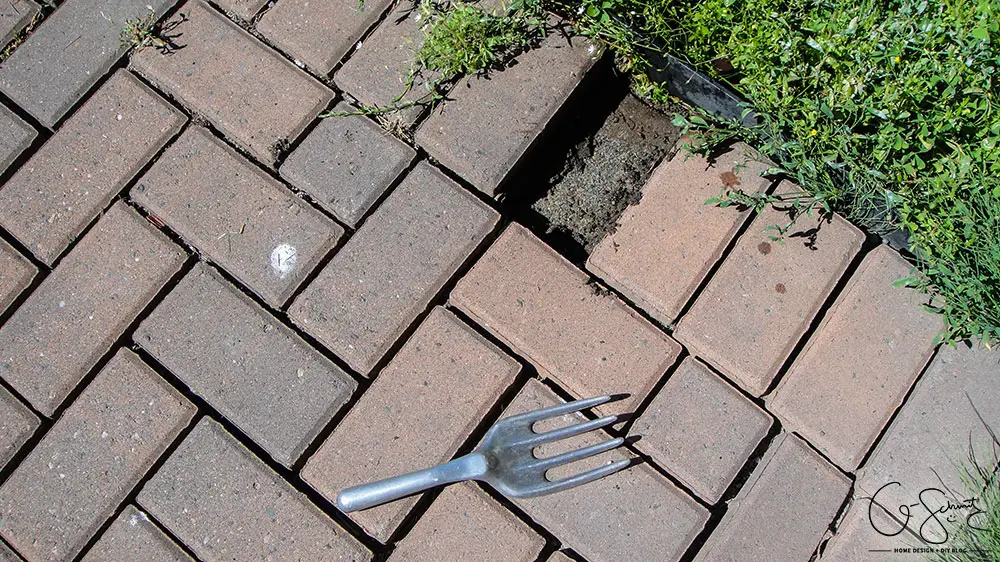
I did have a handy-dandy landscaping fork to use to help pry out the pavers. (Note: I call this a landscaping fork – obviously if I knew its technical term I would probably be a better gardener… and potentially have fewer weeds!). Once the first stone was out, the others were much easier to remove.
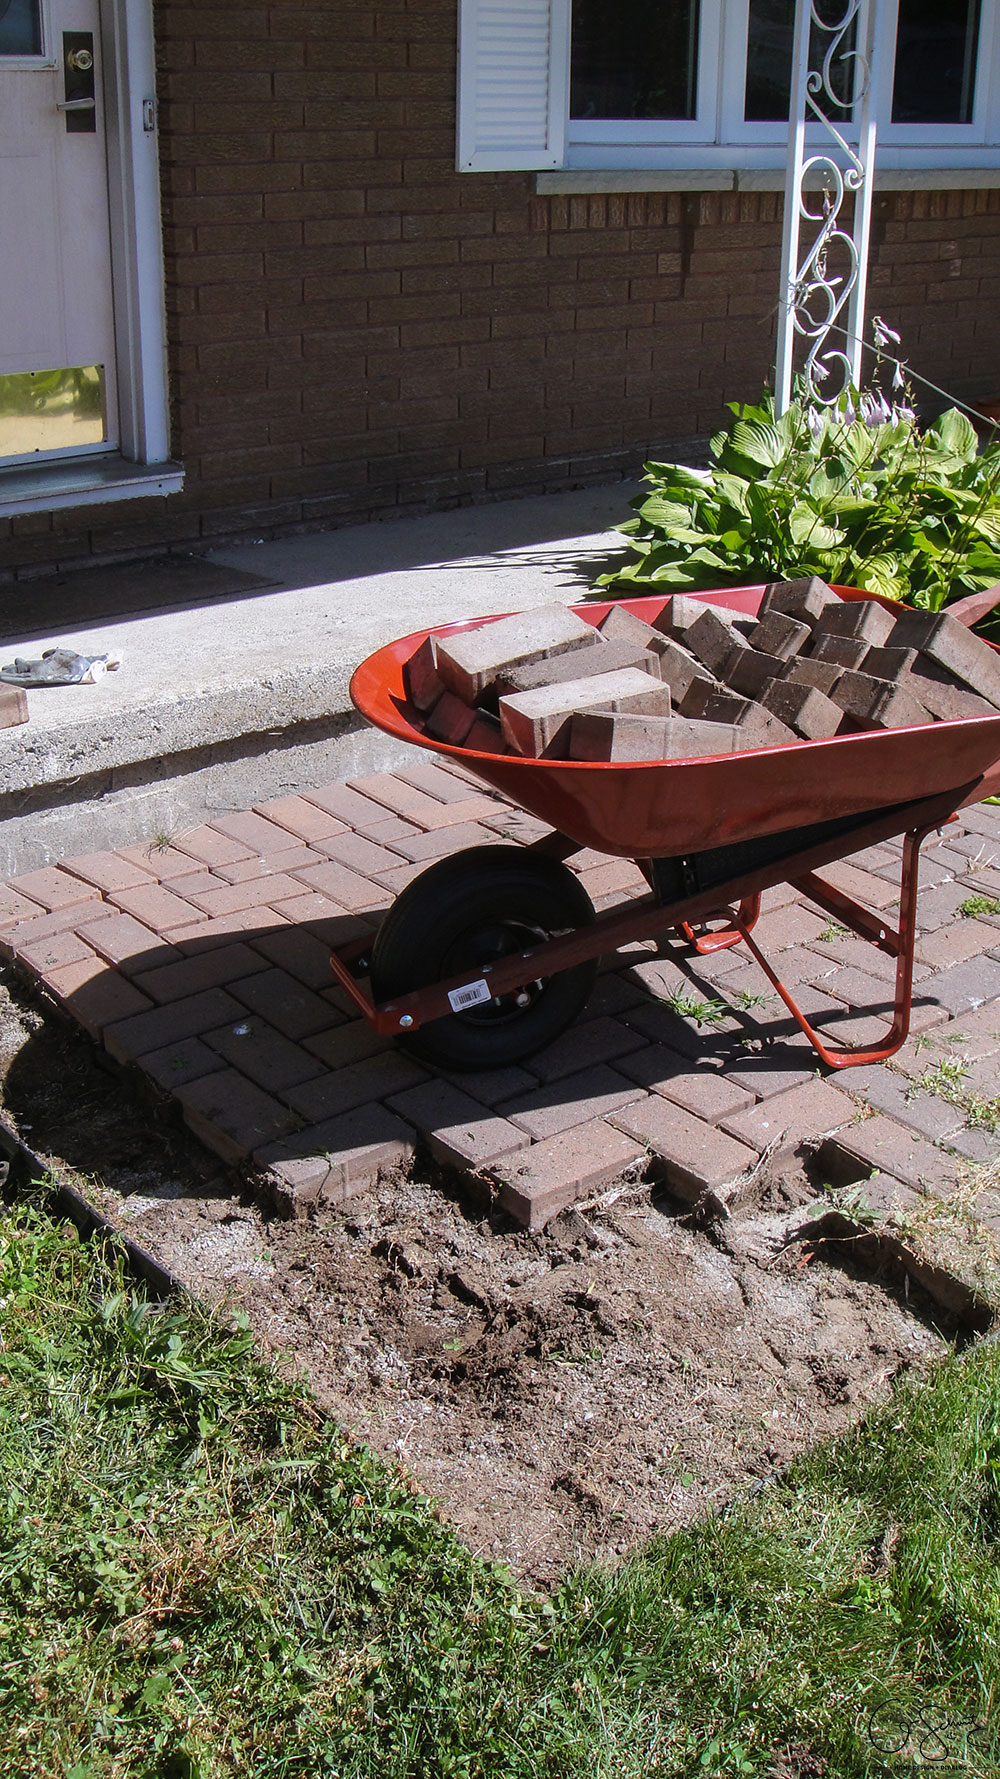
Can you see my mistake in the picture above? Notice how I blocked in the wheelbarrow by creating a little “pit” where I had removed the stones? Well, I found out the hard way once my wheelbarrow got stuck after trying to move it forward. Thankfully the Husband was nearby and used his strong muscles to push it out. Of course, I could have always removed some stones to lighten the load, but that was like taking steps backwards!
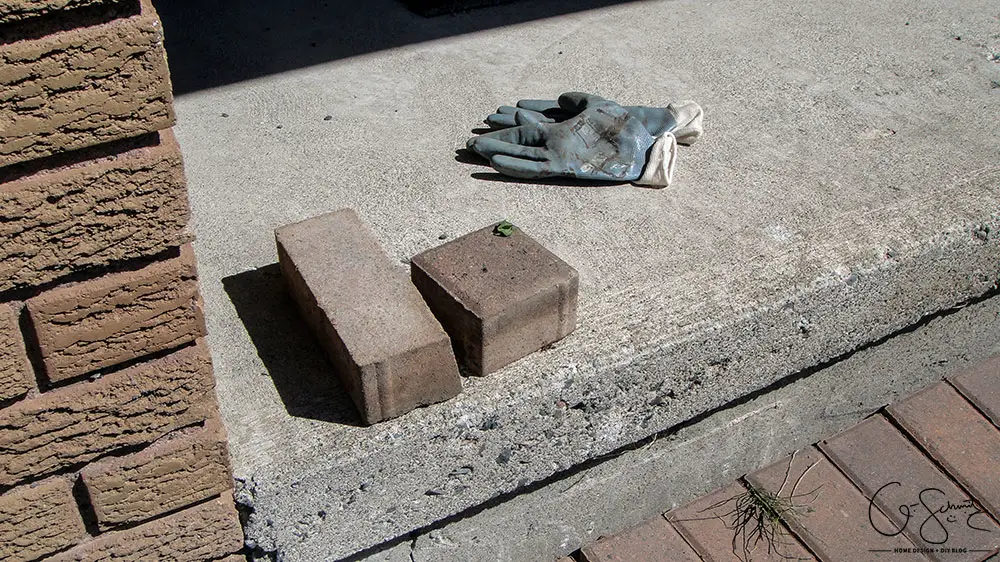
Every now and then I would come across a stone that was cut into a unique shape. I simply placed them aside from my main pile of regular sized pavers. You may notice this mini-pile get bigger and bigger as the pictures continue. After about an hour we decided to take a break for lunch. (I started removing stones around 10:30am, and we took a break at 12pm-ish). We enjoyed some nice food and drinks on a restaurant patio, and then it started to pour! And I mean pour. As in torrentially. As in hail stones too. It was intense for a while!
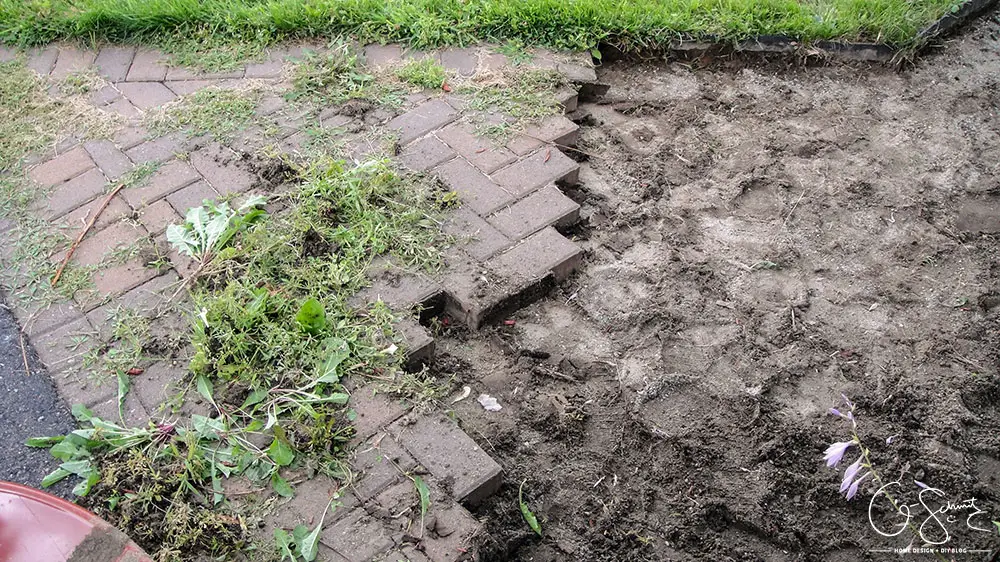
Needless to say, when we got back home everything was soaking wet. Including the bag I was using to put all the weeds in – ugh. And yes, I did only remove this one section in that hour.

I’d say it took another hour to do the “long” section. All in all, it took probably 3 solid hours to remove the entire path (but we had to do it in burst as it rained intermittently the rest of the weekend). And we also left for a couple of days to do some fishing (which is a very Northern Ontario thing to do btw).
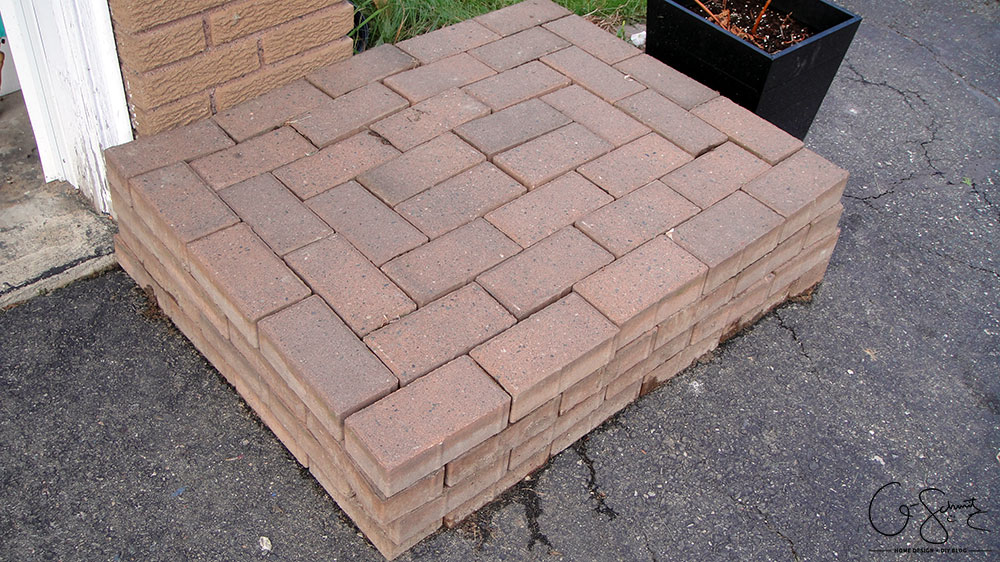
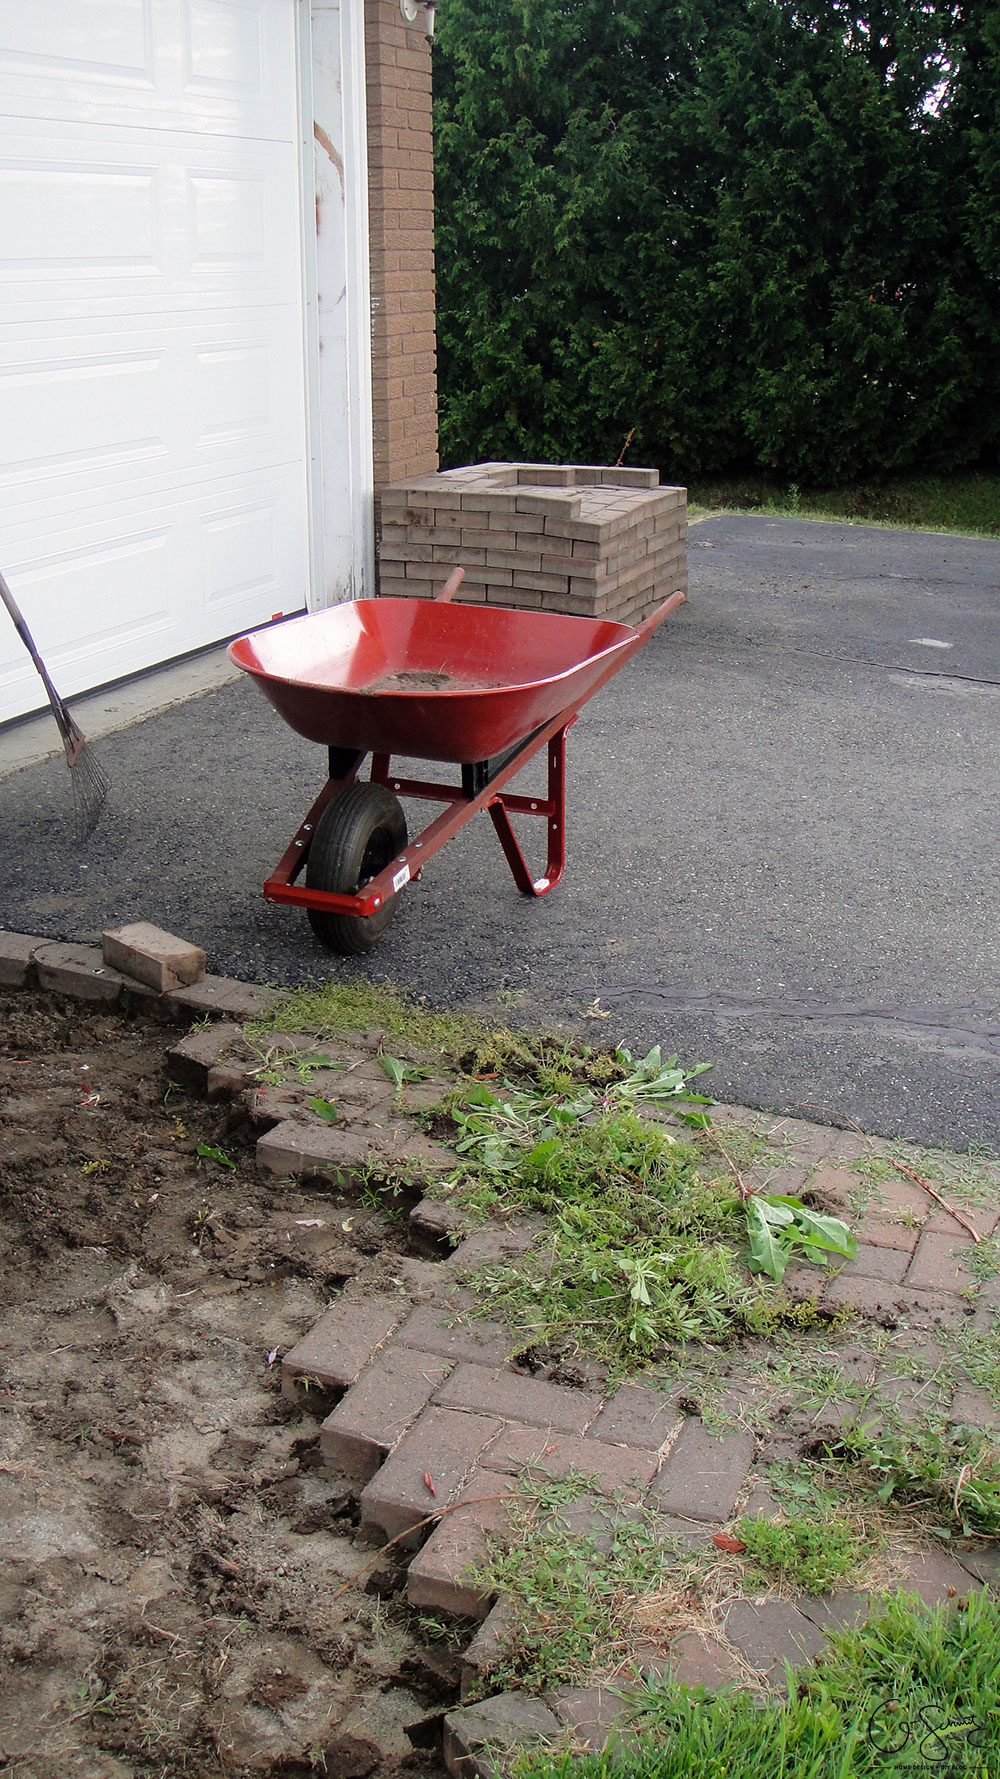
I put the pavers in a cute little (perfectly stacked) pile along the side of the garage. Notice the dead plant still in the planter in the photo above and remember how I mentioned I planted the “gutter plants” in one of my pots? Well I finally got around to removing the dead fern branches from this one too.
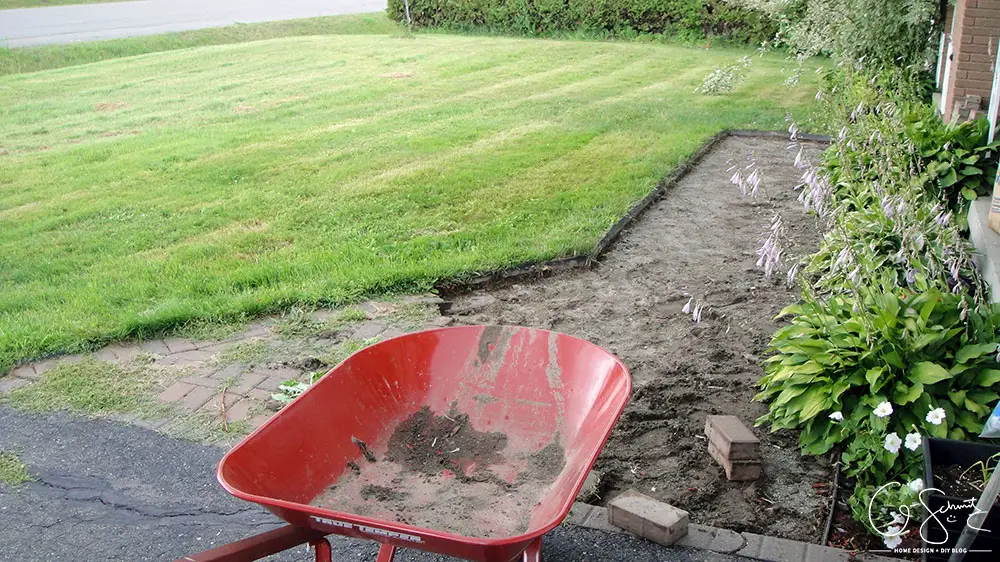
Removing the stones opened up the area and the nice clear path really motivated me to keep taking them out – even though it was hard work (hard as in physically demanding, and not mentally challenging hard).
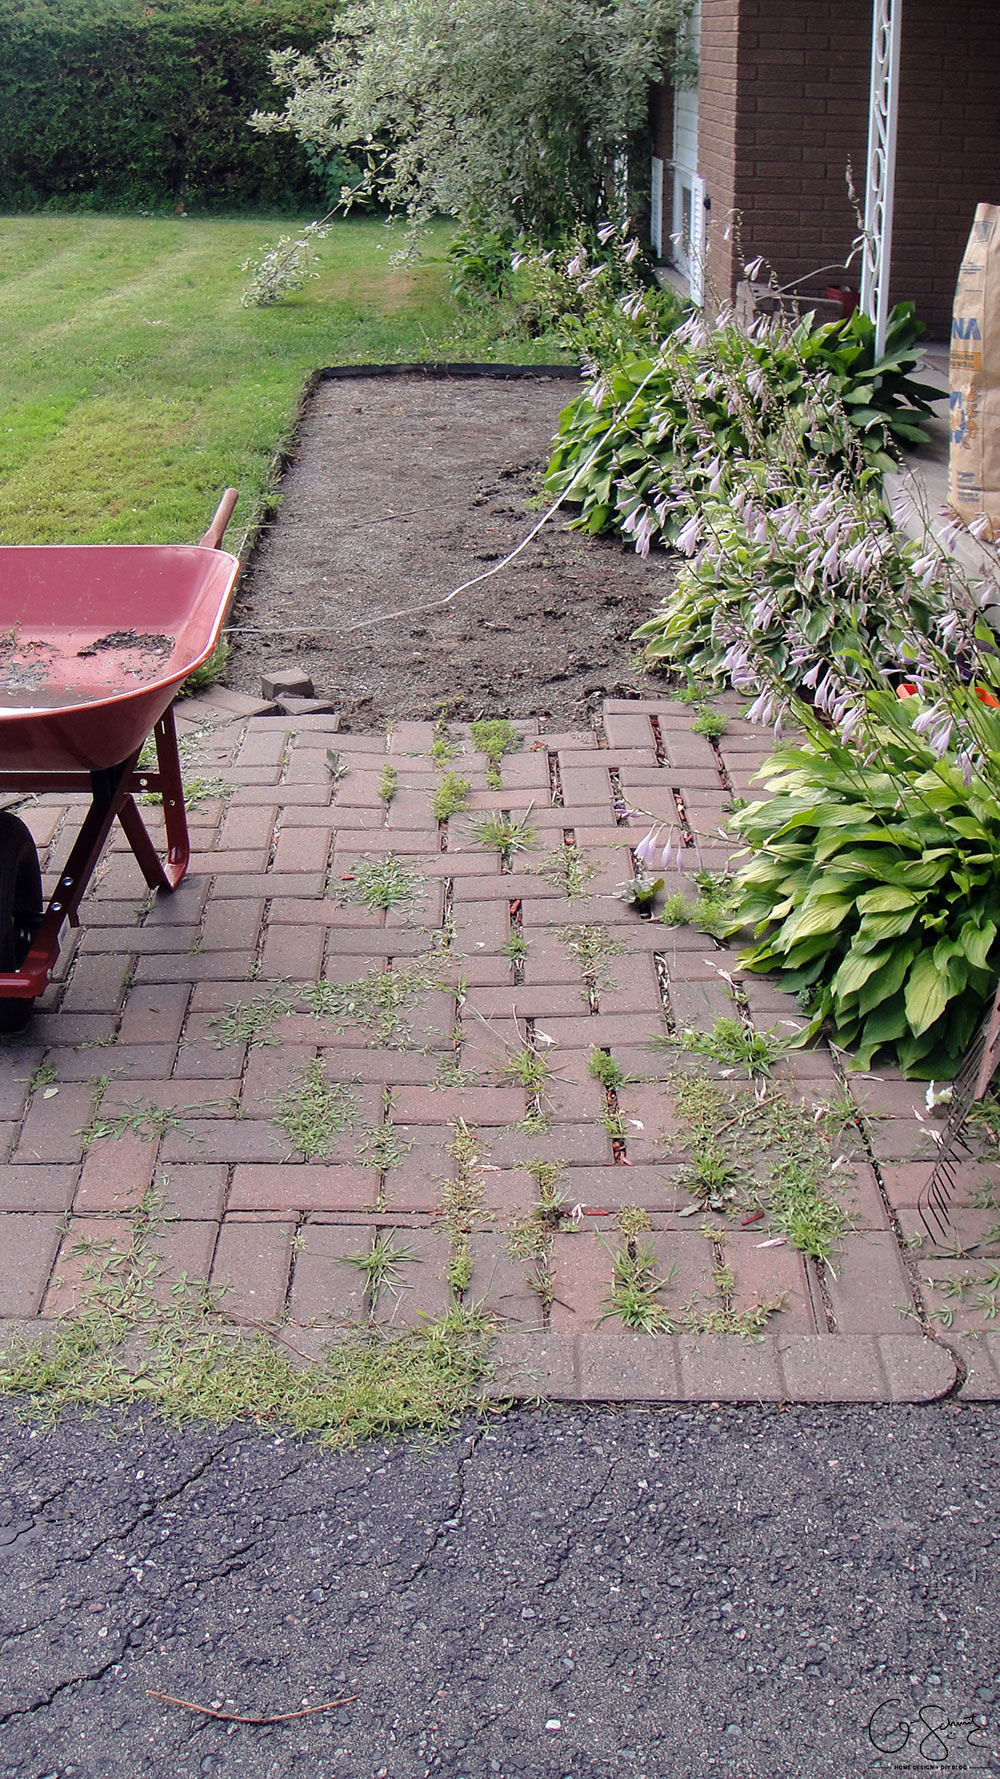
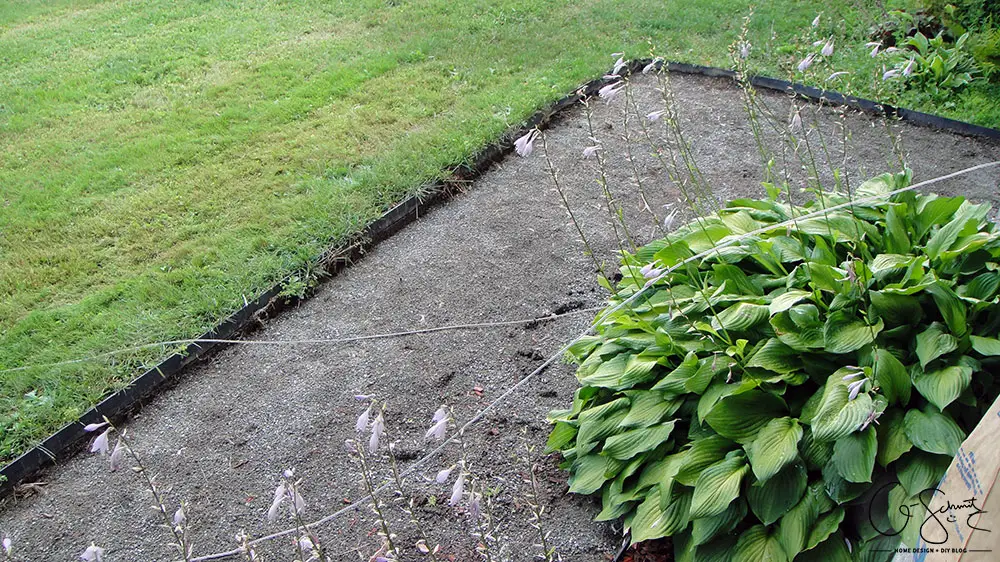
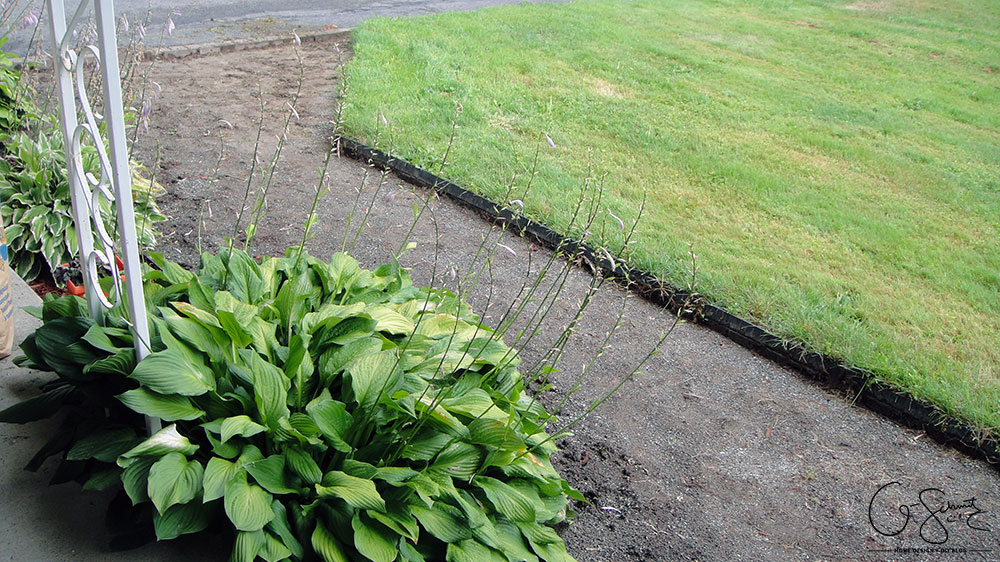
You can really see how much the Hostas take over the path in the photo above. I know I had mentioned that they get pretty big in the walkway planning stage, but obviously it’s hard to envision when they aren’t there. Reminder: I want to widen that middle garden bed out another foot deep.
Every time I would take a stone out, I would grab a handful of weeds that surrounded it. I found it much easier to weed the area as I went, rather than wait until the end since I was already in position and moving the stones anyways.
The photo above probably shows the best view of our front yard, and you can see the weird jutted out walkway angle better this way too.
I really do not like this angle area – there were so many weird shaped stones here too! I mean, I get why you would want an angled area per say, but it would have been better if it was a nice curvy shape, rather than a harsh line (although it would have probably meant even more weird shaped stones).
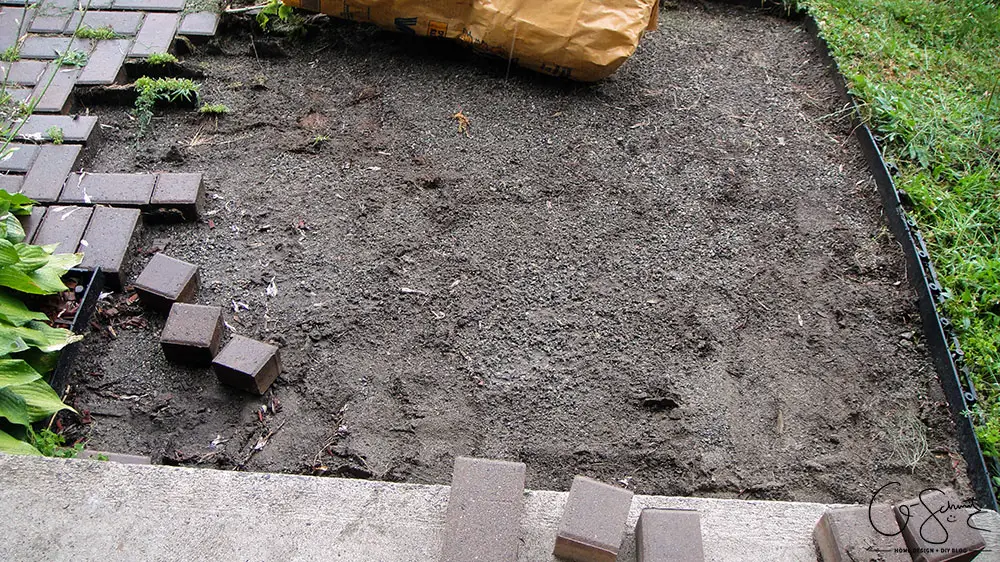
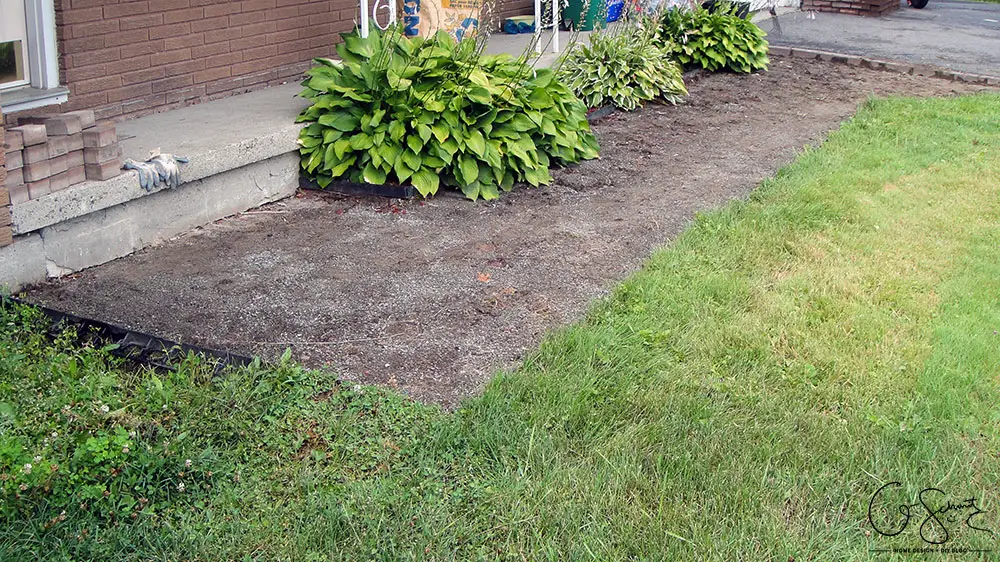
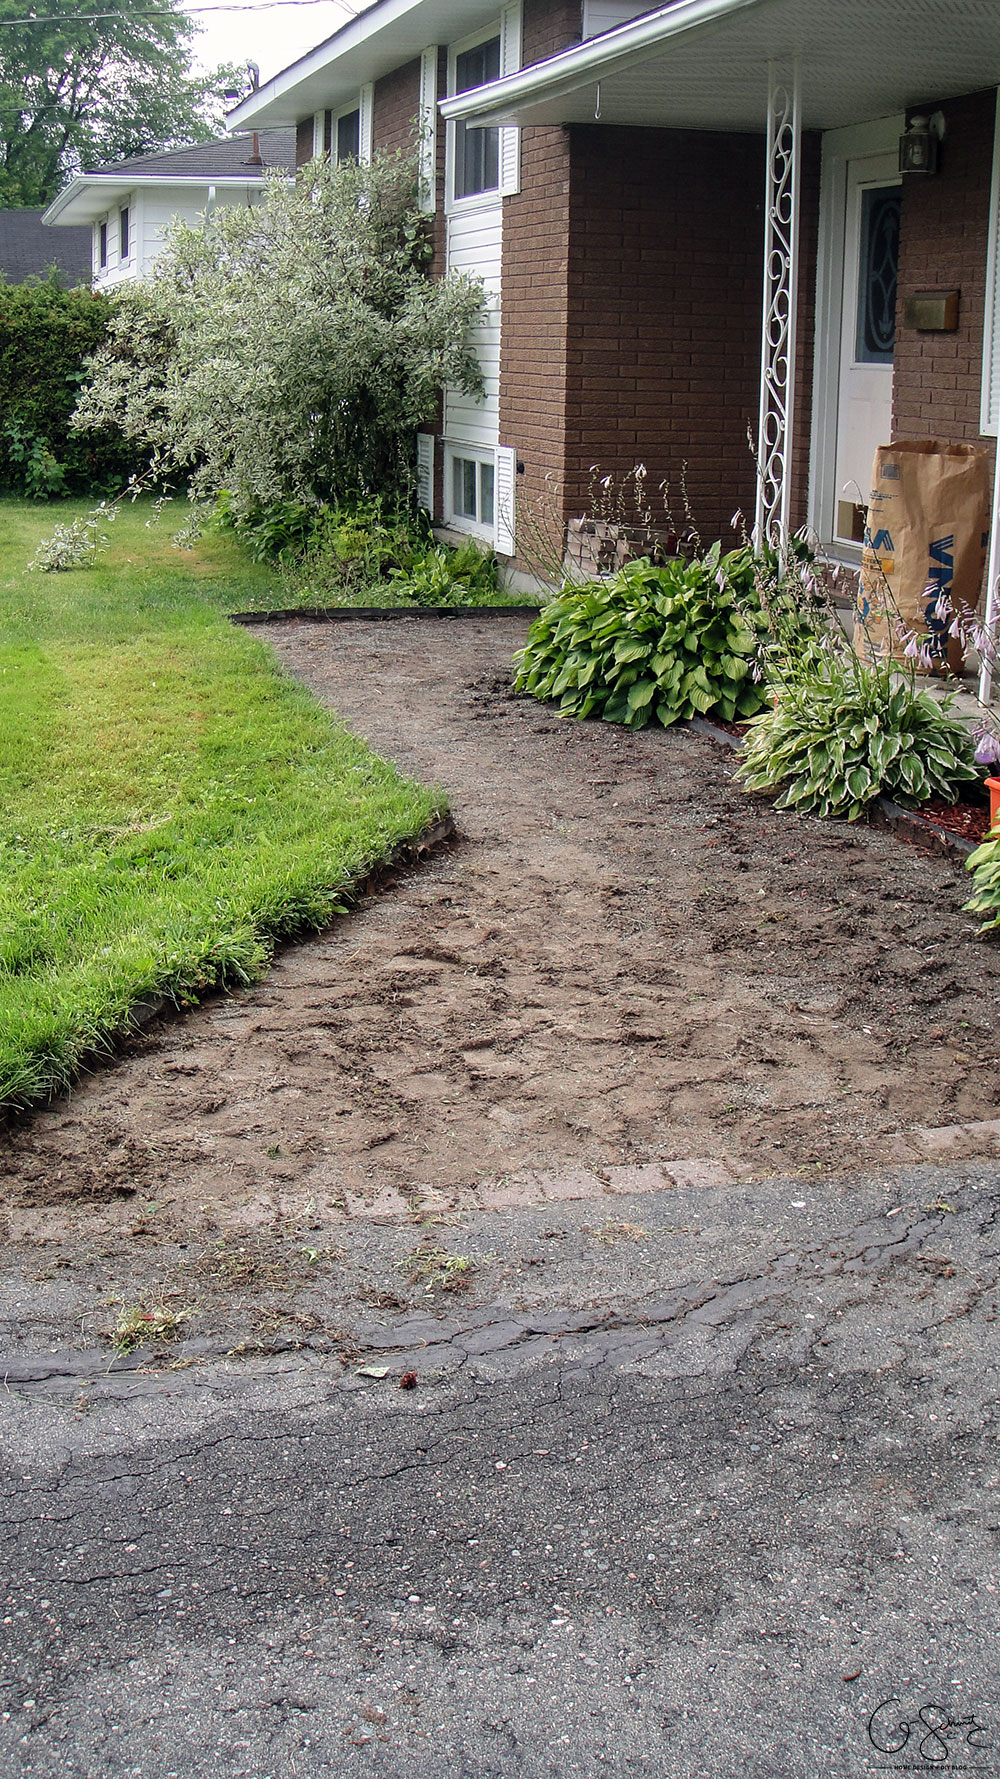
But alas, I was able to remove all the stones and now the walkway area is completely clear and ready for the next step!
I told you my little off-cut pile of stones would get bigger! The big pile was a few rows deep too – you definitely don’t realize how many stones there are until you start removing them. I didn’t count how many wheelbarrow loads full I had, but let’s estimate there were at least 300 stones okay?
And yes, I know our front porch area isn’t nice and neat, but that’s why I started this project in the first place, to tidy everything up!
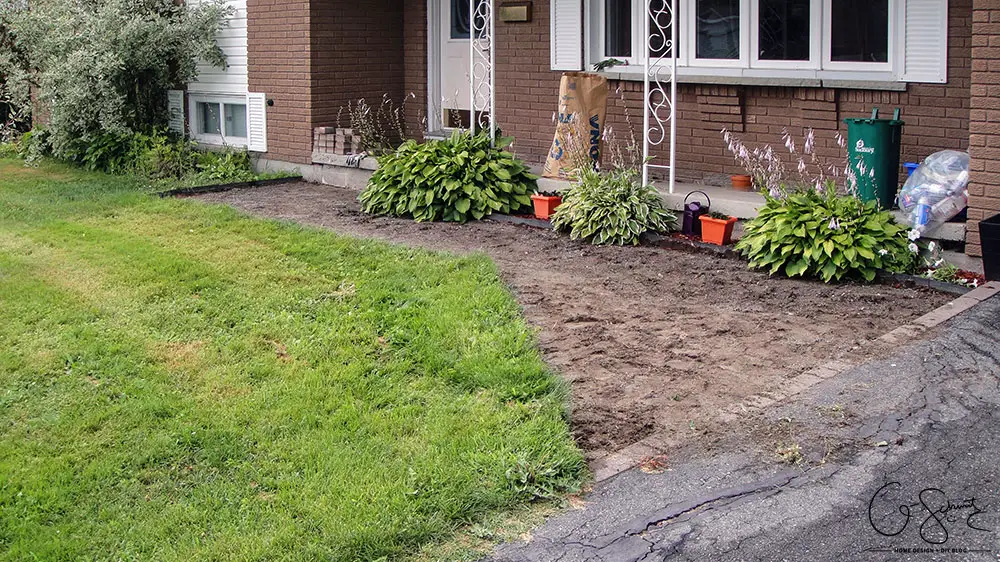
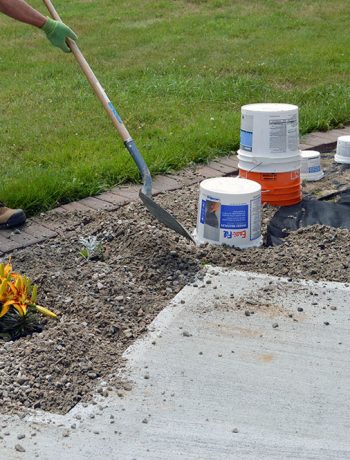
Ooh baby doesn’t it look ready for some nice poured concrete! BUT hold your horses – because you may be forgetting that I wanted to also enlarge and re-shape the layout of walkway too. And this will take quite a few more steps. So, if you’re doing a similar DIY project and are fortunate (like us) to have little side “rails” in place, you could probably just use those as your concrete form (which is what the Husband is trying to convince me to do).
Silly Husband, don’t you know that once I get an idea in my head, there’s not much that will deter me from my vision?
Next weekend we will be working on edging out and removing a bunch of turf and then building some concrete frames in the new shape. Won’t you come back and visit then!? In the meantime, feel free to leave your thoughts in the comments about our project (and maybe some helpful tips on building a concrete frame?).
Were you rooting for the side yard to get done?
Can I let you in on a little secret?
We’ve also semi-started that project too!
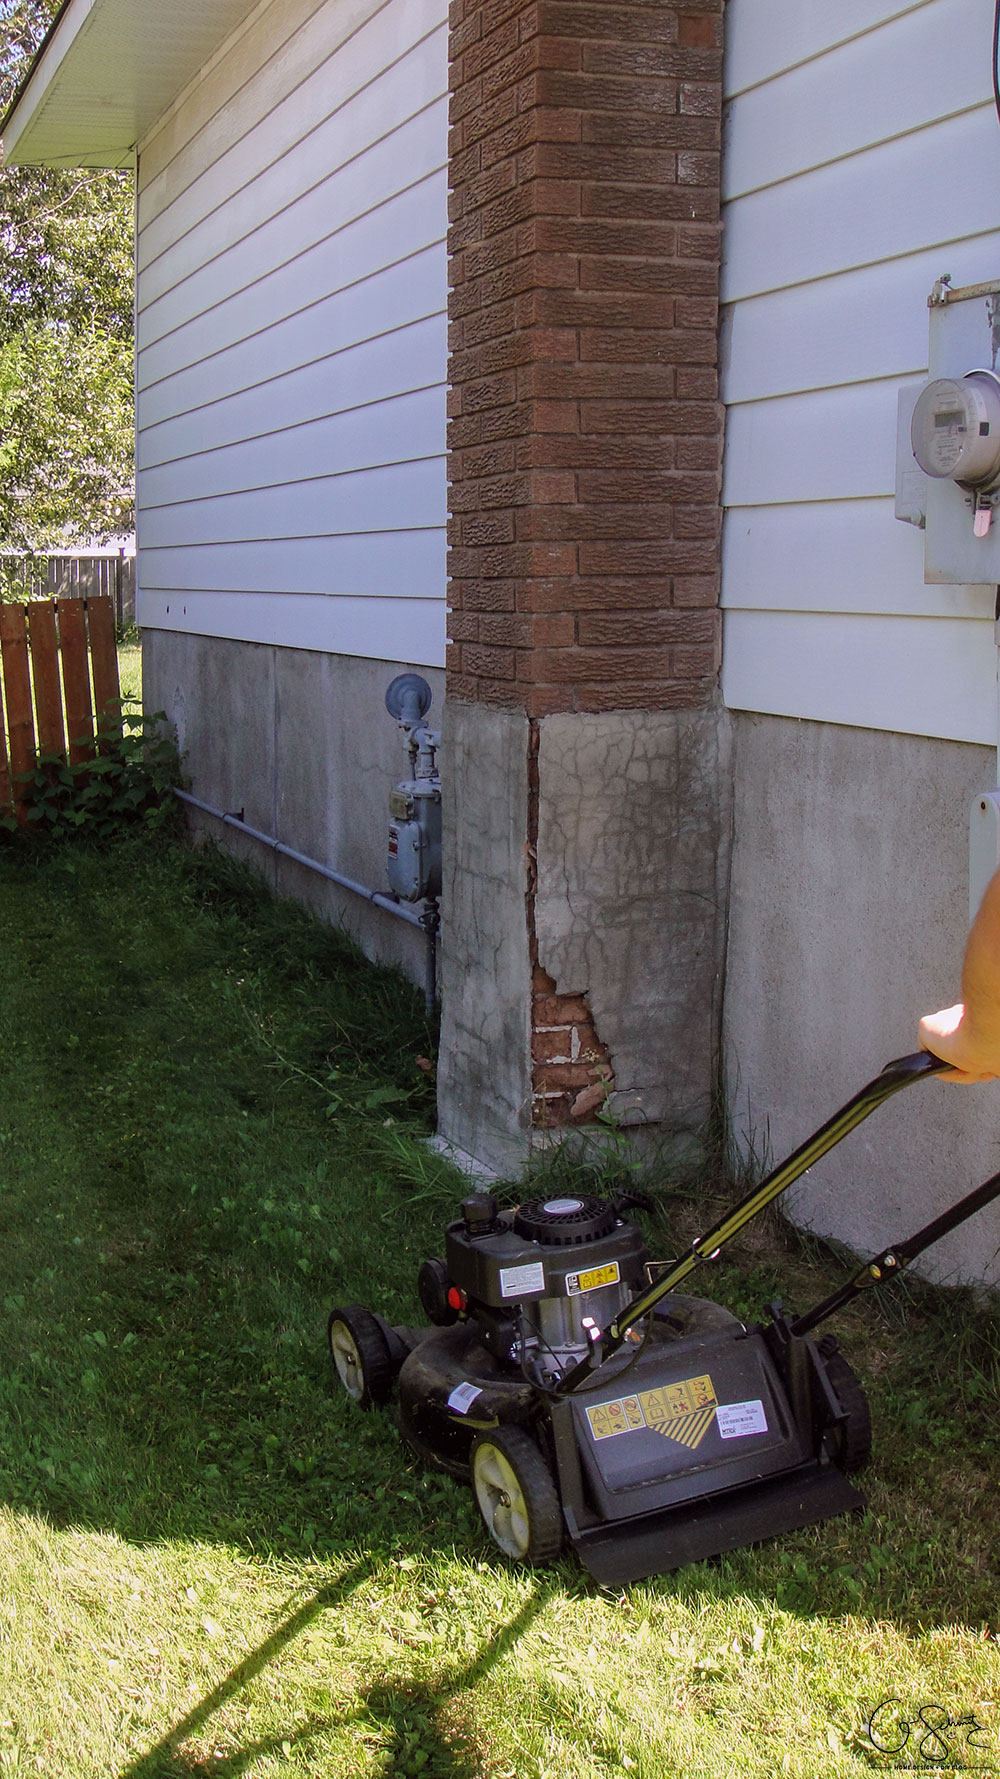
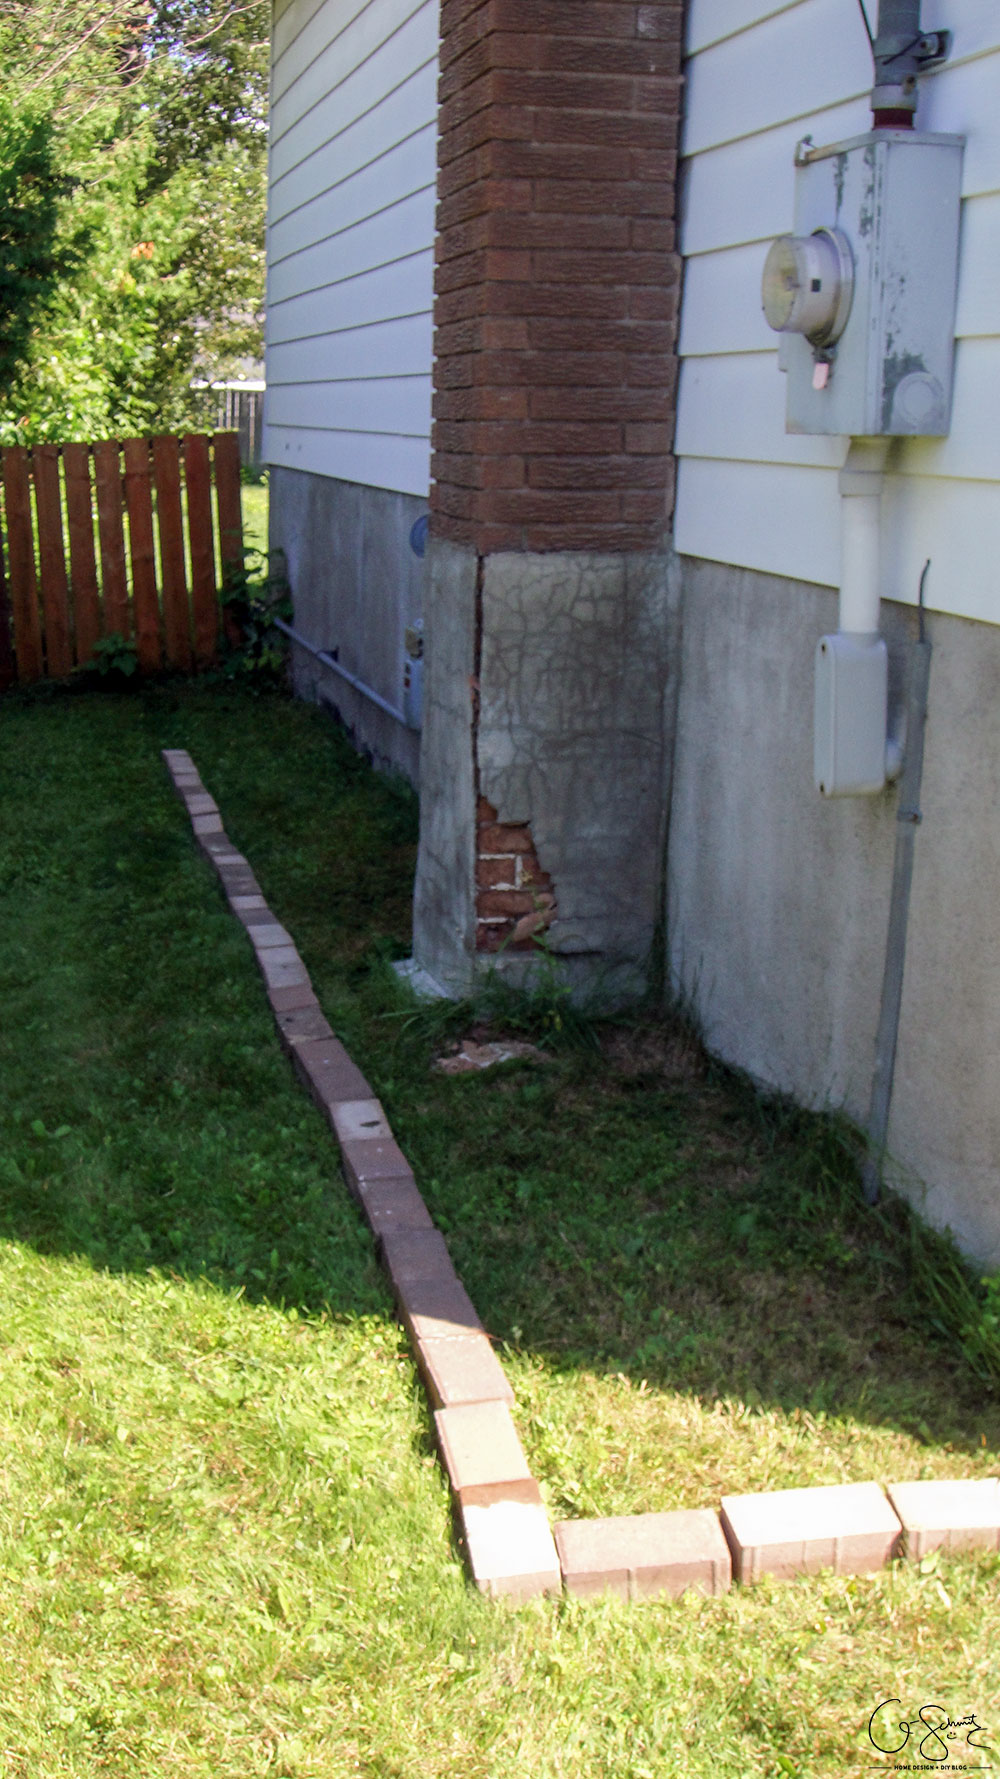
I had the Husband cut the grass in that area and then he started putting a couple of rows of stones up. Normally you would edge the grass first so you have a nice even surface (and so the grass doesn’t grow through your garden). However because 1) we are wanting to raise this area up, 2) are super lazy, and 3) suck at edging; we decided to cheat and just put the stones right on the grass. I repeat, do not do this!
But, of course, if for some miraculous reason it works out perfectly I’ll let you know (but you’ll probably have to wait until next summer once the full effects of the grass growing start to kick in). We’ll be slowly chipping away at the side yard as we finish up the front walkway, so stay tuned for more details on this project as well!
And yes, I know that we’ll probably run out of time to finish both of these projects completely, but why have one super done project when you can have two half-done projects? (Sarcasm… sort of).
2 Comments
Sharon
August 7, 2015 at 1:43 pmYou are way more motivated than I am, but you have youth on your side (and likely much cooler temperatures). I like the idea of the curved walkway and agree that the angle is really weird. I have no idea how to make a concrete form so looking forward to seeing how you do that. I’d say enjoy your weekend, but it looks like you’ll spend the better part of it doing manual labor!
Nicole
August 7, 2015 at 6:11 pmMy arms hurt (is all I can say after the work I was doing today). Not having hot weather is definitely a bonus; it’s been between 15-20·C here all week (which is like 60-70 Fahrenheit maybe?), but it gets a bit cold in the mornings and overnight. And apparently the Husband knows how to do the concrete thing… but I’ve been doing some drive-bys around nearby construction sites to see how they have theirs setup just in case!