
Do you own a leather or vinyl piece of furniture that has seen better days? Did you know that there are a few types of repair kits you can buy that promise to repair your leather? I bought and tested 2 different products to do a leather chair repair, and I’m sharing the whole process!
– This post contains affiliate links. Click here for more information on affiliates. –
We’ve had our bright red leather chair in the living room for about 10 years now, and it was starting to show some wear on the seat and one of the arms. I actually got the chair from the Brick Warehouse in Ottawa back in University, and I definitely didn’t want to replace it anytime soon. (Not because of any emotional attachment or anything, mostly because I’m cheap and am holding out on buying furniture until I absolutely have to).
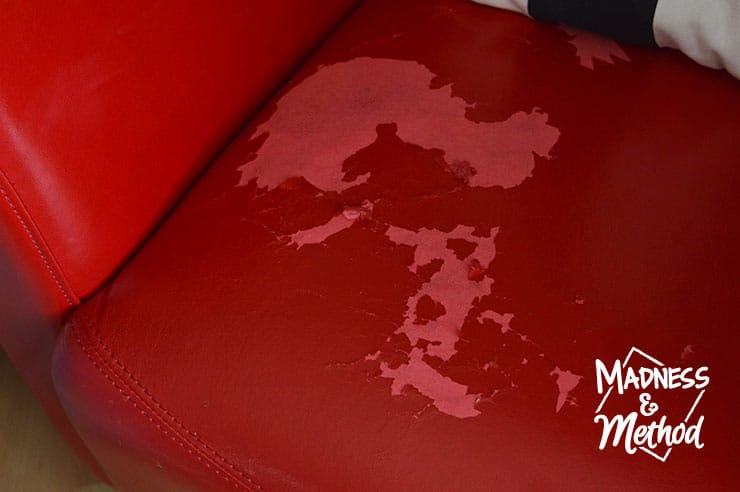
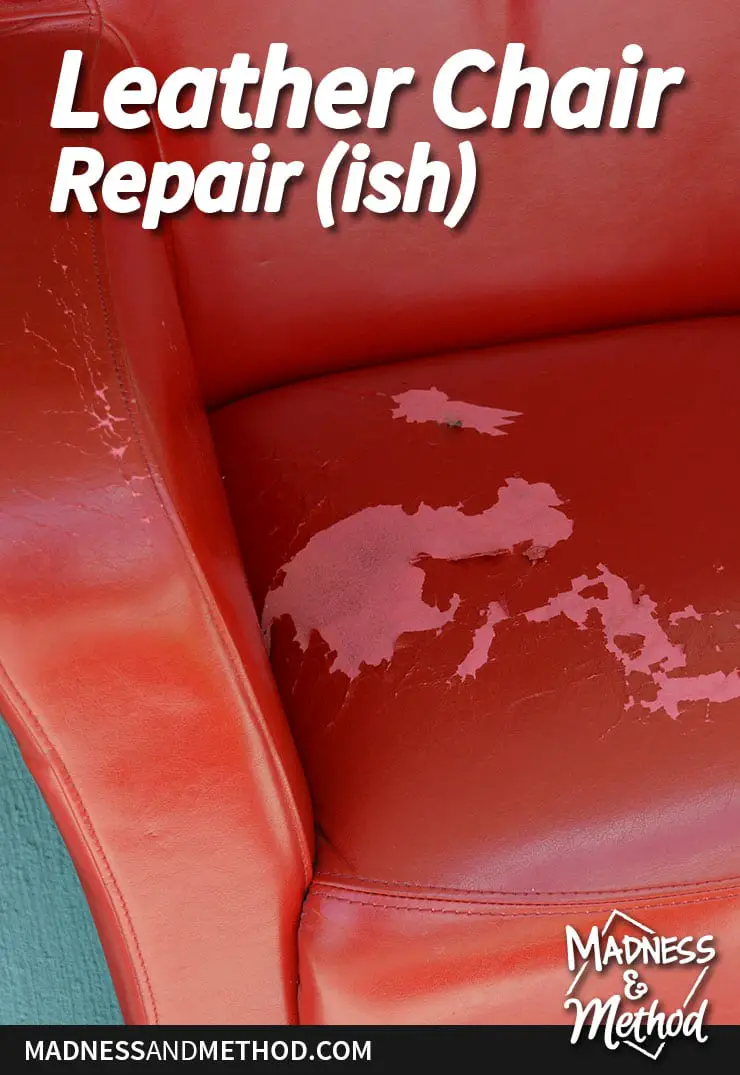
The fabric was starting to peel pretty badly on the seat, and at first, I wasn’t even sure if it was vinyl or real leather (according to the tag on the bottom, it’s leather).
It wouldn’t have bothered me that much (I mean, it was still comfy and was just an aesthetic issue), except that the pieces would peel off and would either stick to your bum or fall nearby and make quite a mess! I was tired of picking up random bright red pieces of fabric all over my house.
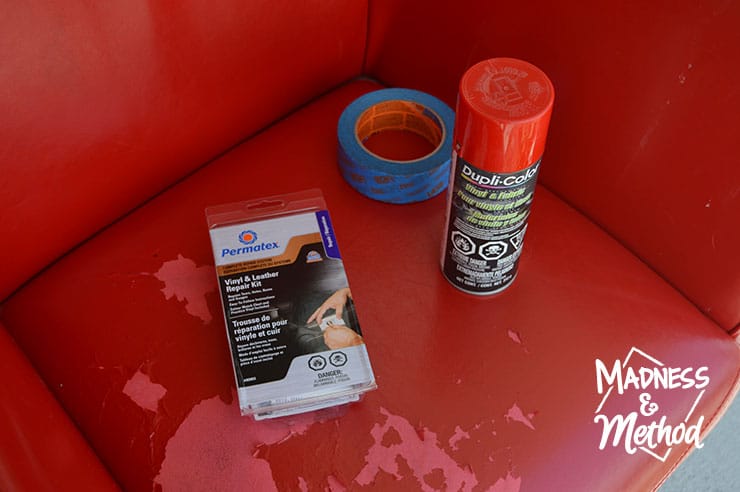
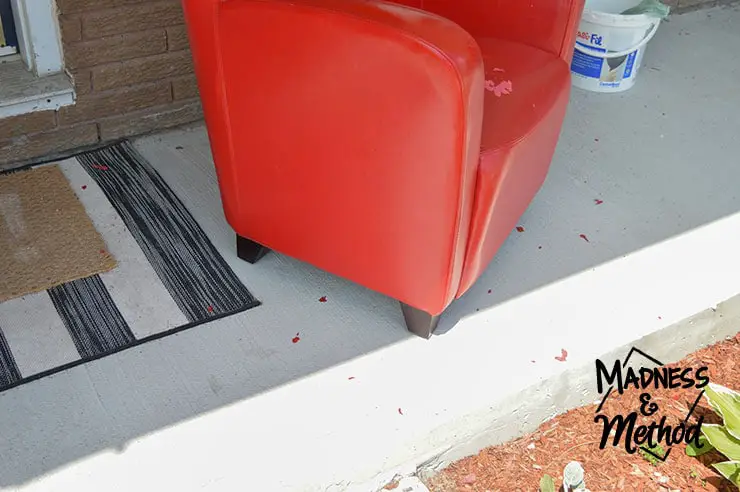
I picked up 2 different products at Canadian Tire (in the automotive section for those looking – or you can buy the spray here and the repair kit here) and brought the chair outside for the first one. Thankfully our chair is bright red, so I didn’t have to worry about not finding a colour that would match.
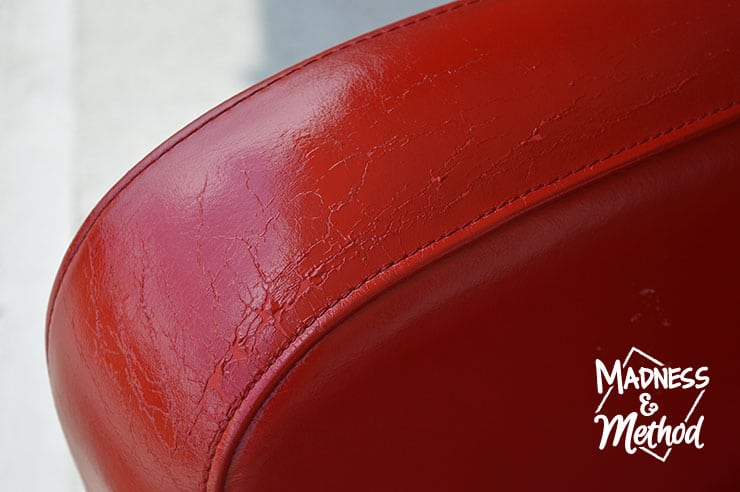
The spray was my first test, and I used it on the right arm (where there was a bit of wear, but not too much peeling).

And also on one small patch near the back. (I had also just tried to peel as much of the loose sections as possible, trying not to go too crazy and bring everything up!).
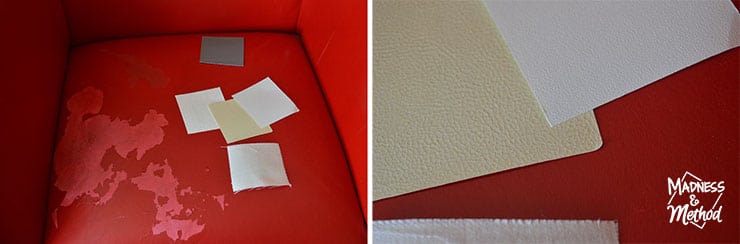
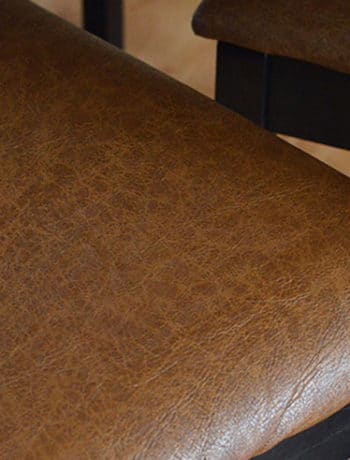
Then I brought the chair back in the house (once it had dried) to try the second leather repair kit. After reading the instructions, I realized this one would take quite a bit more time since it involves a 2+ step process of using an adhesive to stick a backing on (with a 4+ hour dry time) then curing the colour after that. It comes with a small little repair patch if your backing is broken. Mine wasn’t, but even if it had been, clearly the area was much larger than the patch! It also came with a test piece (the gray one at the top), then three leather grain texture pieces so that you can match to your furniture.

I applied the adhesive (even without using the backing piece, because I wasn’t sure if it was something I had to do so that the colour would work) and waited until the next day to do the second part. This involves spreading out the colour over the area, applying the grain texture piece, then curing it on by applying heat.
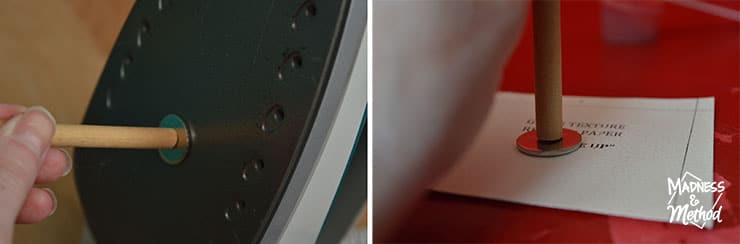
It even comes with a little stick that you’re supposed to warm up on an iron, then rub over the grain texture paper for a few minutes. I was really looking forward to this leather repair kit, with this many steps, it had to come out perfectly right!?
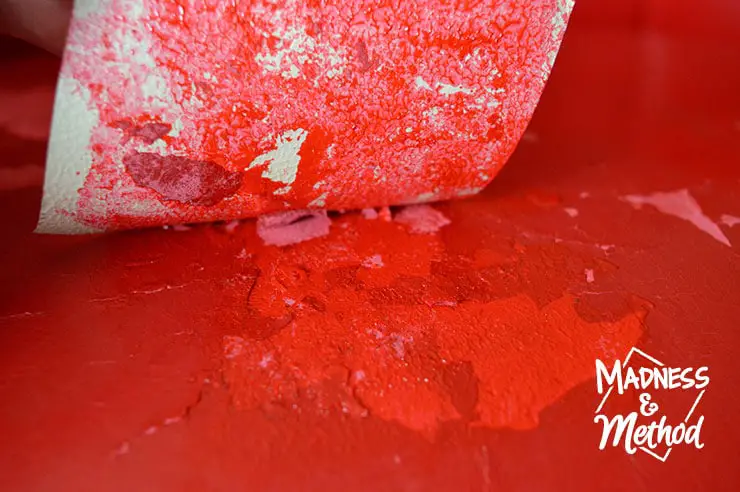
Once the paper cools down, you lift it up and I’m assuming you’re supposed to get a perfect little patch. Well, when I lifted it, the colour compound was still wet and tacky, and it even peeled up more leather pieces too!

I tried heat curing the same piece a few times (it says not to apply the heat directly, although I think that would have been much faster…) and I sort of got some areas that finally dried. The photos above show the same patch, just in two different lighting angles so you get a more accurate view. Basically, the grain texture works and it probably would have been better if it didn’t peel everything else again…
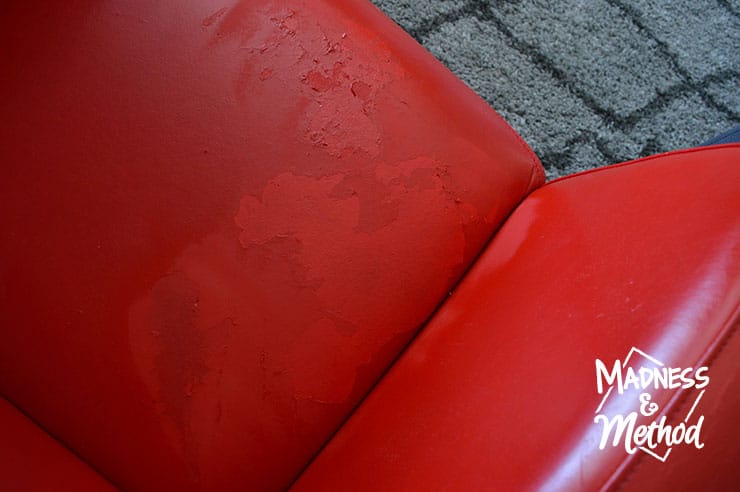
In the end, I decided to try and get as much tackiness to go away as possible (and even tried wiping it away in some areas), then just sprayed everything with the first product again. It’s obviously not a good looking repair, but at least it’s redder, and I’m really hoping that it will at least stop the peeling!
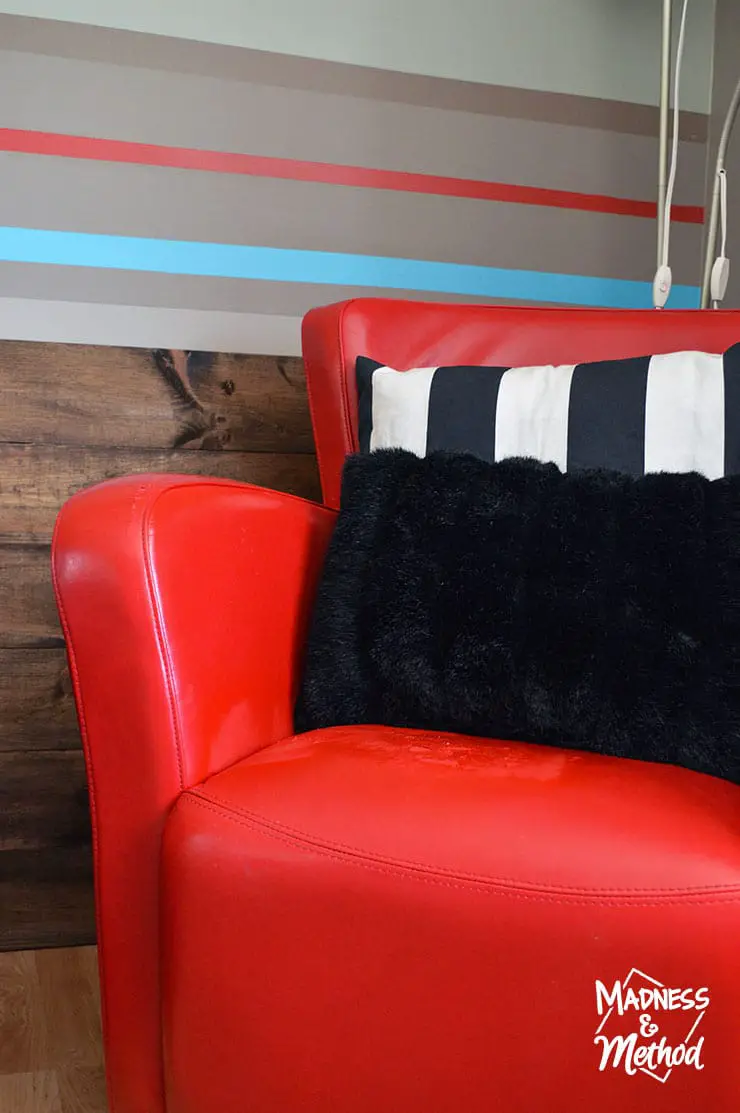
I usually keep a couple of pillows on the chair anyway, but I’ll make sure to update this post after some time has gone by.

Although that front patch does look a little bit lumpier (again, because the grain paper kept pulling up the edges), so we’ll see how it lasts.
I wish I could tell you that I found a miracle product to fix the peeling on this leather chair repair, but that is not the case! Maybe there is something better out there (have you tried anything similar?!), but this is a good enough fix until the chair breaks or I get it re-upholstered completely.
Besides, the rest of the furniture in our living room is just as old and tired looking, so it’s not like it stands out, ha!
I’ll have some updated living room photos for you next week because it actually looks a bit different since I shared the space with you originally.

No Comments