
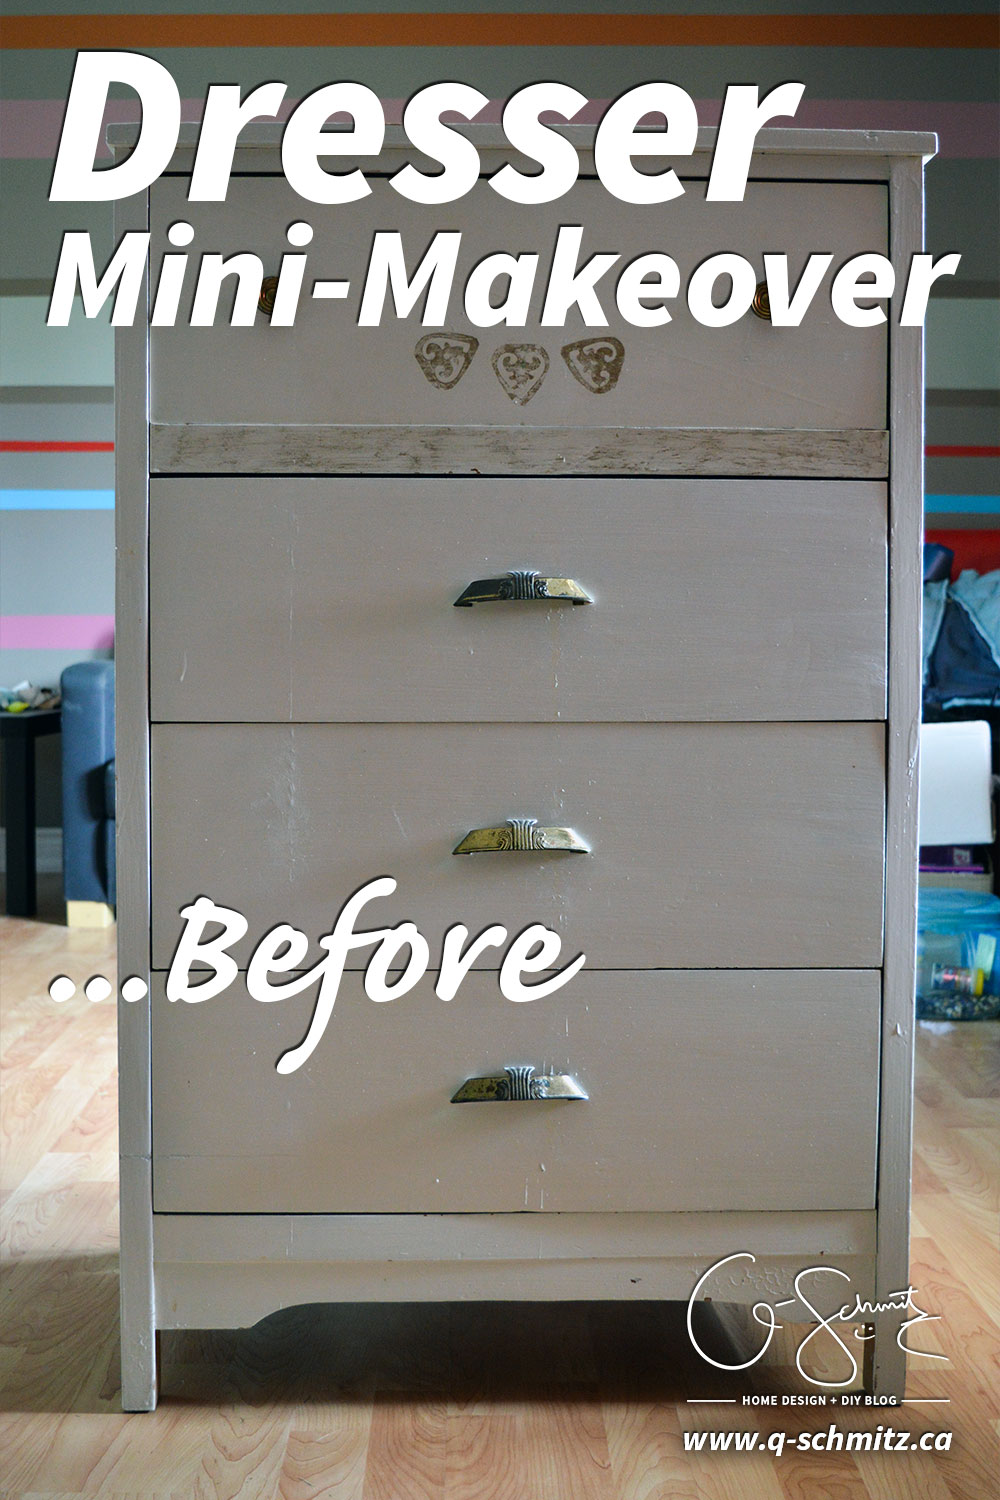
For our big closet renovation, I wanted to bring in a dresser to add some storage. Obviously, once we took down those little wall cut-outs, we had the space to add a dresser (before it would have been impossible to open the drawers!). Problem was that I needed a very specific sized dresser…
I scoured the internet to find a suitable dresser for weeks (maybe months?). I wanted at least 4 drawers (my current dresser only had 3, but I used to have two dressers for a total of 6), AND most importantly it needed to fit in between the wall and the central closet organizer. Height-wise, it shouldn’t be too tall (so I could still use the bar above to hang shirts), but the width was the biggest thing. The max width I could fit was 29.5″, and wouldn’t you know it that most dressers come in 30″ widths!
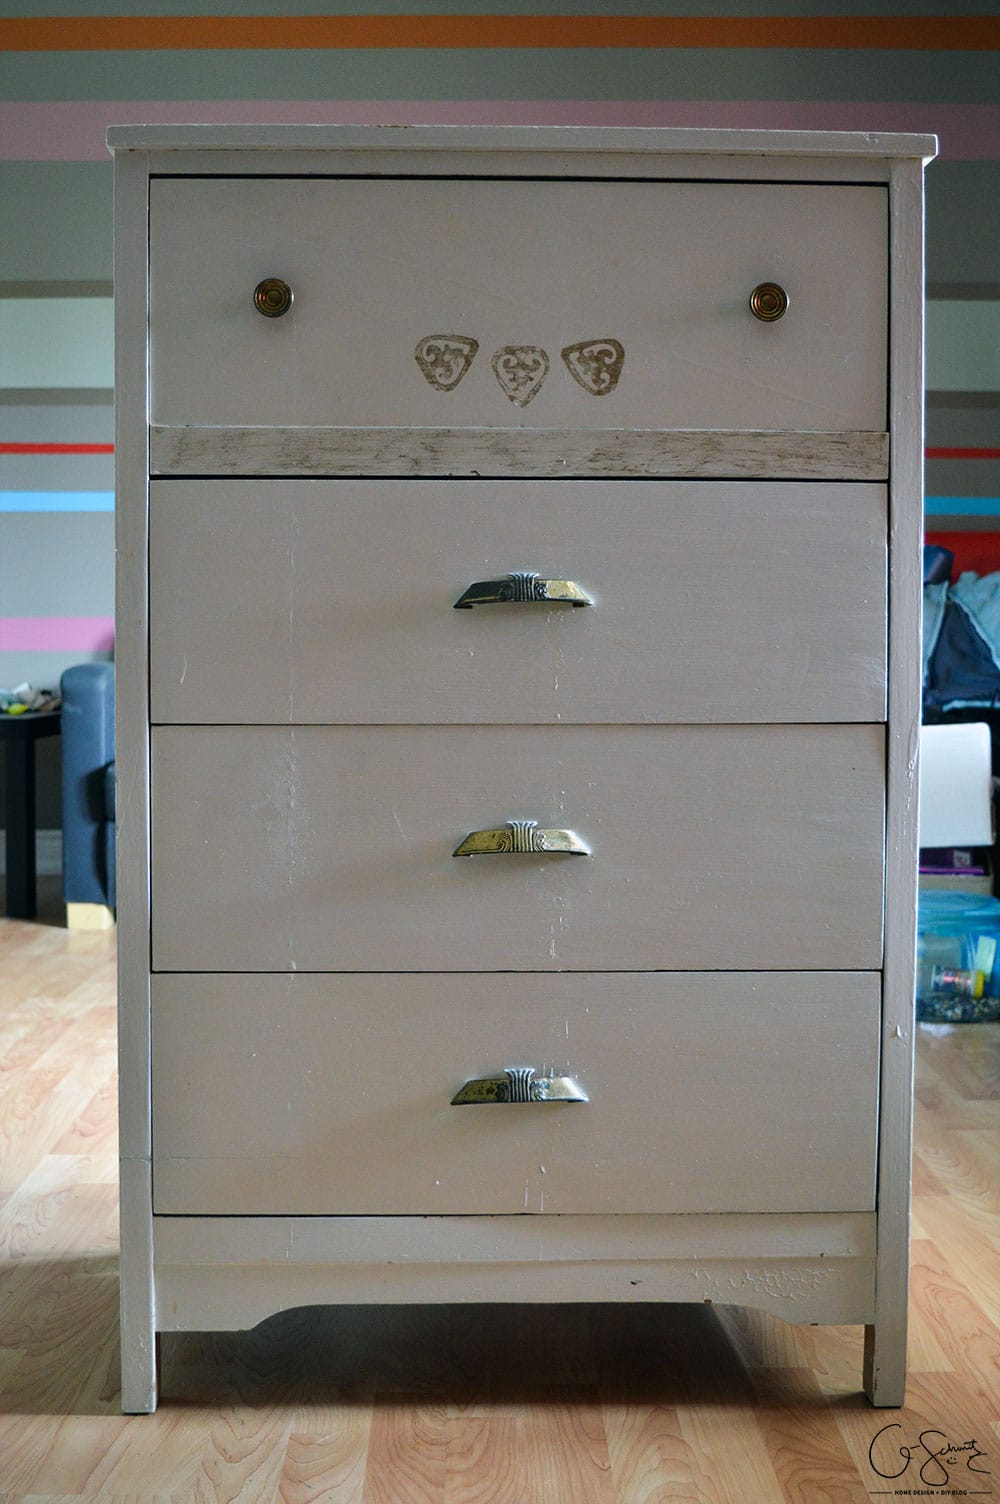
Back in October, I finally found a dresser through Kijiji (a Canadian classified site, like Craig’s List) that would fit those dimensions; but there were no pictures included with the ad. At this point, I didn’t really care what the dresser looked like, as long as it fit my measurements! After calling to confirm the size, I borrowed the Husband’s truck and headed over (and measured it on site too).
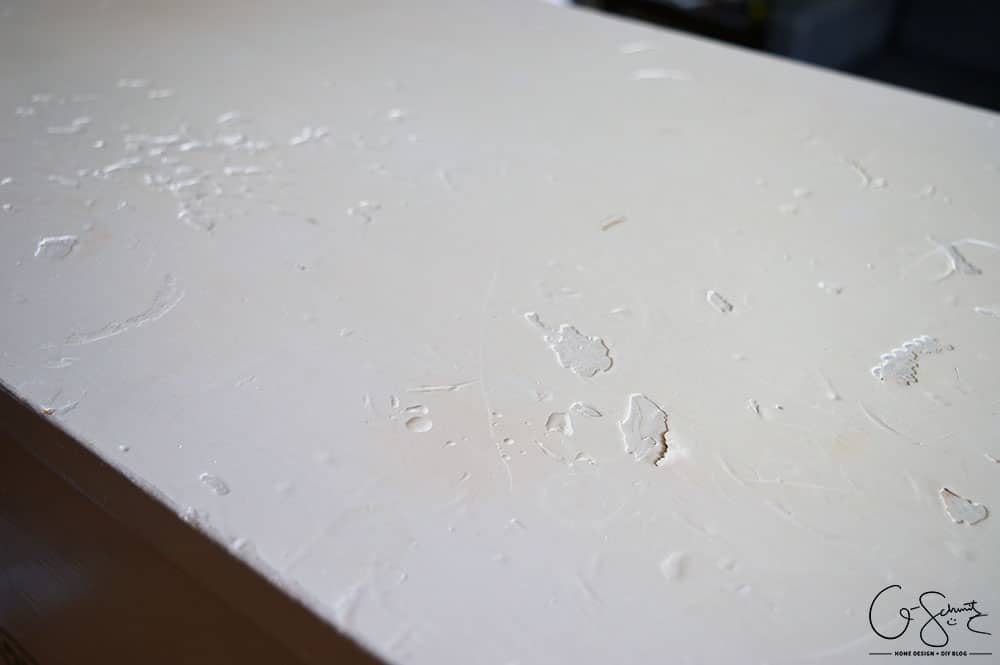
I didn’t notice that there were some gouges on the top until after I had paid for it and loaded it up, oh well – I’ll fix those!
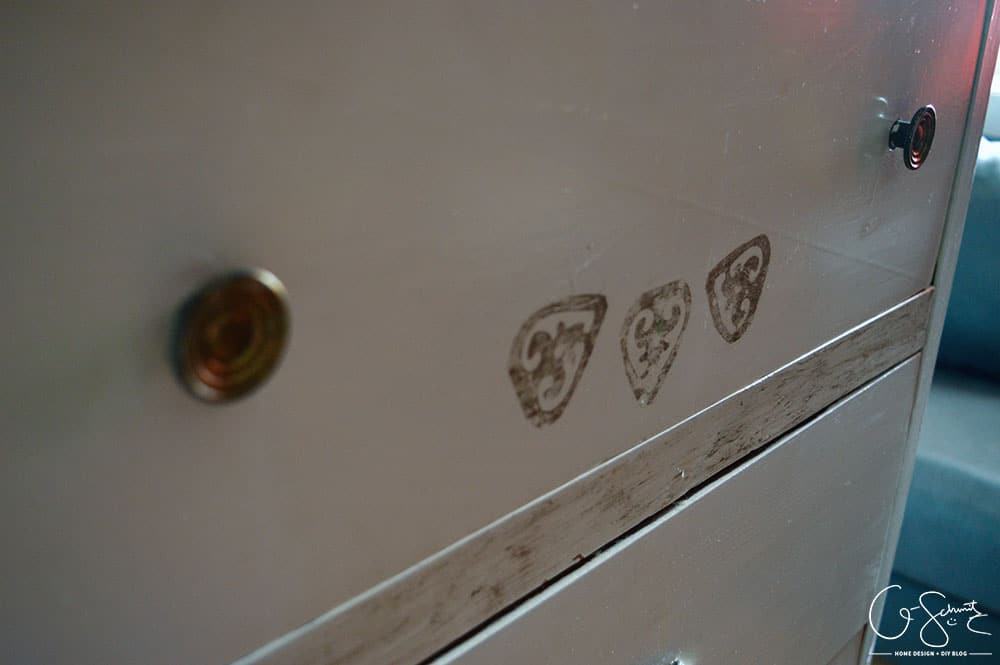
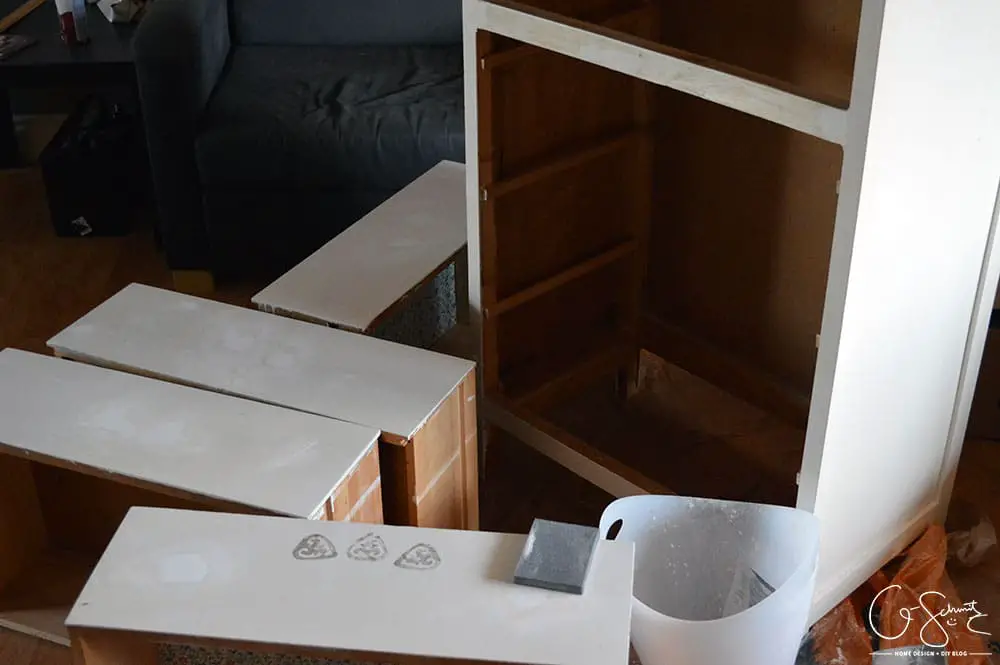
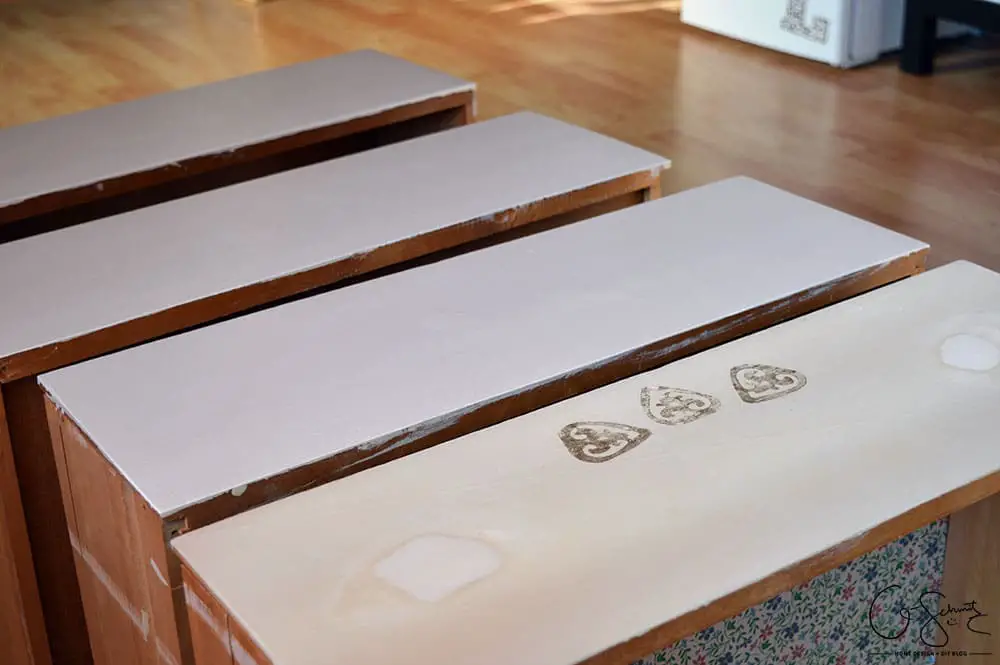
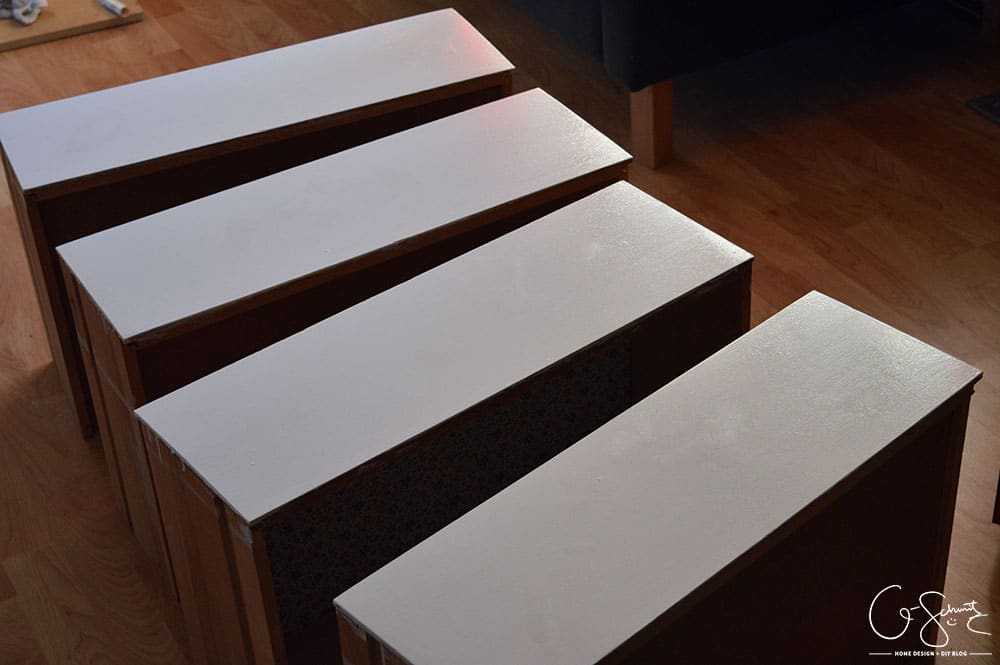
I also wanted to paint it a bright white, and had to cover up some sort of “fleur-de-lis” style painting on the front. (Note, these took over 5 coats to cover up fully…)
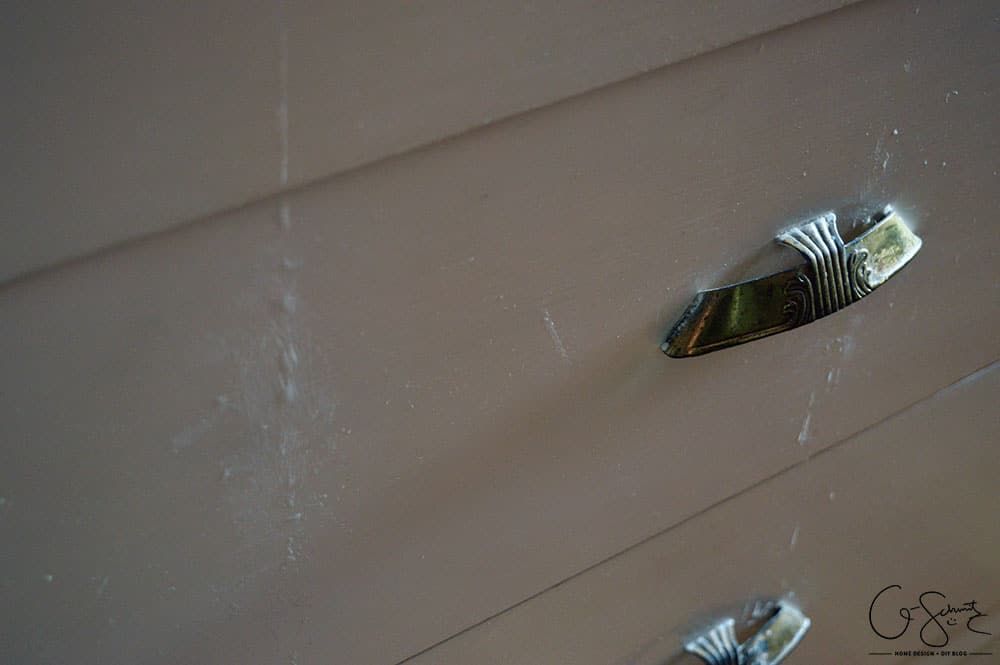
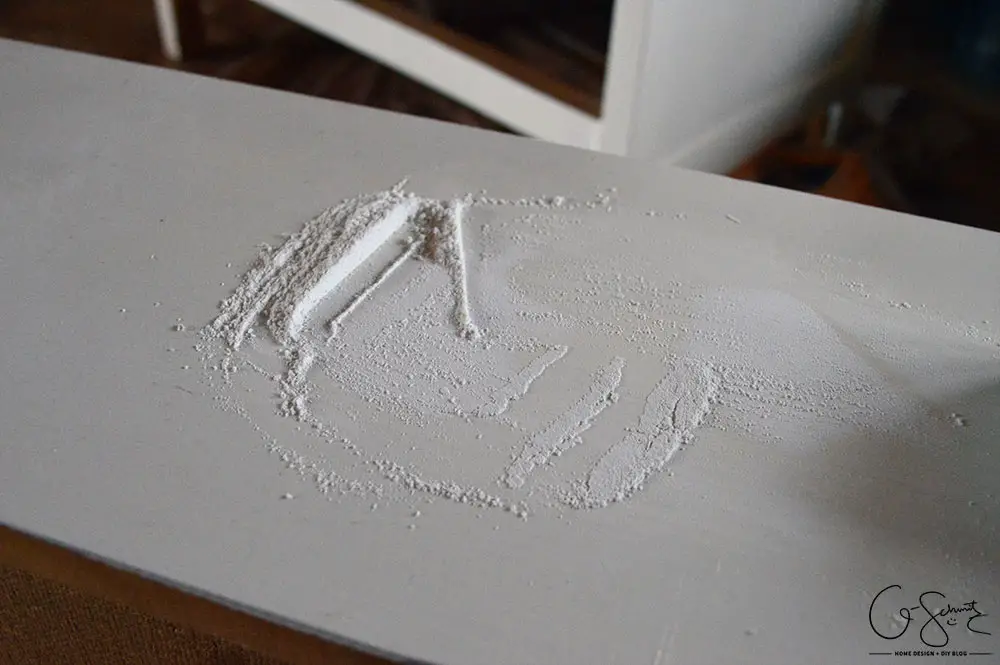
It also didn’t make sense that the knobs/handles didn’t match, so I had to take the old ones out and patch the holes. (There was also some clear/white wax that had spilled on the drawers and the top that I had to clean up… and no I didn’t save it to make candles!)
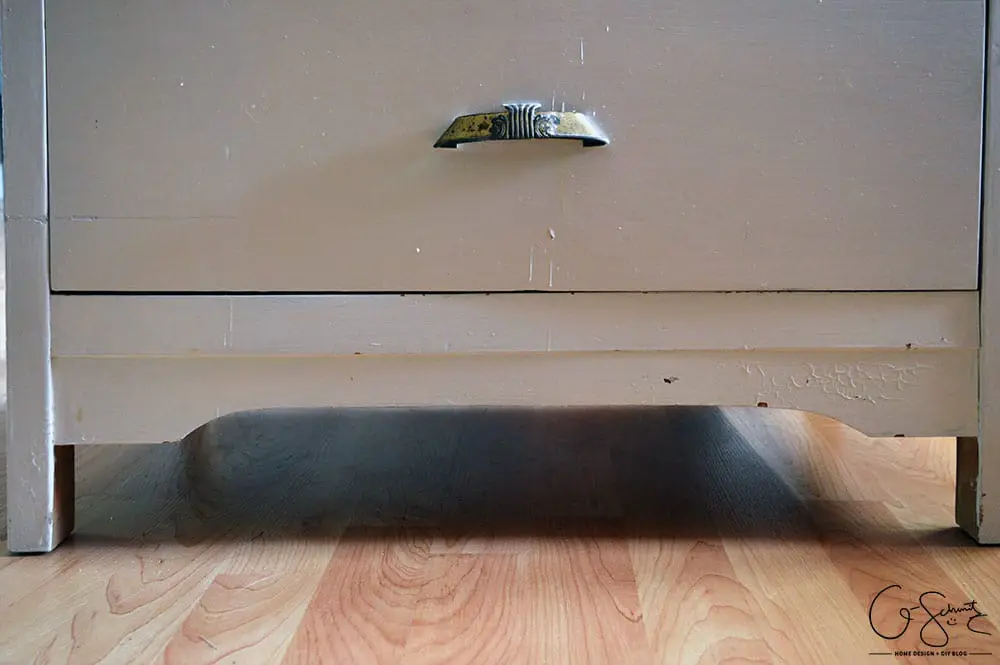
Last but not least, there was a little “toe kick” at the bottom of the dresser. I didn’t think it was there for any structural purpose, and wanted to remove it so I could use this bottom “hole” for more storage (namely my shoes). Funny story, I told the Husband to take this part off and after hammering it for a bit, he thought that maybe it was screwed in. Haha, it was and we simply had to turn the dresser over and take the screws out!
I patched the holes from the handles and the top of the dresser in late October or early November? (You can tell by the background images of the stuff… if you read my blog super closely that is!).
Then I lost some of my initial oomph and the dresser sat in the living room unfinished for another few weeks.
In late November I moved it to the bedroom when we had our friends’ over for a holiday dinner and I decorated the living room for Christmas.
Then I brought it back out and painted it white! (See the mini-fridge in the background?) I like to work in the living room because it’s a large space and it has the best natural light.
I used the same white melamine paint that I had leftover from painting the office shelf (which again was leftover from the kitchen).
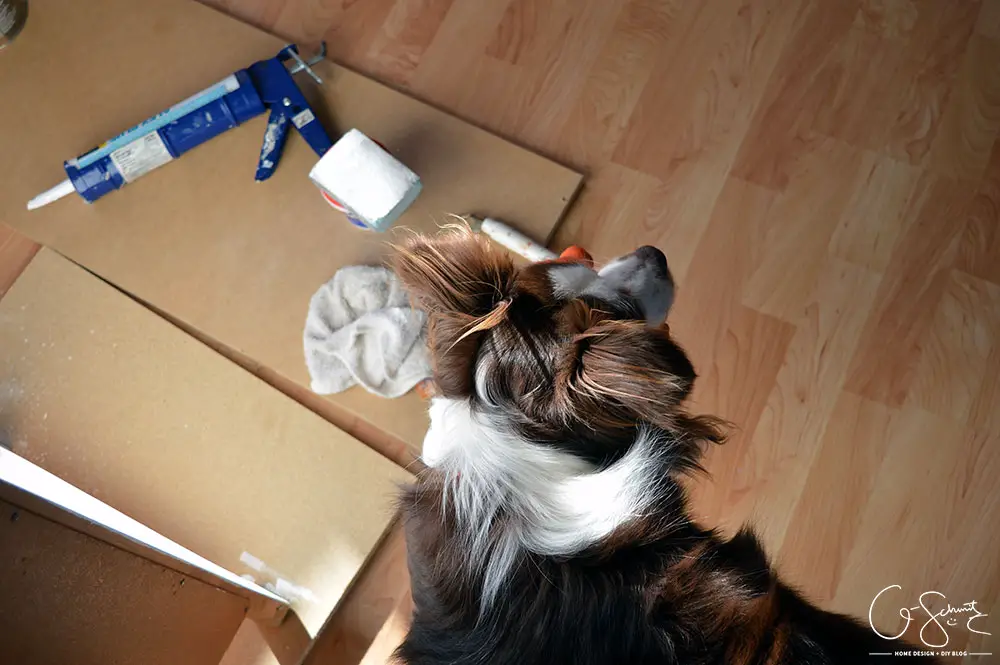
Little Tootsie loves “helping” her Momma with DIY work (although she did lightly brush up on the wet paint at one point…). The caulking was used to fill the spaces on the side of the dresser.
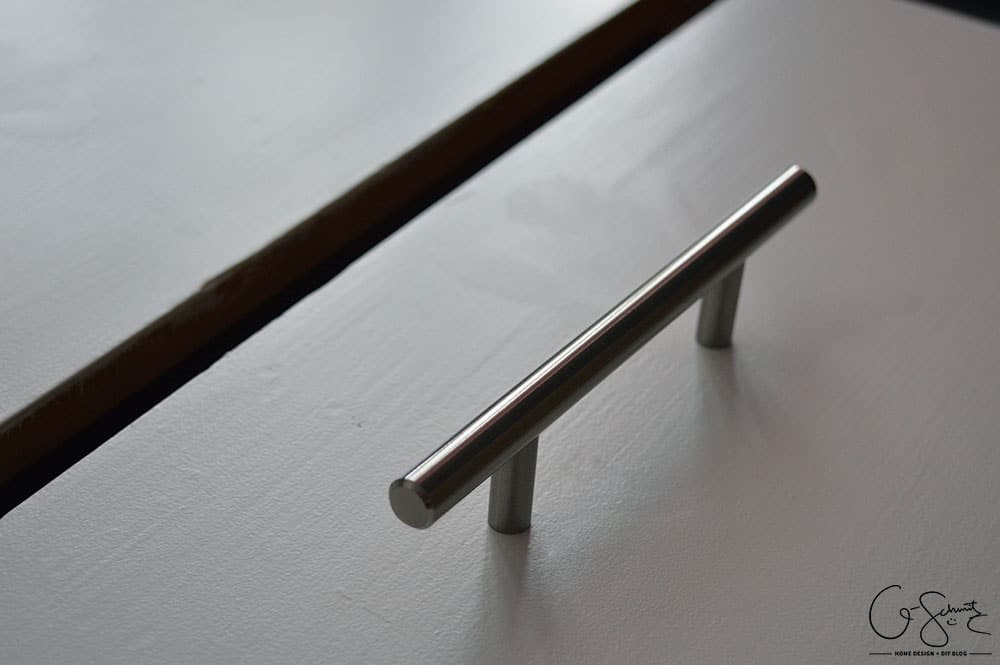
And last but not least, I chose to use the leftover handles from our kitchen remodel because I had 5-6 extra. The Ikea drill template “fixa” did not reach to the center of the drawers, but luckily I received another one in my Haven swag bag from Liberty Hardware that will work perfectly.
Can I let you in on a secret? I haven’t installed the handles yet, so you will have to wait until next week for the dresser reveal! I was able to accomplish a few items from my closet to-do list last weekend, so one last push until it’s done!

No Comments