
Let’s just jump into the New Year with a sorta-new project! Sorta-new project to you, but super-old-why-is-this-project-not-done-yet to me. Last time we discussed our master closet it was all about organizing and adding the closet shelving system. Today I will introduce you to the joys of renovating a master closet!
I wrote Part 1 in November, but let’s remember that adding the shelving system was actually accomplished in mid-2014. This current renovation stage actually happened a bit before November, and let’s just call it the demolition phase – since that’s what it is :)

Here is what we were left with after the organization portion. I had some plastic drawers in the center, half of the closet was empty/unused, and we had three dressers shoved against the red/west wall. There was a shoe rack with some shoes, but I sold it and now my overflow shoes sat willy-nilly on the floor.
What really bothered me about this space was that there was so much emptiness! AND so much of our bedroom was taken over by dressers.
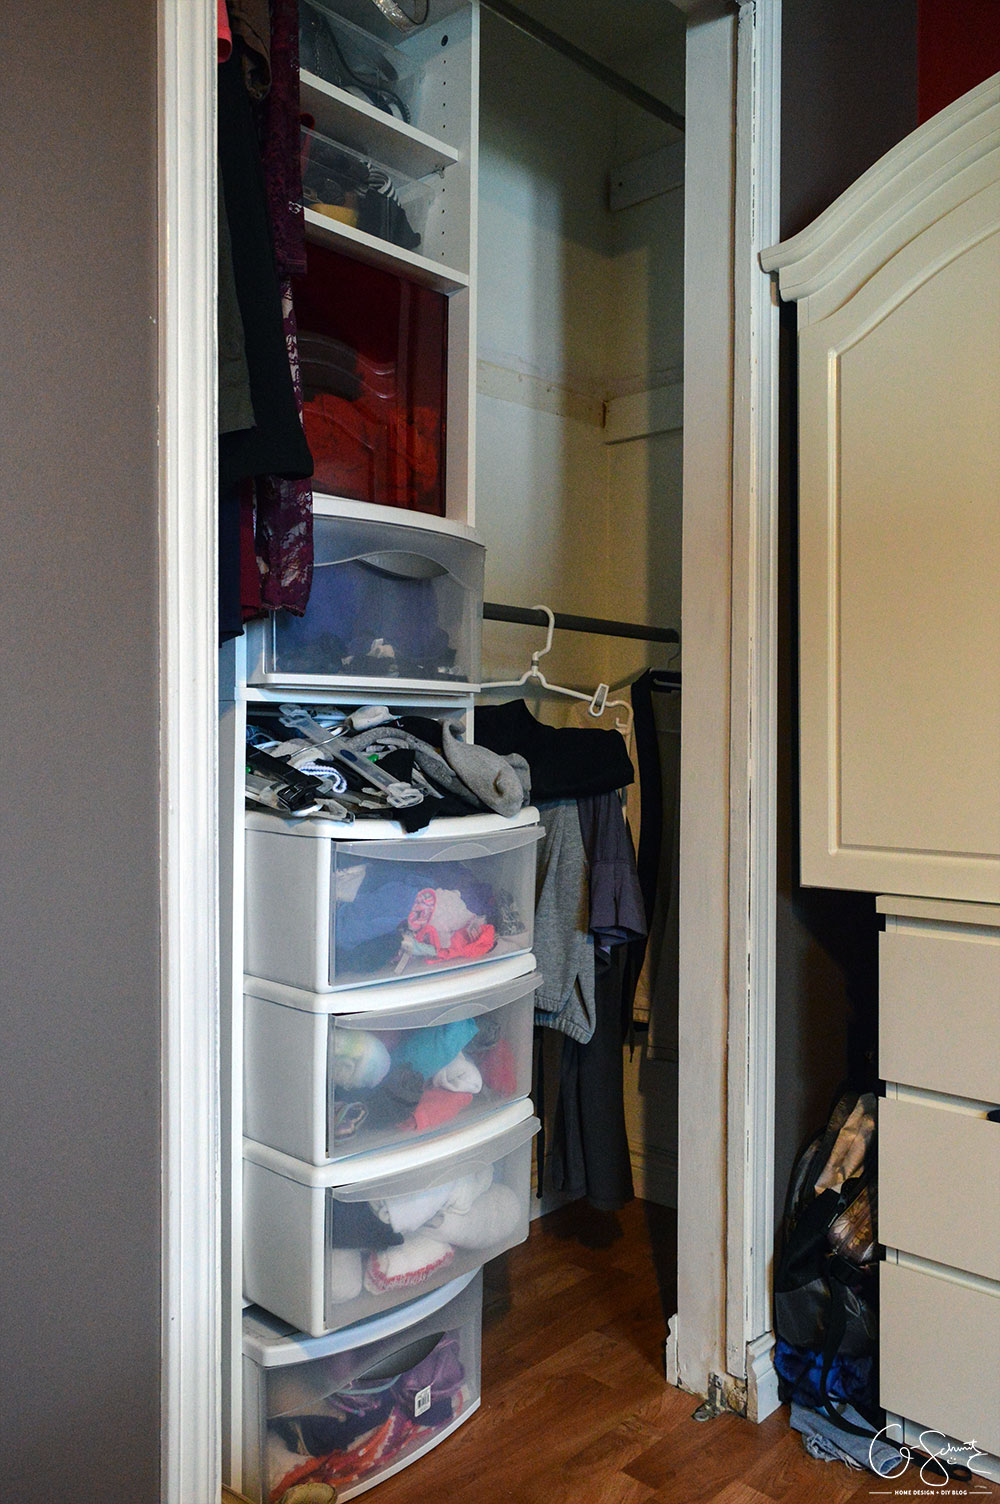
It didn’t make sense to hang everything (hanging clothes is super annoying, right?) AND I hated how the little closet walls covered half the space, hiding all the stuff. How am I supposed to remember to wear something if I can’t see it and/or it’s not easily accessible?
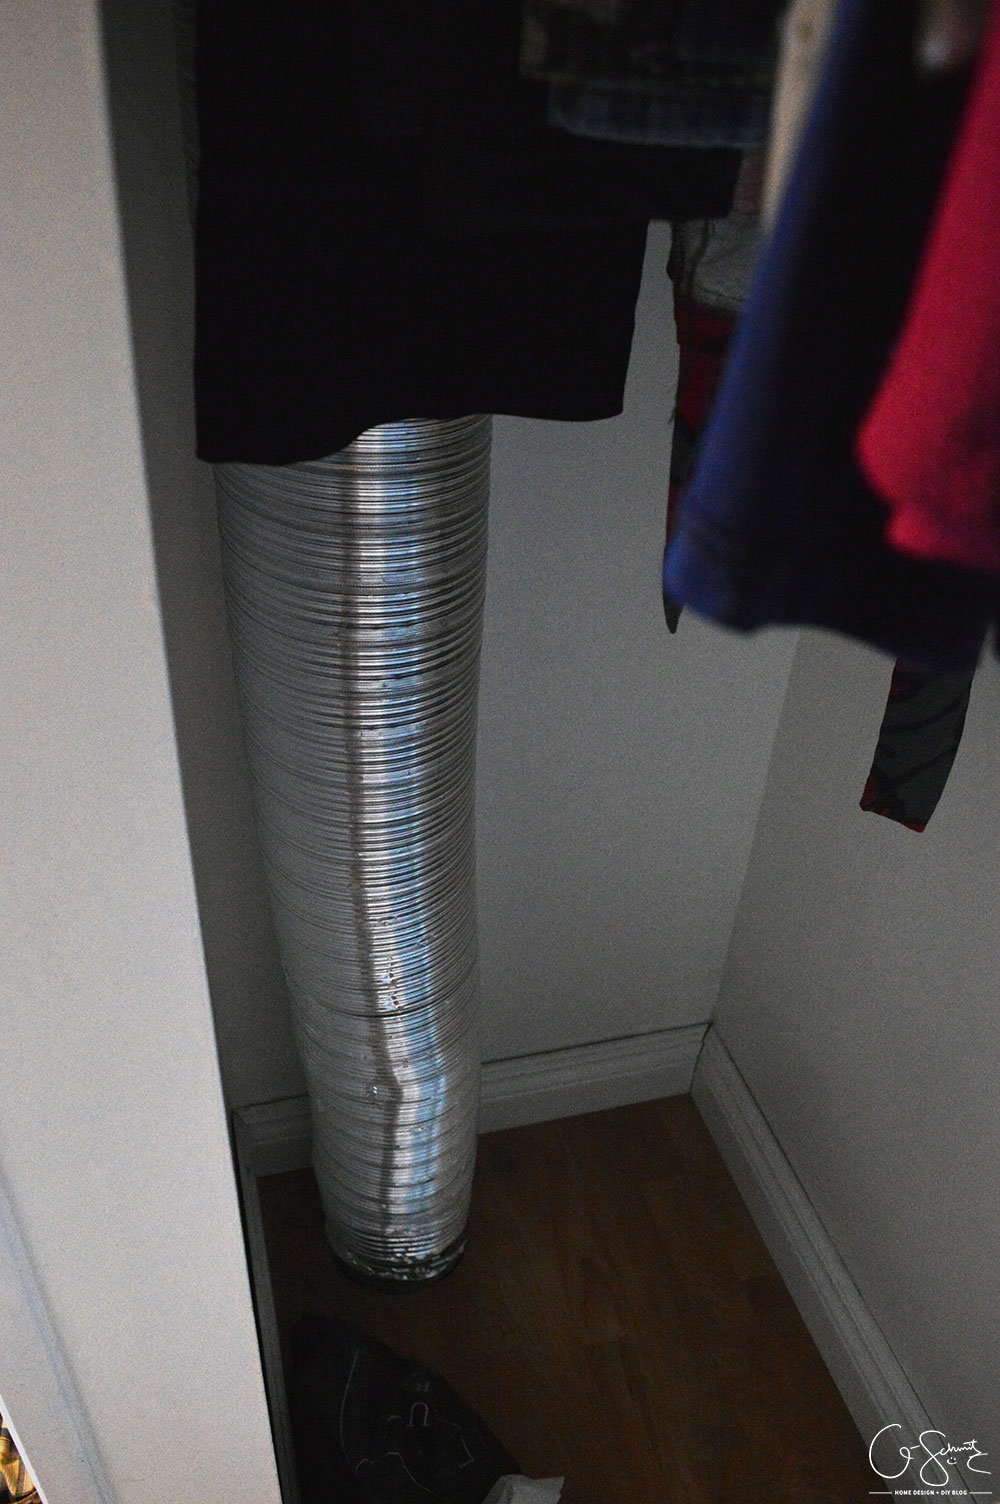
On the left side of the closet there is a duct pipe… and because we only had the top rod here, half the space (below) was open. It was fine when my shoe rack was there, but once there was no shoe rack, there was more emptiness (wanting me to fill it!).
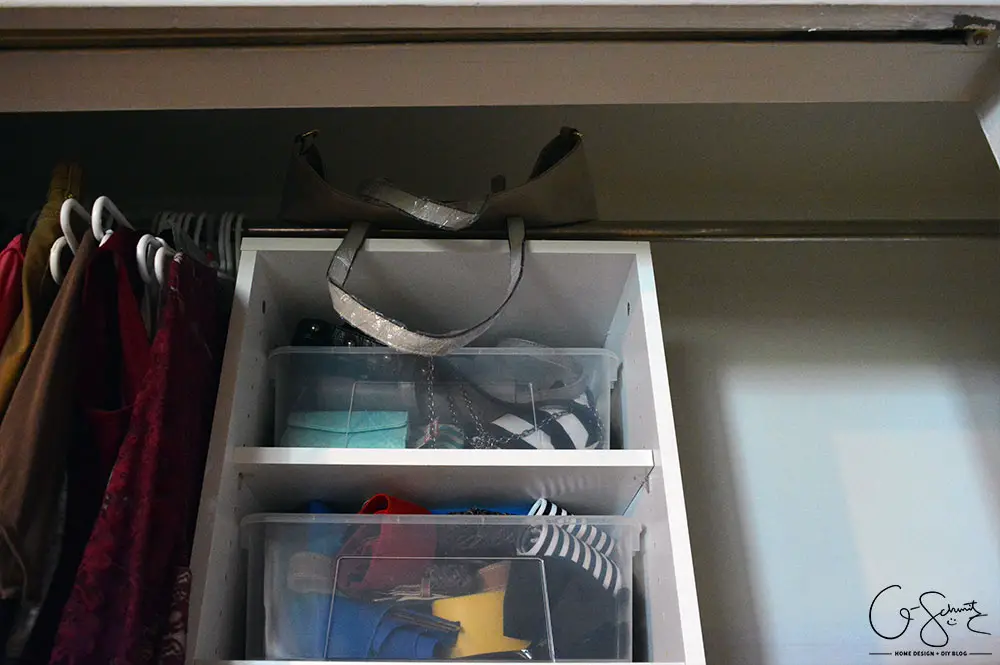
Another area that could be utilized for storage was the top of the closet. We once had a shelf there, but removed it when we added the center part. Because of the outer top wall section (that comes down from the ceiling) it would be hard to store things up there, or at least to easily move them up and down.
Oh, and the closet rod was about 2 inches too high (I had to reallllly reach to hang my stuff). With the shelf system, you’re supposed to install the two half rods that it comes with, but we decided to save those and use the full rod we had already. If only the Husband had installed it flush with the cabinet, it would have been the perfect height for me!
Thus…
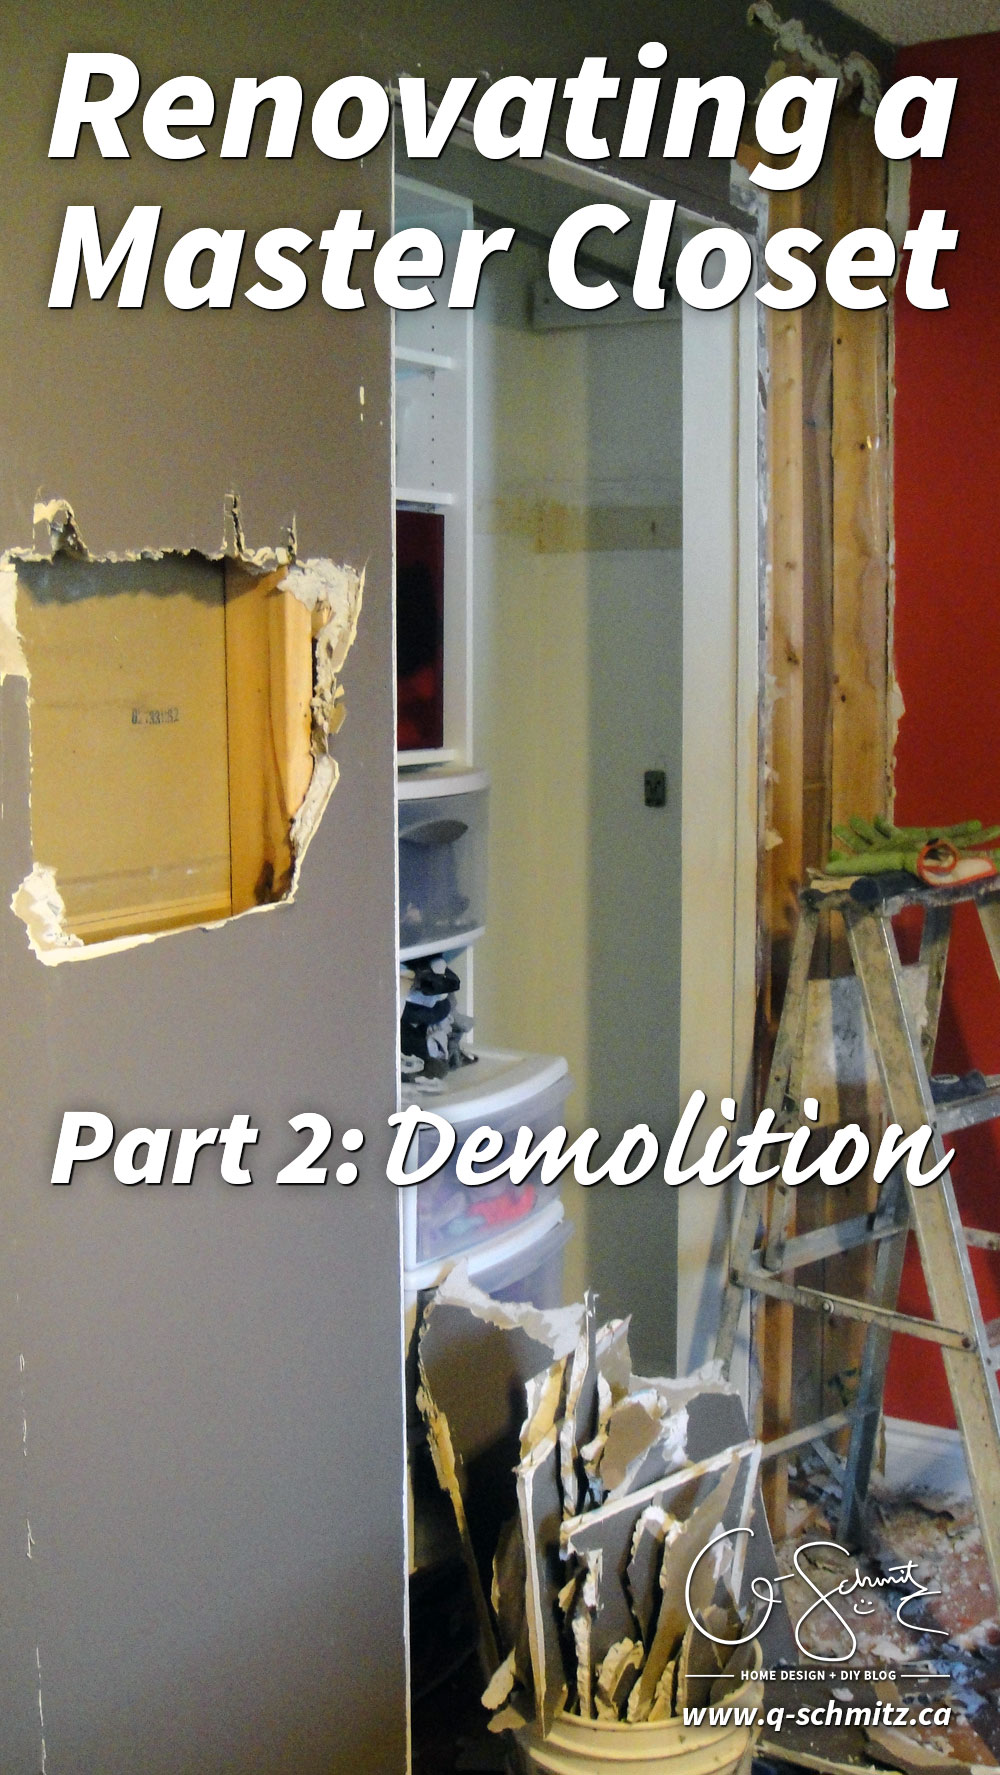
Renovating a Master Closet Begins!
The Simple Plan
- Remove side walls and top wall (basically making an open shape, rather than an enclosed one)
- Lower closet rod
- Install a full shelf above the closet rod
- Add a dresser (or two)
- Install a door

The Husband decided to go on a weekend trip, leaving me the perfect opportunity to get this project started without any grumbles! He didn’t want to do any work on the closet; to him, it was perfect the way it was.*
I moved the dresser that was touching the closet to the other side of the room, moved all my hanging clothes and shoes to The Pink Room and was ready to go!
The second step was taking off all the trim (I kept it nearby since we will most likely reuse it when we rebuild).
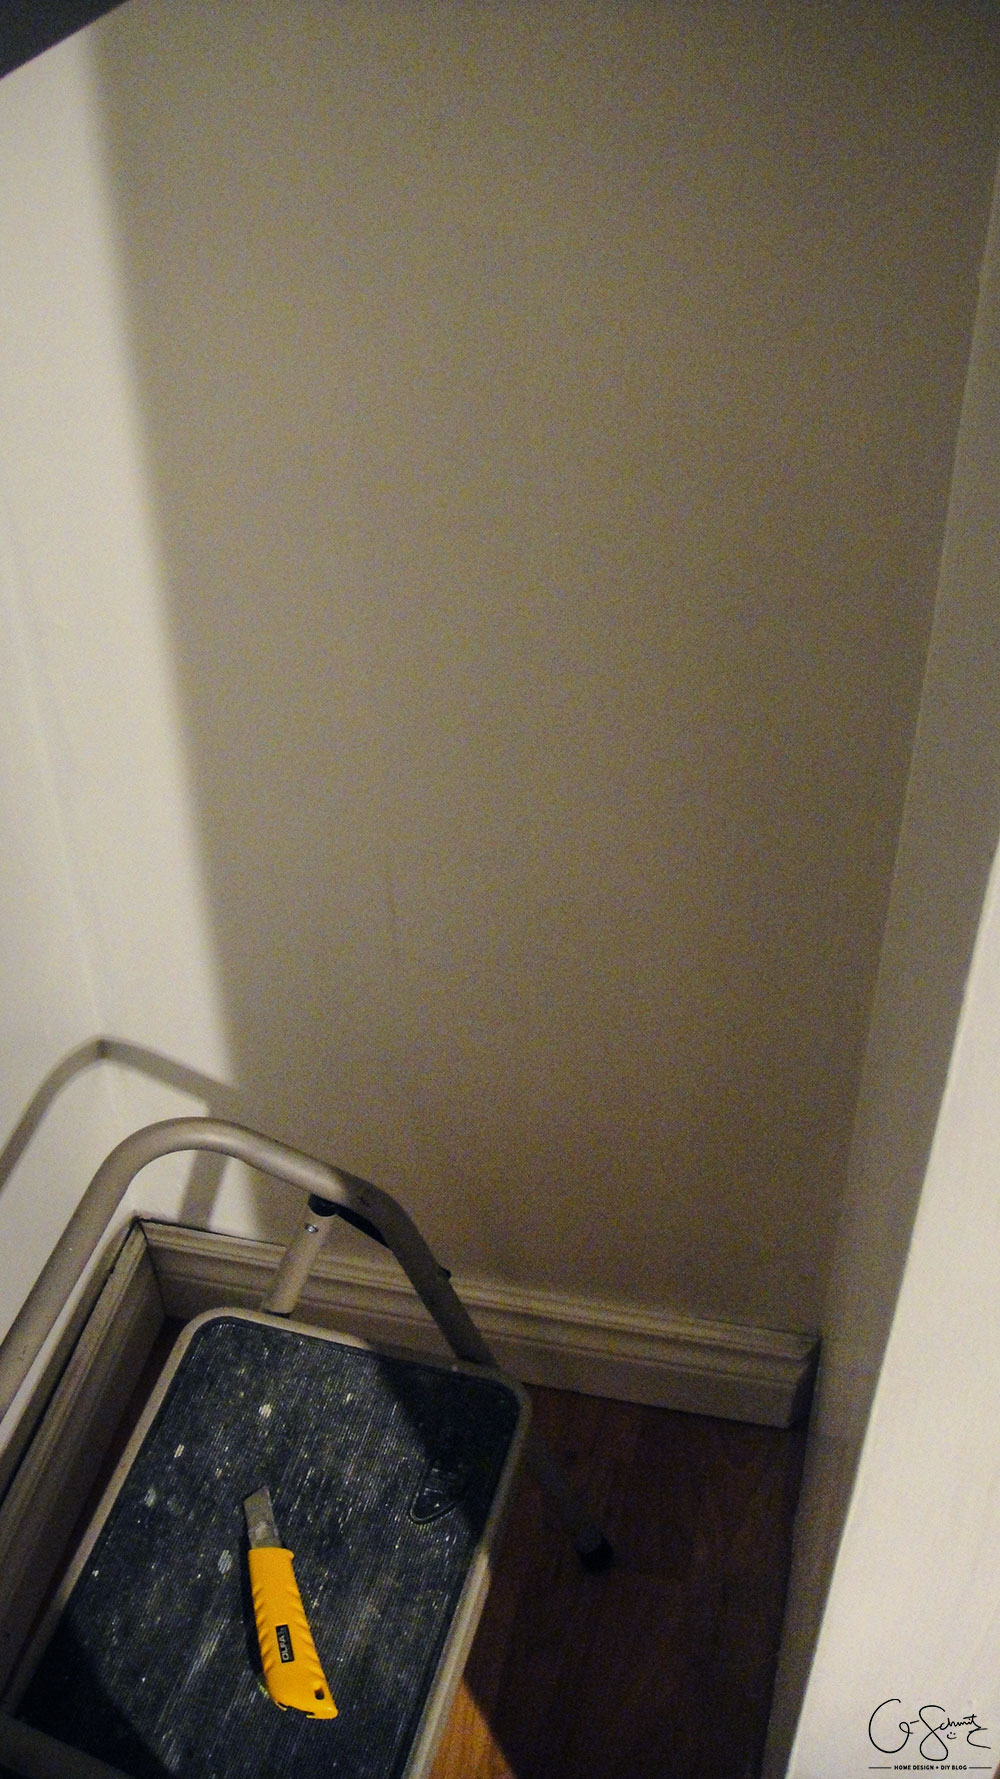
I also took off the trim from the inside of the closet. Let me tell you, I was super excited to get these little walls down!
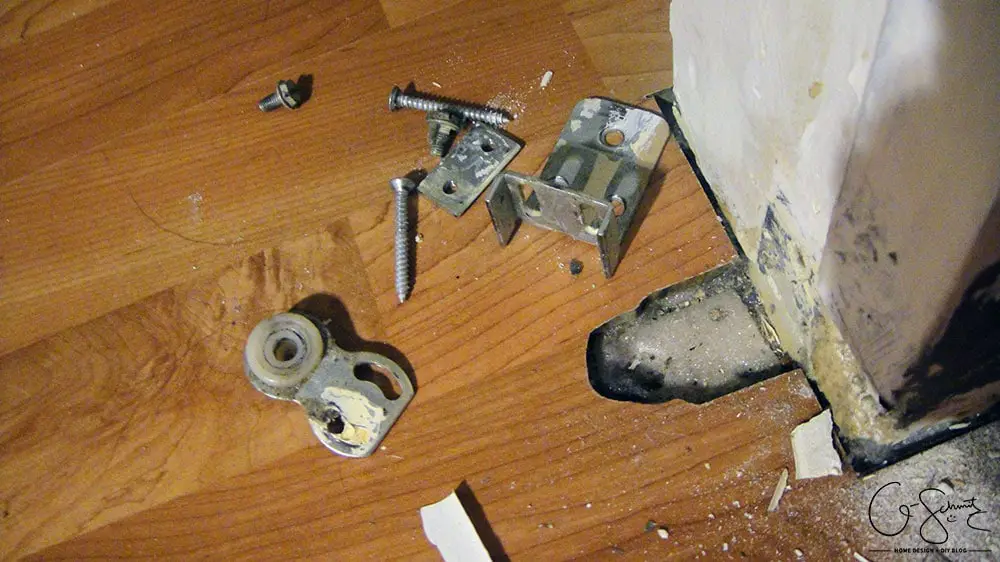
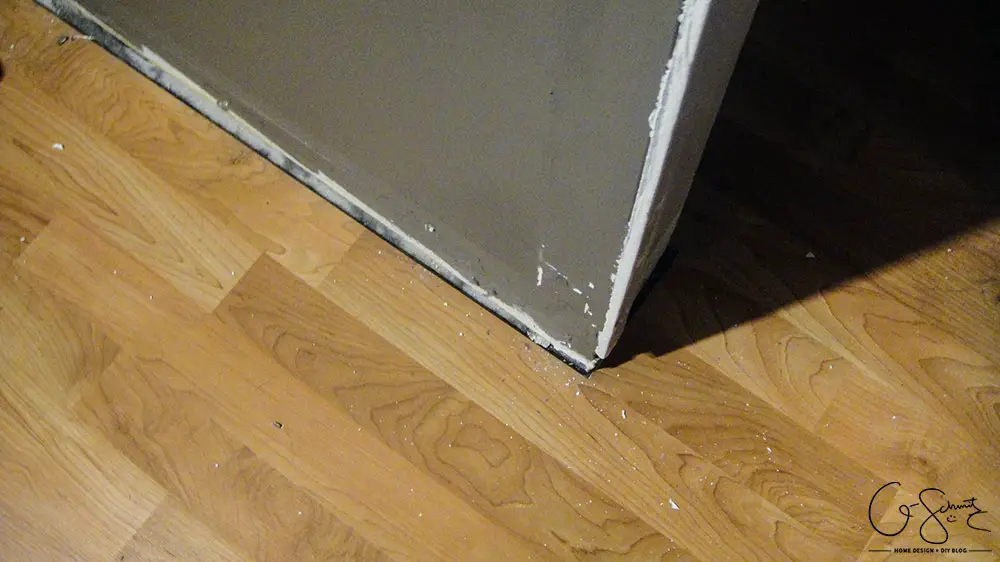
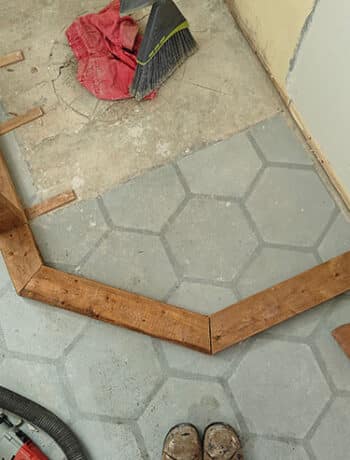
Since the walls were built before the floors were installed, I knew there would be some patch work I would have to do. I was happy to take off the old door hardware (you know, to the door that never really fit and the Husband broke off after we moved in).

Wanting to do as minimal damage as possible, I scored the edge of the drywall (cutting through the tape) between the wall that would be removed (grey one) and the wall that would be staying (red one). Oh, and a random fact: I don’t know if I normally wear gloves or not during renovations, but I was protecting my hands from any critters that could be lurking in the walls (aka: spiders) rather than getting damaged from the drywall (but they definitely help for that too!).

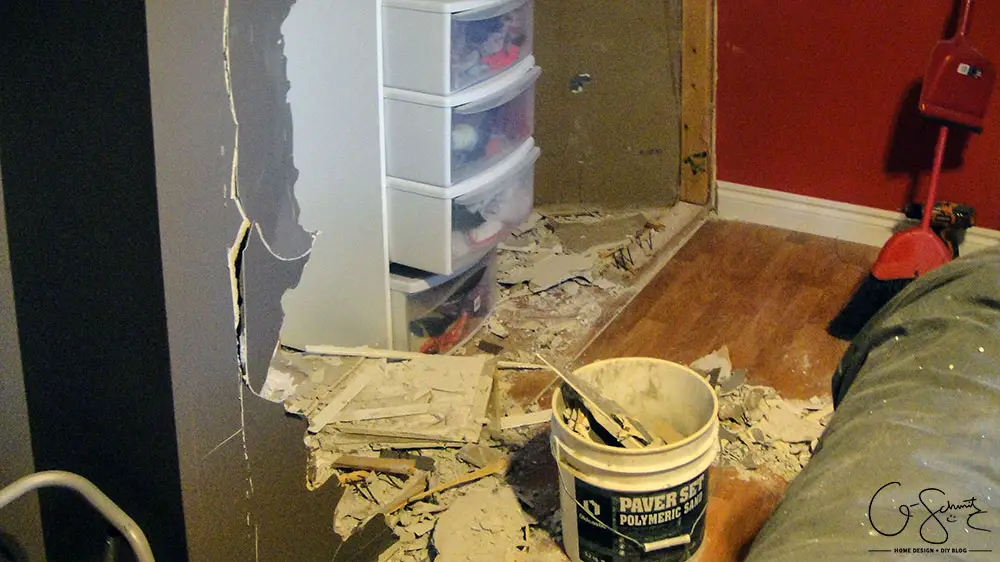
And I let the hammering begin! This was probably the point of no return…
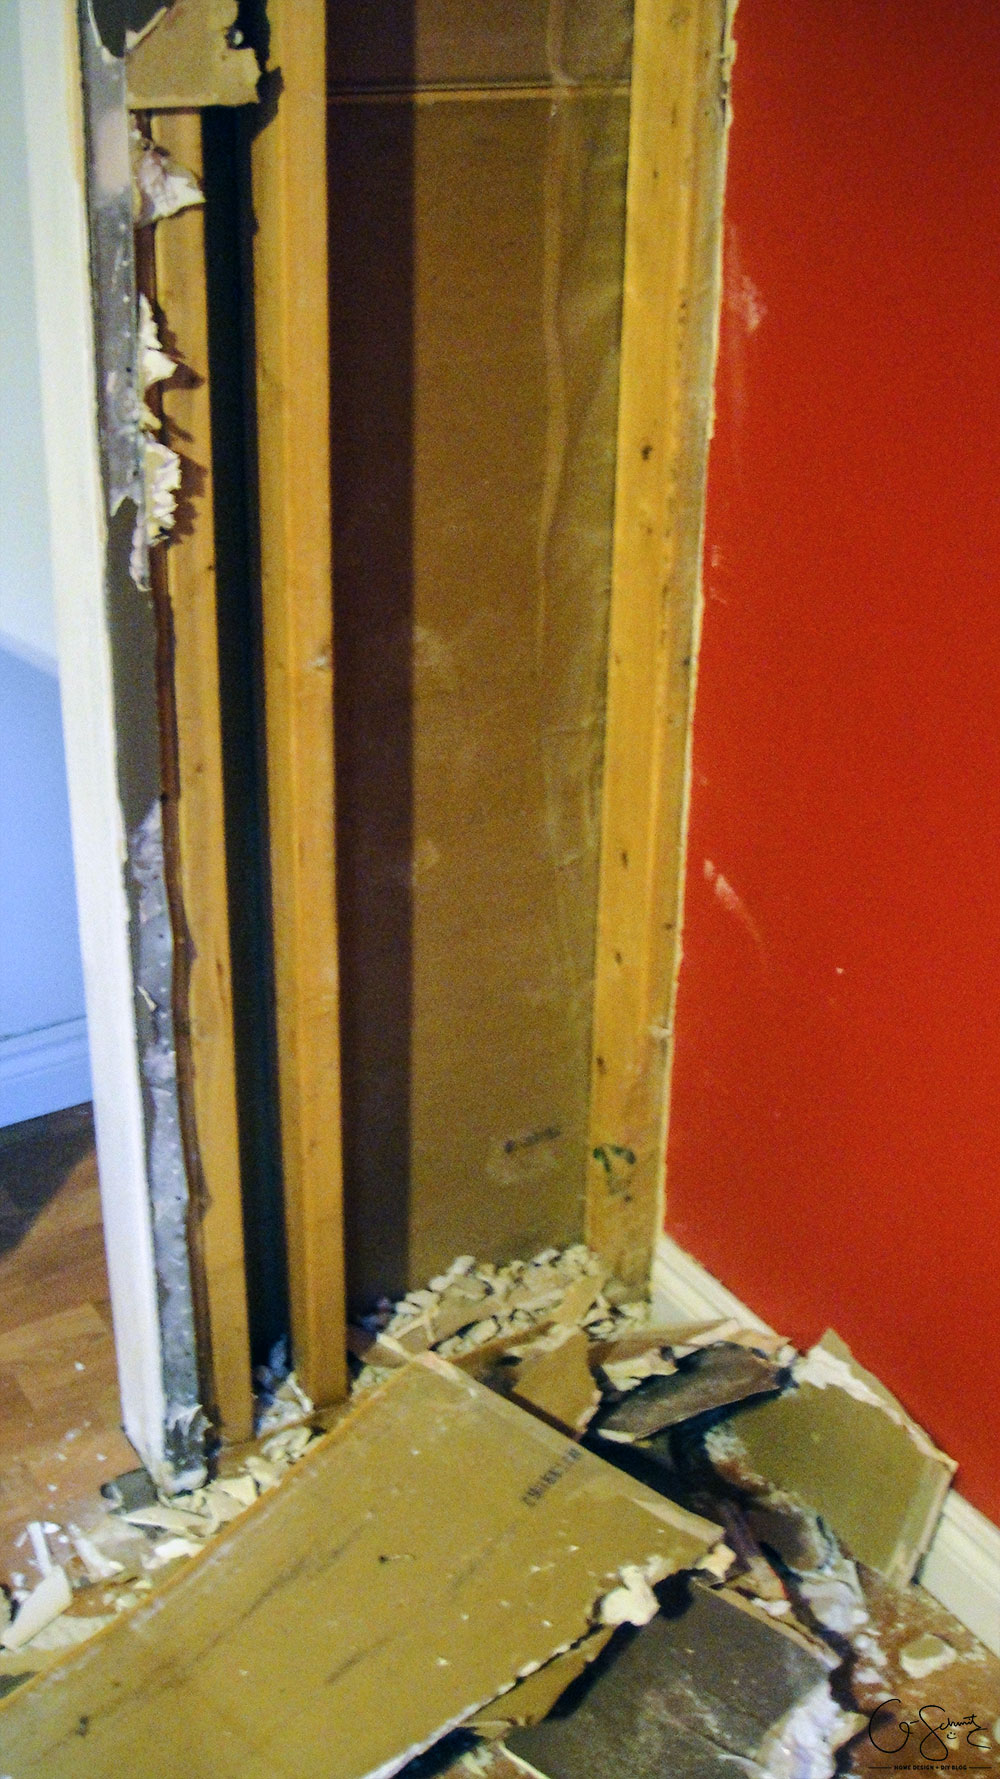
Or maybe when I took the rest of the drywall down?
Hahaha Husband… *
I got tired/sore/bored/weak from the demolition that I had done and decided to call it quits for the day. Can you feel the disappointment anger oozing out of the Husband at this point? *
* I don’t recommend going against a spouse/partner/roommate’s renovation wishes – please don’t tell them I told you to hammer through the walls. They will most likely not be happy**
** In my case, a few days rest and some sad puppy dog faces (mine and Tootsie’s) helped soothe the pain… (no you cannot borrow Tootsie…)
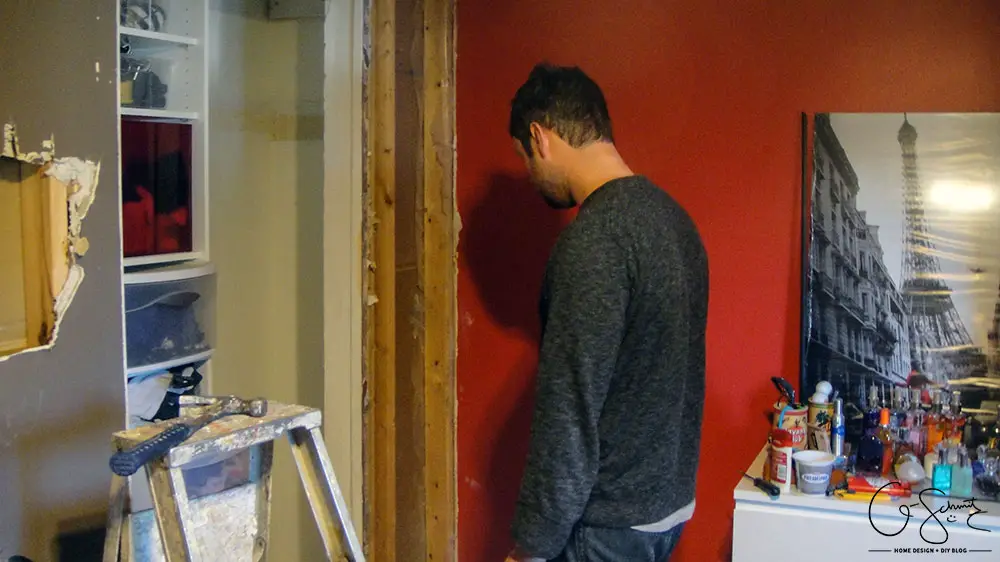
Anyways, he decided to help me take the rest of the wall down, and swinging a sledgehammer may have also helped ease his frustrations with the wife (that’s me!). Haha this photo (above) is funny because it also shows our bed… which I left in place during the whole demolition… and got completely covered in drywall dust and wall chunks.
It wasn’t 100% demo’d at this point, (you’ll also notice some dangerous nails sticking up from the ground?) but it was a really good start and we eventually removed the rest of the wall a week or so later (the Husband being forced to help against his will of course).
Don’t worry, I completely cleaned the demolition residue and vacuumed the bed before we went to sleep :)
(Oh and I can’t promise that our floor isn’t covered in new drywall dust and has been for close to a month now… but that’s for the next part of this journey!).
Renovating a master closet – or any space really – is a great way to get your creative juices flowing. Not having to tackle plumbing and electrical (which we do not have in the closet) OR having to deal with structural walls or other constraints really lowers the difficulty level of this type of DIY project.
So go ahead, take out a hammer and rip out those closet enclosures!
Because seriously, they are only there to hold a proper sized door, but as long as you have an alternative, you should be good to go! ***
*** Easier said than done though, I will explain all about the closet door situation next week!
2 Comments
Louise aka Mommy
January 5, 2016 at 9:20 pmMaybe I should have tried puppy dog faces last week! You have to get some old sheets to cover your stuff. You then just have to roll them up, shake them outside and have half the cleanup
Can’t wait to see the reveal
Nicole
January 6, 2016 at 6:02 amI’ll try and remember the sheet thing next time I guess – I can’t wait for the reveal either :)