
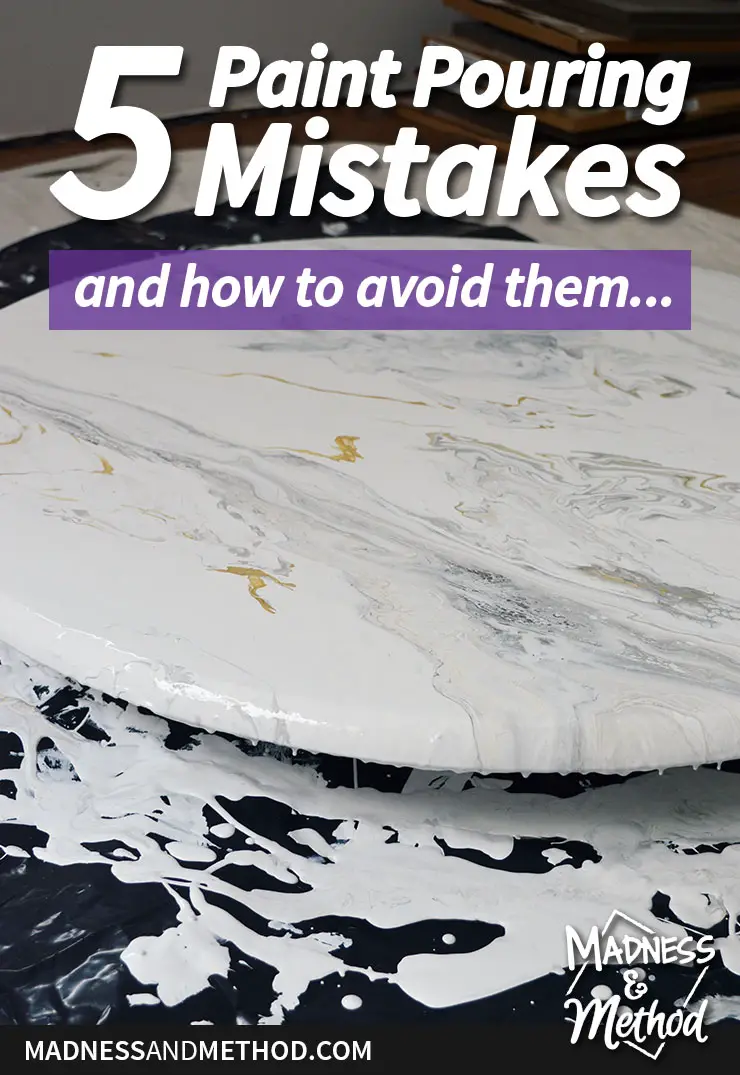
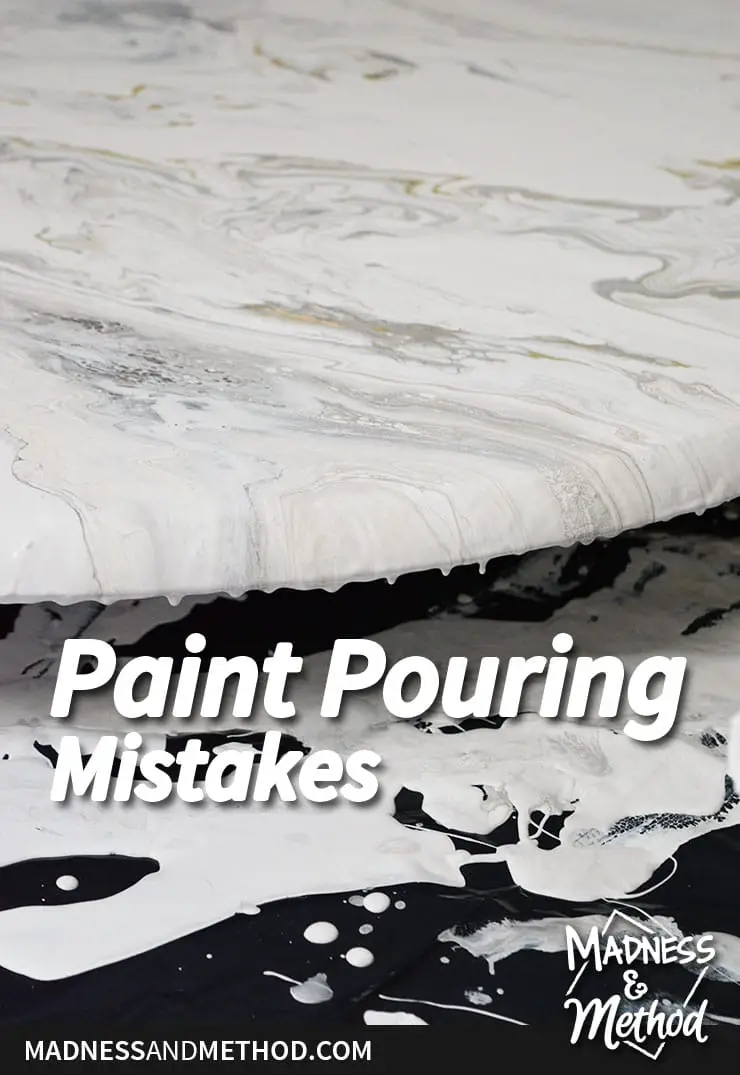
I was going to have a beautiful paint-pouring project to show you today. It was my first attempt at using this über popular technique, and I thought I would have had it mastered! Unfortunately, things didn’t turn out exactly as planned, so instead, I’ll share some paint pouring mistakes to avoid! And, in case you were worried my first project was a total fail – I will be back next week to show you how it turned out.
– Note: This post contains affiliate links. See more information about affiliates here. –
I had been planning on doing a marbling pattern to the dining table at our rental renovation for some time. It was actually Pinterest’s 100 list for 2019 that turned me onto the idea of paint pouring, and I knew that doing and acrylic paint pour would achieve the look I was going for.
Products Used:
- Pouring Medium (buy at Michael’s, buy on Amazon)
- Acrylic Paints (Gold, Silver, Light Grey, Dark Grey and white ‘house’ paint)
- Palette knife (and a stir stick and brush)
- Plastic Cups (+ screw to make a hole)
- Garbage bag + paint tarp for area
- Round wood table + surface to prop it up
What I did before I started
While I was going to just use water to dilute my paint, I did do a bit of upfront research and read that using a proper paint pouring medium would be best. I headed to our local Michael’s Store and picked up some Liquitex Pouring Medium (the only brand/type I could find at the time) and a couple extra colours I needed.
I also watched this paint pouring YouTube video to get an idea about doing a marble-look for a table, and I was ready to go!
Or so I thought…
Paint-Pouring Mistakes
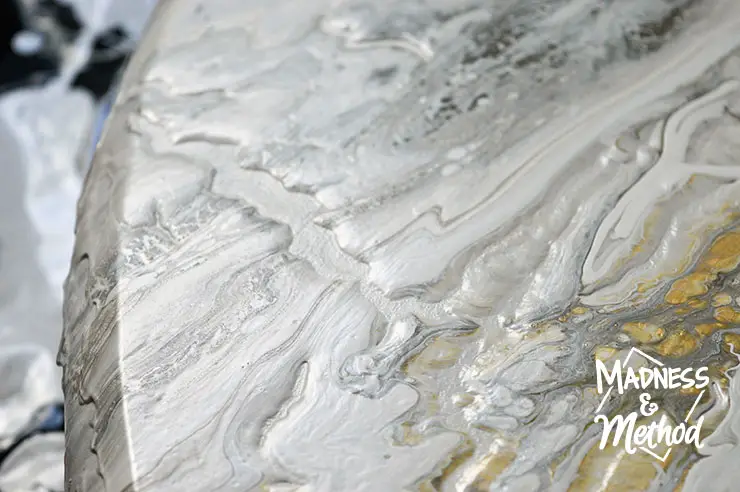
- Underestimating the amount of paint needed: I had painted a few coats of white paint on the table prior to doing my paint pour, so I figured that just doubling that amount (one cup full) would be okay. I did not have nearly enough paint to cover the entire surface (and/or it wasn’t liquidy enough to move around), so had to go back and mix more batches.
- Not perfecting the ratio: I thought that a 1:1 ratio (even amount of paint and pouring medium) would be good – it was pretty liquidy. I could have probably saved myself some paint if I would have just added more medium right away (probably a 3:1 ratio!) and it would have been easier to pour (and less thick in the end!).
- Wrong type of paint: Although the Liquitex Pouring Medium specified only using Liquitex branded paint, I was pretty sure I could get away with using something else. What I probably shouldn’t have done? Using old paints I had for a few years (that were extra thick/chunky) and maybe not using regular house paint (mostly because it had dried pieces that I had to scrape out). Next time, I would try and stick with one type of paint…
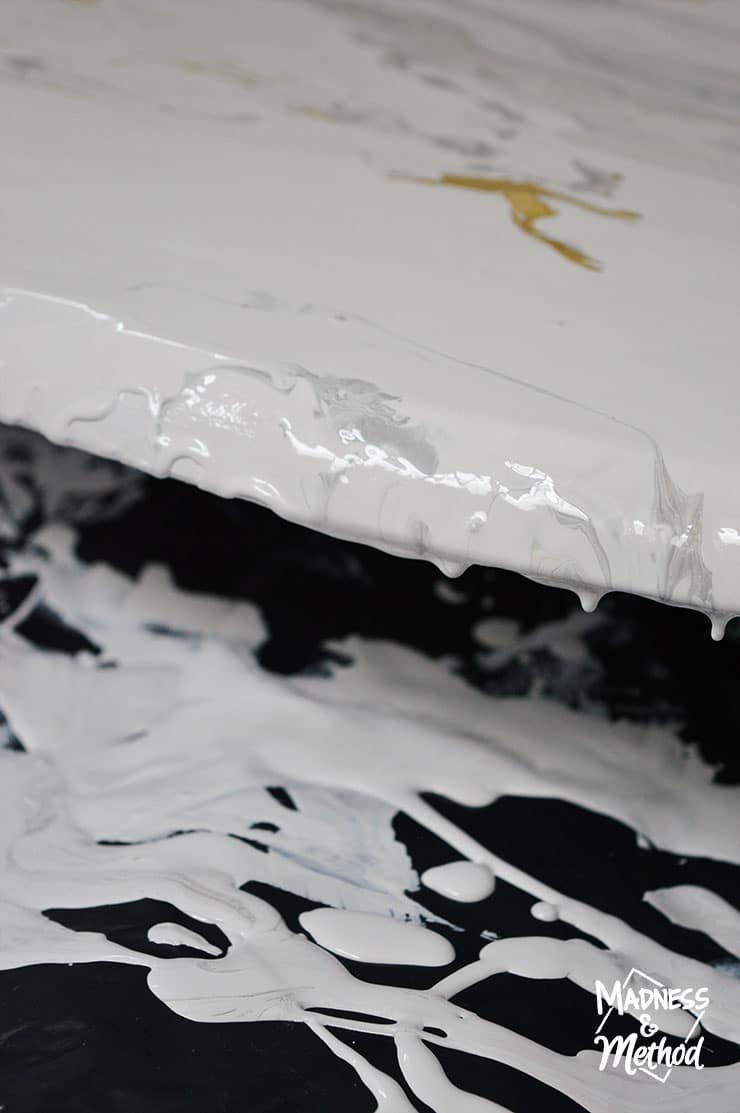
- No PPE (personal protective equipment) : I think I did a good job protecting the area – there was a large paint tarp in the room, then I cut open a garbage bag and put that on top. One basic thing with paint pouring is that you need to lift/tilt your ‘canvas’ everywhere and I would obviously get my hands covered. I was fine with a bit of paint on my hands, although gloves would have helped – (especially when it came to starting/stopping my camera!). What I didn’t anticipate? Working with such a large surface meant that I had to move around a lot to tilt the table in different directions. I stepped in the paint and had to clean up a few areas on our new floors.
- Multiple pours with uneven drying: I didn’t think that doing multiple pours (with a bit of wait time in between stirring more mix) would affect anything, other than making it more difficult to move the new colours around at the time. However, once everything dried, there were huge crazes all over the surface. I didn’t know what they were until I did a bit of research, and this is the biggest thing I need to fix going forward (and the reason I couldn’t show my completed table right away!).
The one thing to help resolve these issues?
Practice, practice, practice! For any experienced paint-pourers out there or even anyone who’s done it more than once, that probably seems like an obvious. I think if I had done a test pour on a small canvas, I could have seen how thick the paint was, realized how much I needed to mix ahead of time, and possibly perfected my colour ratio (although I do like how the colours turned out in the end).
For such a large area, I should have also added the white paint + medium as the base (kind of like what’s shown in this video). It would have probably helped everything spread a bit more, but again, doing a test pour (or two) could have caught that.
Oh, and I also had a lot of dried drips on the sides, but I’ll try and knock them off before I seal the table.
Check out the YouTube video for my setup:
More Paint Pouring Resources
- Tips and Tricks for Acrylic Pour Painting
- What is a Pouring Medium
- Hacks and Tips for Pouring Acrylics
- Paint Pour Letter Art (shows single colour pour method)
- Paint Pouring with Colour Pour
- Fluid Painting with Kids (funny story, you can hear little Zachary in the video going “oh” when I start my paint pouring – he was watching me work but it was too hard to pay attention to him and the paint so he had to go!)
Hopefully, these paint pouring mistakes help deter anyone from attempting a large project like this for their first pour! I was obviously planning on clear sealing the table (since it will be used for eating after all), but now I have to fill in the large cracks first.
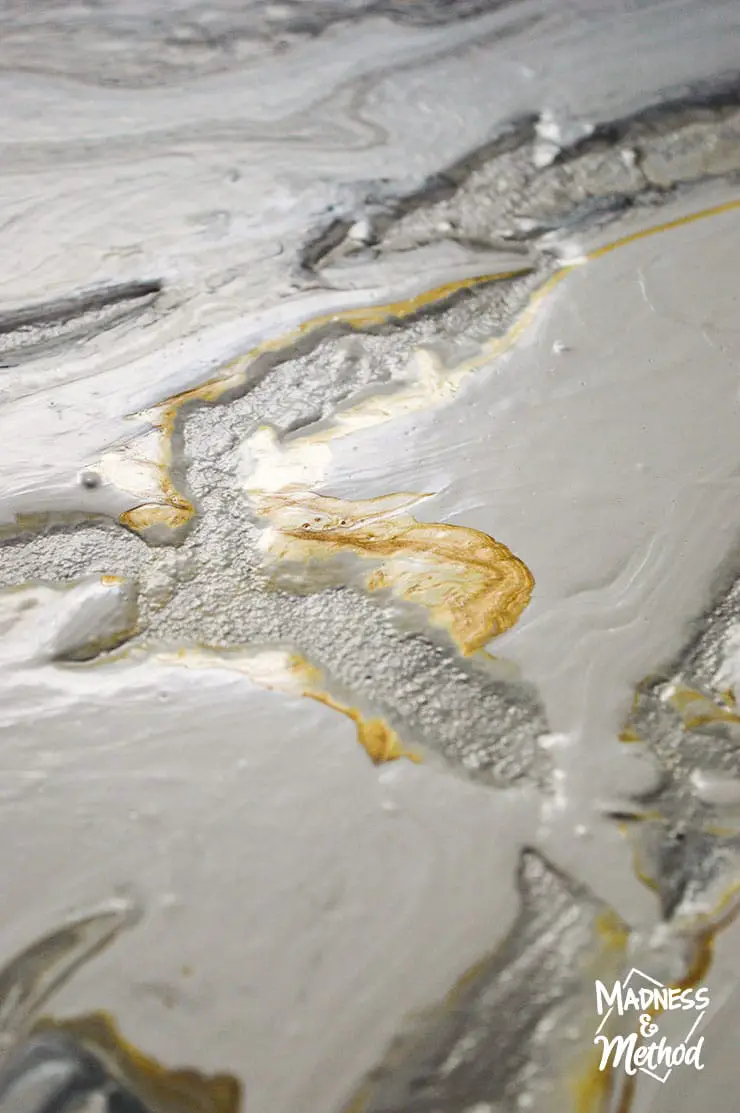
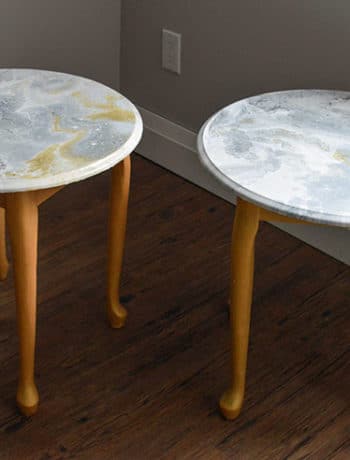
I did show a few sneak peeks of what it looks like, and other than the ginormo cracks, it’s pretty much how I envisioned :)
Either way, check back in next week to see the rest of the pouring video, how I filled the cracks (which I still need to figure out!) and what the whole thing looks like.

4 Comments
Emily
February 27, 2019 at 4:08 pmI think you definitely achieved a marbled look! The sneak peeks look cool ;)
Thanks so much for including my paint pour project! I’ve been having fun playing around with paint pouring and can’t wait to try some different techniques!
Nicole
February 28, 2019 at 1:41 pmYou’re the only person I follow that’s done paint pouring, and your letters turn out so well so I figured you must be a pro :) Ha, it does look good but I’m pretty sure I used like a gallon of paint!
Beth
September 25, 2019 at 7:34 pmThank you for these tips! I’m going to attempt a vanity that I’m redoing for my granddaughter I think these tips will help alot
Nicole
October 1, 2019 at 4:08 pmA paint-pour vanity? That sounds interesting!