
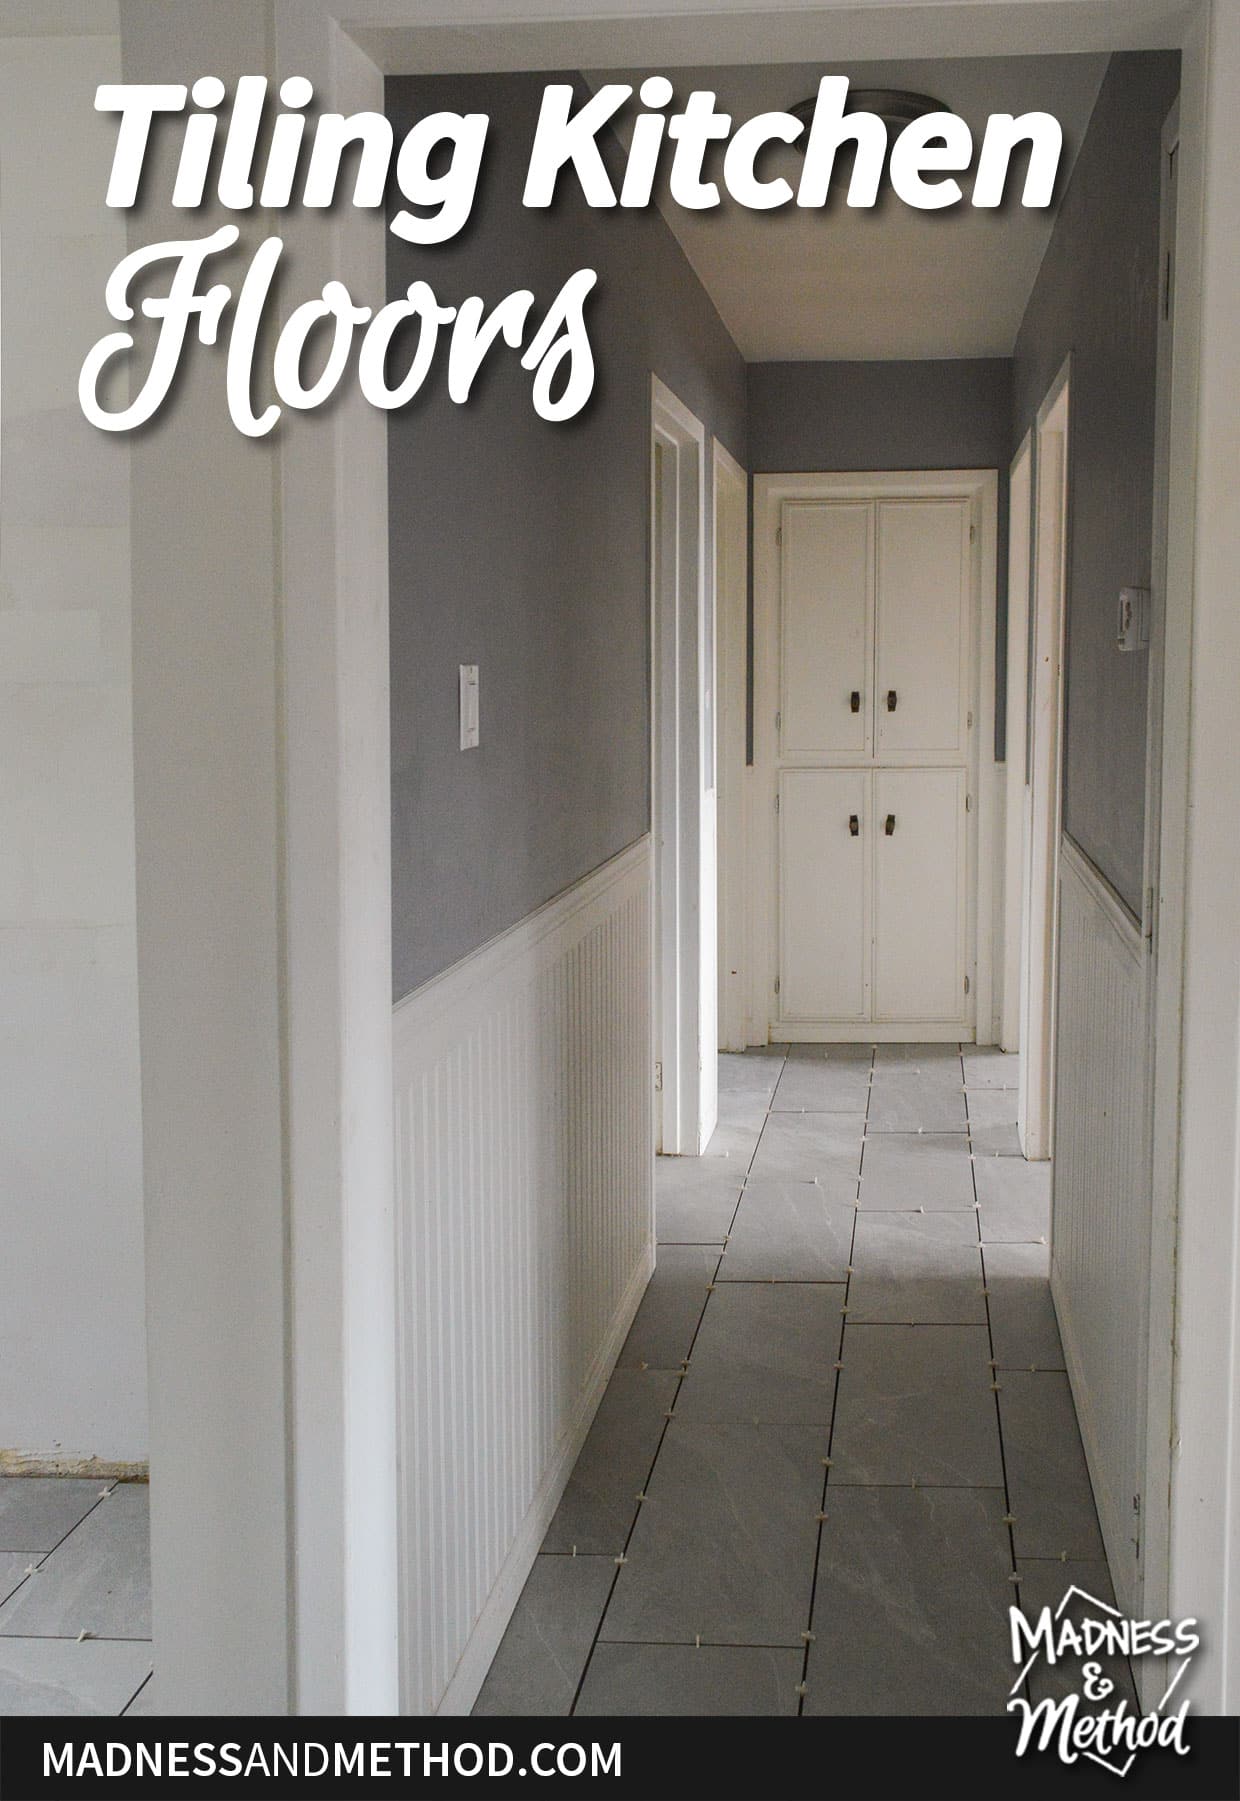
Last week I finished tiling the kitchen floors for our latest renovation! We’re giving the kitchen (and most of the upstairs) a big makeover at the rental house we own while we’re in between tenants. Today I’ll share how we tiled the floors and what we have left to do.
As mentioned, we’re updating the kitchen at our rental house. I’m sharing everything for the Spring 2024 One Room Challenge, so check out the before photos for the space, the demolition and plans, and the priming/prepping.
I’ve wanted to replace the hallway tiles and kitchen linoleum floors for years. We updated the bathroom over the summer, and the plan was always to continue the same pattern for the rest of the house.
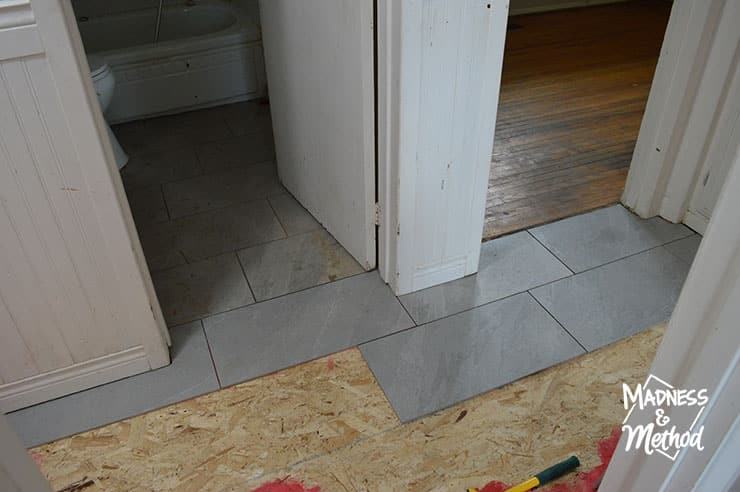
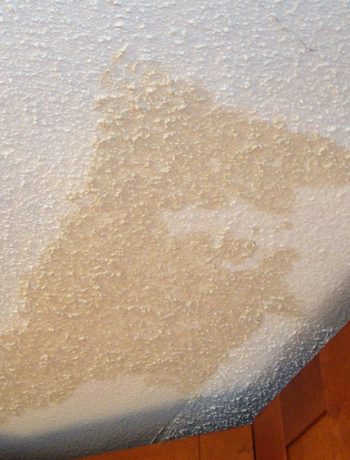
There were two little tile pieces that I removed (showed last week). Then, we prepped the floor by adding a sheet of 1/4 OSB… which technically you are not supposed to tile over. Plywood is the better choice, but at twice the price, I went for the cheaper route. I covered all the seams with Redgard and Planipatch. (Aka what the red stuff is, ha).
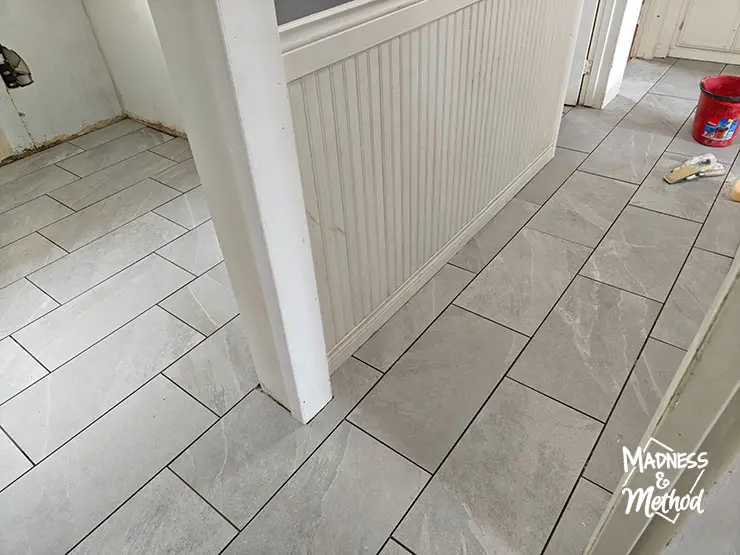
The hallway took the longest time to tile since it involved the most wet saw cuts around doorways. Plus, I was starting my pattern there and I wanted everything to line up nicely.

Eventually, I ran out of time when I was tiling, so I let everything set then returned later. (I also ran out of tiles and thinset, but we’ll ignore that for now, ha!).

Me: Husband, I never have any photos of me doing the work, can you take some?
Husband: Sure, here are a million photos of your butt…
(Although, to be fair, he couldn’t walk on the tiles that I just installed so he was kind of limited, ha).
Tiling a Kitchen: Continued
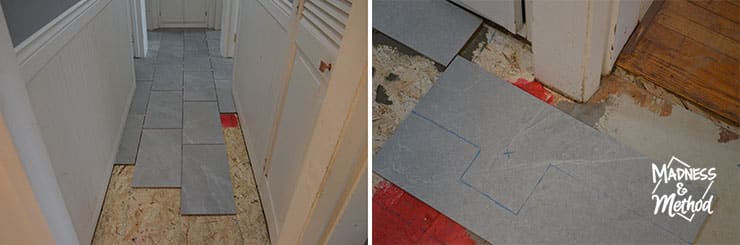
 Working from my original line down the centre of the hallway, I lined all the tiles up on the right, and went diagonally to the left as I continued. Eventually, I got to an area of the kitchen where I had to work backwards (or else I’d tile myself into a corner). I stopped just as far as I could reach, then started from my original line on the right and worked back that way.
Basically, I didn’t want the grout lines to get all wonky – so that was the best solution.
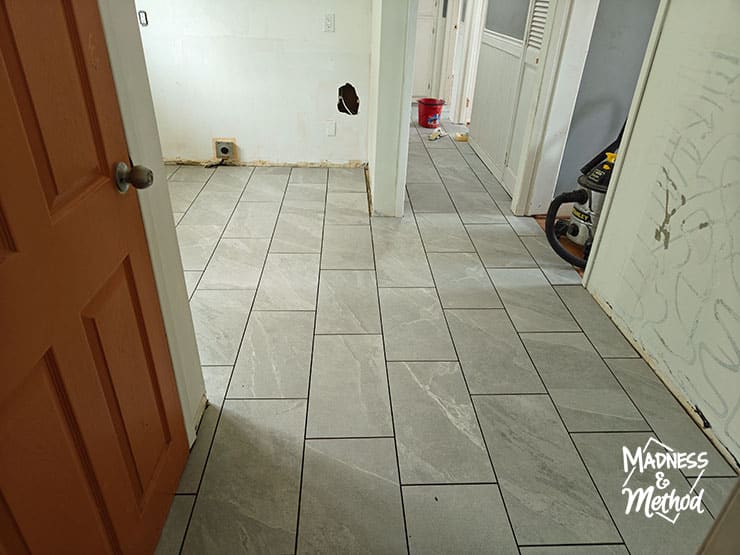
Once everything was tiled, we waited until the next day to grout. OH. And the Husband was annoyed with me because I wanted to make sure I didn’t have the same tile patterns next to each other. It was only after I was editing the photos that I realized that I screwed up.
And I am not happy.
Sooooo I may be removing a tile and regrouting soon. TBD.
Once all your tiles are in place and set, you can remove the spacers and give all the grout areas a good clean + vacuum.

For the grout, I had a bag of Delorean Gray I wanted to finish, but halfway through I realized I wouldn’t have enough. (I know, story of my life for these kitchen floors!)
So, I marked off where my cabinets would be, then only grout the visible areas first. Because the local store didn’t carry the same brand of the Delorean Gray, and I had to get something else.
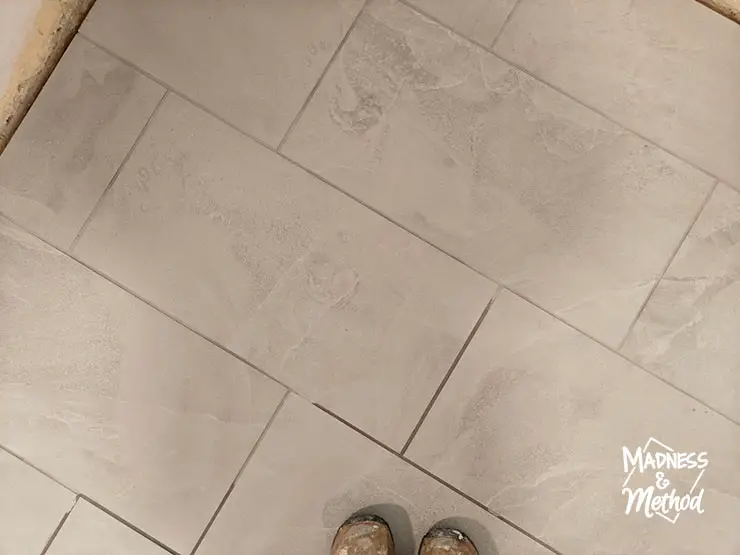
I colour matched it to the dry mix, which was the same as “Silver” (actually “Cobblestone”, but the store didn’t have it). But they do not look the same colour when they are set.
ALTHOUGH! The photo above was taken before I mopped everything up properly, so I have to double-check how it turned out after a few days.

Again though, the different grout colour will be under cabinets/appliances, so no one should notice it.
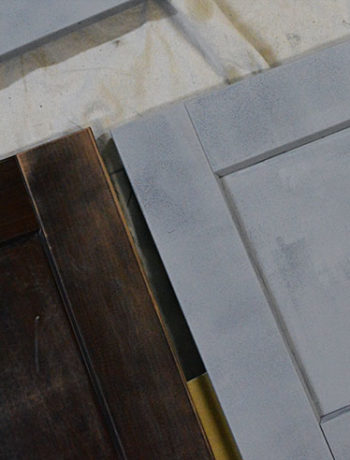
Speaking of cabinets, we have a few already up! And the rest of them are already built and waiting to be installed, so that’s good :)
About the One Room Challenge
Follow me on Instagram to see progress as it happens! Want to see more room makeovers? Visit the One Room Challenge blog to see all the projects this round.

Follow this Kitchen Renovation
To Do List for Next Week
- Install the rest of the cabinets
- Fix that wonky double-tile
- Build + attach doors/drawers/interior stuff
- Countertops
To Do List for Entire Project
- Sink/faucet/plumbing
- Appliances in place (including microhood)
- Backsplash
- Floating shelves
- Other house updates (cleaning, painting, minor electrical)
I’ll eventually break down the other tasks further as we go, but for now, we still have a LOT of work ahead of us.

Hope to get a good weekend of work in! As I mentioned last time, last weekend we spent most of it at the cottage celebrating our middle’s birthday. Our two littlests had a b-day party to go to on Sunday, so that’s when we got the bulk of the cabinets installed.
And forced the oldest to build the Ikea legs, ha.
Cross your fingers that we can get all the cabinets installed soon! The longer we work on this project, the more time we lose to rent it out. But really, we’ve been lucky that the basement hasn’t been rented that much this past month (it’s an Airbnb) so we’ve been able to get most of the work done (aka make a lot of noise). Coming up in May, we do not have a lot of vacancy, so hopefully the work we have to do then will be quieter, ha.
Let me know if you have any questions, and see you next week :)


4 Comments
Juliette
April 24, 2024 at 6:23 pmSo awesome! Love the tile you chose. Way to go!
Nicole
April 29, 2024 at 2:25 pmThanks!
Mary
April 25, 2024 at 11:32 amIt looks great! That is SO much work, wow! Also, I hope it’s helpful to say that I looked closely once you mentioned the pattern repeat and I honest to goodness could not find it : )
Nicole
April 29, 2024 at 2:26 pmThanks Mary – I think I’ll still change the tile though, ha.