
You would think that we know everything there is to know about an Ikea kitchen installation… and you’d be wrong. Considering this is our sixth Ikea kitchen, we’ve certainly brought a LOT of experience with us each time. But, we’ve also had to do/learn new things that are unique to this space. Let’s get into it!
This kitchen is being renovated in the upstairs unit of the rental house we own/rent out. I’m sharing everything for the Spring 2024 One Room Challenge, so check out the before photos for the space, the demolition and plans, the priming/prepping, and the floor tiling.
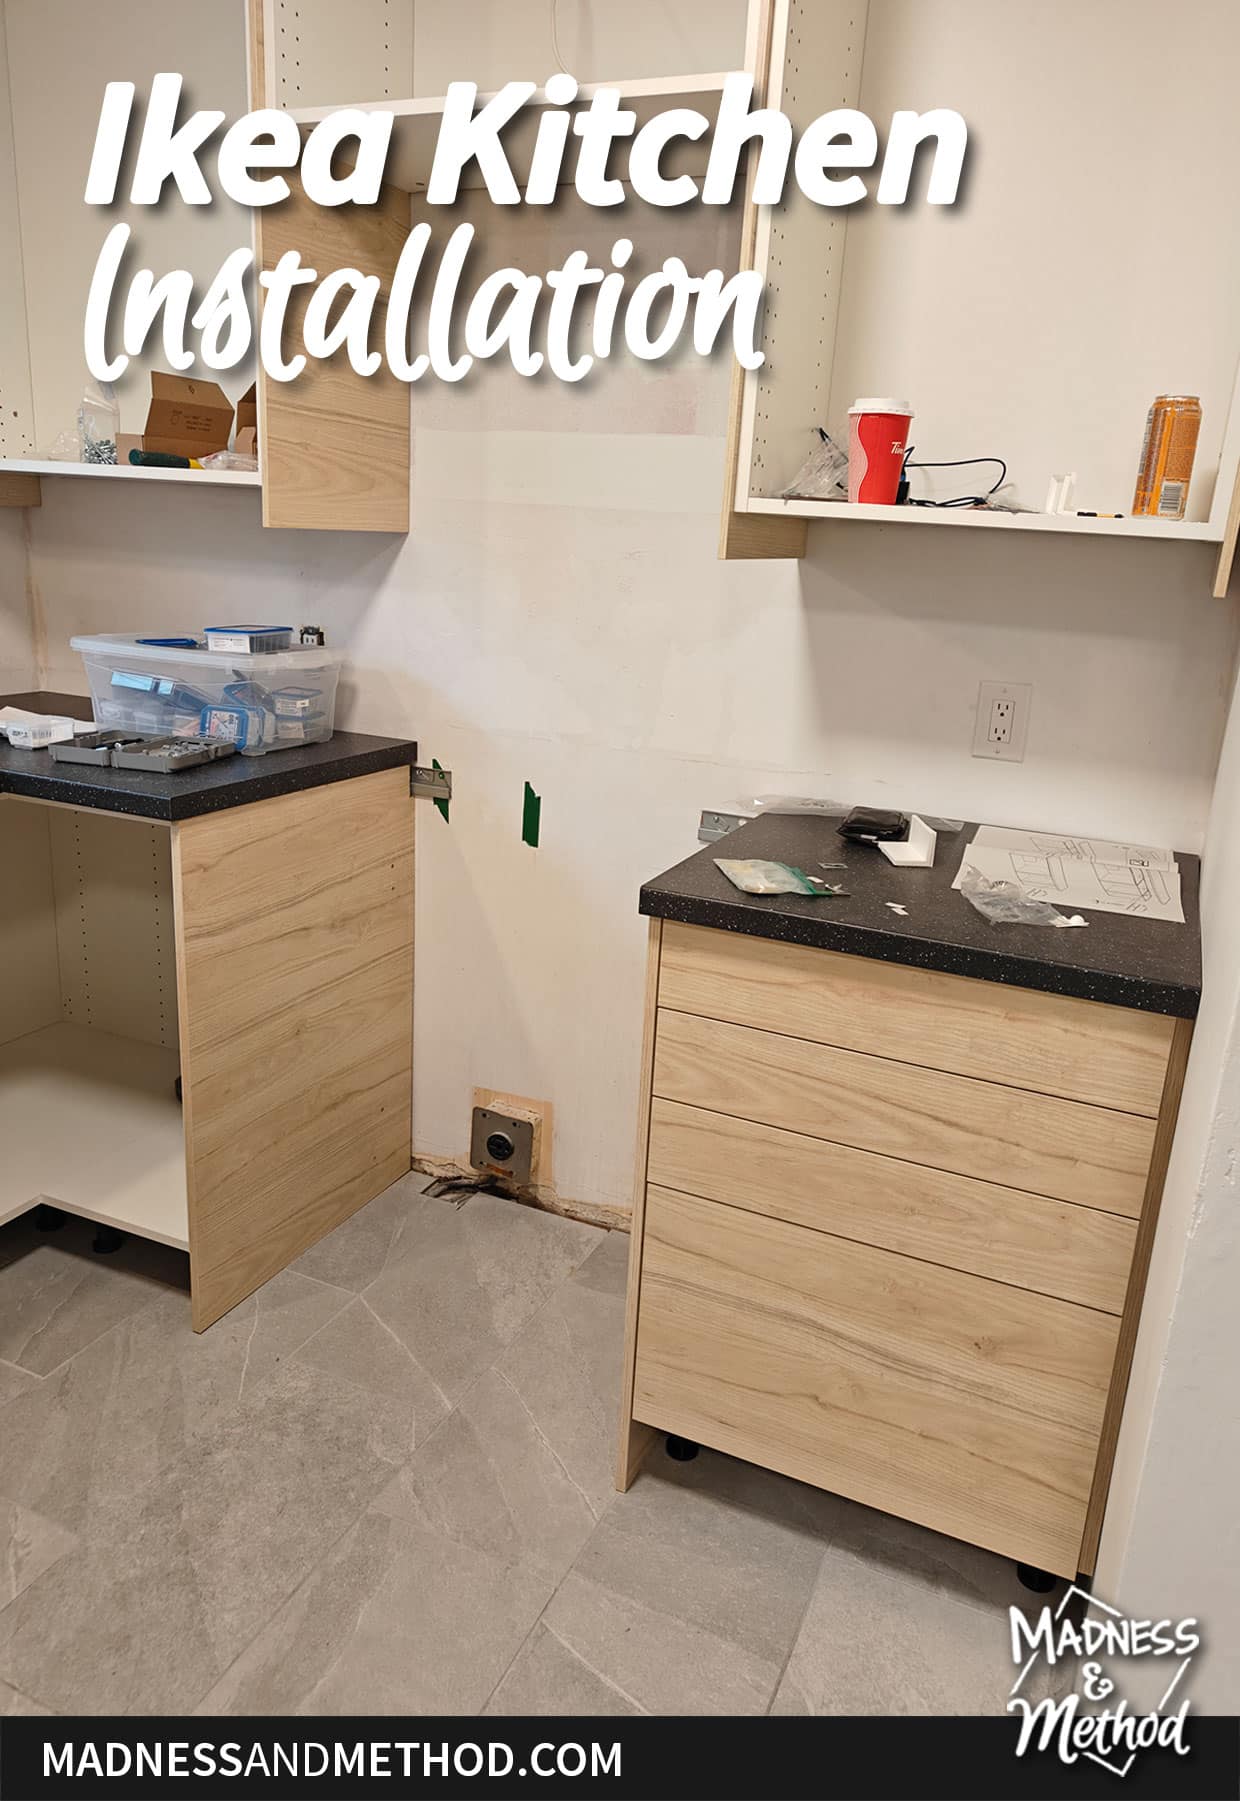
Alright, so last week I mentioned that we had most of our cabinets already built and ready for us to install. We had most of the suspension rails up (and some cabinets too). We now have all our cabinets in place, most of our cover panels/spacers in and some of the countertops done.
But today, I’m going to focus on the cabinets. You want to install your upper cabinets first because it’s easier to get to the areas without base cabinets in the way. Work one wall at a time, then lock in the cabinets when they’re all in place.
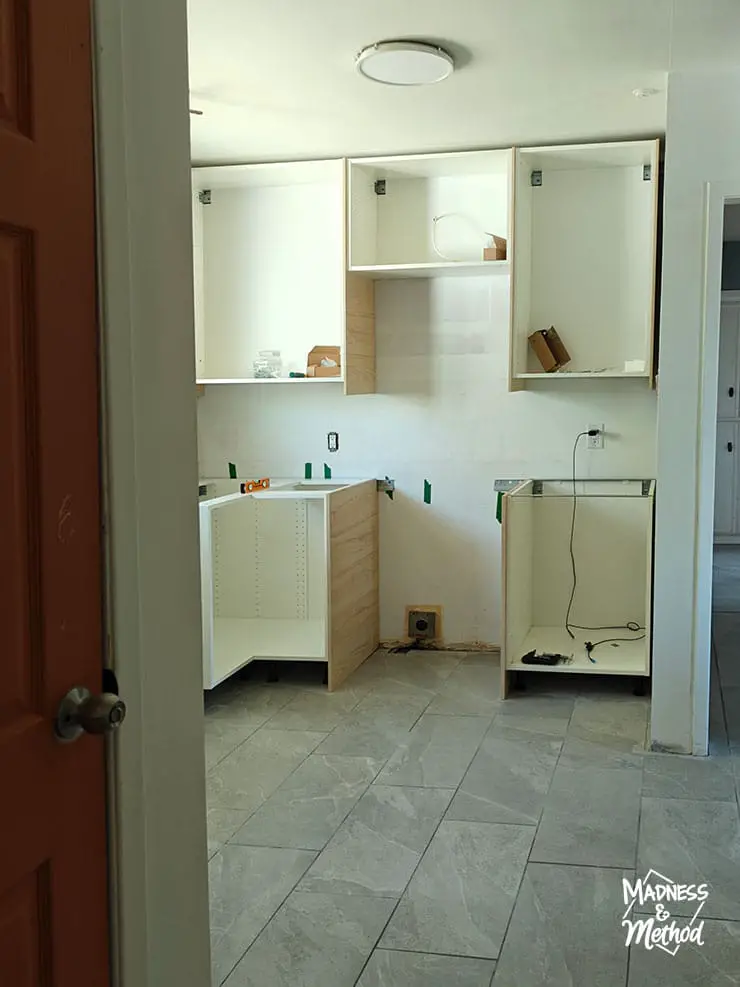
For us, we don’t have our top cabinets locked in yet, because we needed to line them up with the bottom cabinets. Even so, it’s pretty easy to unlock them with the new Ikea Sektion pieces.
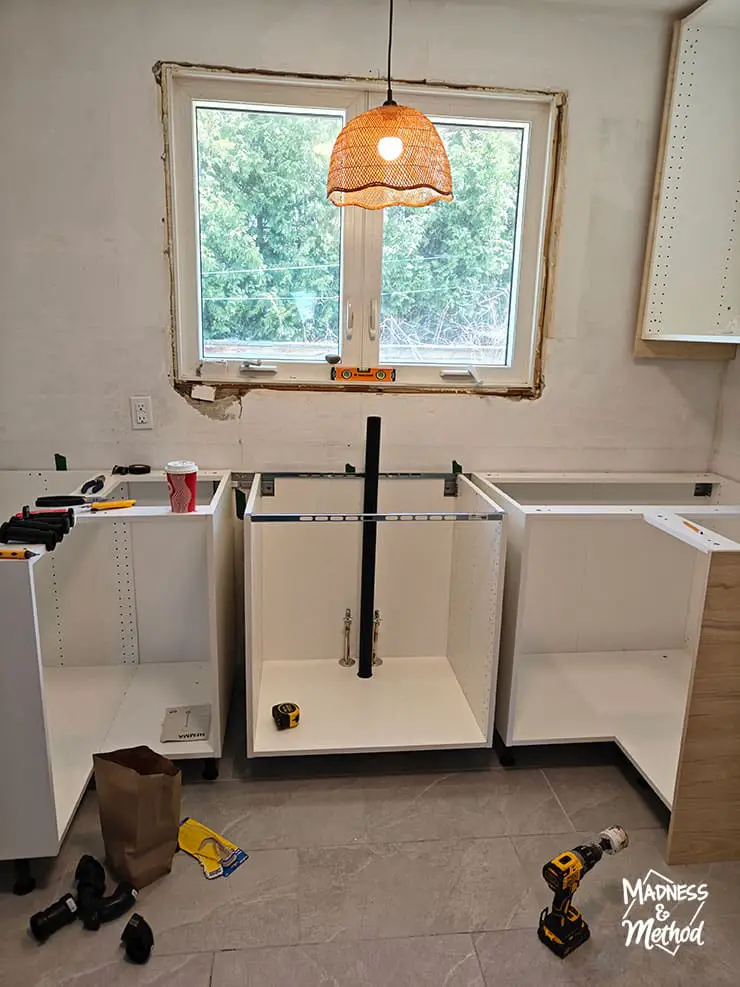
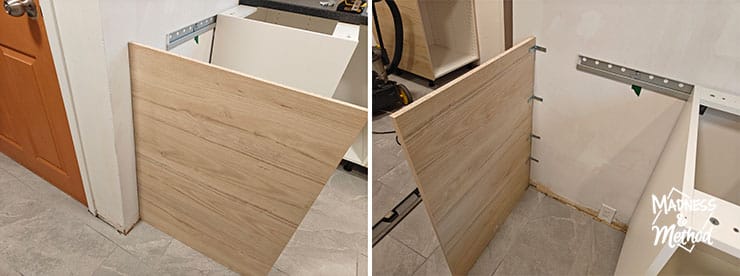
One of the big design challenges for this space was figuring out the cabinets under the window. Ikea has two different corner cabinets (one that is 38″ wide on both sides, and one that is like 26″ on one side, and 47″ on the other). I came up with two different layouts for this kitchen using both, but in the end we chose to do two 38″ corner cabinets. This was because the oven outlet was in place and the longer cabinet would have been in the way.
Basically, it meant that we had a few extra inches of space to make up around the 30″ sink cabinet. Now, I know what you’re thinking (because it was one of my thoughts): why didn’t you do a 36″ cabinet. The problem was that we only had 35″ of space, hence no room. (And yes, I did consider buying a bigger cabinet and chopping an inch or two off).
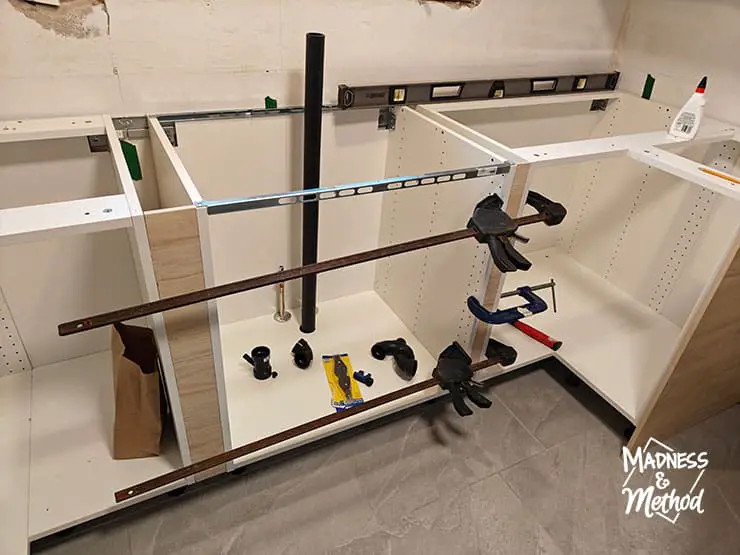
To fill the extra space, we carefully measured and cut slivers of cover panels to fit. Normally, cover panels are placed against your cabinet to fill in the small gaps, but we had more space, so I cut the panels the other way. Then, we glued and nailed them in, then clamped them in place until the glue dried.
Honestly, we haven’t done this before – so I’m interested to see how it will look when the doors are in place.
And yes, it would have been better if the cabinet was centered with equal spacing. BUT I did not want the sink/faucet to be off-centered to the window. Ugh.

Ikea Kitchen Related Links
- Installing Ikea Upper Cabinets (old Akurum line)
- Installing Ikea Base Cabinets (old Akurum line)
- Attaching Ikea Doors + Panels
- Buying Ikea Cabinets
- Installing Ikea Sektion Cabinets (YouTube)
- Building Ikea Kitchen Cabinets (YouTube)

For other small gaps, you can put the cover panels in normally. Or, what we did in two spots was cut and nail in a piece of deco strip. It matches the colour of the cabinets perfectly. In other kitchens, I’ve used MDF trim and then painted it to match the cabinet colour.
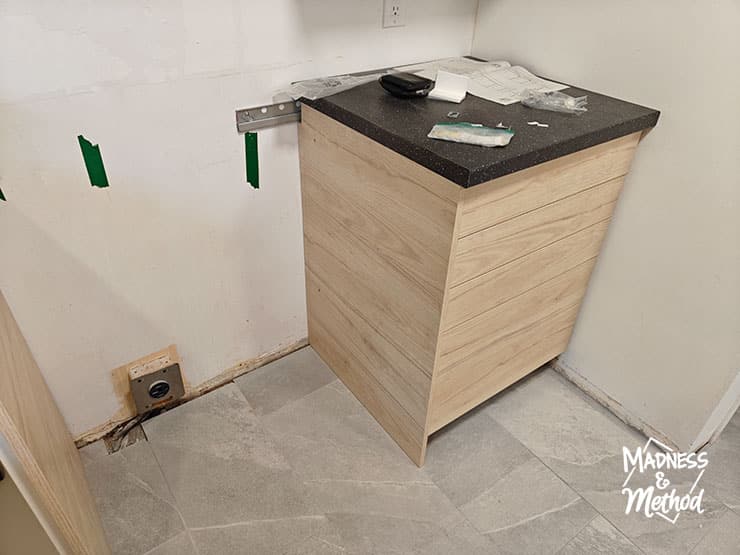
When you buy the Ikea cover panels for base cabinets, you can purchase the default size (25″ x 30″) or get the bigger one (26″ x 36″). We used the bigger one to line the side of our dishwasher. This wall was the most bowed with almost an inch difference between the top and bottom. The Husband doubted my ability to match the same shape as the wall, but it turned out great! We just had to just an inch from the top of the cabinet to match the height of the cabinets, and the counter will sit on there.
For support, we luckily had a 2×4 stud exactly where we needed it. Using angle brackets, we put them on the inside of the panel. We’re also going to add brackets from the top to hold the counter in place and one on the bottom (into the floor) so that the panel doesn’t move around.
Normally, you’d use the regular 25×30 panels to cover the sides in between appliances. (Or, you can leave them off to save yourself the space + money). But, I hate when I spill something down the side of the oven and it leaks all over the ground and under the cabinets. So, for this kitchen, I used the big panels cut to size and put them against the ground. We’re going to run a bead of silicone on the ground, so if there’s ever a mess, it will be contained in this area.
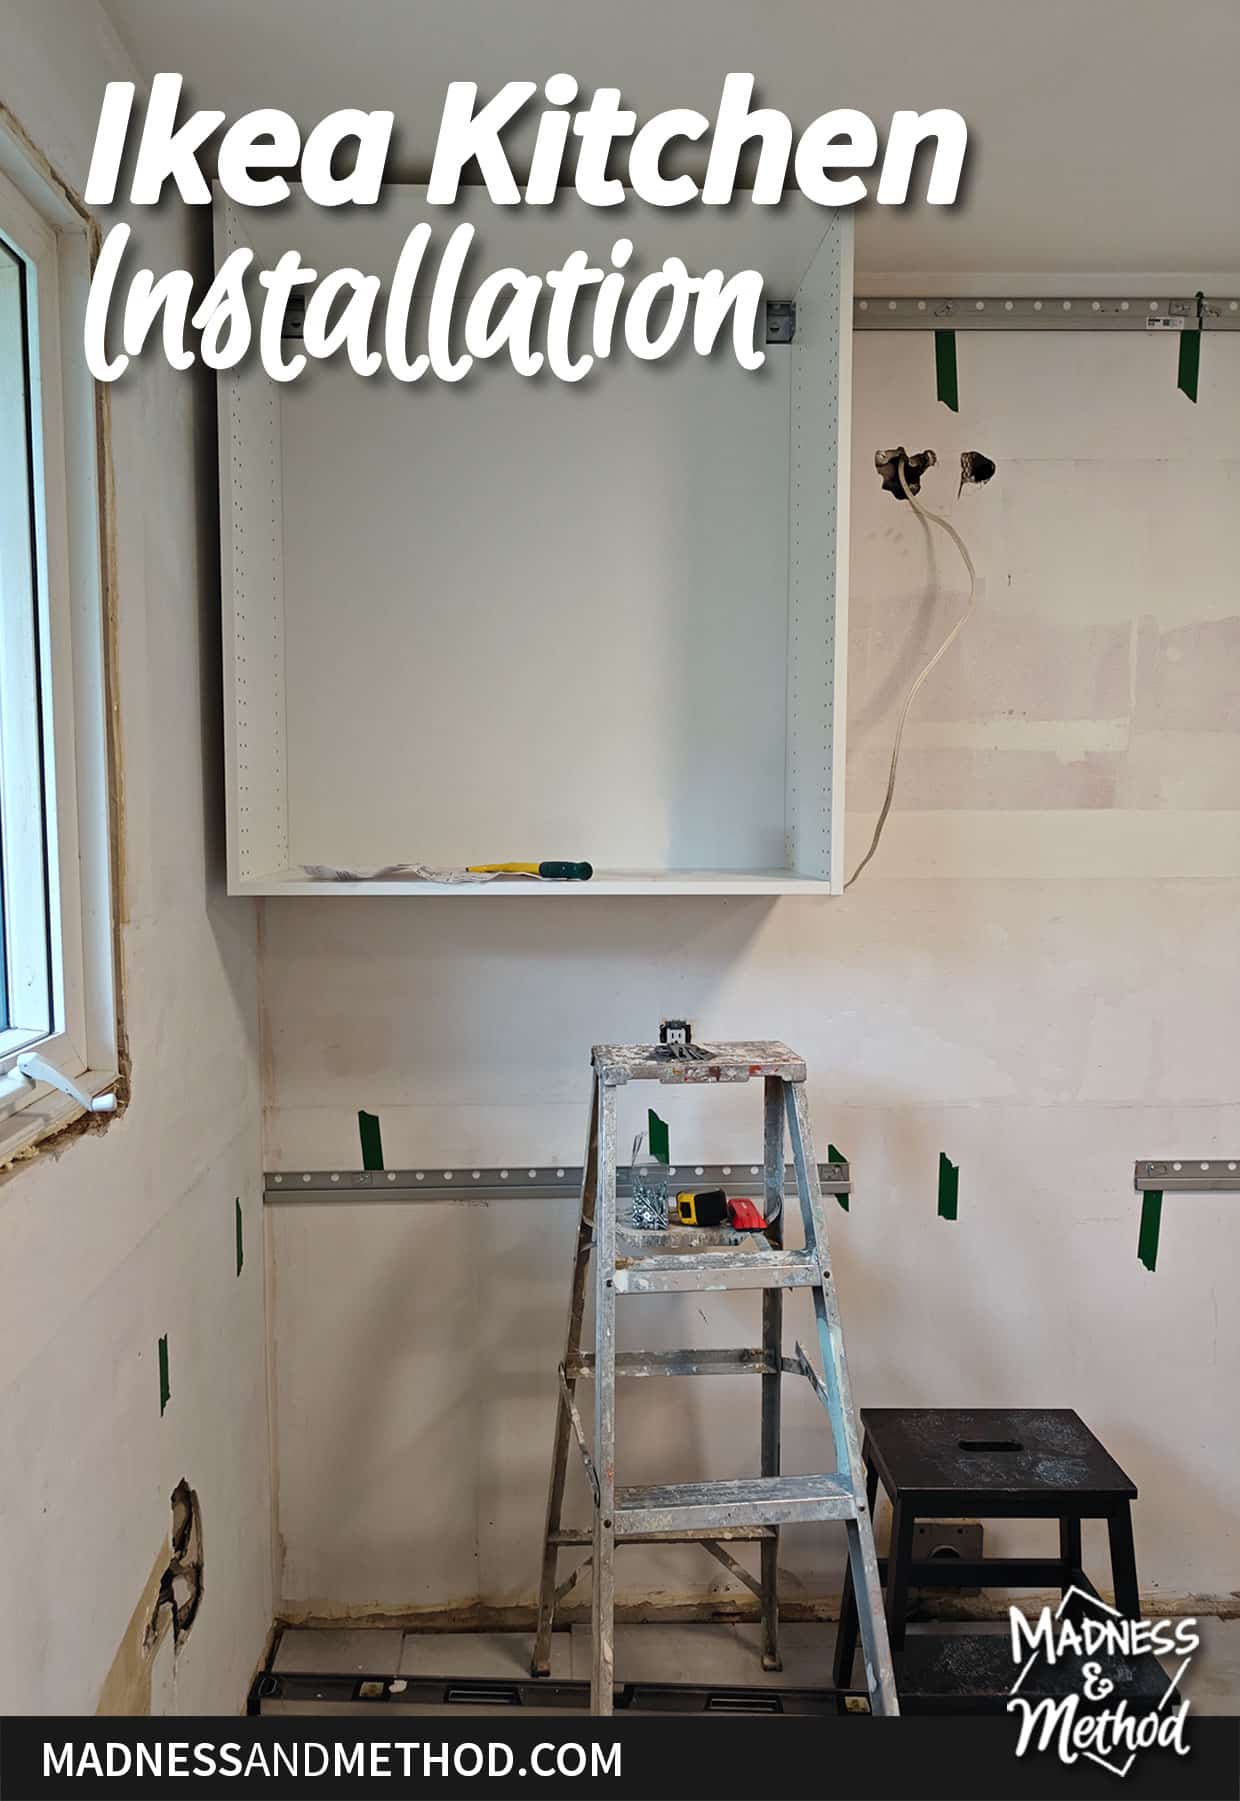
OH! And if you’re wondering why our Ikea suspension rails stick out longer than the cabinets… it’s because I wanted to hit an extra stud (marked by the green tape). I always prefer to install the suspension rails without relying on wall anchors.
About the One Room Challenge
Want to see more room makeovers? Visit the One Room Challenge blog to see all the projects this round. And, follow me on Instagram to see progress as it happens!

Follow this Kitchen Renovation
- Ready for our Next Renovation
- Kitchen Demo & Plans
- Clean Slate Before Reno
- Tiling Kitchen Floors
- Here!
To Do List for Next Week
- Finish installing panels/doors
- Fix that wonky double-tile
- Finish countertops
- Install microhood
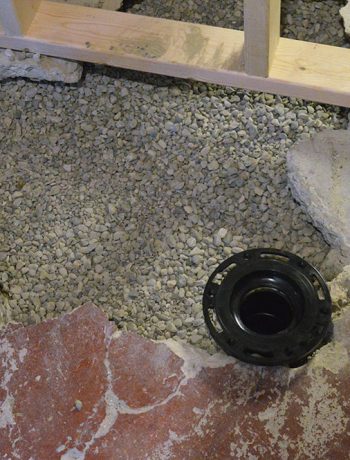
- Sink/faucet intake plumbing
- Start backsplash?
To Do List for Entire Project
- Dishwasher plumbing
- Knobs on
- Sink black (outtake) plumbing
- Finish Backsplash
- Top trim pieces
- Floating shelves
- Fridge + oven
- Paint
- Other house updates (cleaning, painting, minor electrical)
We have counters installed on most of the cabinets… but there was a cutting error which resulted in us having to order another piece. Hopefully I’ll be able to share all the counter details next week.
I linked a bunch of relevant Ikea-kitchen-related blog posts above, but feel free to reach out if you have any questions. Seriously, I’m a bit of an expert when it comes to Ikea kitchens.
Otherwise, make sure to come visit next week when we will hopefully be done the counters.

1 Comment
Juliette
May 1, 2024 at 11:36 amIt’s looking great! Can’t wait to see the finish!