
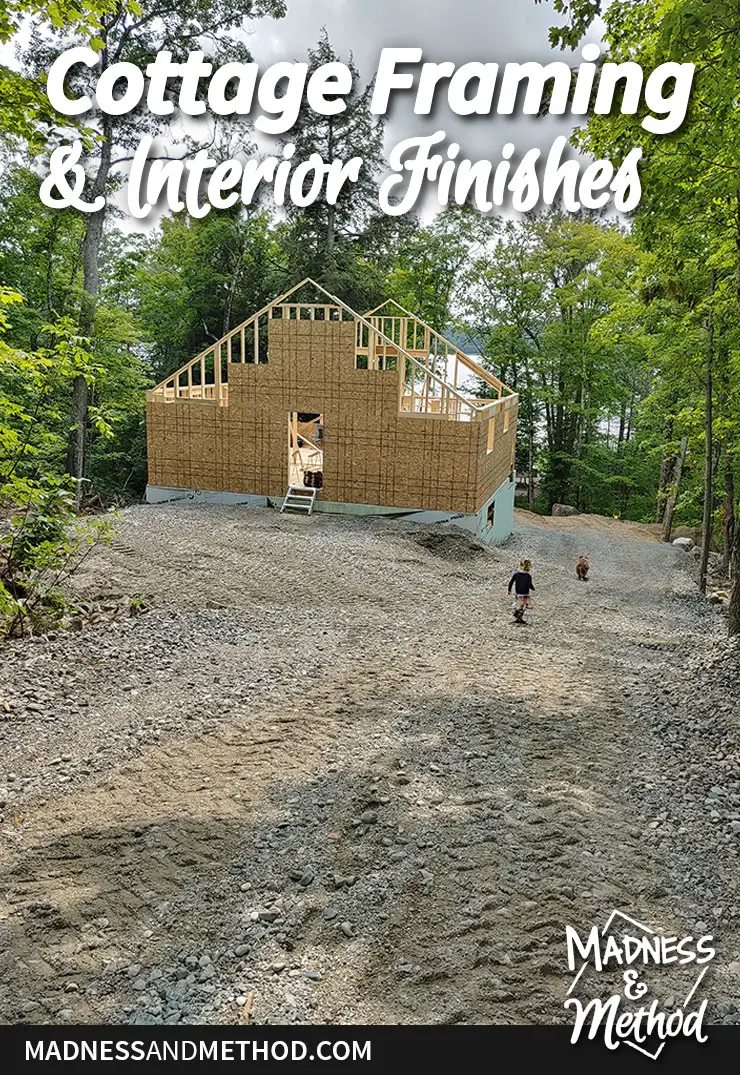
I have another big cottage build update today! A few weeks ago I shared the floorplan and foundation, and now we have some walls up. Actually, we’re a bit farther along than these photos, but this is how everything looked as of last weekend. Ready to see the cottage framing & interior finishes!?
Before we get right to the interior finishes and design direction, let’s see what we’ve built.
We’ve come a long way in the last couple of weeks, so I’ll try and recap what I can.
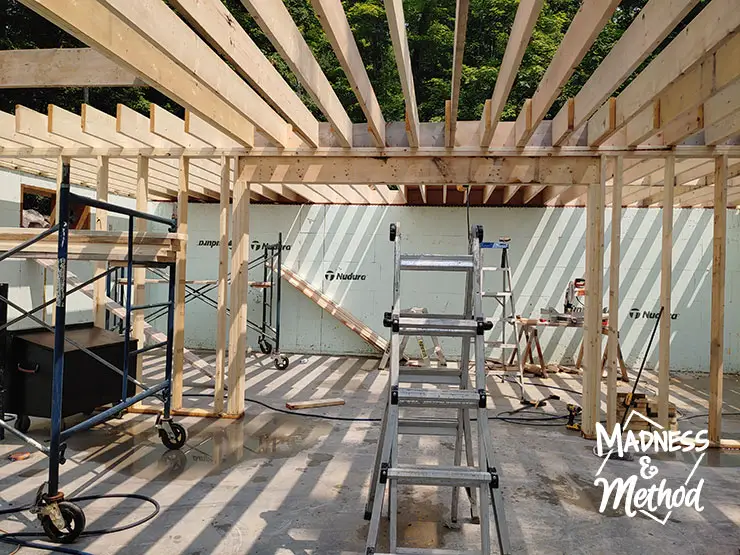
Last time I shared photos, we had all the ICF blocks in and possibly poured? From there, we framed our basement support wall and added floor joists for the upstairs.
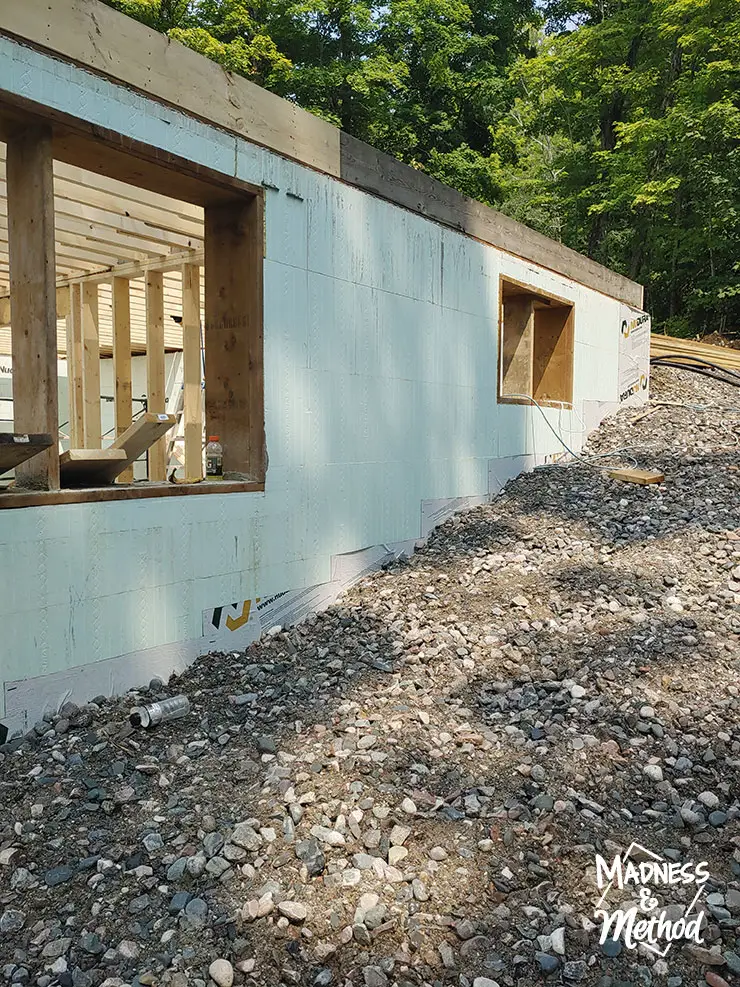
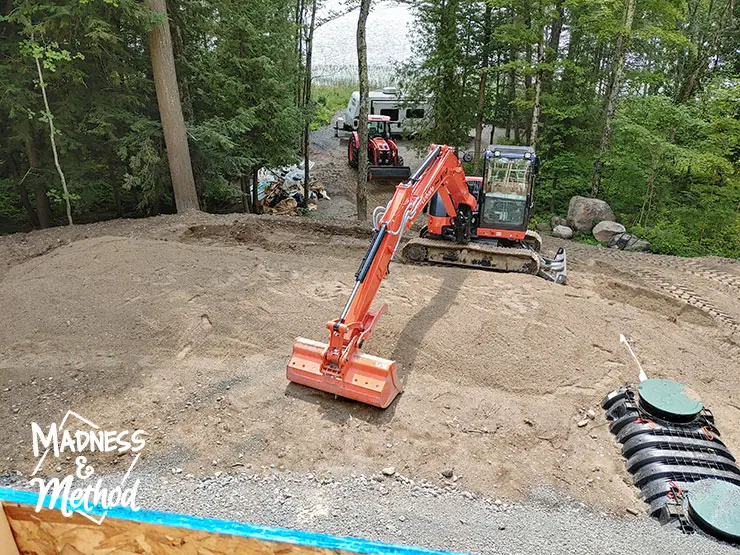
We also added fill along the front and sloped down the sides. This is the side that people won’t go down as much, but they basically look the same.
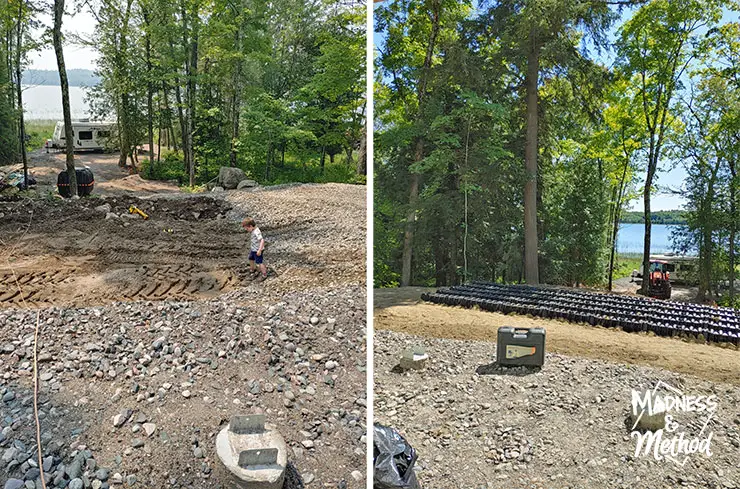
We also prepped and installed the septic system. I’m saying “we”, but again, I hadn’t done too much work-work at this point. Our septic system was inspected, so we have one permit done :)

We The crew added tongue and groove plywood so walls could be built.
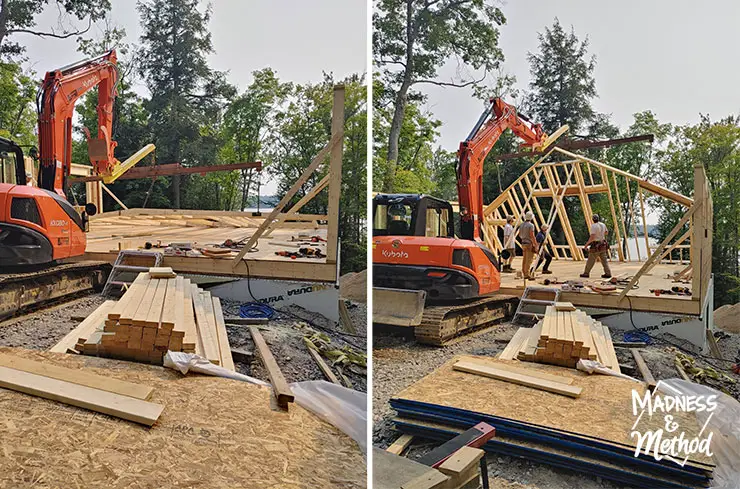
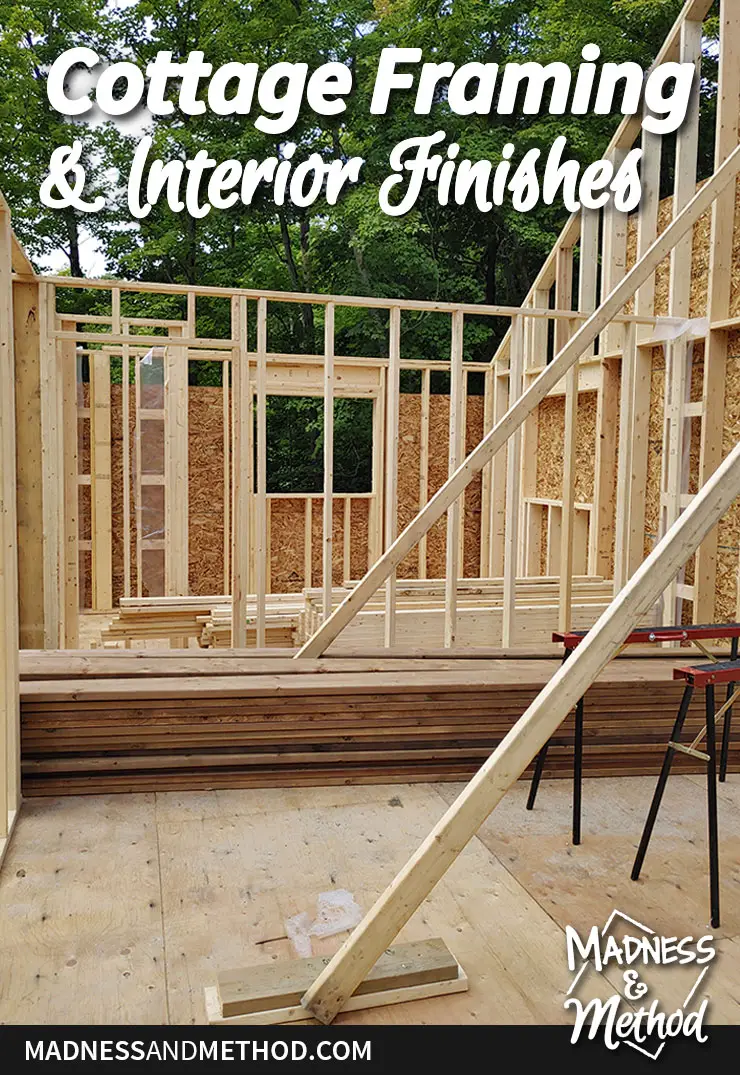
From there, the two side walls were built and installed, then the first angled wall.
We don’t have our roof trusses yet, so fingers crossed that everything will line up nicely. Once a wall was built, it was brought up, then braced/attached to the others.
I actually did work this day while the wall was going up! I framed walls in the basement for the bedrooms :)
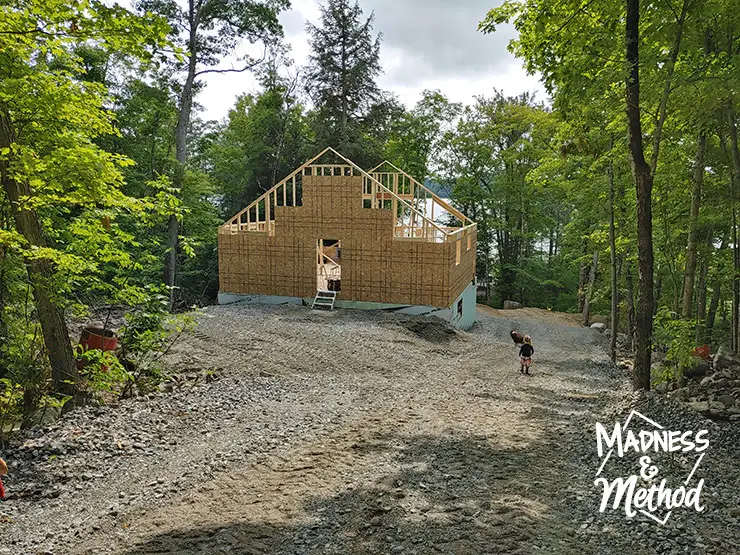
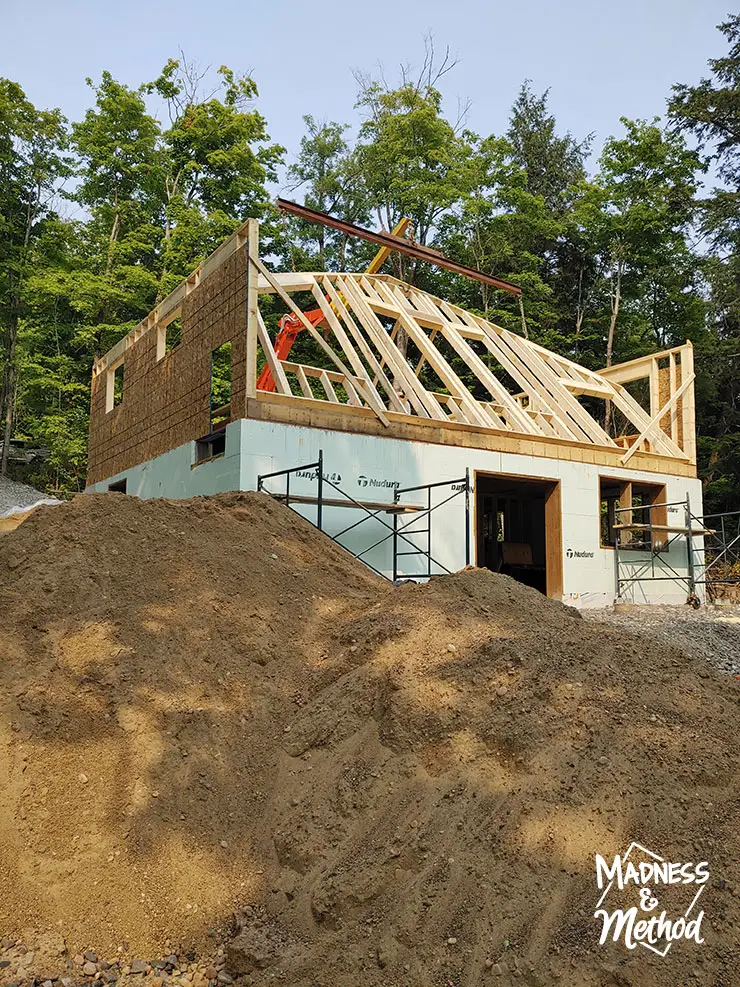
After another day or two, the final wall was up and sheeting was added to the sides. The front windows still need to be cut out, and the tops added – but we’re waiting on the trusses for that.
Cottage Framing Tour
Here are a few photos of the upstairs, but it wasn’t complete yet.
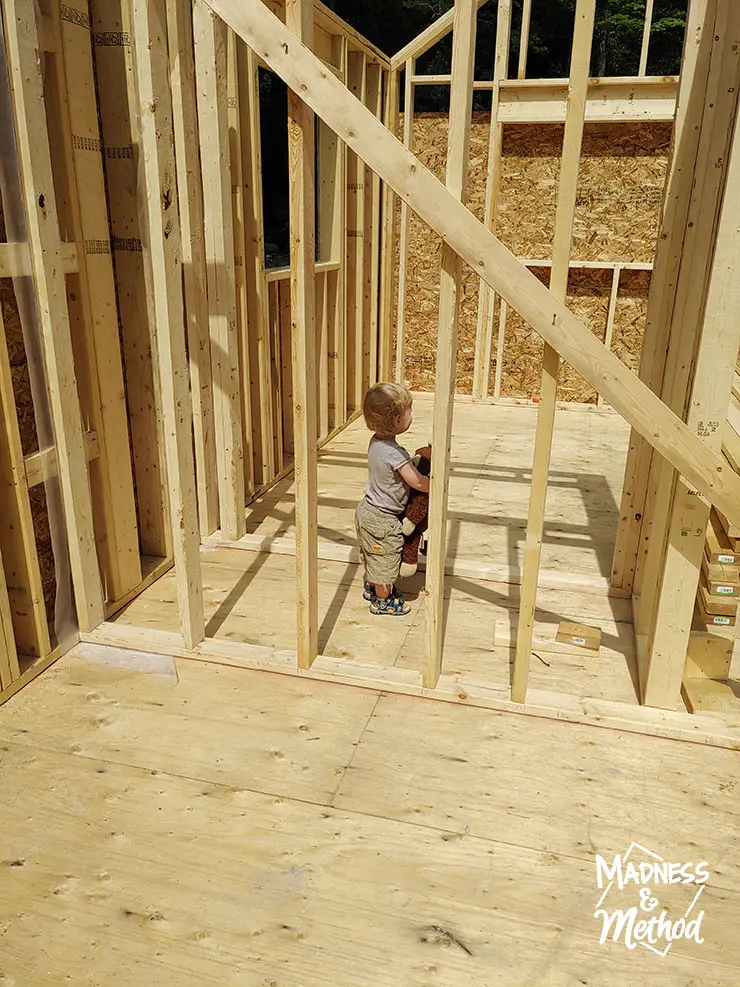
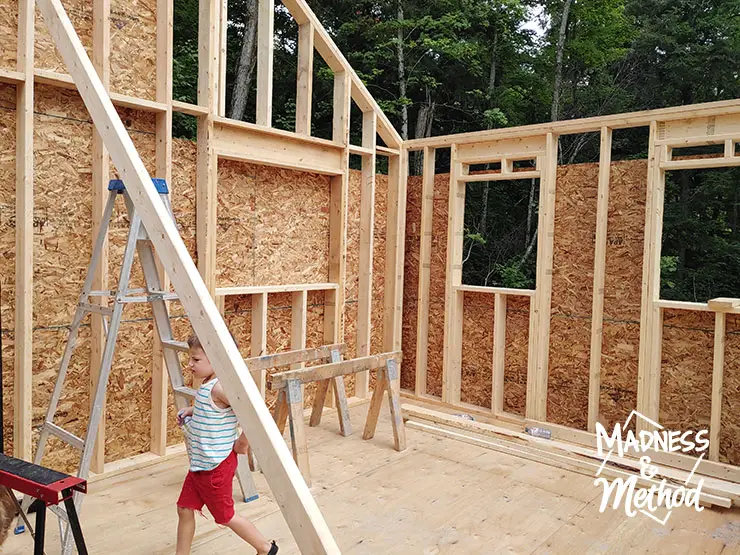
The photo above is from the bathroom, looking towards the front bedroom. I was standing where the future toilet would go, and Félix is in the bedroom closet.
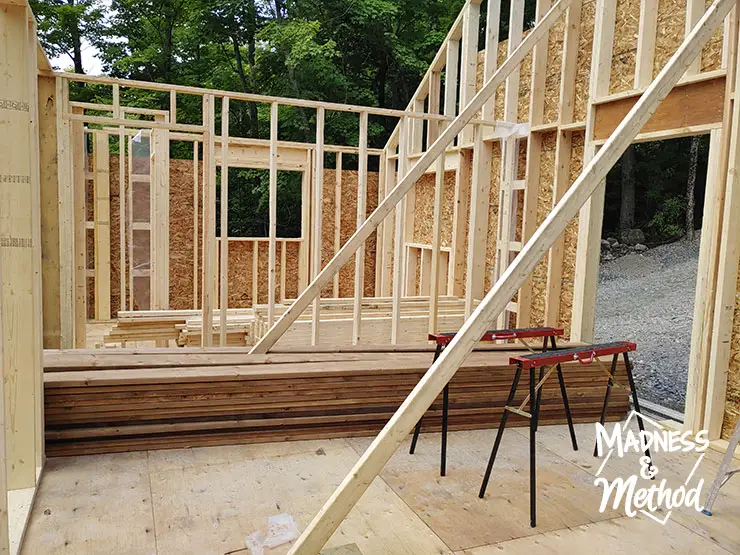
Here’s the view from the kitchen looking towards that same bedroom. The angled boards are there to hold the walls up.
From a similar vantage point, here is the view to the kitchen. The window that’s covered is where the sink will be, and the stove will be between the two windows on the right.
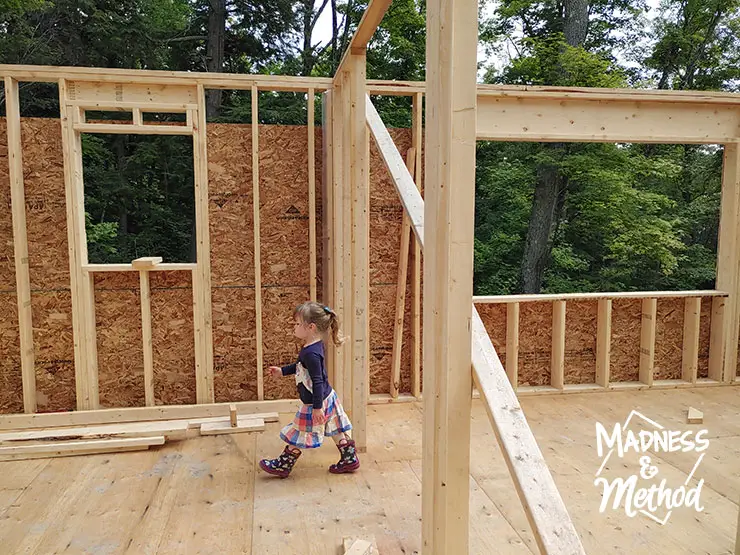
They hadn’t built the upstairs closet/laundry, but it’s where I am standing. In the photo above, you see Élise walking into the kitchen from the dining room.
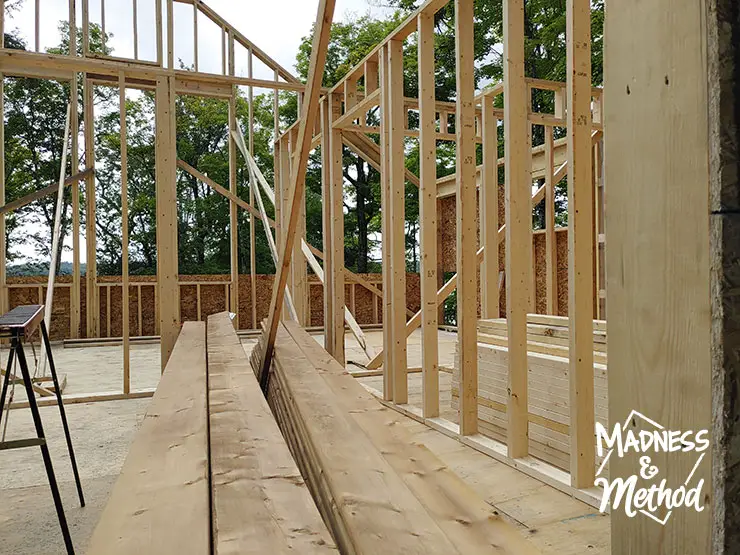
And here’s a view from the front door. There will be a closet with two mini hallways/entries to the living room. Remember, I shared the cottage floorplan here if you need to check that out!
And I did include a photo of the living room looking down the lake. BUT this view has changed the most, since there’s now a deck there with grass and nicer landscaping. I’ve only seen photos, but I’ll be there this week to share some updates :)
Ready to see some of the interior finishes!?
Rocky Retreat Cottage Design
Okay, I will share more moodboards for each individual space, but I wanted to give an overview of how everything will work together. You can check out my Country Cabin Pinterest Board to see the inspiration that I’ve been saving.
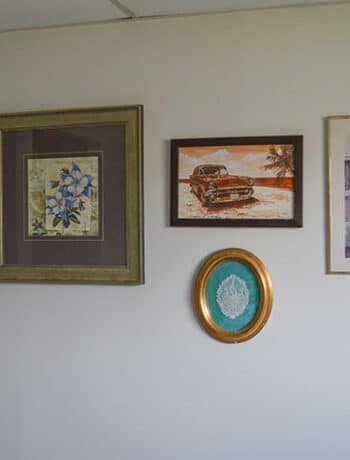
The colour scheme was influenced from a painting I purchased this winter in an online art sale. I knew I wanted to buy a landscape painting to hang in the new cottage (our first purchase!).’
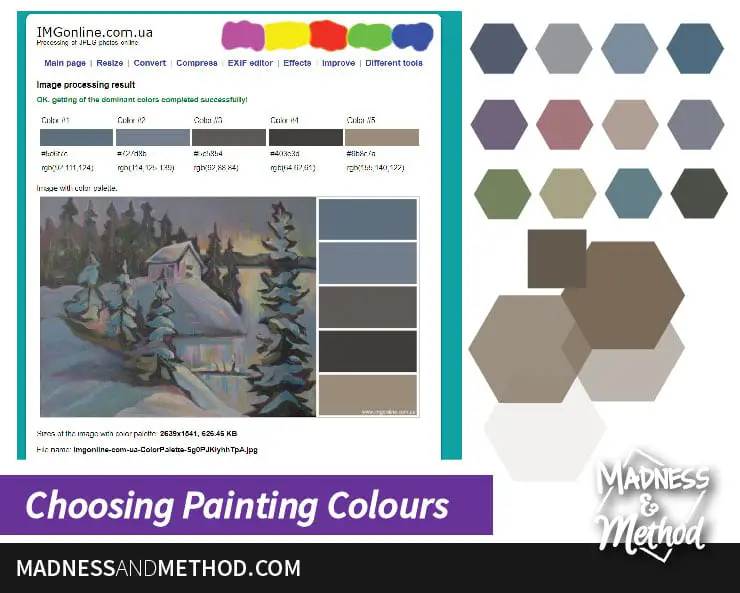
First, I opened it on a few websites where they pull out the colour palatte. There’s a screenshot above from one of the sites, along with a bunch of swatch colours I grabbed in Photoshop. I knew that I wanted to use the dark taupe leftover from our rental renovation. I bought a 5 gallon bucket, and it’s still almost full! The other wall colours will just be lighter versions of that one.
The upstairs is going to be more “light and bright”, and the basement will be darker, more “moody”.

All of the trim will be the same mid-tone taupe colour, and the floors will most likely be a gray vinyl plank. Upstairs, the ceiling will be natural pine, and I’m thinking drywall for the basement.
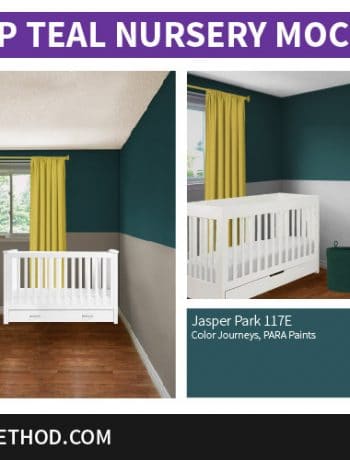
There will be three main accent colours that I pulled from the painting. Those colours will be the main component in each of the bedrooms. They’ll have their own theme too (water, floral, forest) and I’ll most likely be painting a mural to match.
I can’t wait to share the individual plans for each space, but I’ll most likely do that when they’re almost ready. We still have a LOT of things to do before we come close to finishing.
You know, like finish the framing, get the roof on, HVAC, plumbing, electrical, drywall…
Wish us luck!
(Oh and PS – I’ve shared in my email newsletter the general direction of the exterior. Make sure to sign up to get more behind-the-scenes).

No Comments