
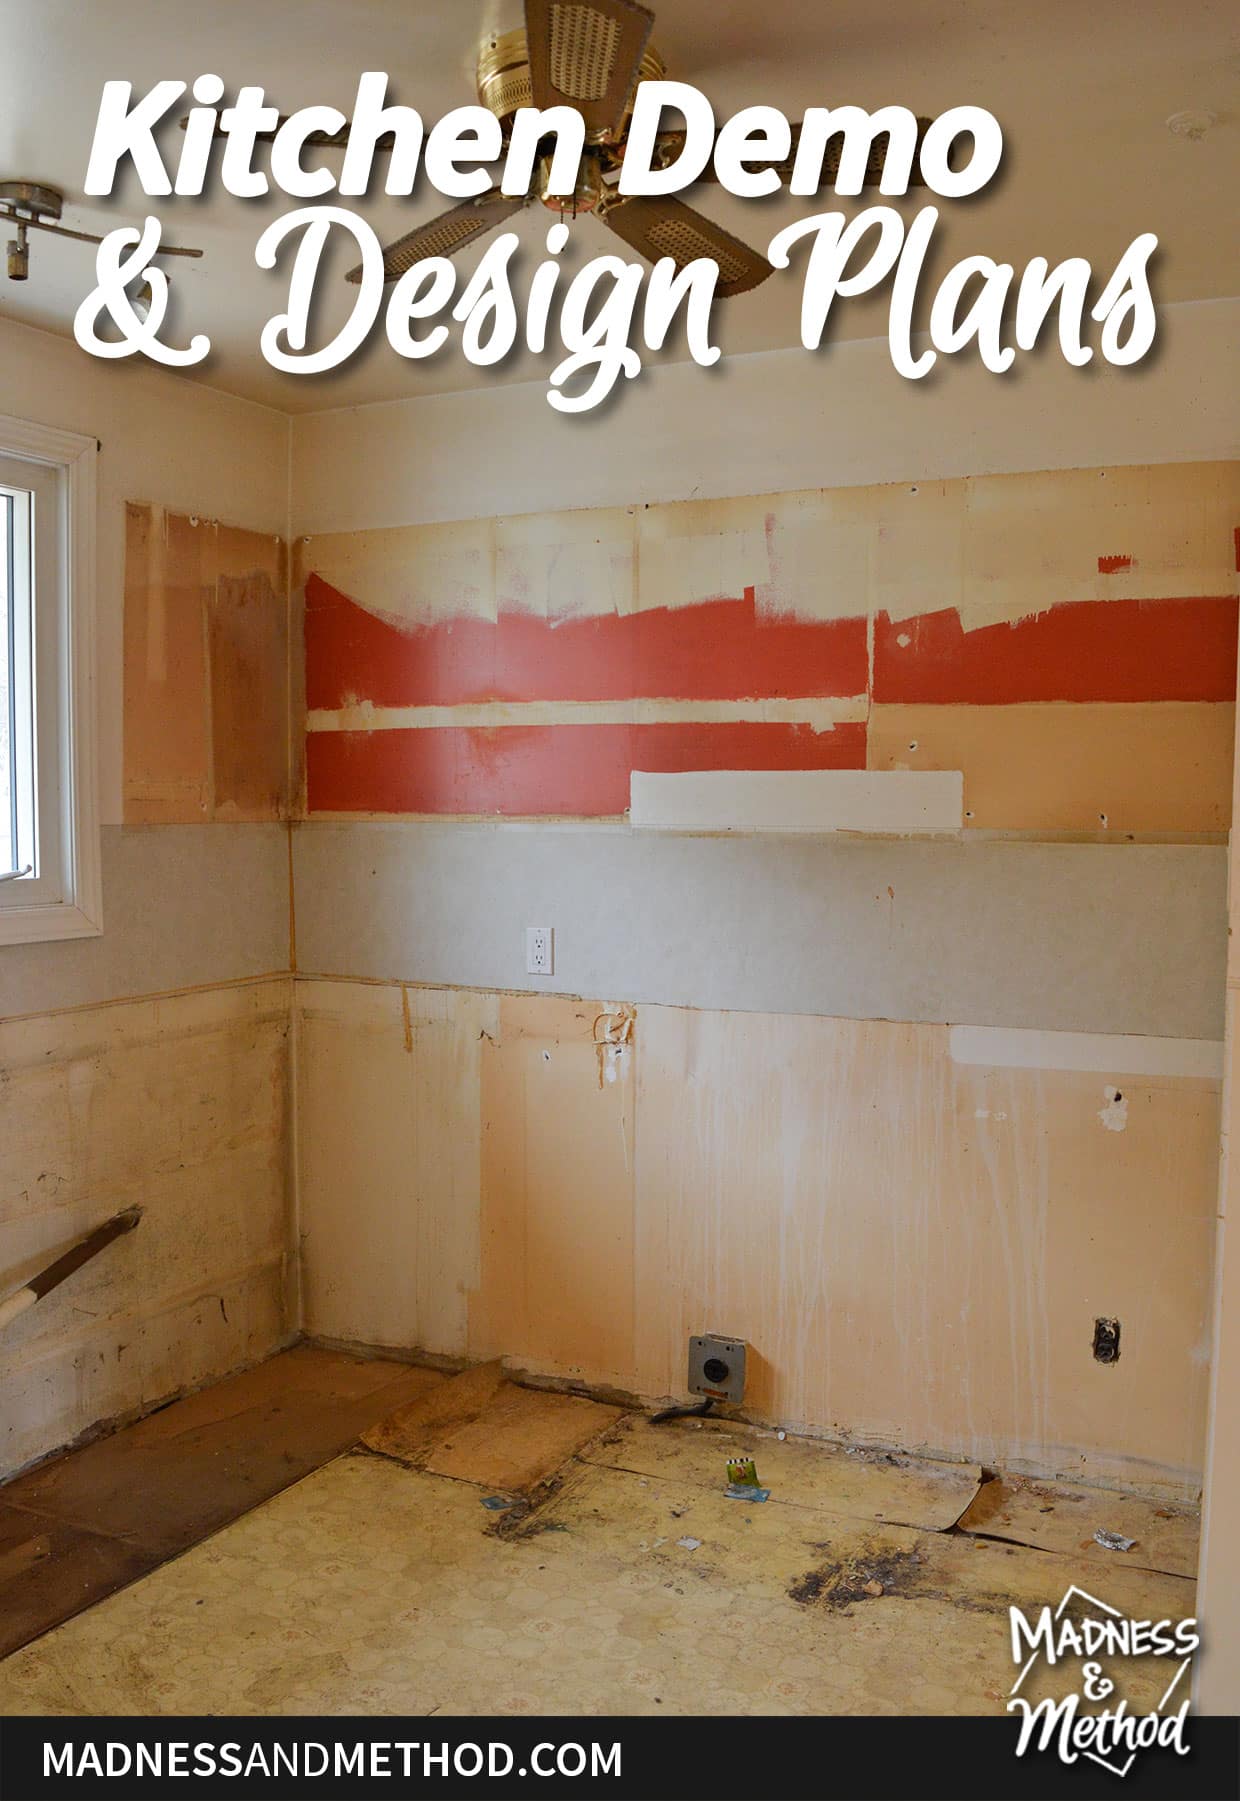
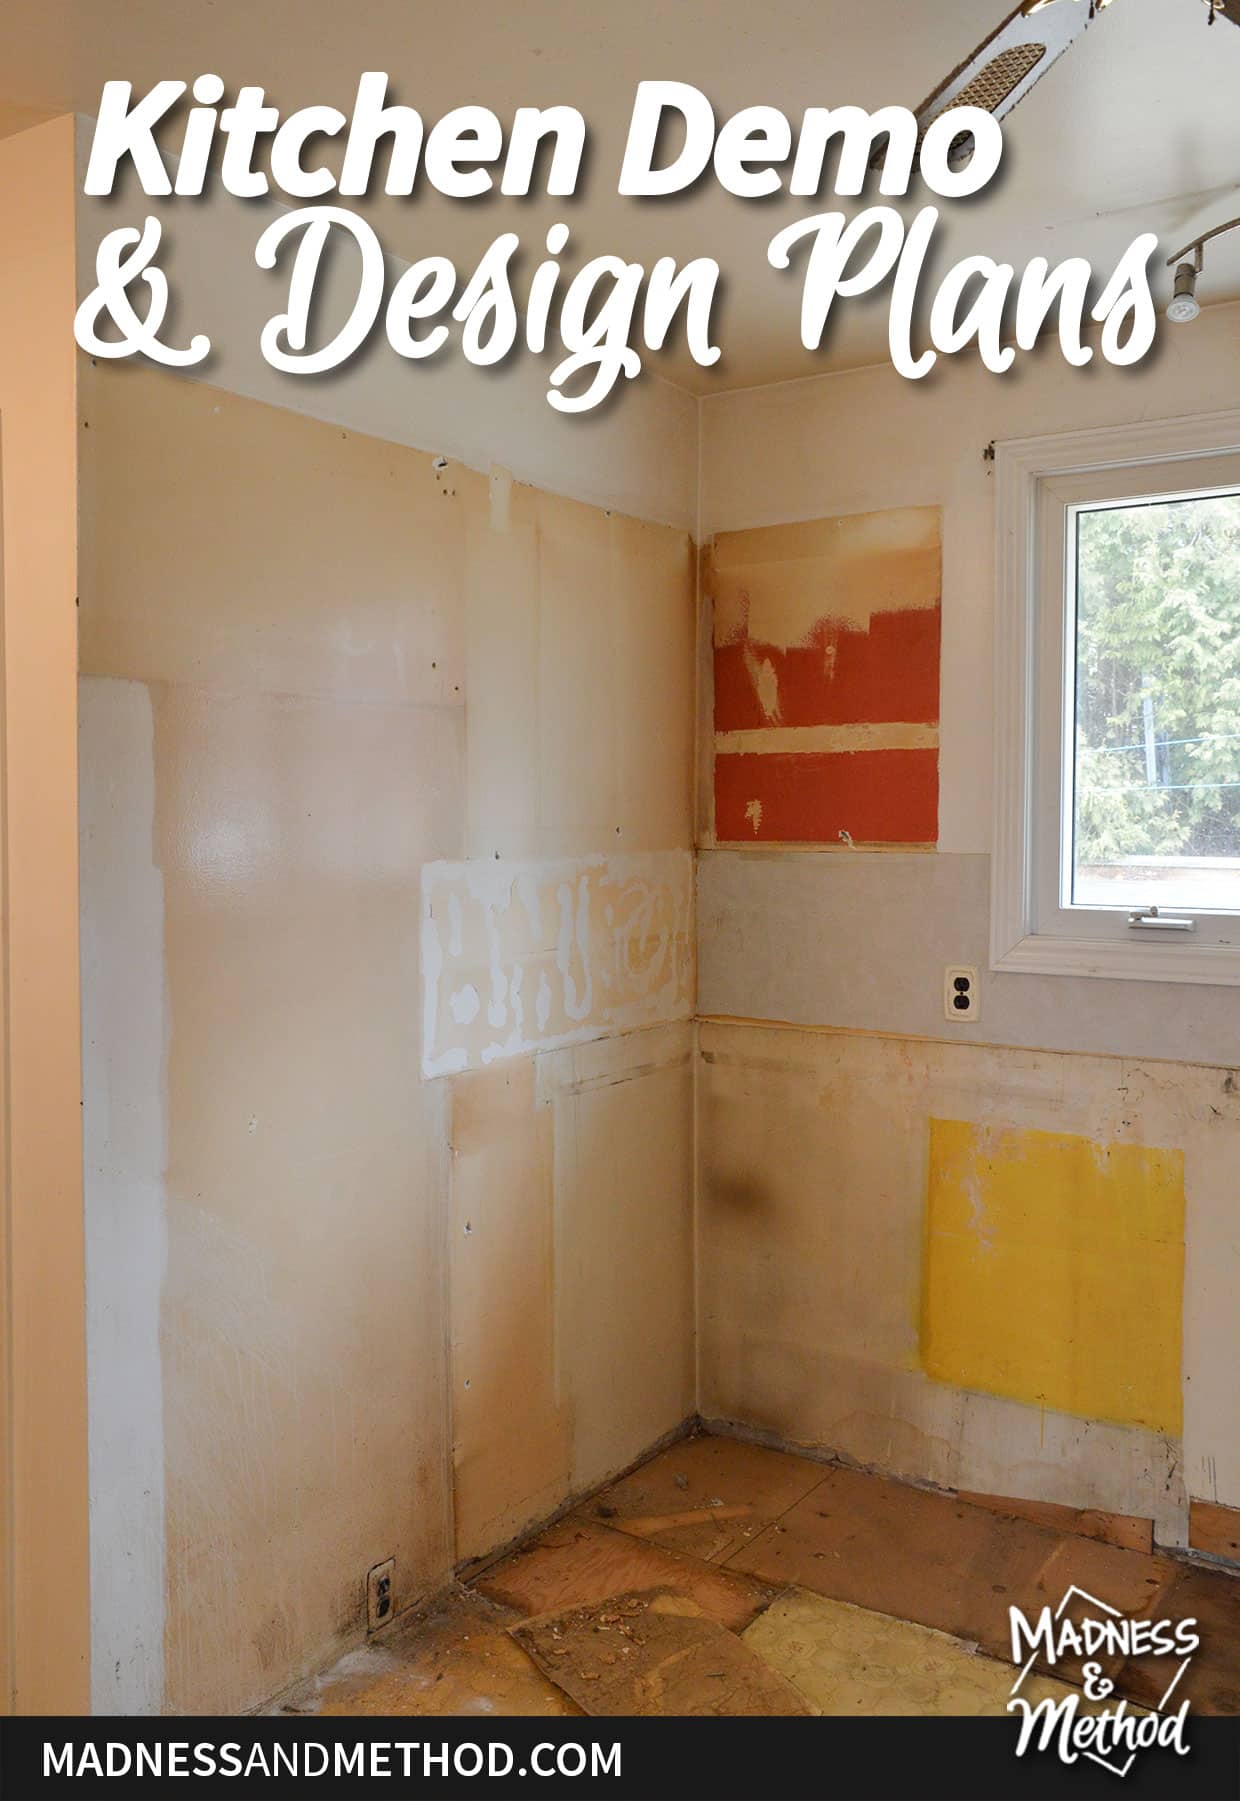
Ready to see the kitchen at our rental renovation completely demolished? As in, no kitchen!? Today I’m sharing photos from the kitchen demo and plans for the new space. I’m not sure how old this kitchen was (original to the 1950s house?) but there are a lot of things that can be improved!
– Note: This post contains affiliate links. See more information about affiliates here. –
As a reminder, I’m sharing this project as a participant in the Spring 2024 One Room Challenge! Last week I showed the before photos for the space, and this week is all about demo/plans. (PS: We’re a bit ahead of what these photos show. But, I’m worried we might run out of things to talk about each week and/or get delayed).
Okay, let’s start with looking at some wonky things…
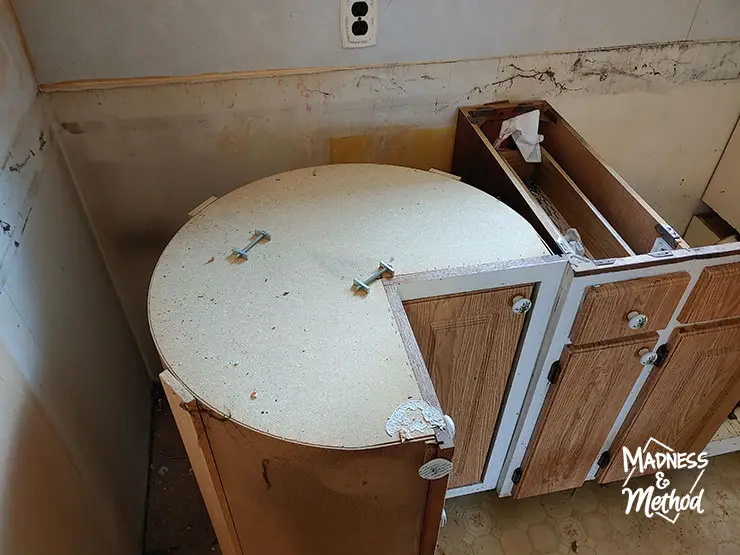
Apparently, the old lazy Susan style cabinet was literally just the round carousel. As in, there was SO much open space behind it. Also, the door was built-in to the design, so you’d push the door all the way around to get to the things on the shelves.
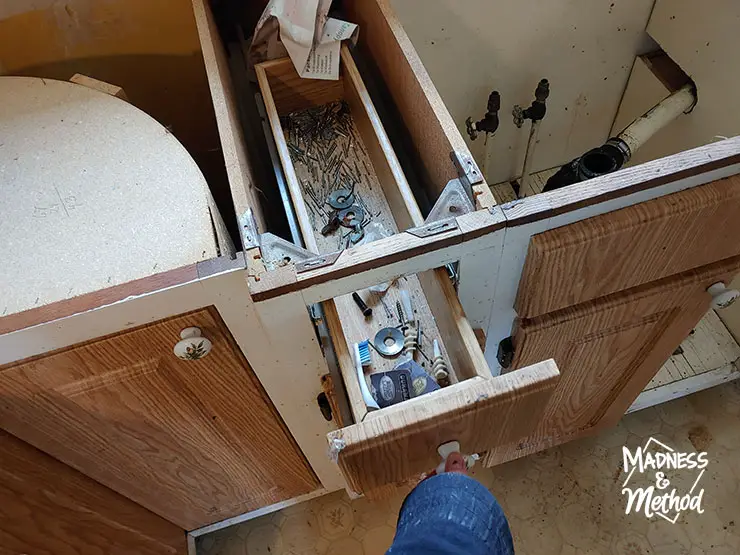
Then we had the world’s skinniest drawer (and cabinet below). Room for one mixing spoon, or a box of aluminum foil. Maybe you could fit a couple upright baking trays in the bottom cabinet.
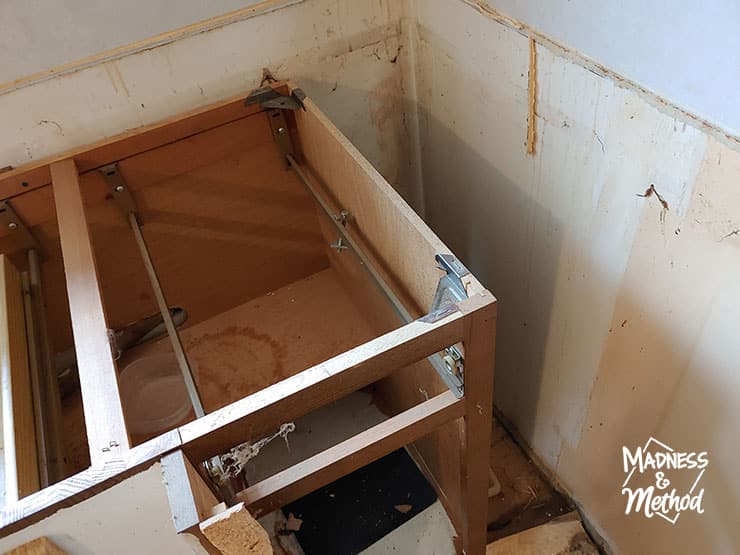
Finally the blind corner cabinet… with – you guessed it – almost a whole foot of open space on the back. The counters covered all these blank areas, but like, there was so much room to not have the little baby drawer, right!?

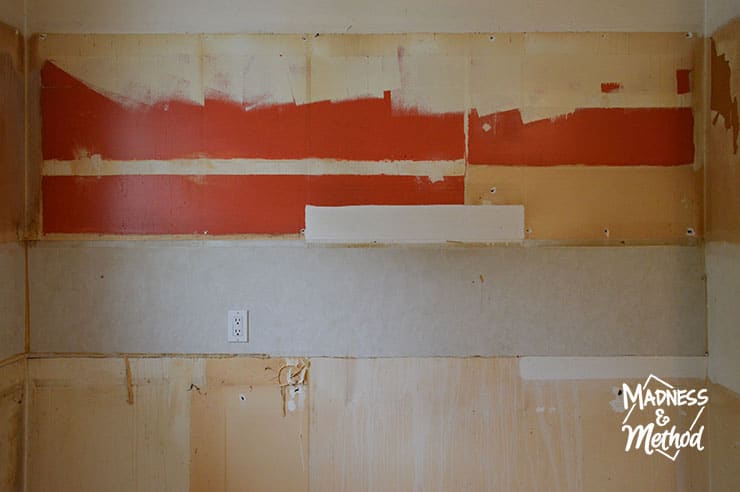
Once we took all the cabinets out, we were left with a plethora of colours on the walls. Oh, and there was a glued-on backsplash that matched the counters.
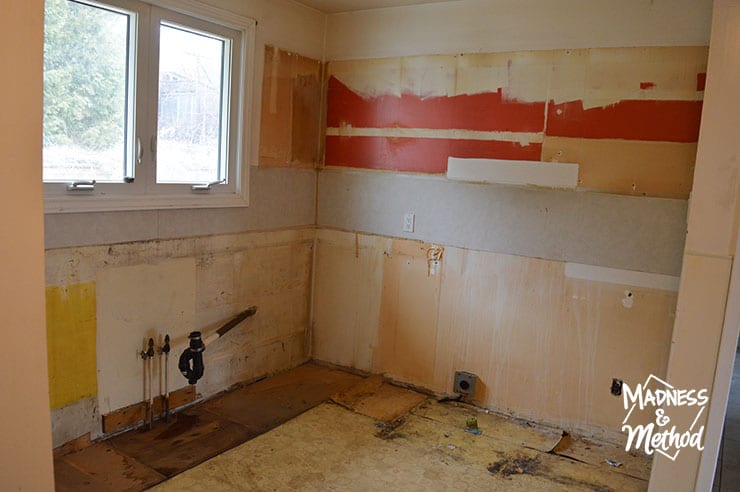
We’re leaving the sink in the same place under the window, and the oven in the space spot on the right wall. But other than that, the new cabinets/layout should be much better!
New Kitchen Layout
Technically, I designed this kitchen “for fun” a few years ago here. We’re going with 90% of the same design/layout, minus a few changes.
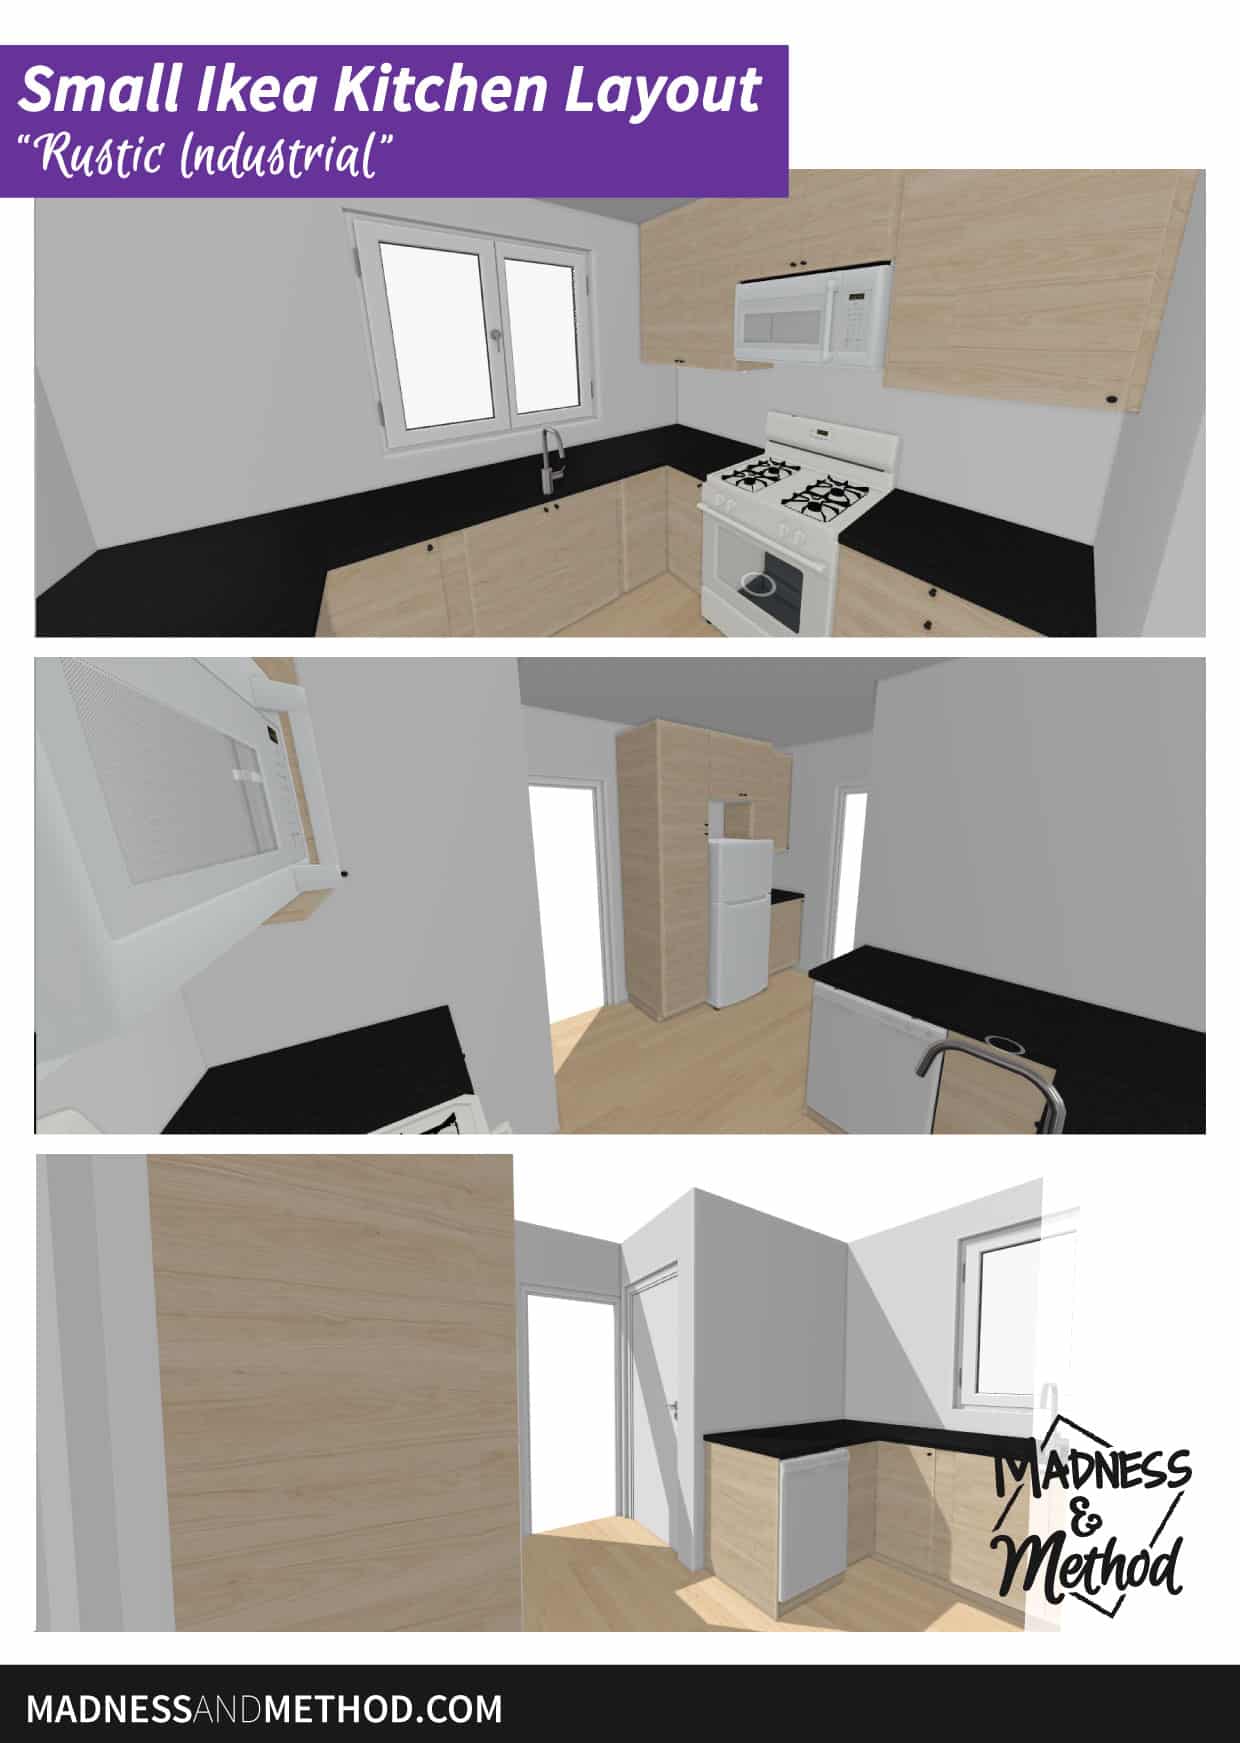
The photo above shows the three main views in the Ikea Kitchen Planner. We’re adding a microhood above the oven (there were no exhaust fans before) and moving the dishwasher to where the fridge used to go. The fridge is then getting moved across the kitchen to the open/unused space.
I think back in the day this used to be the “eat-in” area of the kitchen. There was a swooping light, but most people have just put shelves or another surface for storage here. Especially since the dining room is directly to the right of the kitchen. Ie: four steps away.
For the dishwasher, we already have a plug there from where the fridge was, so it’s simply a matter of moving the water line and drain. (I say “simply” but I think the drain re-location may be tricky).
As mentioned, the oven is staying where it was. We originally toyed with moving it to the other wall (see here for the other layout). But those hunka-chunka electrical outlets are a hassle to move. Without a dishwasher on the right side, there will be a nice spot for drawers/storage.
Kitchen Design Plan
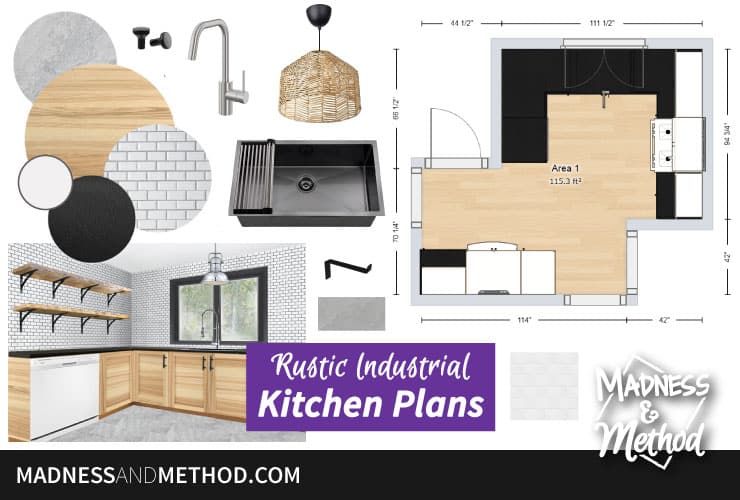
Here is an updated moodboard from what I shared years ago. Back then I wanted the Torham (I think?) cabinets, but because this is a rental house, I am using the ASKERSUND. Which is the same light-wood colour, but flat instead of shaker-style.
The floors will be 24×12 gray tiles that match the entrance(ish) and bathroom I renovated recently. The backsplash will be 2×4 white subway tiles. A bit smaller than traditional (3×6) but I’m hoping it makes everything look bigger. Instead of a chrome pendant, I’m repurposing an original wicker shade that was in one of the bedrooms. And, I got this black stainless steel sink.
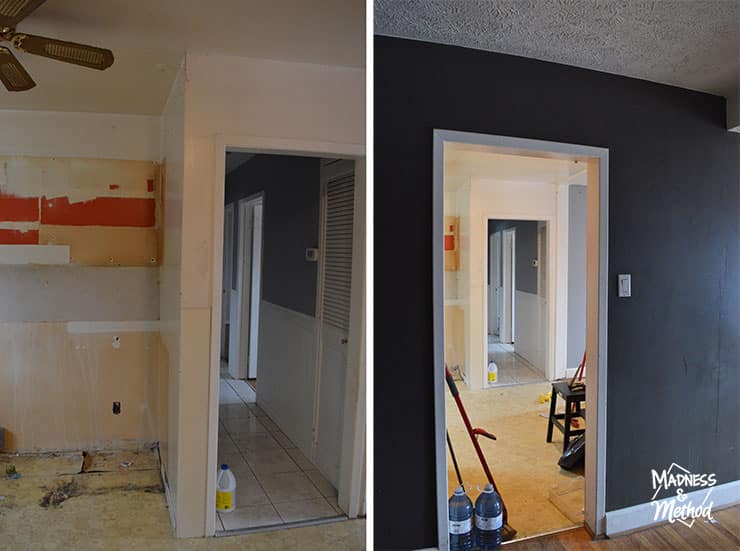
One thing I would have liked to have done, if time/budget allowed it, would have been to remove the two little walls. The one wall that separates the hallway to the kitchen. And the other wall that separates the kitchen to the dining room. It would have opened everything up nicely for lighting/flow.
But the Husband vetoed those plans vehemently.
(Mostly because it involved moving electrical, rebuilding the ceiling and a bit of the floor). The kitchen design would have been the same, but alas it was not meant to be.
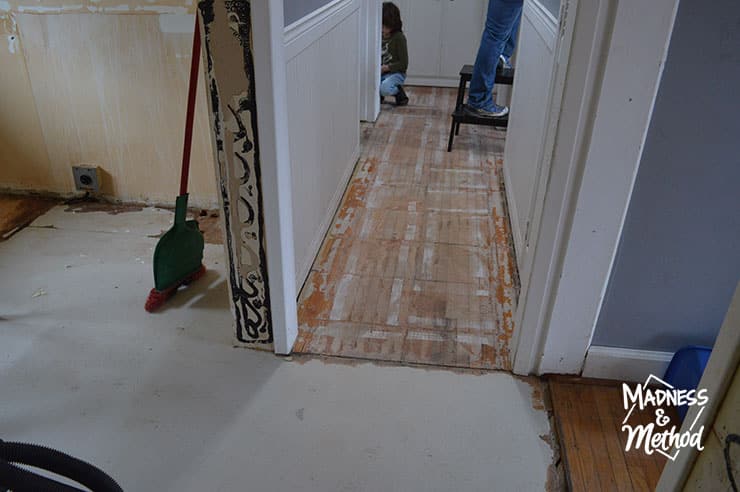
Speaking of things the Husband doesn’t want to do… removing the wood floors in the hallway. We demoed the tile that used to be there (you can see them in the photos above, or in this post). Turns out, they installed the tiles directly on the old hardwood floor. We’re putting tile down here to connect to the bathroom – but the hardwood is a smidgen taller than the rest of the subfloor. So I want to take the hardwood out, put in a 1/4″ plywood to raise it to level, then tile on that.
Which means that I have to remove the hardwoods myself…
About the One Room Challenge
Follow me on Instagram to see progress as it happens. Want to see more room makeovers? Visit the One Room Challenge blog to see all the projects this round!

Follow this Kitchen Renovation
- Week 1: Ready for our Next Renovation
- Week 2: this post!
To Do List Before Next Week
- (Done: sand walls/glue, skim coat/patch holes, prime everything, update light fixtures)
- Remove hardwood floors in hallway
- Paint ceiling
- Prep subfloors for tile
- Tile & grout
- Move/change outlets (husband)
- Reconfigure sink plumbing (husband)
To Do List for Entire Project
- Build Ikea cabinets
- Install Ikea cabinets
- Build + attach doors/drawers/interior stuff
- Countertops
- Sink/faucet/plumbing
- Appliances in place (including microhood)
- Backsplash
- Floating shelves
- Other house updates (cleaning, painting, minor electrical)
Looks like we have our work cut out for us! I hope you enjoyed this post with the photos of the kitchen demo and plans for the space. I can tell you that glue (and all the glued on panels) are the bane of my existence, ha.
Oh, and I just unloaded half of our first Ikea delivery today. We still have a lot of work to do before we start building those (see above, ha), but we’re heading in the right direction.


No Comments