
When I started organizing our media centre, I really wanted the new storage solution to both function, and look good. I came up with a quick idea of how to easily transform plain storage bins and boxes using paint. Last week I gave a sneak peek at what the custom painted Ikea boxes looked like, and today I’m giving all the details on how I made them.
– Note: This post contains affiliate links. See more information about affiliates here –
I pretty much knew what the dimensions of the reinforced TV shelf would be, so I started looking through the Ikea website for storage options that would fit in my size constraints. I was hoping to get something plain (preferably white) so that I could update however I wanted.
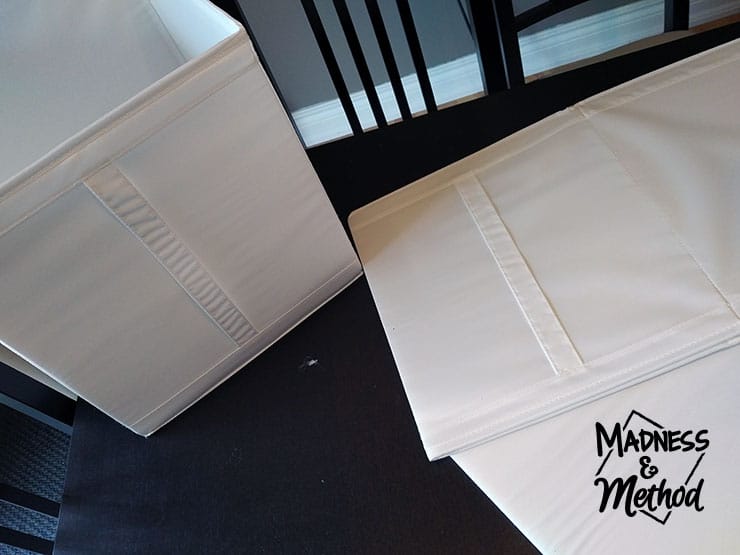
For the bottom shelf, I wanted something open that we could use for (future) toy storage. The Ikea Skubb boxes were the perfect height, and they came in a pack of three which would fit perfectly!
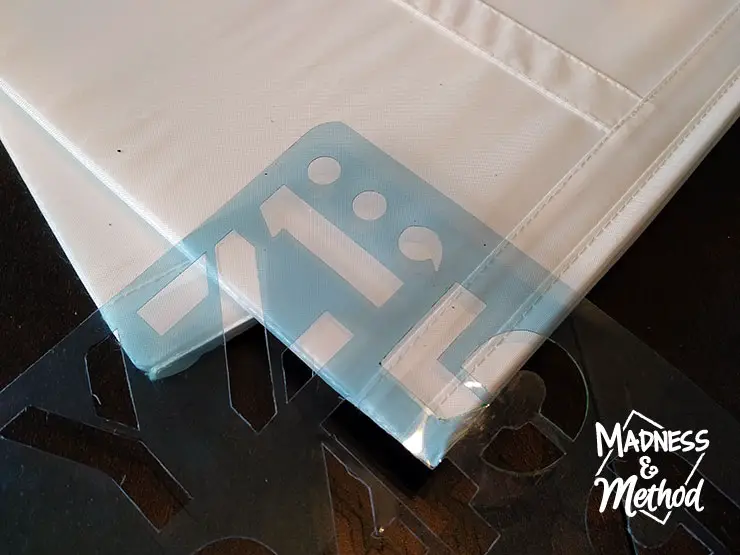
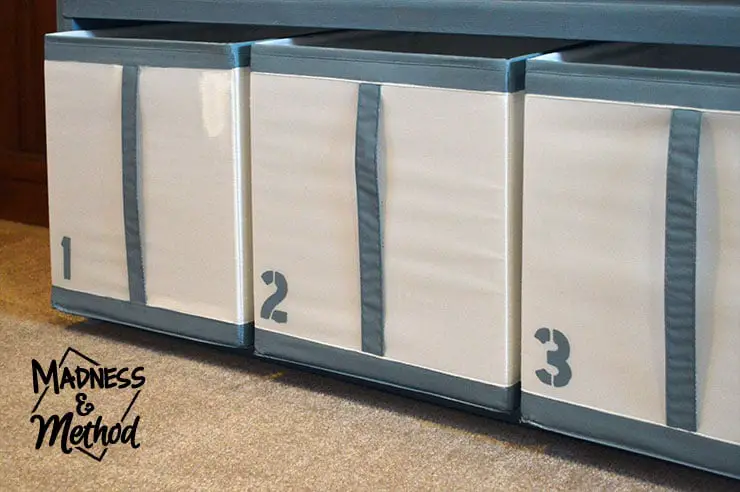
Since I can’t guess what we’ll use these boxes for in the future, I simply used a stencil (buy similar stencils here) to write out the numbers 1, 2 and 3. (If I had some idea, I could have written “blocks” or something like that). Note: make sure your stencil is in the correct spot…
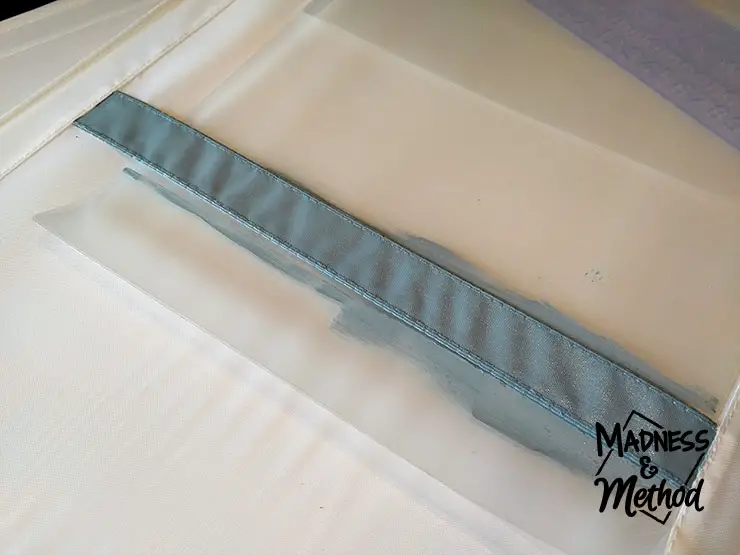
Once that was drying, I painted the pull-out strap (using a piece of plastic in the back to cover the rest of the box). I used the exact same Fusion Champness paint as the TV shelf, so they would go nicely together.

I also painted the edges of the Skubb boxes and was able to do two sides at once (because of how they lay flat). Then you just flip them over when they’re dry and paint the other side. The last step was to open the boxes fully, then paint any places that were still white (ie: along the edges).
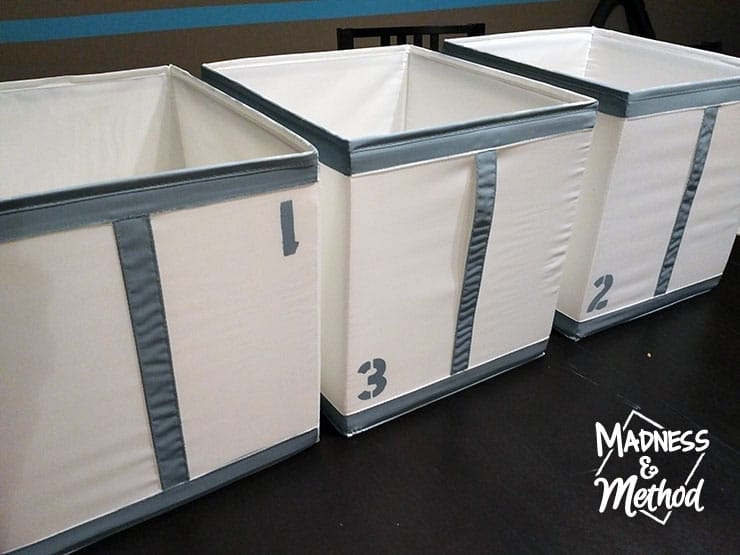
So… this is why I said to make sure you had the right location for the stencil! I clearly was not paying attention late at night when I was doing these, so I had to go back and paint a new number 1.
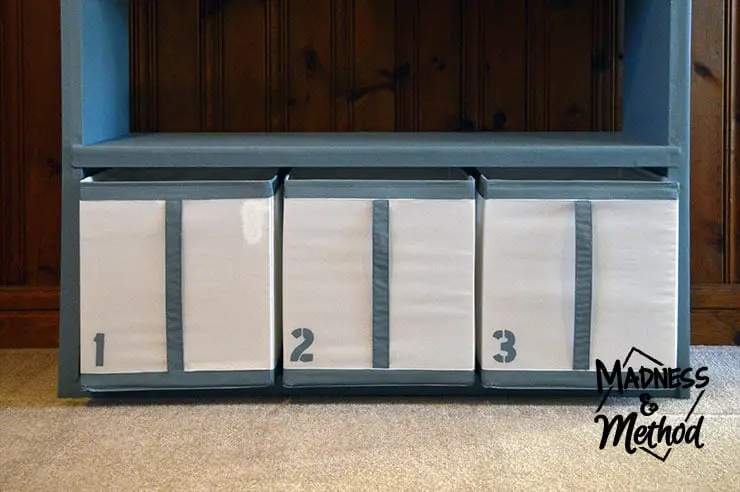
I used some white paint to cover my first (failed) attempt; but you can clearly still see it. If only you could buy these boxes individually (instead of in a pack of 3) and I might have picked up another one to fix it. For now it will stay like this.
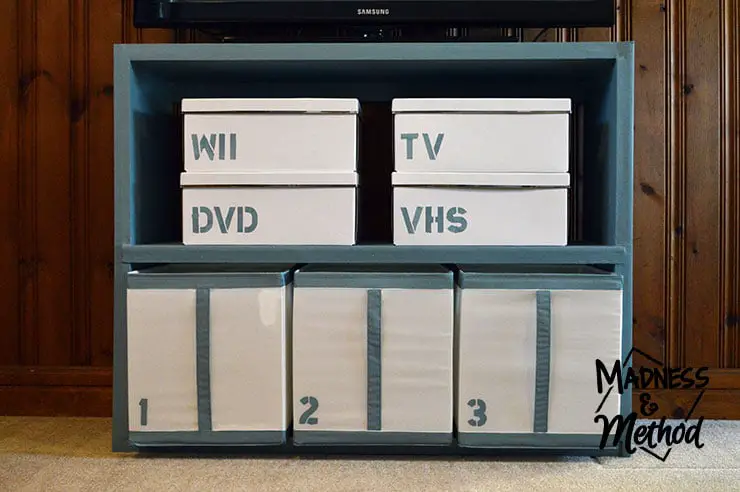
But look how perfectly they fit on the shelf, right!?
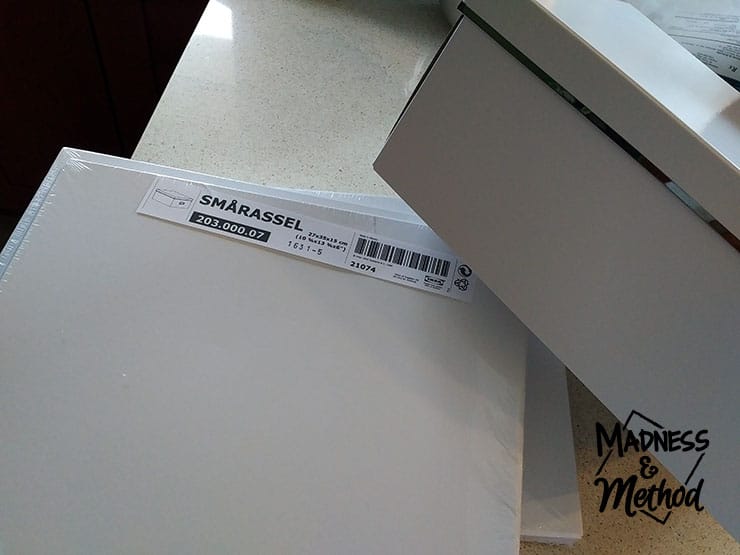
For the top shelf I wanted to get a few boxes that would store our movies, games and stuff like that; because the plan was to eliminate the DVD media cabinet. I originally bought the wrong boxes (who knows why they were on my list), but went back and got 4 white Smårassel boxes instead.
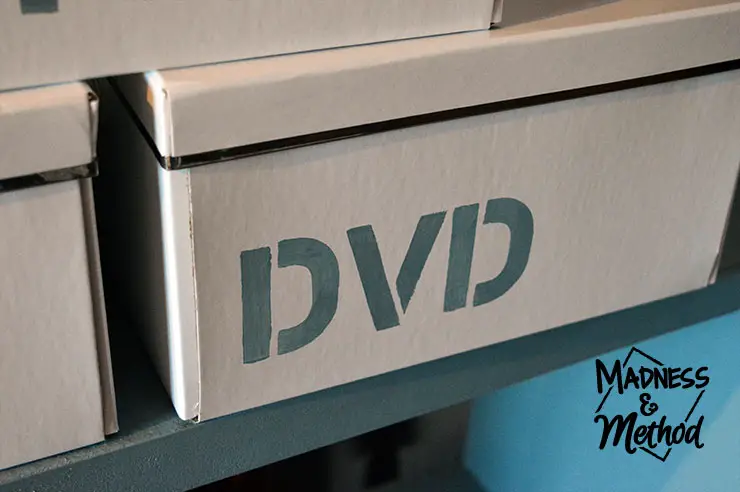
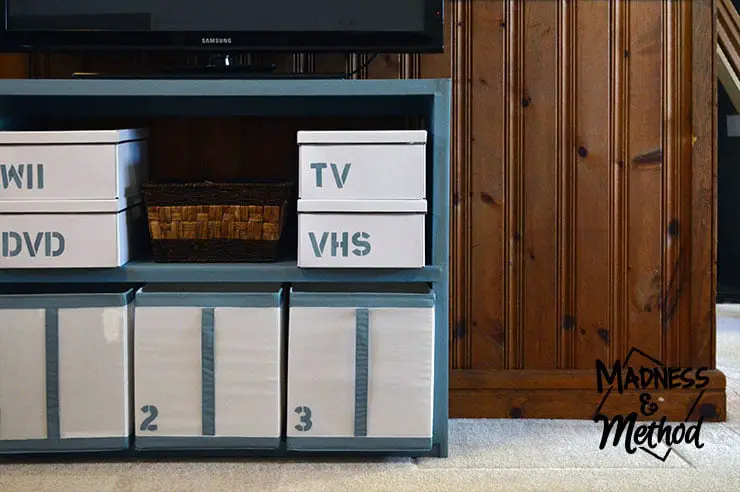
Using the same stencils, I wrote what each box would contain (having already organized everything and made sure they would fit of course). If ever our storage needs change, I can always buy another box and write a new label (for example, DVDs A-M, DVDs M-Z).
I marked both the fronts and sides of the boxes with the same labels, because I wasn’t sure how I would be placing them on the shelf. I painted everything upstairs in my living/dining room after I rebuilt the TV shelf, so we were a bit crowded for a few days haha!
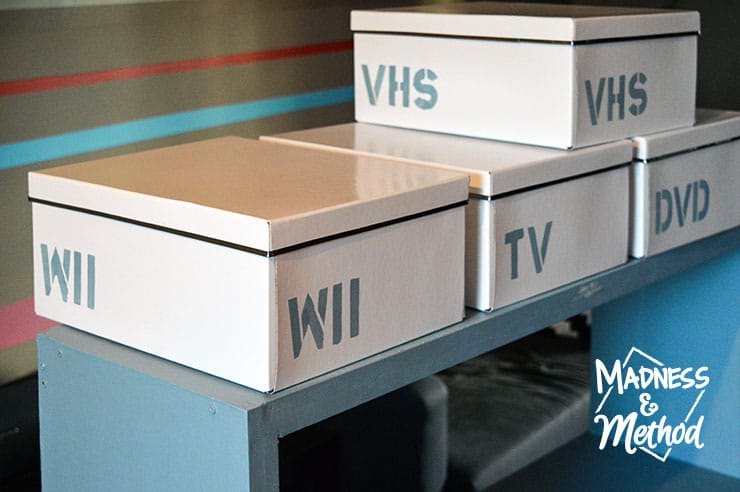
I thought about painting the tops of the Smårassel boxes with the Fusion Champness blue as well, but figured I’d leave them as-is in case I ever wanted to use them elsewhere. (I have a habit of re-using Ikea boxes around the house when I organize different spaces).
Again, because I painted both the long and short side of these top boxes, I could arrange them on the shelf in different configurations.
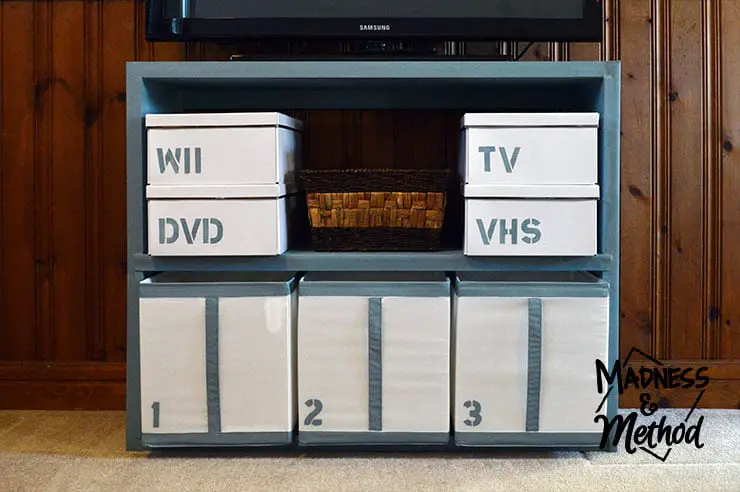
In the end, I decided to place them on the outer edge and reuse the open basket that was on the shelf before (it originally held magazines). We have all our Wii controllers (wiimotes?) in the basket for quick access, and I much prefer them corralled in there than on top of our DVD cabinet, or scattered throughout the room.
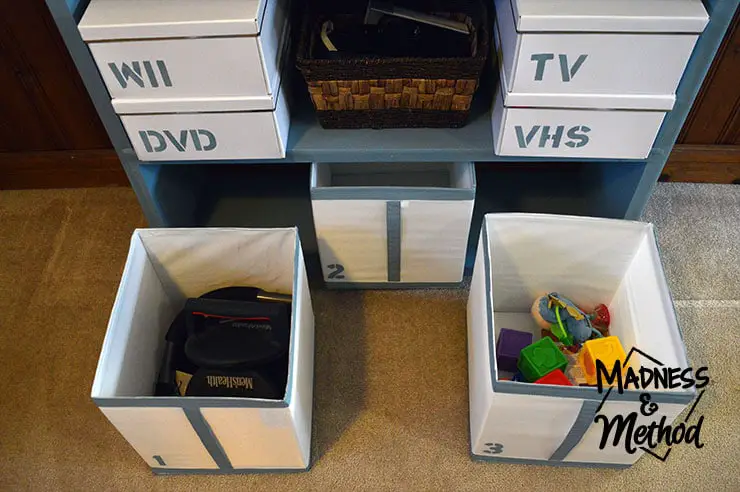
Technically the bins do hang off the shelves a bit, but I like that you can quickly glance inside them to see what they contain. The first box has the Husband’s workout stuff, and #3 has the baby’s toys. I added all his toys to this bin since taking this photo, because he is actually “playing” with them now (by that I mean he grabs them and chews them). The middle bin is still empty, but I’m sure it will be used eventually.
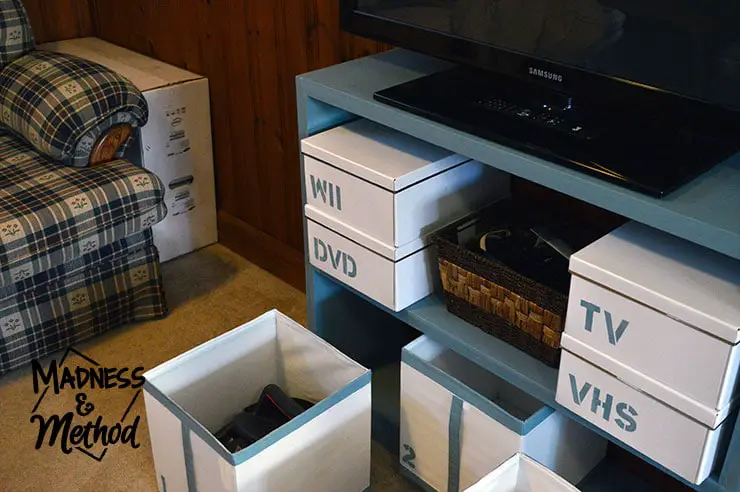
Ha, now that the old pantry shelves were used to reinforce the TV shelf, and since moving the Husband’s workout stuff to a bin – the end of the couch was finally cleared of clutter! I then put my trusty computer box there, because we all know how I like to keep boxes (and use this one as a side table).
It’s actually surprising how much larger the space looks now that the DVD cabinet is no longer there. I think this would be the perfect area for a big basket that holds our blankets and pillows!
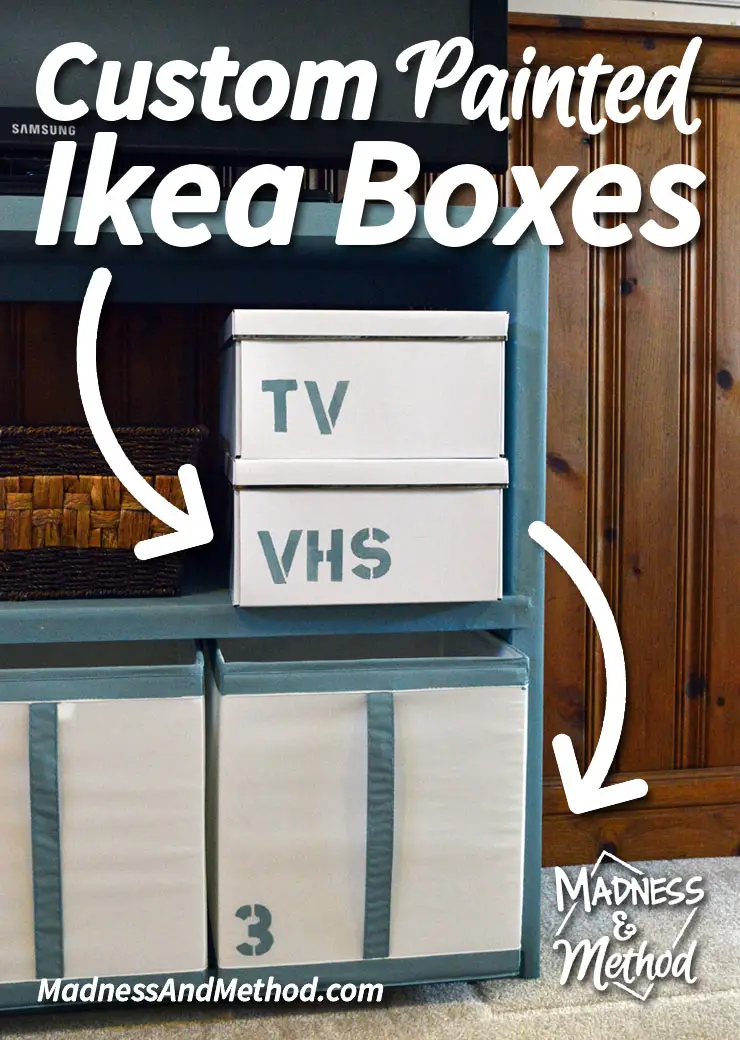
Even though I did goof up and stencil the wrong area, I’m still super happy with how these custom painted Ikea boxes look. They are both simple and bold/graphic-y at the same time… which I think describes the style I like, if that makes sense. And, like I mentioned this weekend, you should definitely label storage things whenever you get the chance… because then everyone is on the same page and has to follow the labels!


12 Comments
Amanda
November 17, 2016 at 11:49 amThose look great! Ikea is such a great source for that sort of thing. :)
Nicole
November 19, 2016 at 9:30 amThanks Amanda – you can never go wrong with customizing things when they’re inexpensive!
Ariel
November 18, 2016 at 1:34 pmNow you’re all organized!
Nicole
November 19, 2016 at 9:31 amIt makes everything so much easier :)
Roxanne
November 21, 2016 at 9:28 amGreat idea, so organized!!
Nicole
November 21, 2016 at 8:18 pmThanks… you can never be too organized :)
Amy @ My Life From Home
November 21, 2016 at 9:56 amI wouldn’t have thought to do that! They look great, yet so perfectly organized.
Nicole
November 21, 2016 at 8:20 pmThanks Amy, now I’m thinking of more ways to customize my organization bins around here
Kati
November 21, 2016 at 11:11 pmThese look so much better with the paint on them. And I love how organized your cabinet is!
Nicole
November 29, 2016 at 10:40 amThanks Kati :)
Serene
August 4, 2021 at 7:07 amThat looks so great with the color match. I’m just wondering how the paint is holding up a few years on. Still going strong? Any reapplications?
Nicole
August 5, 2021 at 2:04 pmThey held up great actually (especially with kids using them daily). We ended up selling the shelves and bins when we moved though :(