
I’m here today with a quick and simple project (aren’t those the best?) that takes a functional, but not-so-pretty firepit, and just finishes it off so that it’s no longer an eyesore! If you’ve got some patio pavers (like all the leftover ones I had from our original walkway) and some finishing stones (like these from our rock garden) then you’ve got yourself the basic materials you’ll need for an easy DIY firepit!
– Note: This post contains affiliate links. See more information about affiliates here –
I think updating the firepit at our house was one of the first things we did. It was originally in a different location and I didn’t like that it was in the middle of the largest grass area. How were we supposed to play lawn games when there was a hazard in the middle of the field?
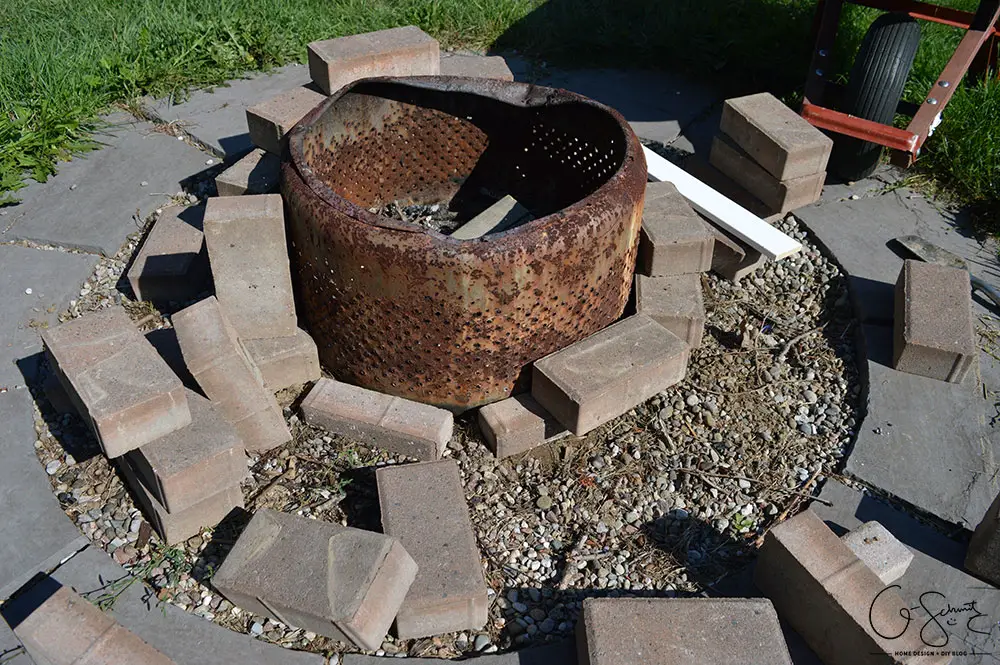
Now, I don’t know about you – but to me, the best firepits are those that are made from an old recycled steel dryer drum. That’s because they’re the perfect size, and they already have little perforated holes (which you want so that air can go through and keep your fire going).
We were fortunate to have the steel drum come with our house, so when we moved it to its current location (in between the deck and the shed) we simply had to dig out the grass, then put arched patio stones around. (These are the ones we bought from Lowes. There are also large arched stones, and some smaller arches too). We then filled the space in between with a few bags of small pebbles.
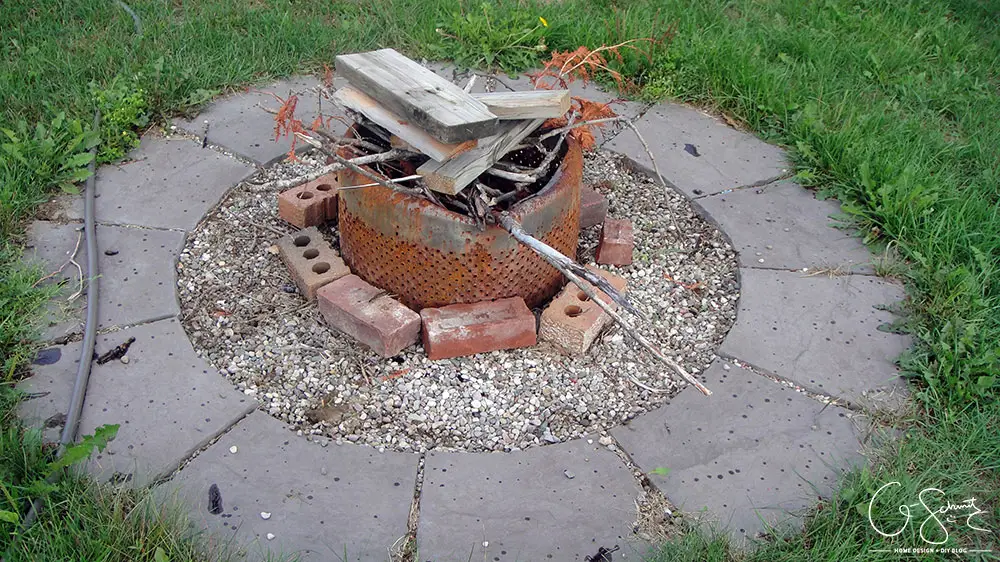
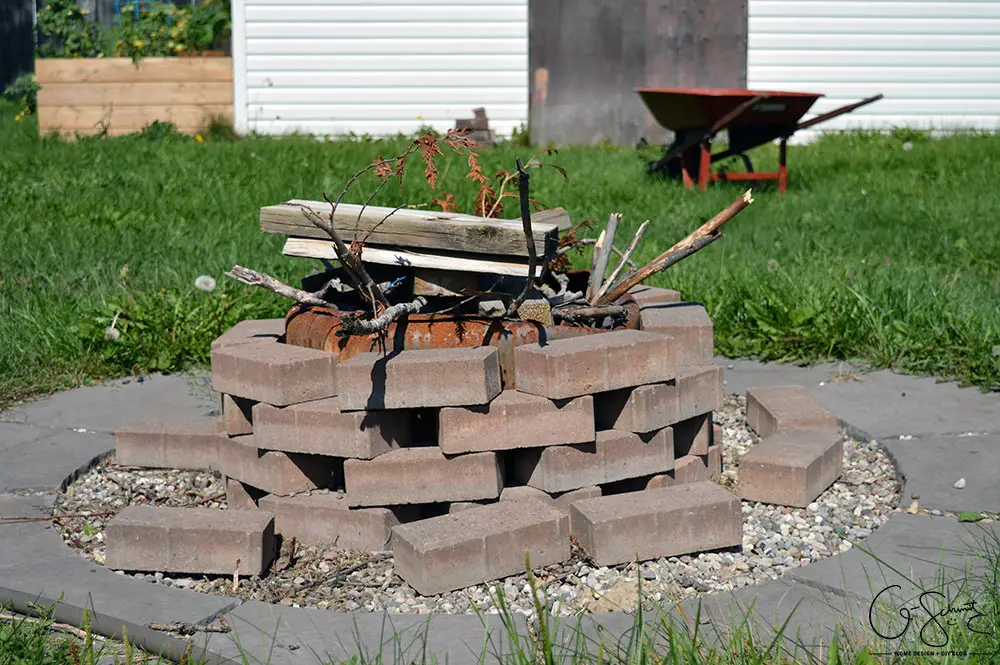
This was a good setup, but our steel drum was starting to look a little tired and rusty (not to mention that it had a big dent from a chunk of the tree that came down). We haphazardly put some extra bricks around the base, and I knew that I wanted to properly brick the surround with all the extra patio pavers that I still had.
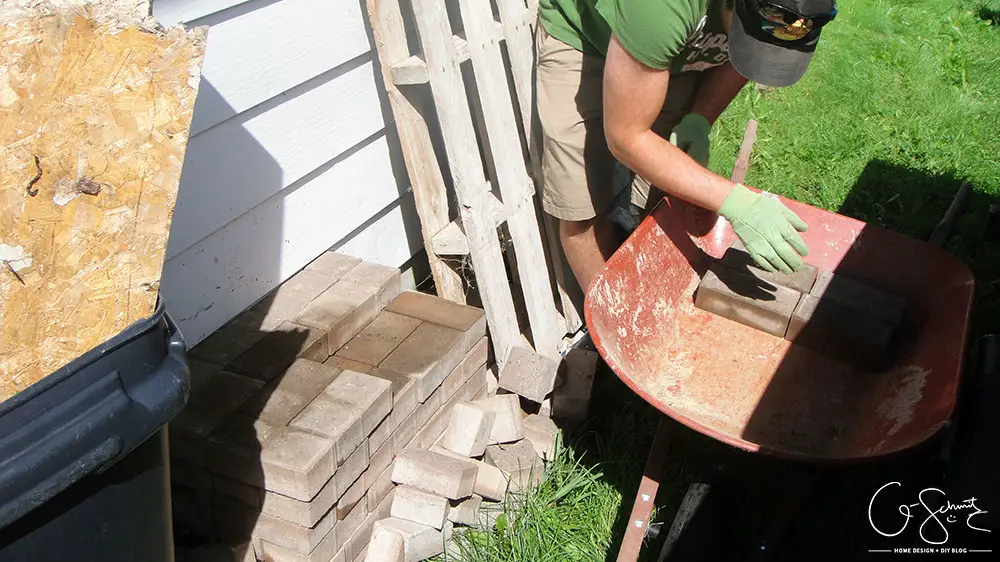
So I convinced the Husband to help me load up some leftover stones (that my Papa had nicely placed along our house, no longer on our front porch!).
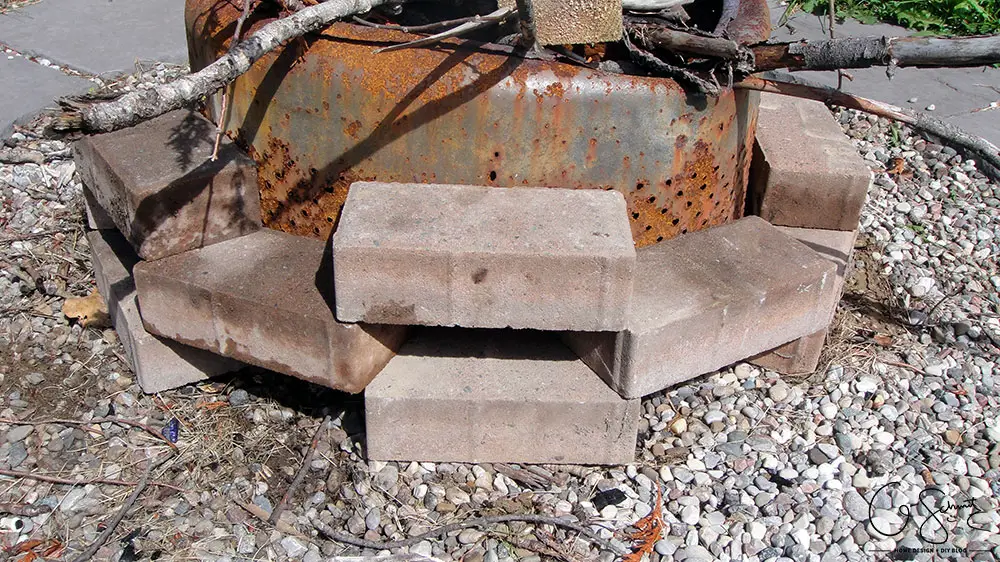
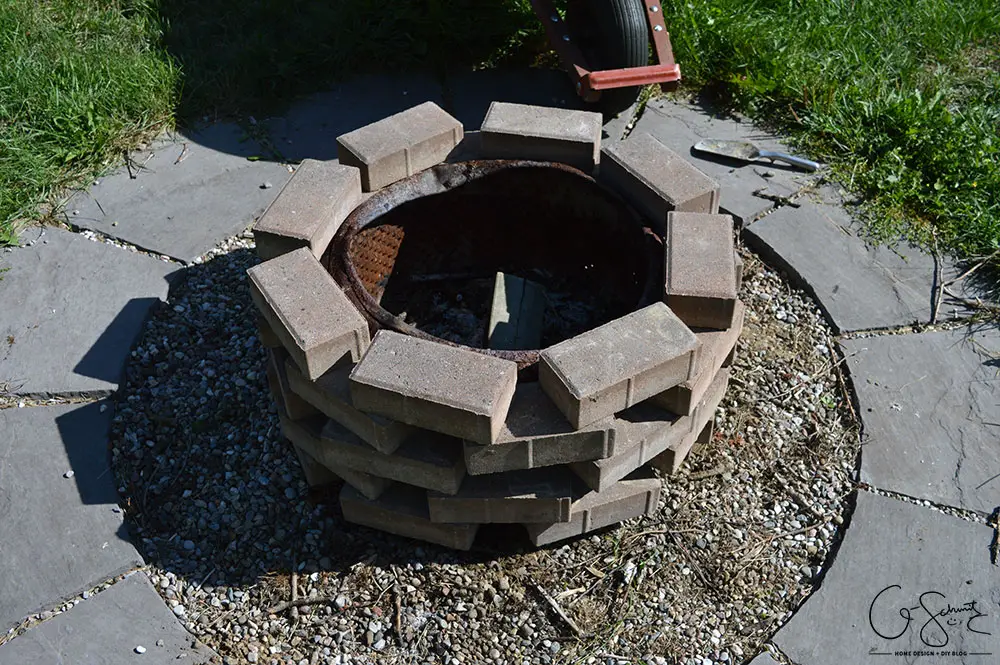
We tried out a few placement techniques on the first row before we settled on something we liked (the photo above was the first style). You need to remember to leave some gaps between them to let the air flow through. It took exactly 8 patio stones to make it around with a bit of space in between, and then we simply started the next row on top.
After a few rows in, it was obvious that the ground was not level. I mean, I always knew that it wasn’t (since the large arched stones were installed a few years ago) but these stones were accentuating the problem! I also wanted to go one row higher to completely cover the steel drum, but all those sticks were in the way :(
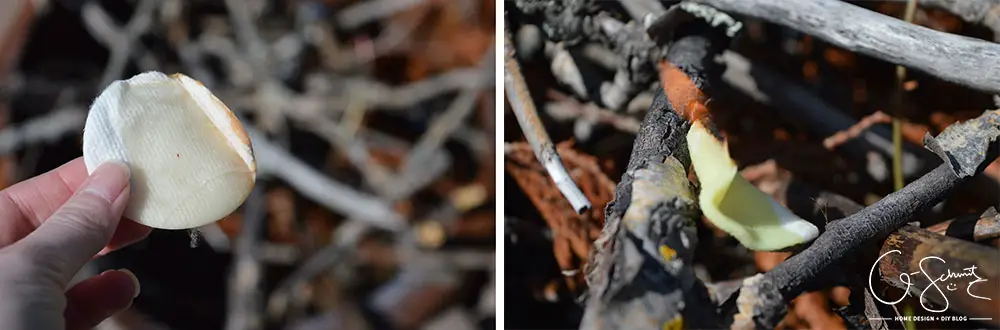
It would have been nice to have a fire over the weekend (when it was actually dark out) but it kept raining! My surefire way to start a fire (see what I did there?) is to use the leftover wax remnants from my Scentsty burners. When I change scents, I always use little circle pads to wipe up the excess, and I keep them in a box for later. Light a few of these and throw them in and the rest is sure to catch because they burn so slowly. Ever since I showed the Husband this trick, I’ve been the go-to fire starter.
This photo better shows how un-level those bricks were!
I also wanted to have a fire with our new brick setup so that I could see if it actually worked (to make sure enough air still went through). It did!
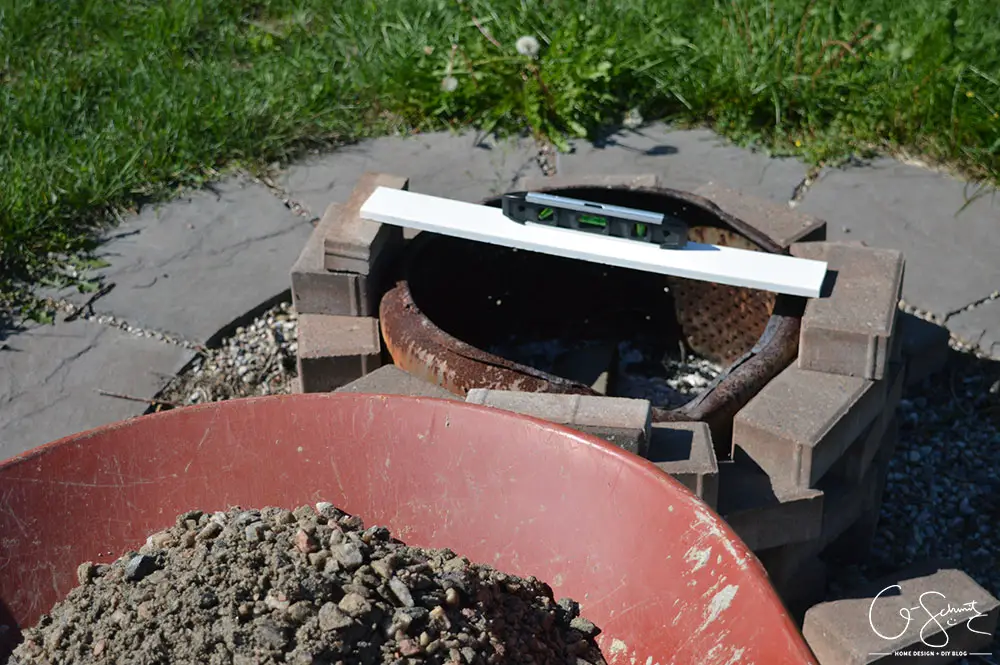
Once everything had properly burnt down (and cooled off) I brought out a level to see how much I would have to raise the left side. We thankfully had some half-cut pieces of the patio stones that I could use, and they were the perfect height to add!
Did I mention that our big 4′ level broke :(
Then I just had to take apart all our bricks (tedious, but necessary) and add the half-cut pieces at the bottom. If you don’t have any half-cuts, you can always use rocks or something else as your shims (maybe not wood, just in case it burns haha!).
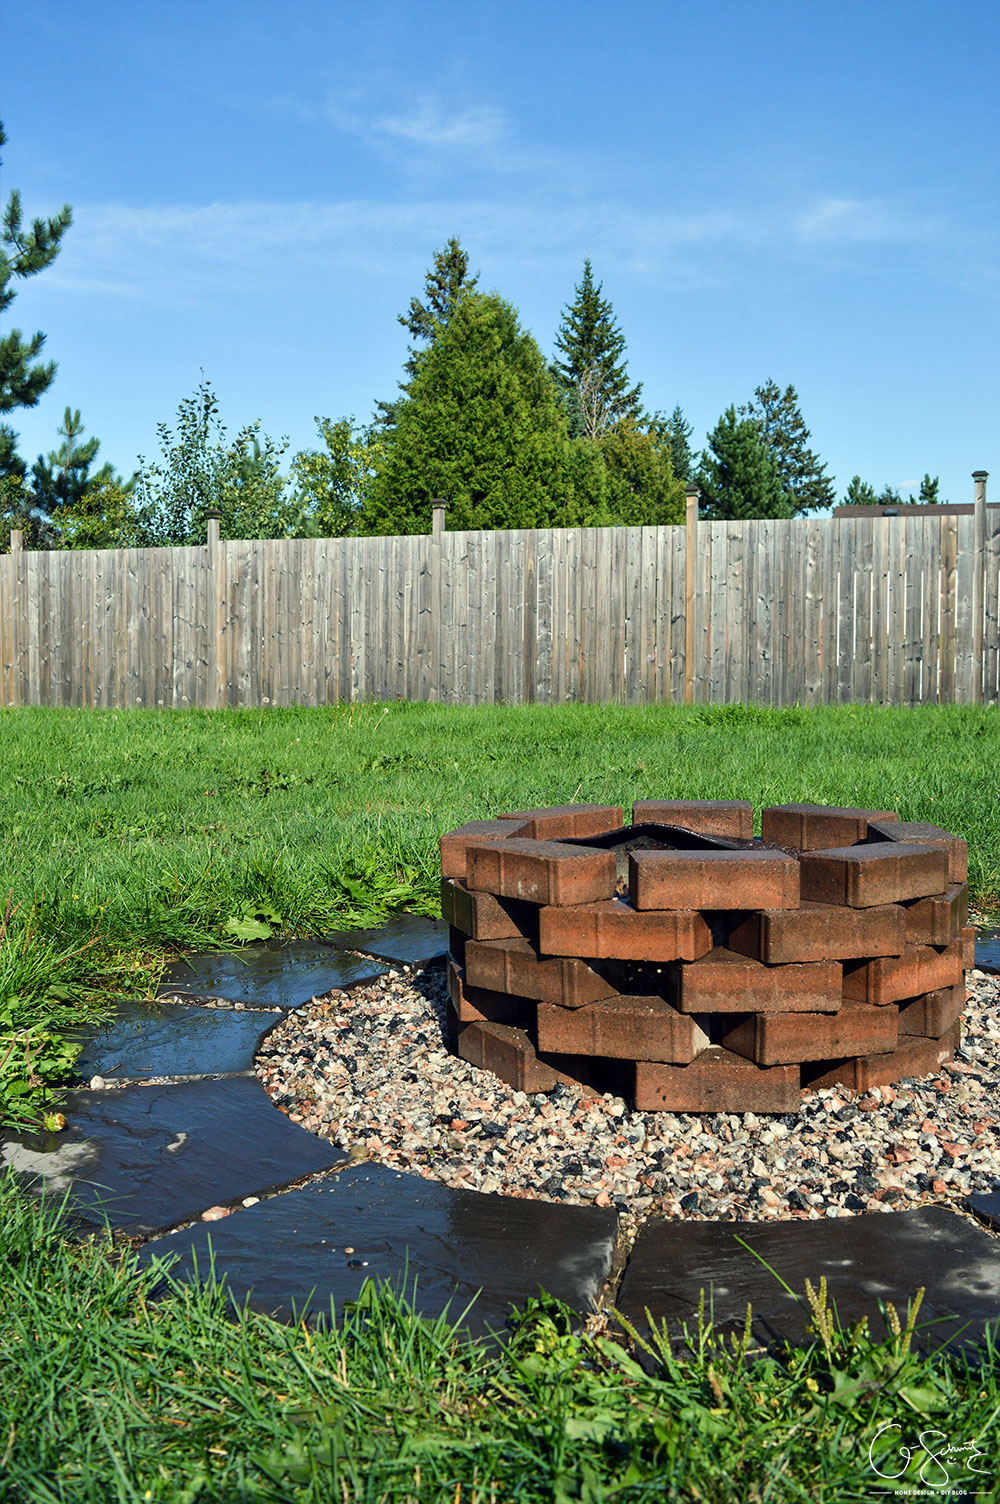
And everything was now level and perfectly in place! Time to address those dirty looking decorative stones (you should have seen this area before I weeded it… ayoye!).
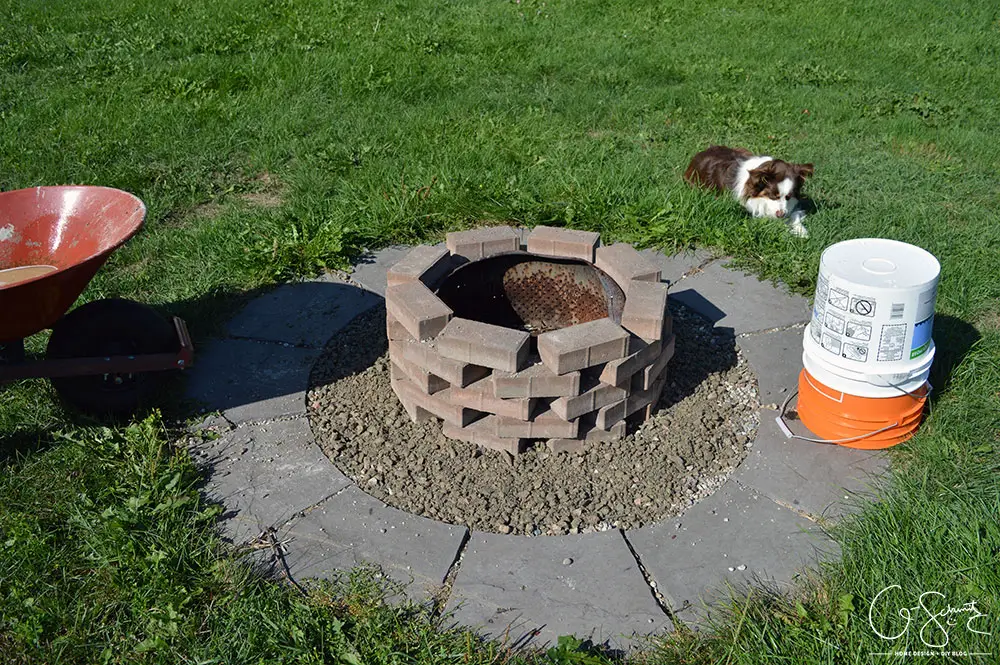
I brought a bucket full of the leftover stones we had from our sideyard walkway and front rock garden, and placed most of them on the left side to hide those half-cut shim bricks. Once again, they look like chunks of dirt, but nothing a good hose down couldn’t fix!
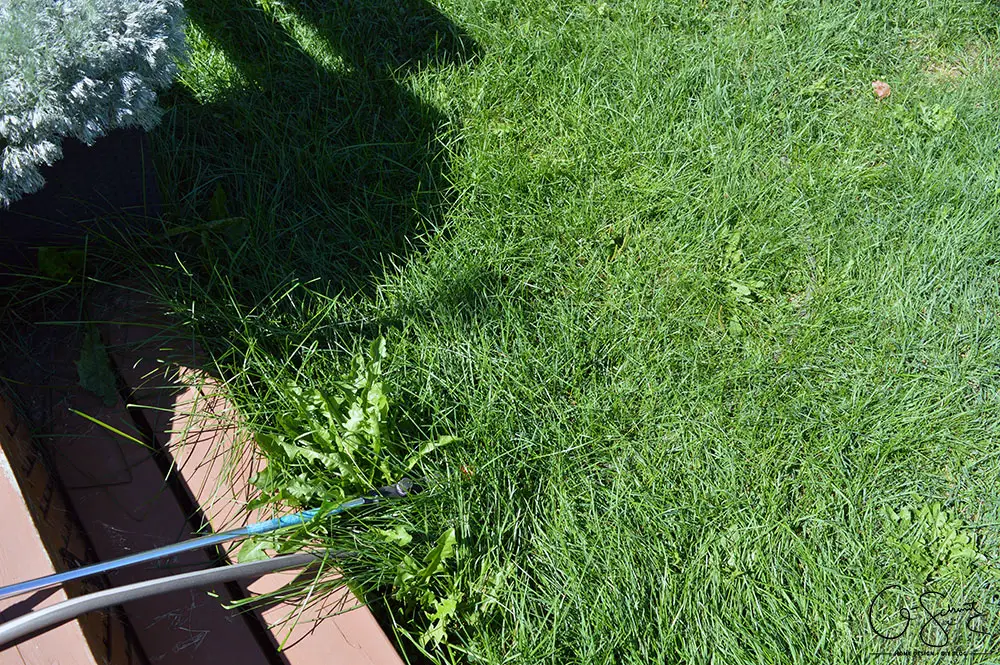
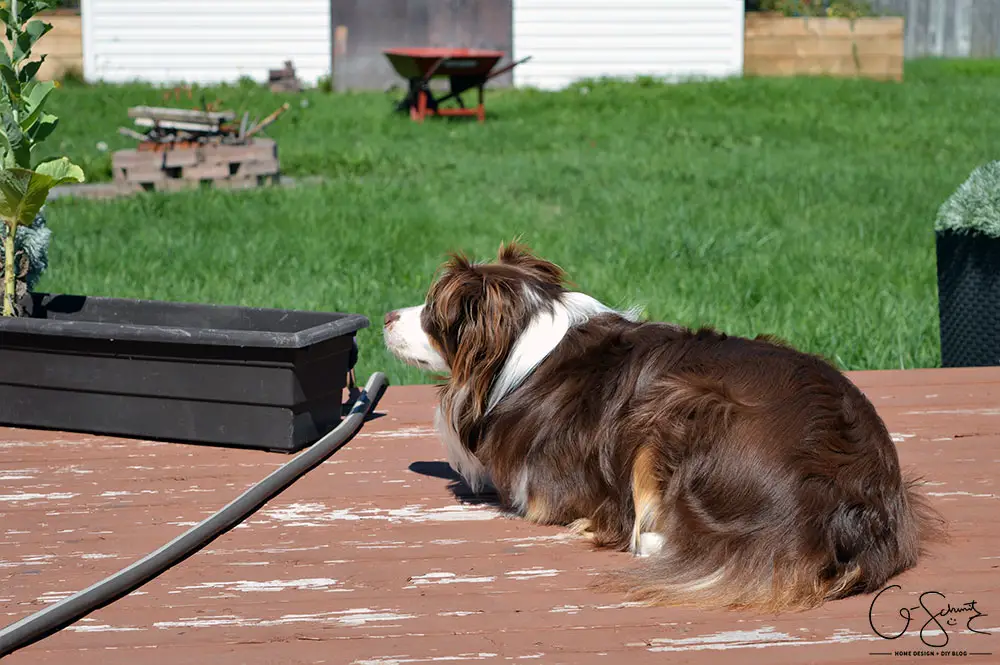
Oh, and you know your grass needs to be cut really badly when you can’t even see the garden hose!
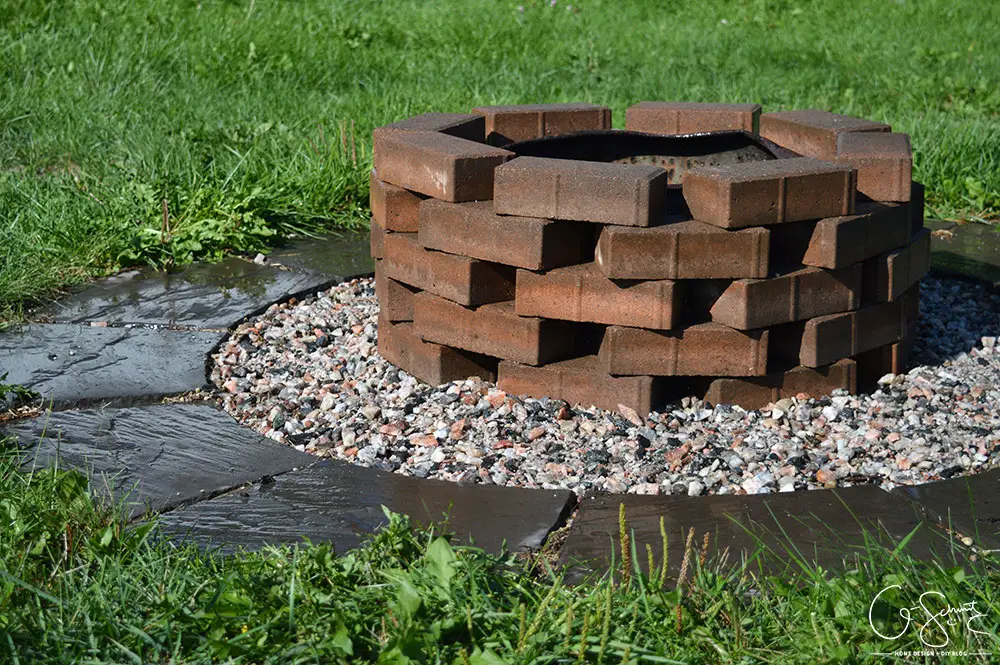
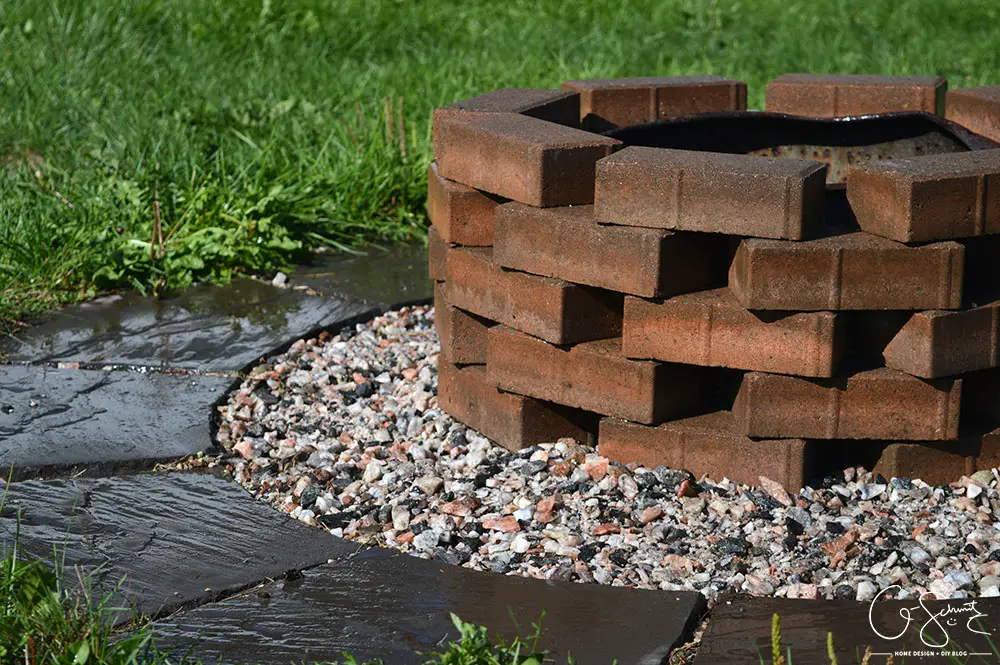
I gave everything a quick hose down while I was at it, and our easy DIY firepit was looking beautiful!
Now you only really notice the dented steel drum if you look in the firepit, but you can’t tell from a distance – so that’s good :)
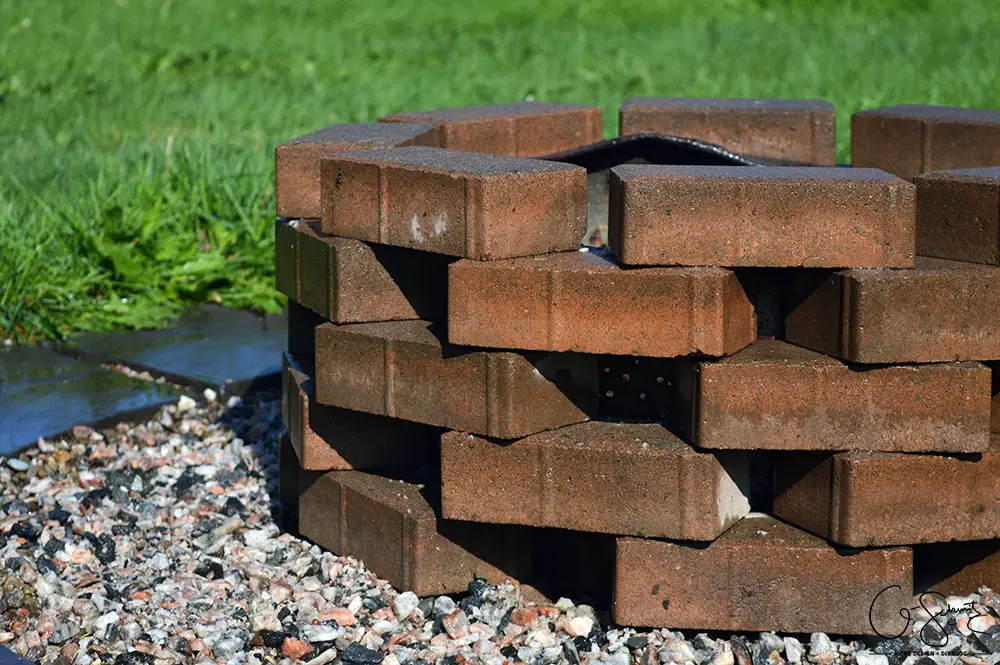
And, as I mentioned a few times before – the spaces in between the bricks allow the air to pass through. The gaps on the top are now useful to hold your marshmallow sticks without falling over!
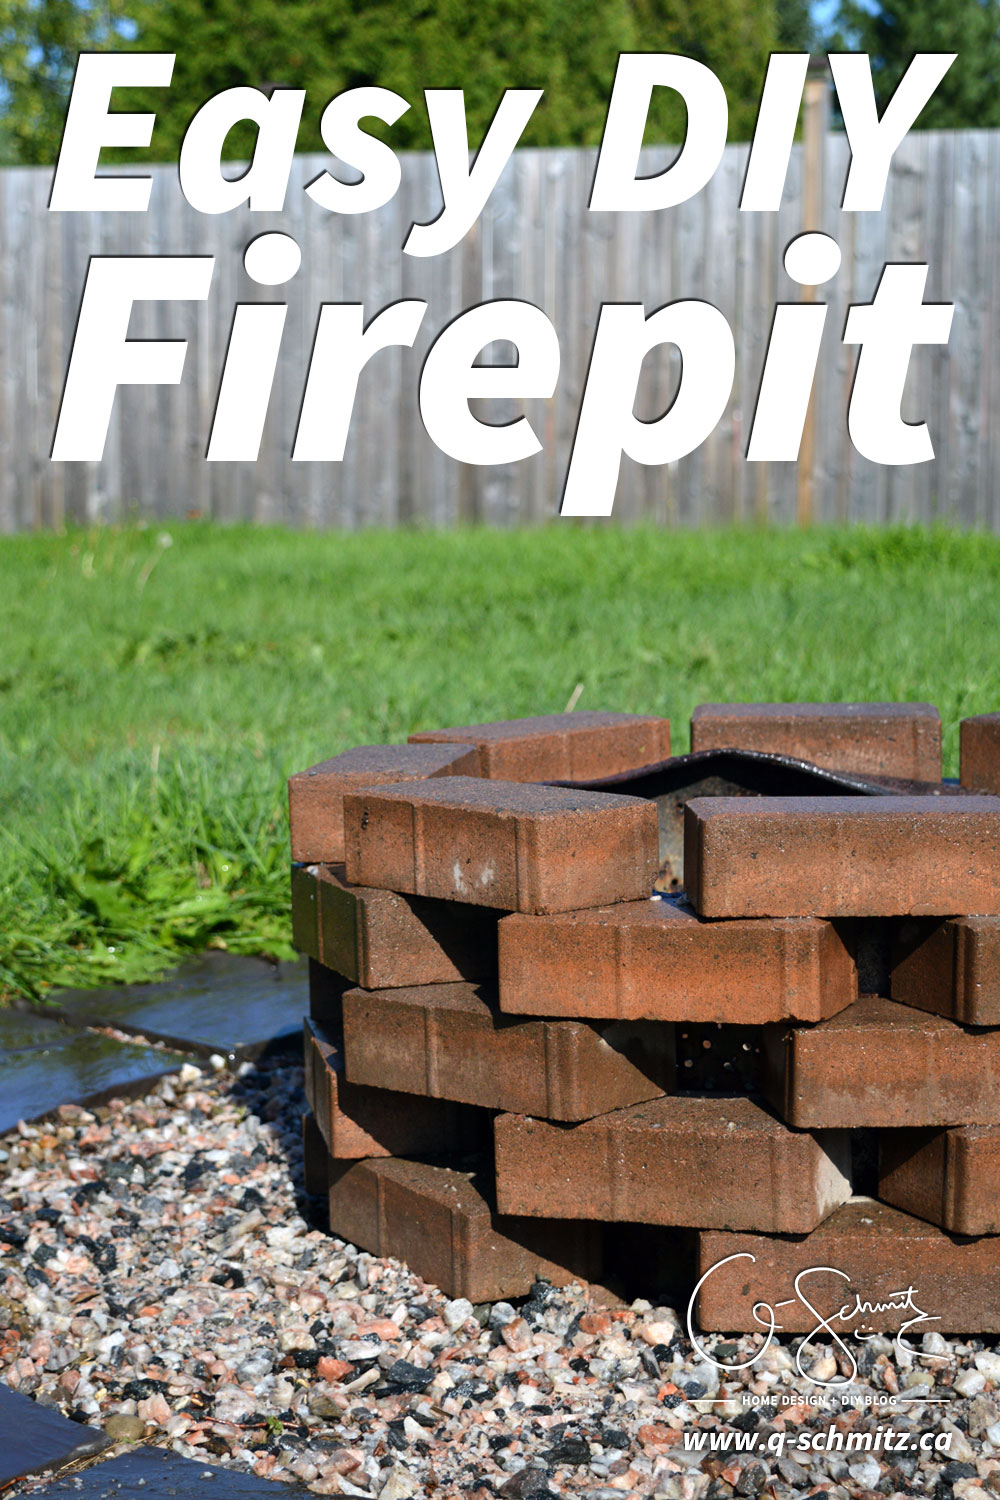
Was this an easy DIY firepit or what? I managed to create a better looking focal point for our yard, and because I used materials we already had around the house – I didn’t have to spend a thing! Free project and pretty, yes please!
You can always make your DIY firepit solely from patio stones, but I like the added support of the steel dryer drum inside (just in case someone throws a heavy log in there, I don’t want to worry about hot bricks falling over!). Again, our dryer drum came with the house, but if you search around you can probably find people selling them for cheap or giving them away for free.
See you next time :)


2 Comments
Louise aka Mommy
August 30, 2016 at 10:17 pmLooks good! The Husband and the Papa can maybe work on ours on your next visit!
Nicole
August 31, 2016 at 9:06 amI hope you have some patio stones/bricks? Or did you need us to bring some over too!?