
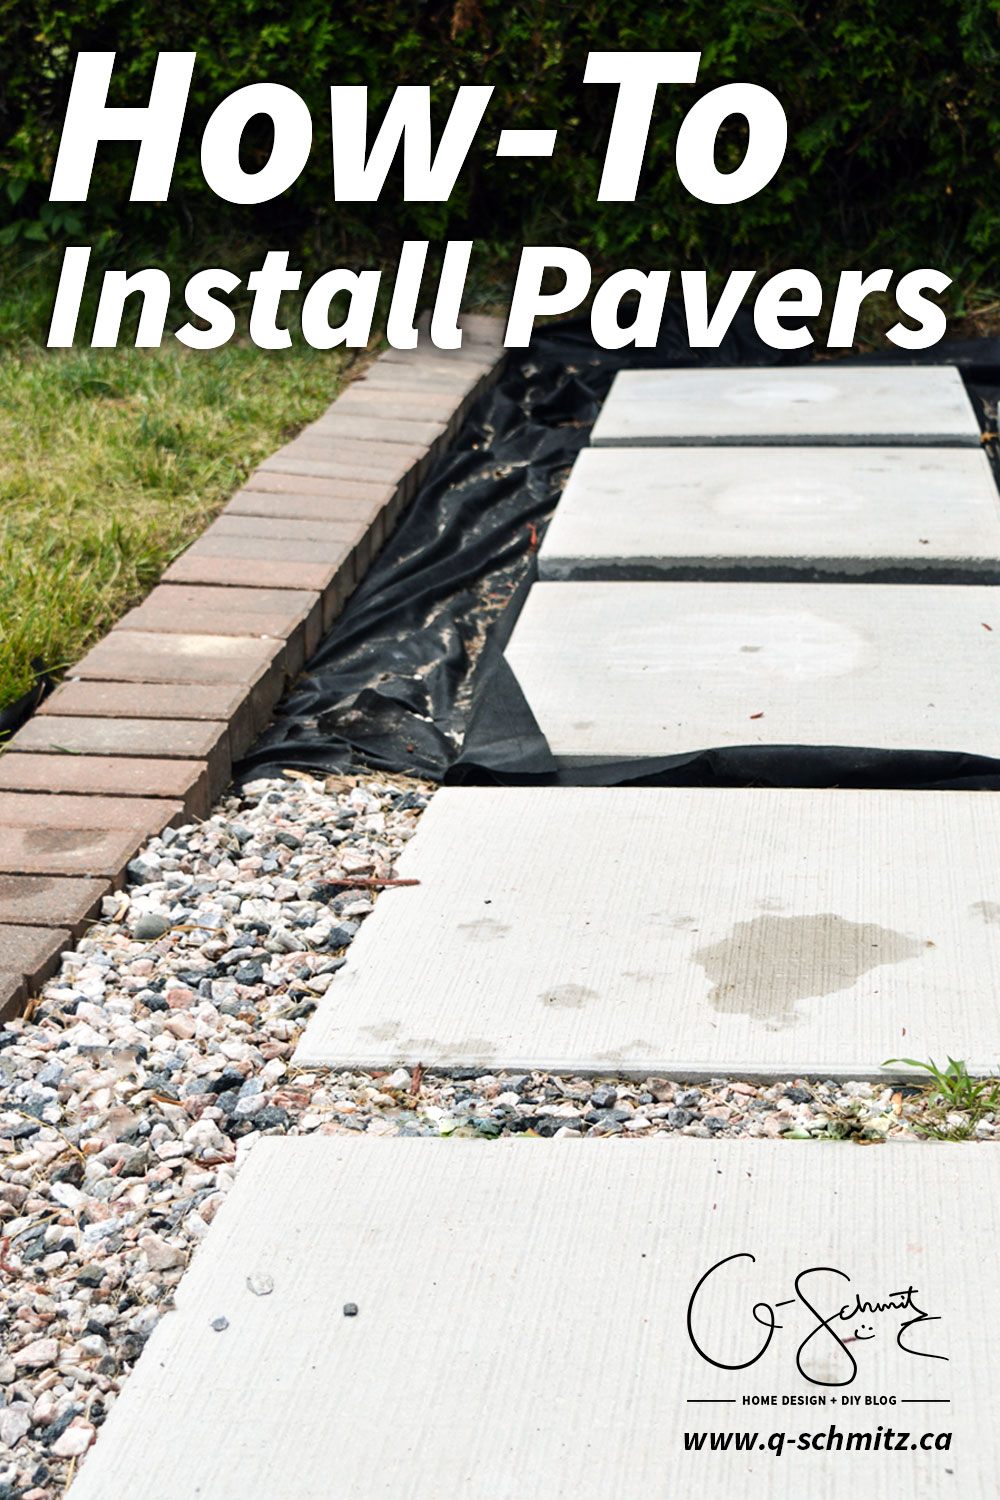
Last year we started work on the sideyard of our house and although we got a lot accomplished, we never really finished the project. Originally I had a few different ideas, and we ended up installing big pavers and little stones around them. Today I’m going to go into a bit more detail on how to install pavers in case you wanted a similar look at your house too!
– Note: This post contains affiliate links. See more information about affiliates here –
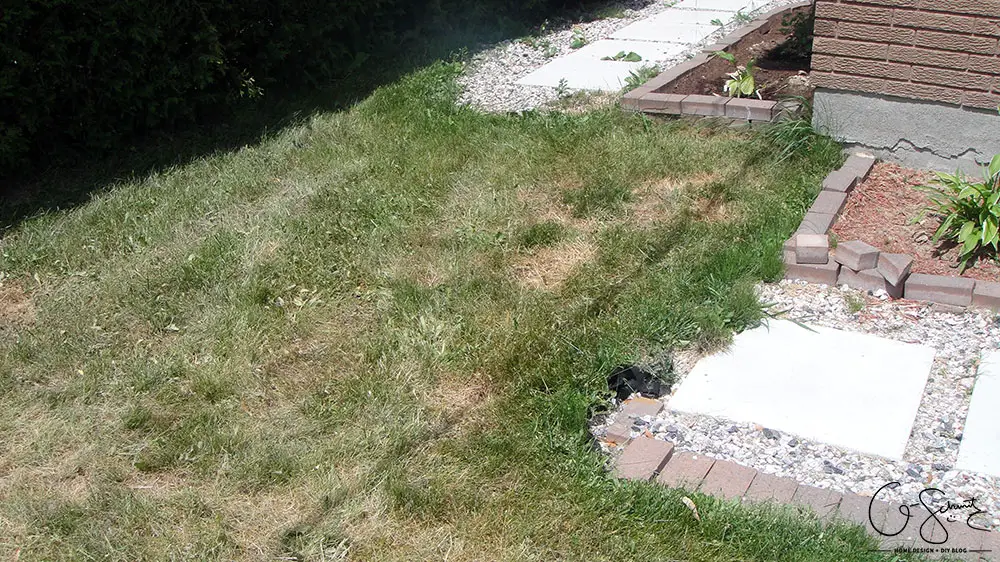
One of the tasks on our big outdoor to-do list was to connect the two sideyard areas together (which is really the actual sideyard and the front section). Thankfully, this was one of the things that my parents were able to help work on when they came to visit a few weeks ago.
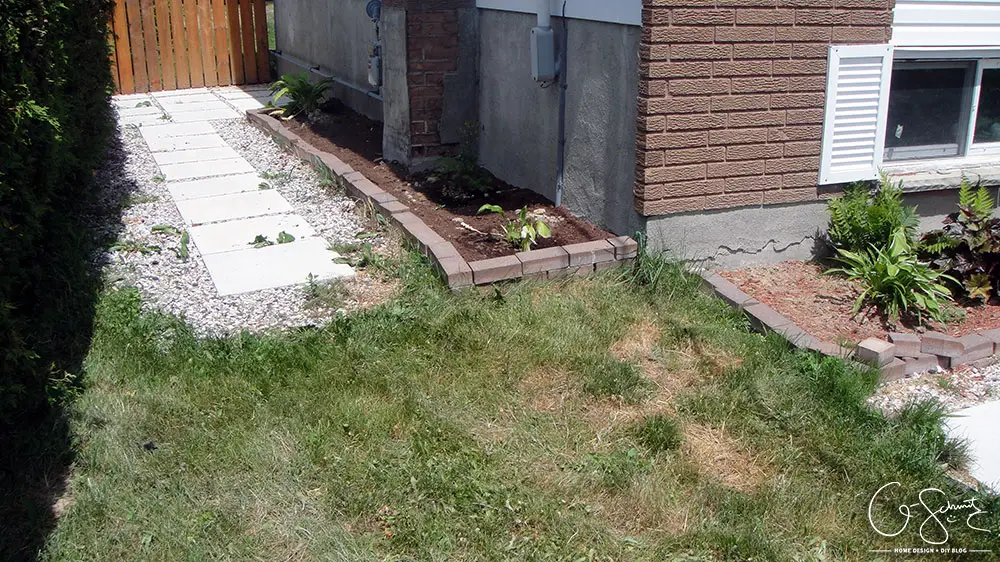
We had two different paver paths that kind of went nowhere in the corner, so I had to come up with a plan to join the two sections.
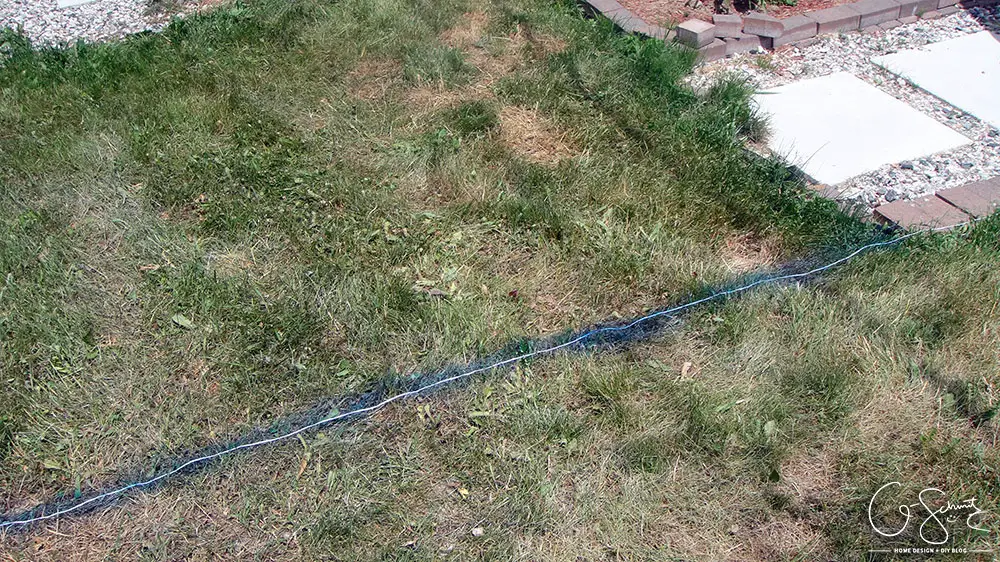
The first thing I did, (using a piece of string and some spray paint) was to mark the area where the paths would continue.
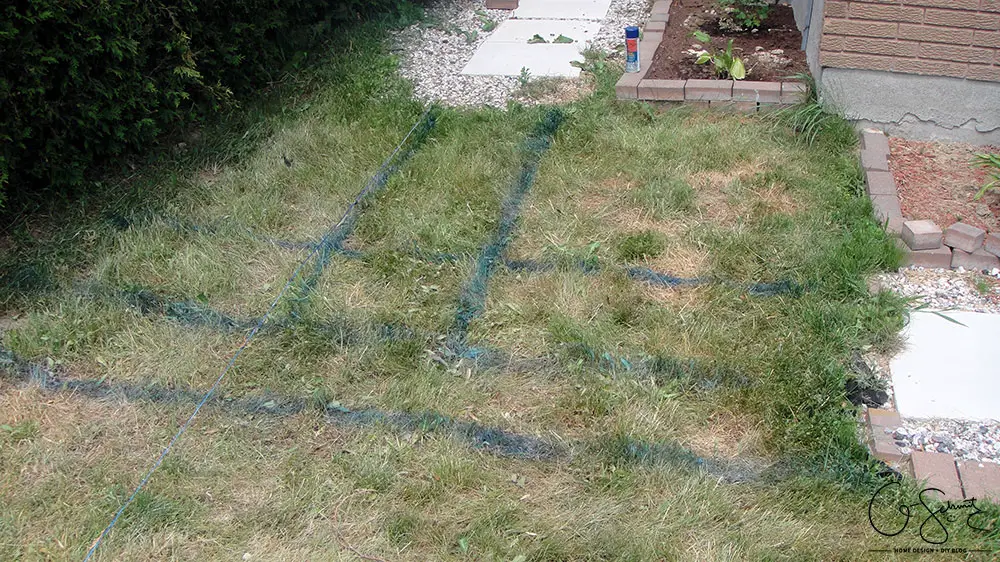
I marked the outside edge, and then traced out some lines where the pavers would go and where they would intersect. This gave me a rough idea of how many pavers we needed to purchase and we cleared out the area to get ready for work.
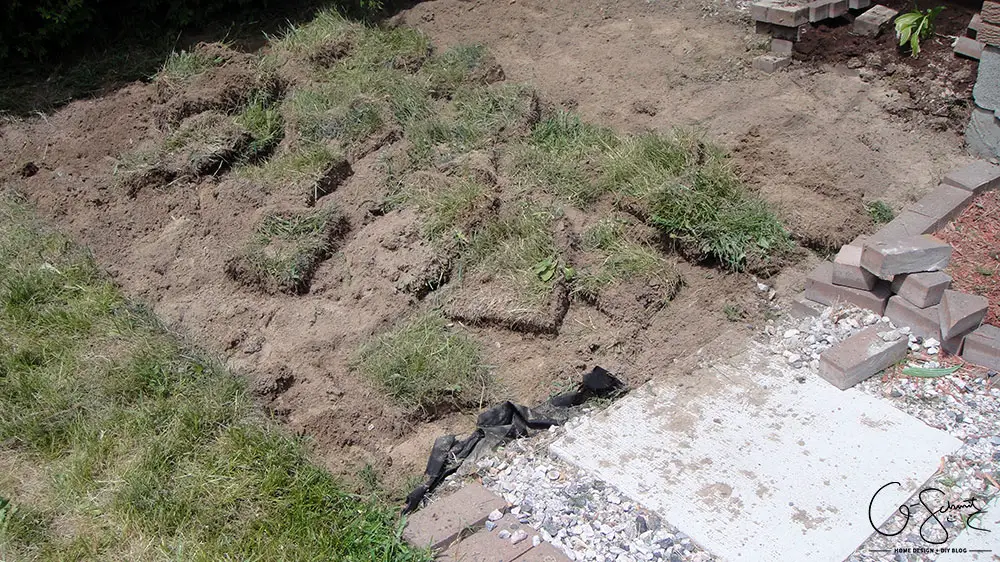
My parents were the ones who did most all of the work for this project, but I supervised (and did pull some weeds!). They removed the sod with a regular garden spade and our ice breaker, but if you are working with a larger space you may want to rent a sod remover.
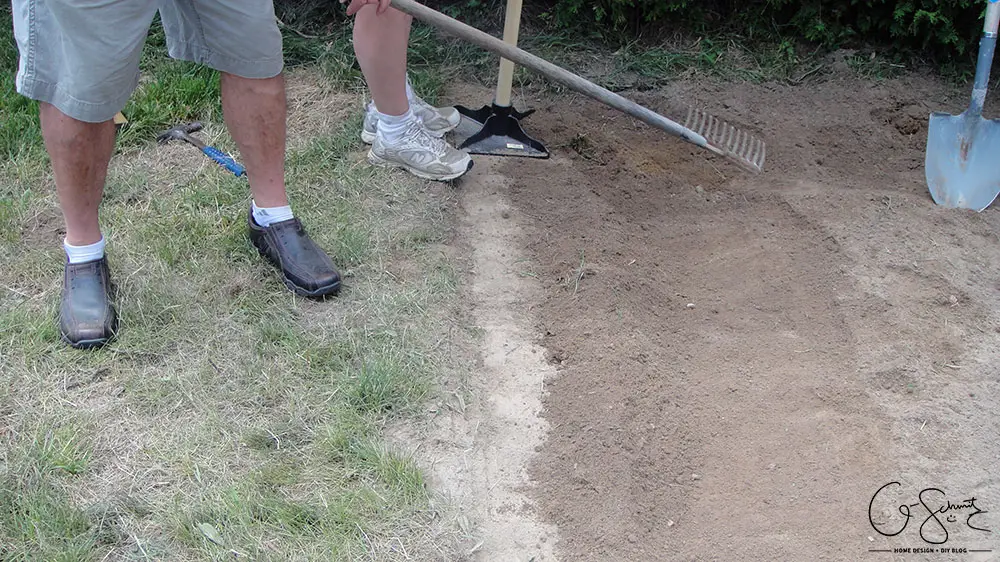
Once all the grass clumps were removed (and randomly placed in low areas in my yard), my parents got to work leveling the ground. We continued the small patio stone row along the edge, so that area needed to be tamped down so that they were all even.
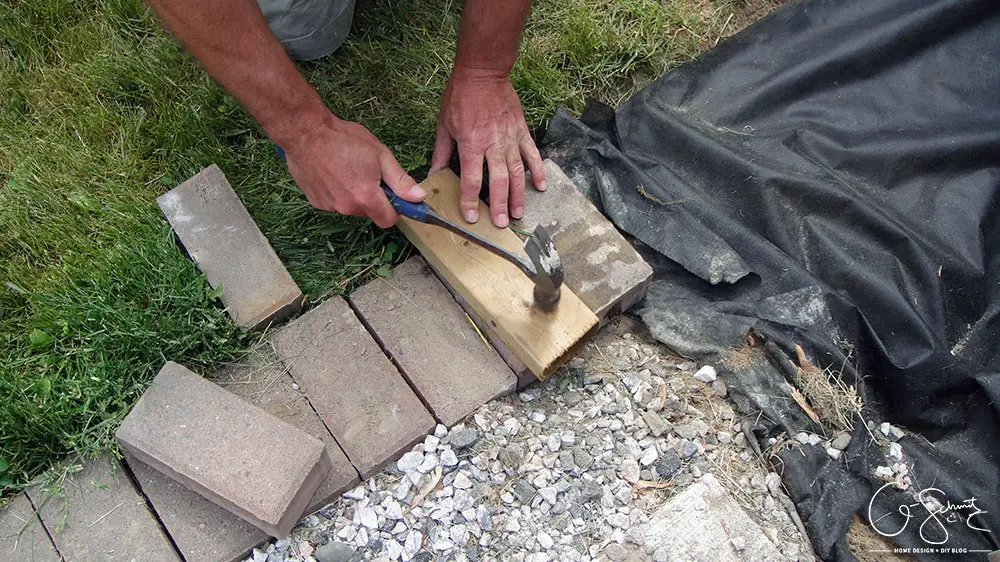
My Papa went the extra mile to make sure they were level with one another by hammering them down. If you have a rubber mallet, you can use that instead – but I do not so he just used a regular hammer and a piece of scrap wood. You’ll also want to lay the patio stones atop landscaping fabric so that weeds don’t come up in the future!
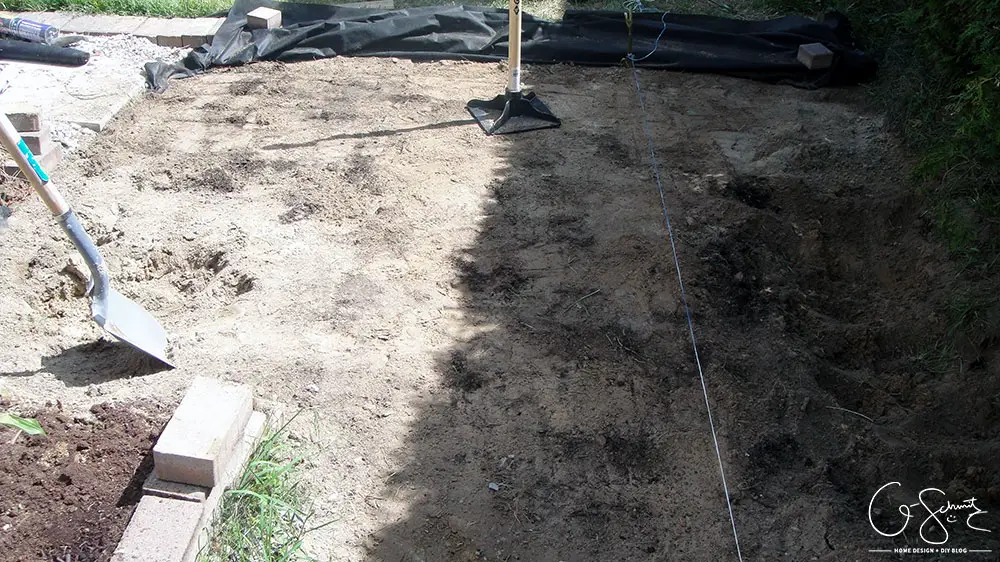
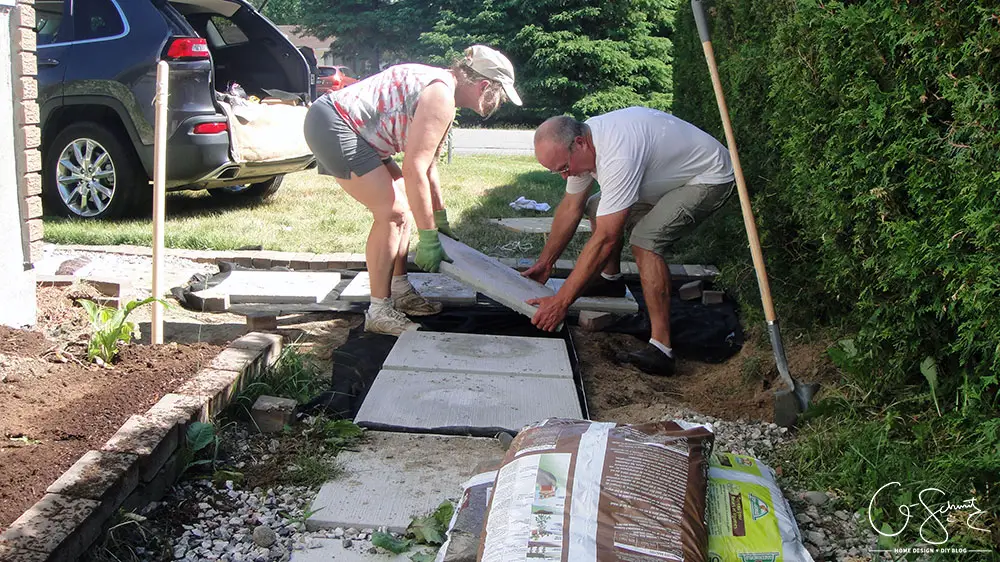
Now that the area was cleared, we could start the actual layout and install the pavers. My Papa setup a string to mark the height of the pavers so that they would all line up. (When you are installing pavers, you’ll want to make sure your area is completely level – however we were working with two different heights so we had to slowly slope them down).
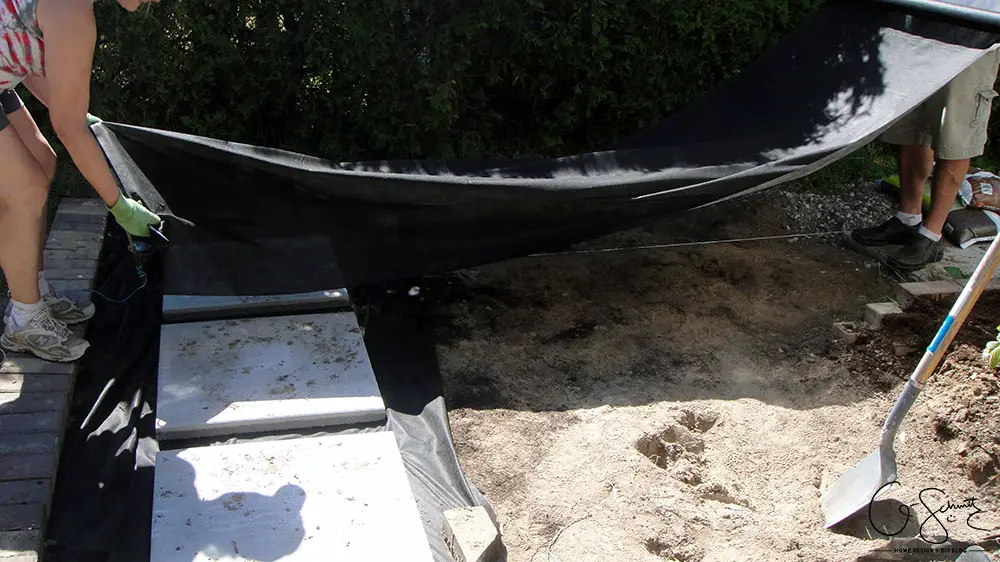
Like the smaller patio stone, you’ll want to install the large pavers on a level (tamped ground) with a layer of landscape fabric. There was one spot in the side yard where we didn’t lay landscape fabric… and let me tell you – the weeds are a little crazy!
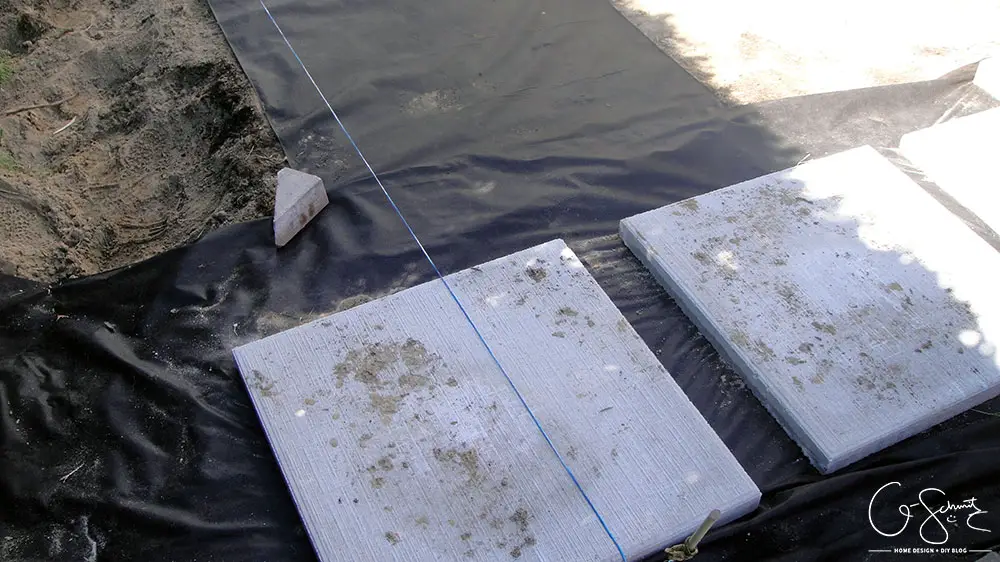
Our front pavers were actually spaced a bit differently than the ones along the side. (Note: if you are installing pavers – make sure your spaces are even!). We decided to continue almost the same spacing in between each of the rows; so that left us with a half split going to the side yard section.
This image (above) shows what I mean a bit better! The two paths didn’t connect at a perfect corner, but the half split matches the large section at the back of the side yard, so it does sort of go with everything anyways. These 24×24 concrete pavers are close to 100lbs each – so you’ll definitely want a helper to move them into place.
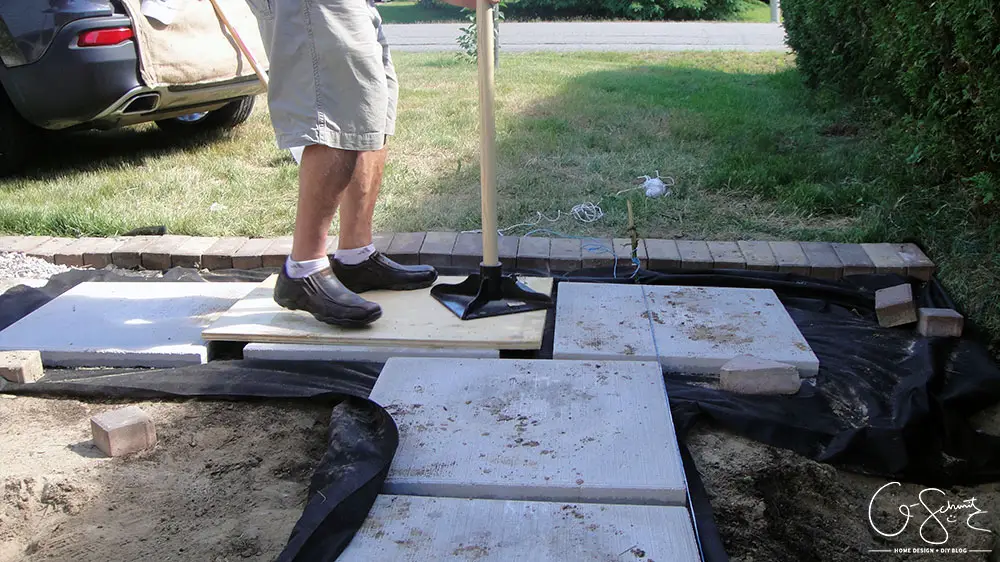
And again, similar to the small patio stones, my Papa took a large piece of wood and tamped the pavers down so that they were tight and level. It is a bit tricky to install such large blocks, because you will most likely need to add dirt underneath the different sections so you don’t have a wobble.
Be careful: if you have any rocks underneath or if the large pavers are on an uneven surface, tamping them down may cause them to break!
I hope this quick tutorial on how to install pavers is beneficial to someone! Last year I shared some tricks on positioning pavers if you are working alone and cannot lift them by yourself. Thankfully we’re all done with the pavers in the front yard this summer… but I may have a plan to install some more in the backyard next year :)
Here’s a little sneak peek at the little corner that my Mom created to join the two garden beds together.
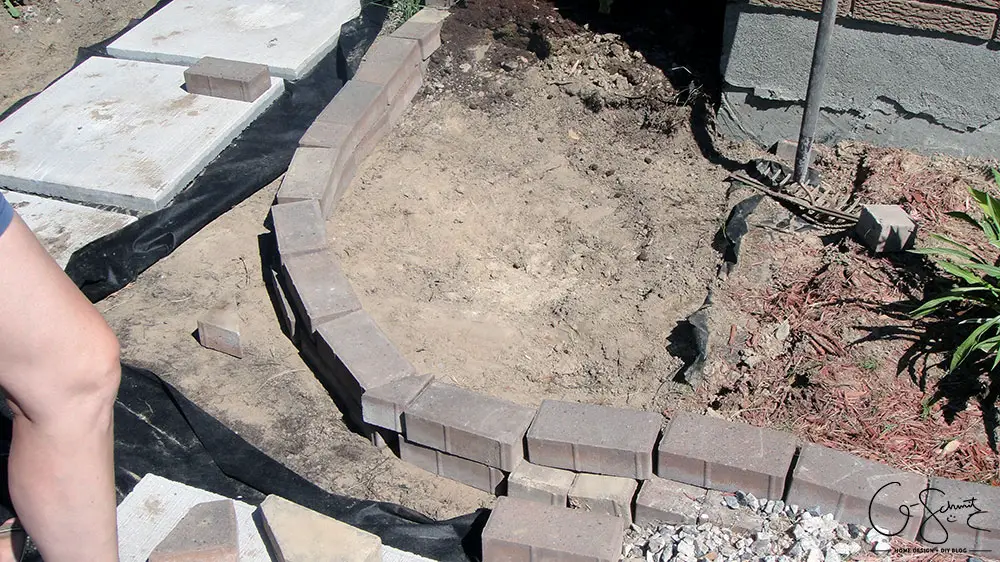
I’ll have more details next week (once all the little rocks are in place) and hopefully I will be showing off a completely finished side yard!
See you then :)
4 Comments
Louise aka Mommy
July 12, 2016 at 10:21 pmremember photoshop?
Nicole
July 13, 2016 at 12:26 pmYou look lovely :)
Sarah Nelson
August 14, 2017 at 6:00 pmI love that he’s wearing dressier shoes. That’s how we do our projects!
Nicole
August 15, 2017 at 10:41 amHahahah sometimes my parent’s think that they’re coming for a normal visit and that they won’t have to do any work :)