
Last week I shared a quick little tutorial on how to install pavers, which was part of our sideyard project. Today I’m going to show the (almost) completed space, and I’m really happy that we can scratch this project off our outdoor to-do list! We still have some maintenance (hello weeds) and will eventually want to figure out a solution to the crumbling concrete chimney, but I think that the major work has been finished (for this year at least). Let’s have a look…
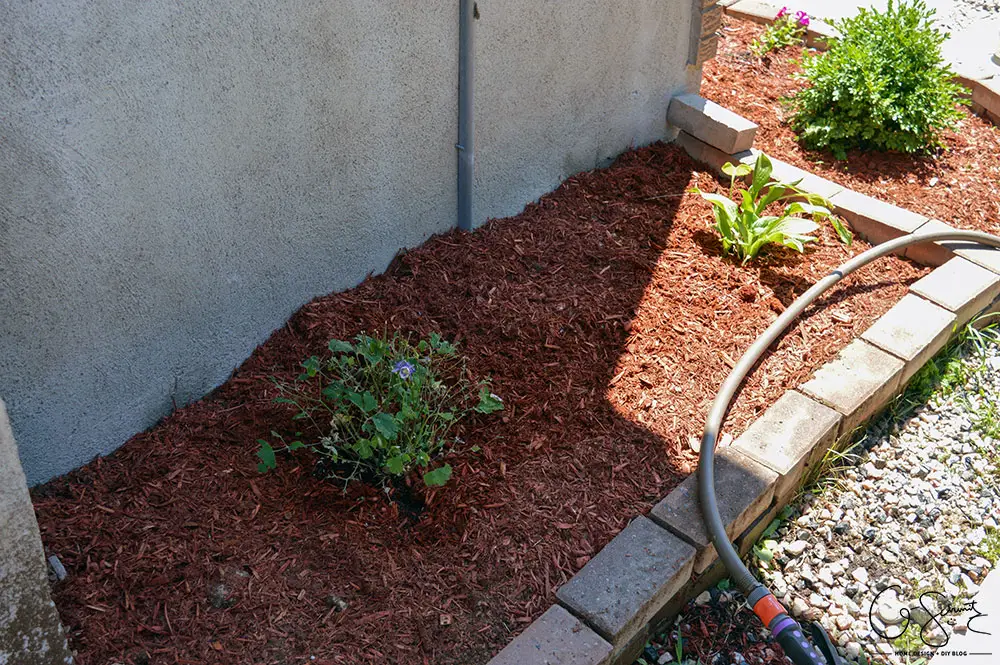
I gave a little sneak peek at the end of the post from last week on how the two garden beds would be connected. My Mom created a curved section that connects the two areas and then added a bunch of new mulch.
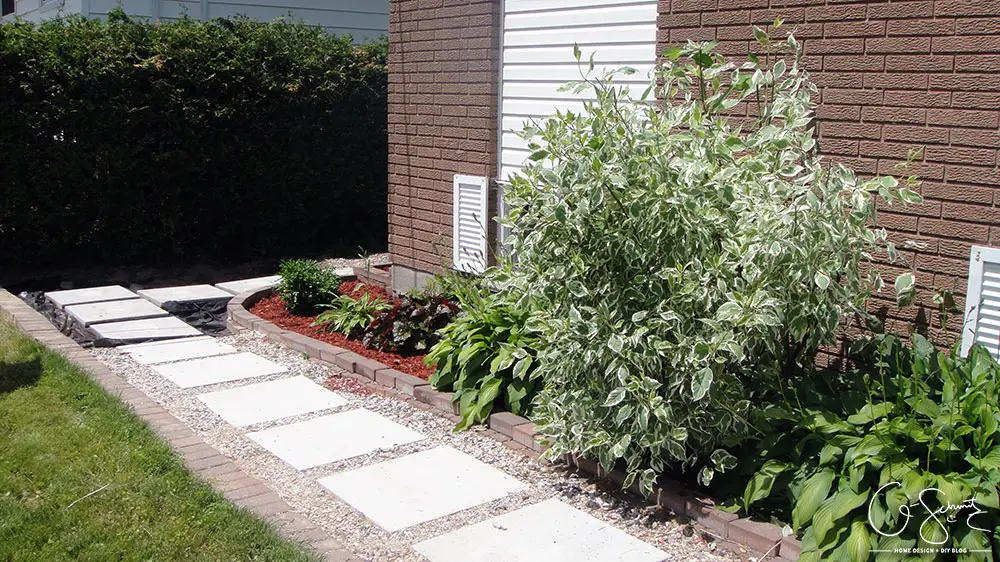
Doesn’t fresh mulch make everything look better? My Papa also trimmed down the tree in the centre of the front bed (I think it’s a dogwood???) and it’s about half the size now.

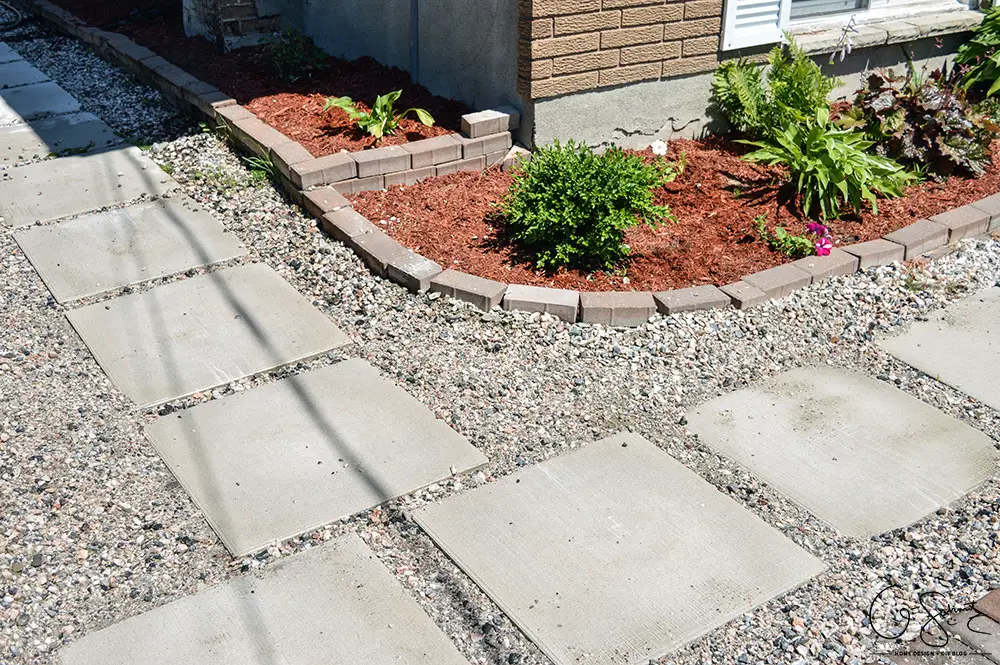
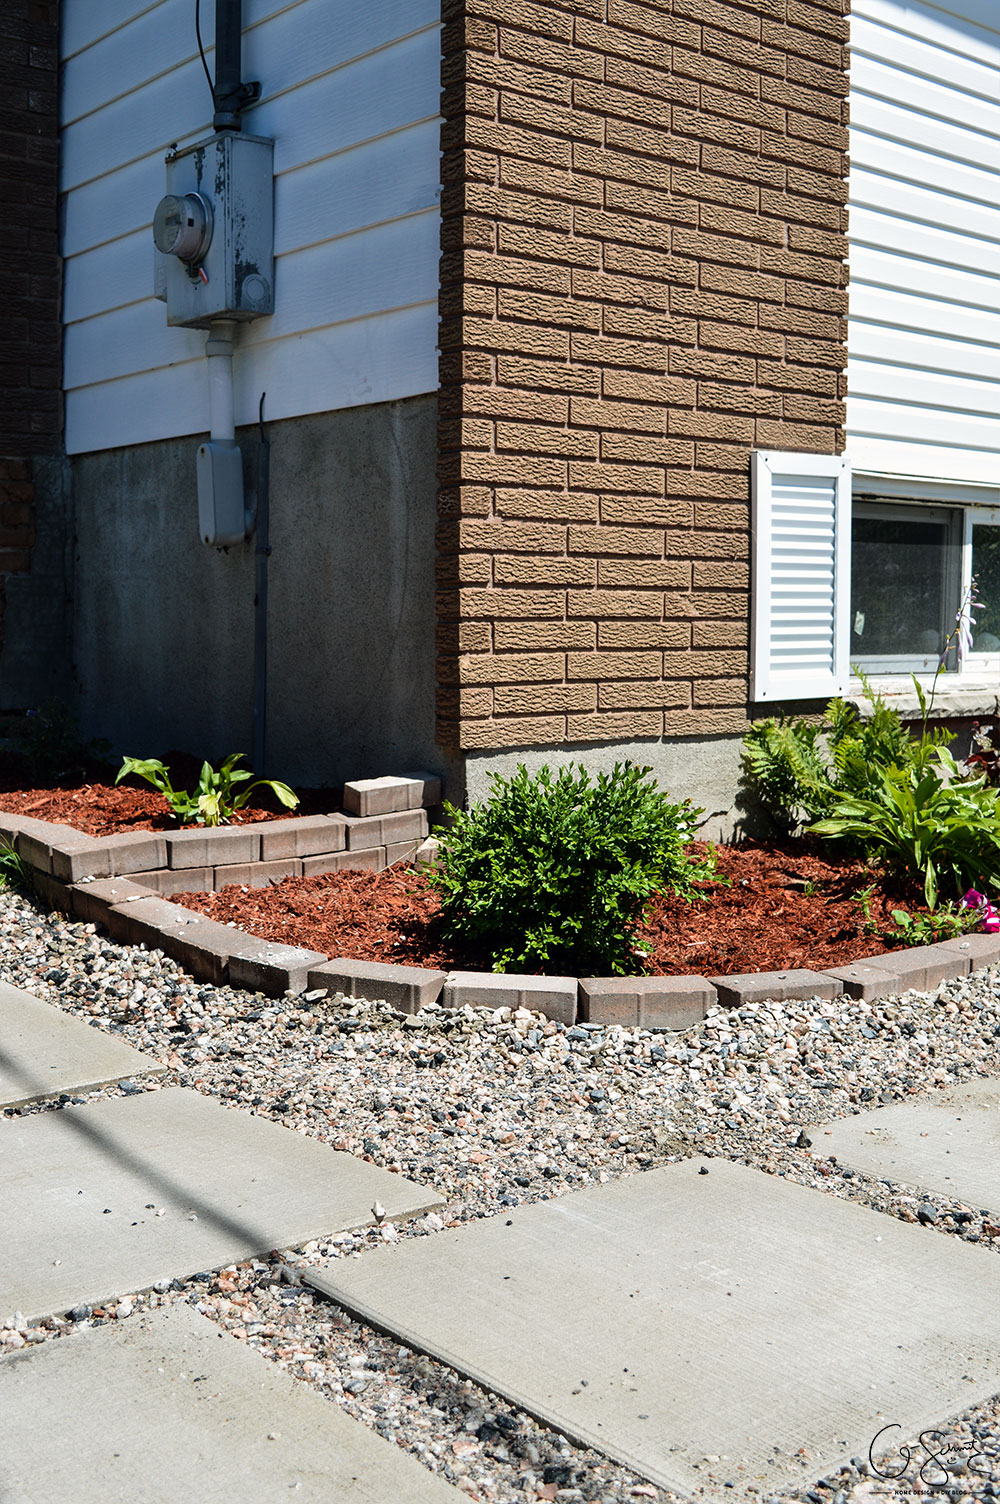
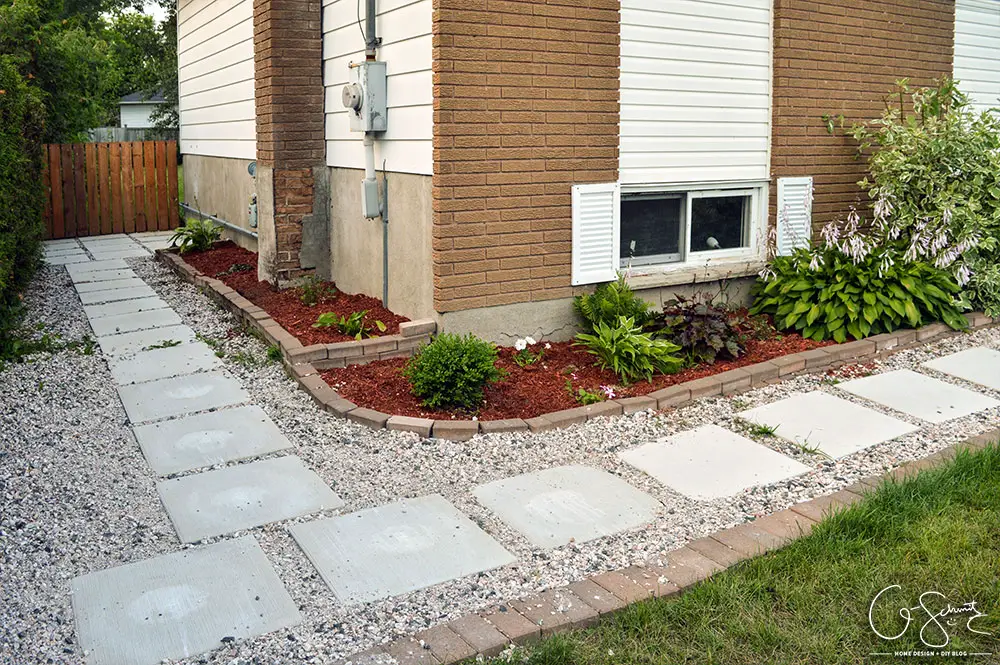
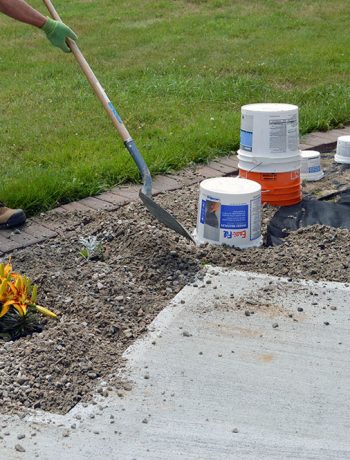
Again, we had our nice big pavers and we just needed to add the fill rocks in between them to finish off the space. That cute little shrub on the corner? A nice boxwood plant that should grow 2-3 feet tall.
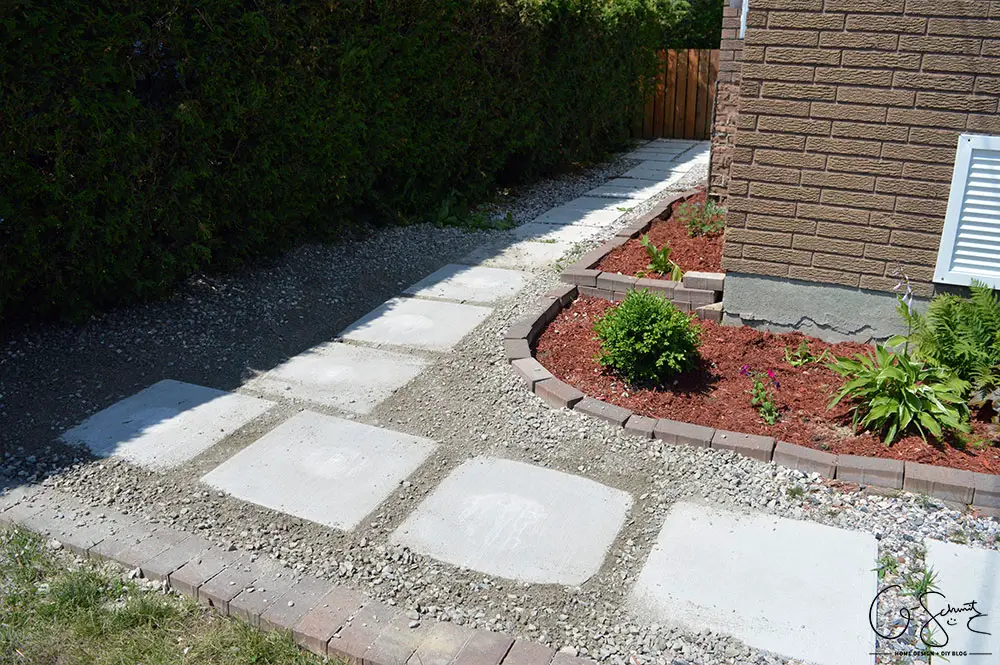
I got the Husband to pick up the rocks and he shoveled them into place. If you get stones delivered (or bring them in yourself) they will be very dirty and everything will look bland and boring.
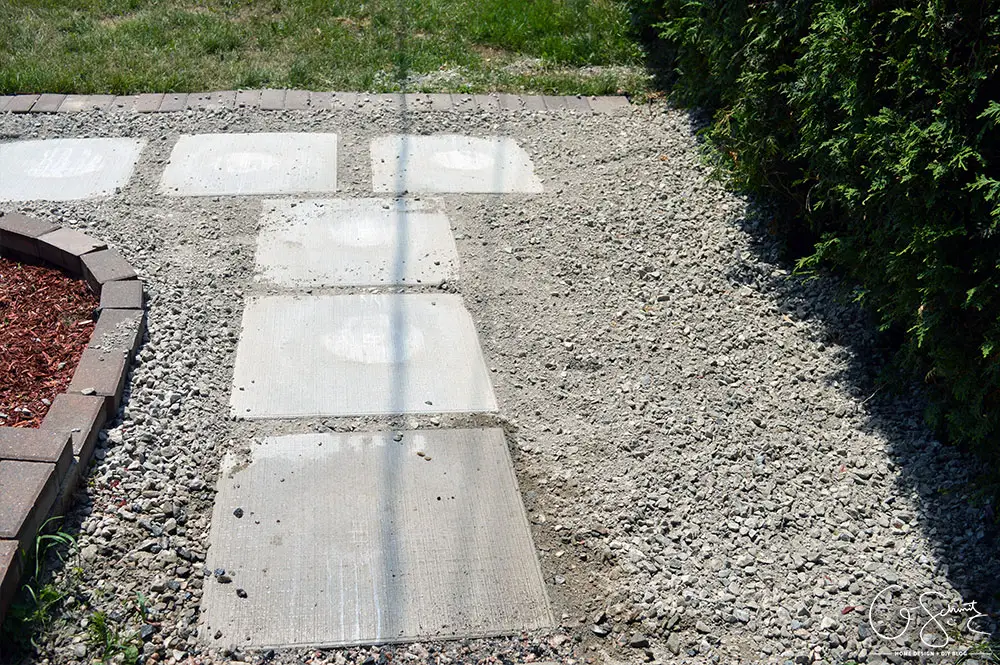
A quick little spray with the hose will clean them right up (or you can wait for rain of course). Here is what the path looks like if you are staring towards the road.
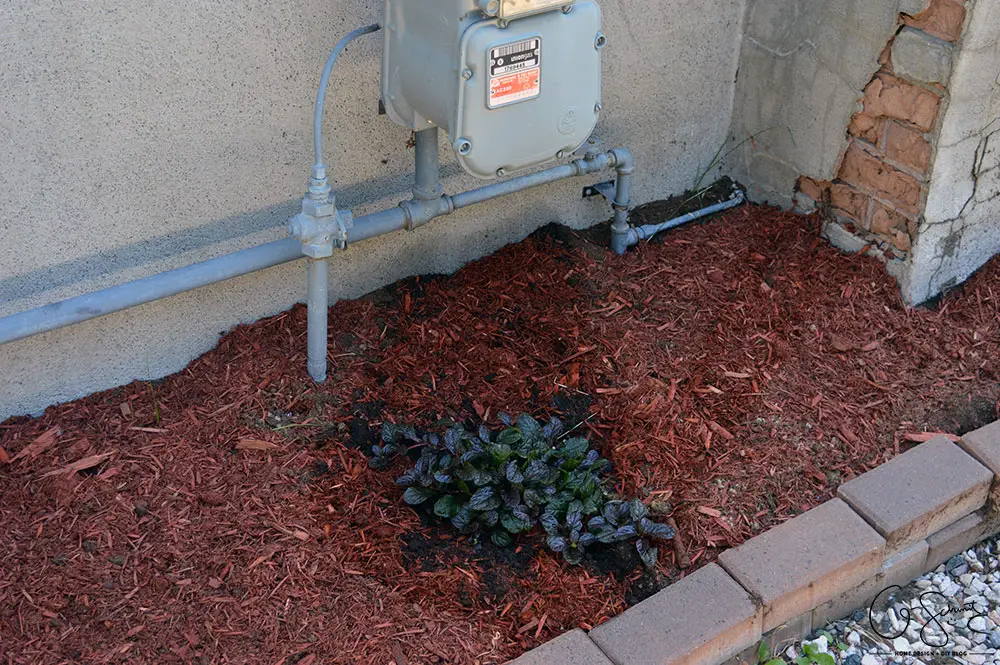
I picked up a nice purple plant that shouldn’t get too tall for underneath the utility boxes. (This is called a mahogany carpet bugleweed if you were interested…)
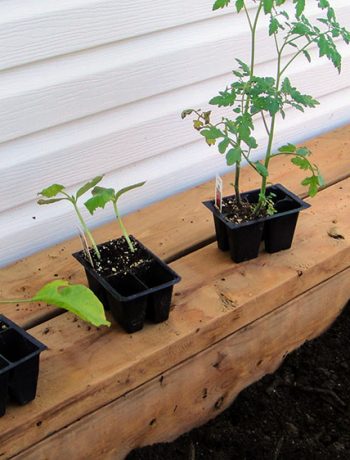
Way back in early June my Mom had transplanted some of the excess plants from the front section here. They’re looking a little sparse, and this area doesn’t actually get any rain so I have to remember to water them (hahahahahaha I’ve done it once I think, which explains why they look sad).
Yep, I only watered them when I cleaned the rocks (priorities apparently) and hopefully they’ll survive… We also planted a couple of petunias because I had some leftover from the front porch area and decided to throw them in.
Yep, the sideyard landscaping is now all connected, and you can walk from the front yard to the back.
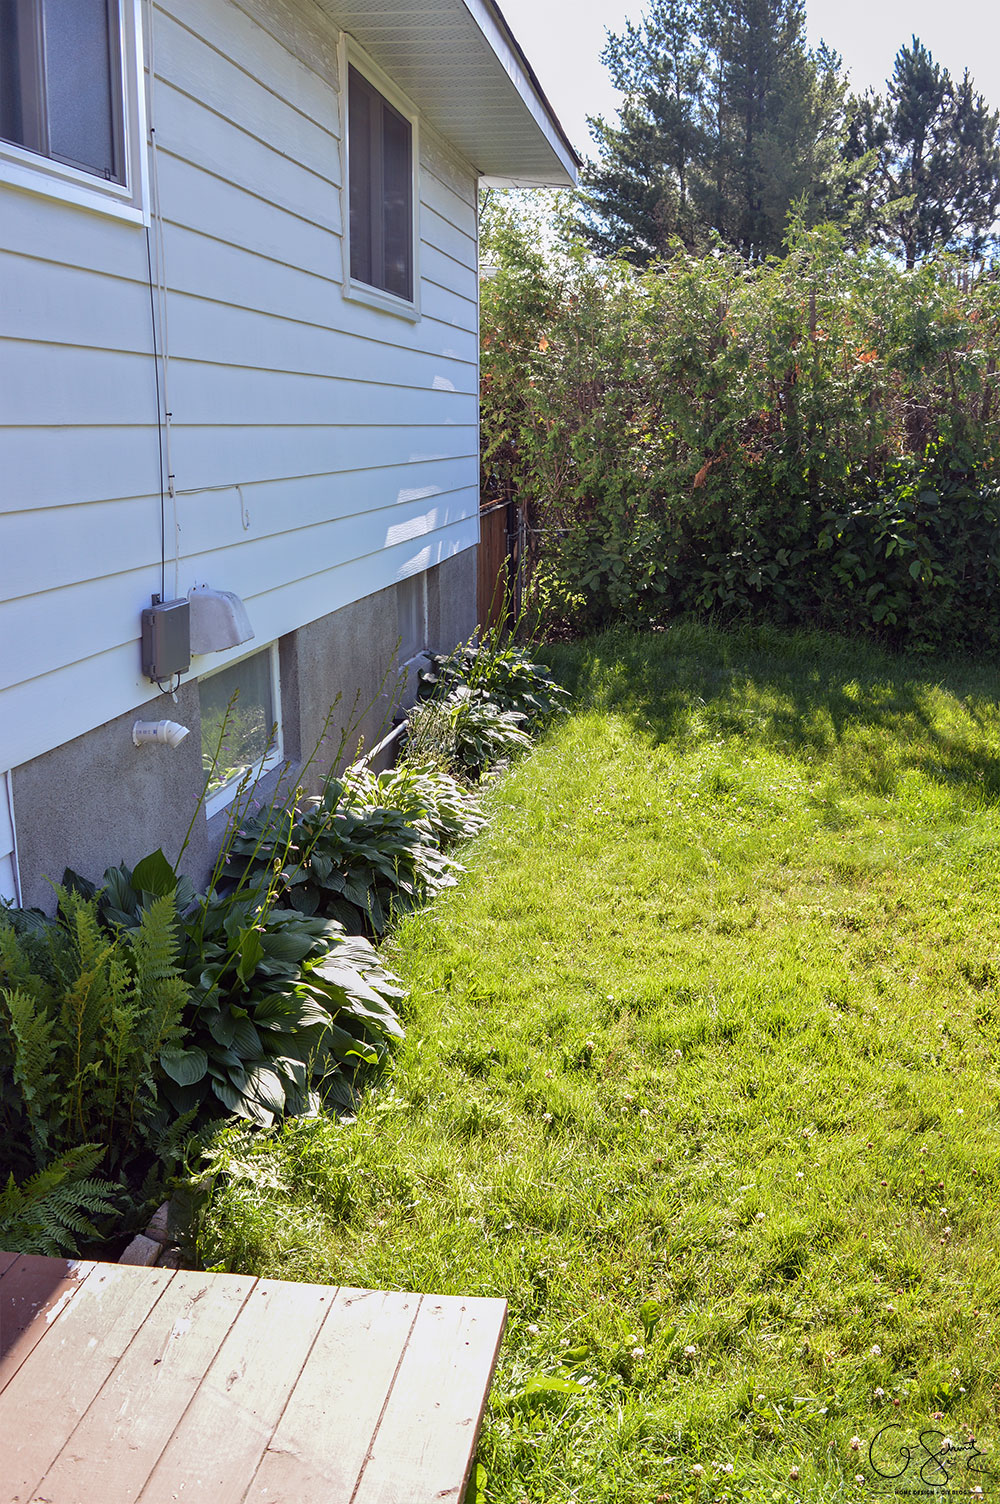
Speaking of the backyard, here is the view from the deck looking out to the gate on the sideyard. I think that next year I will add a path going from the deck to the gate – but I’m in no rush.
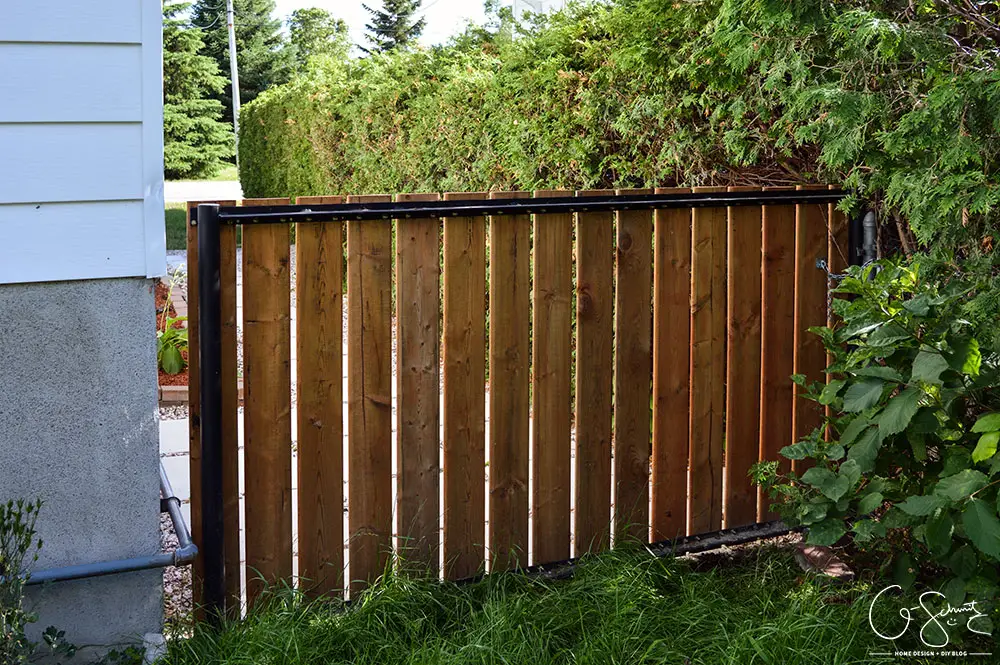
If you don’t remember, the Husband built this custom gate for me after he broke the chain link fence that was there before. Problem is, the gate is right on the edge of the grass, and even though he added a caster to it last week, it still is a bit difficult to open.
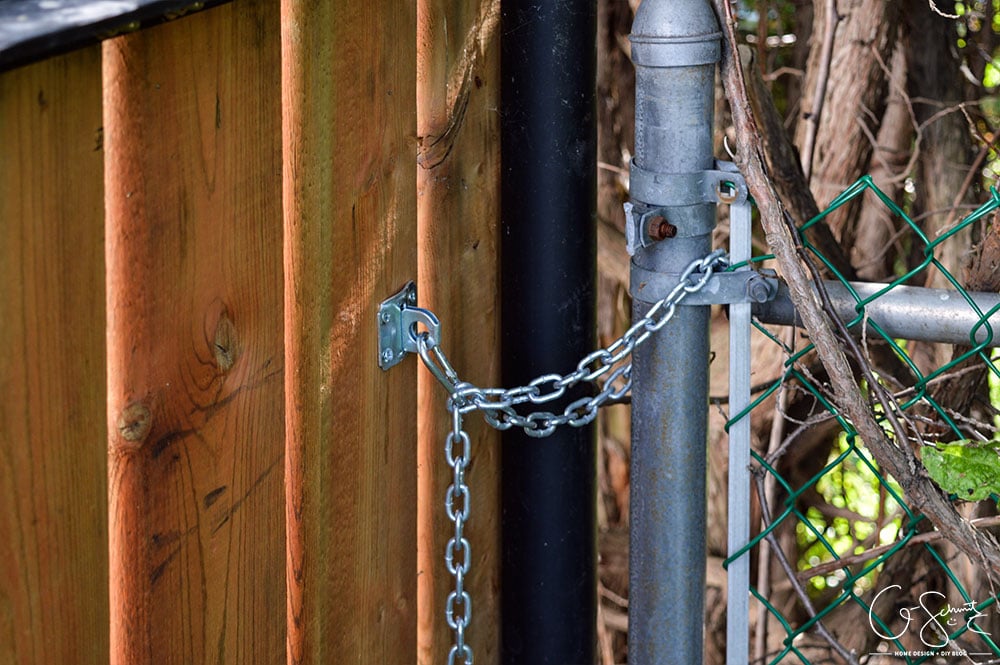
We even have a cute little lock system… but again, the gate doesn’t open that easily right now so there’s really no point on having a chain to keep it closed. This weekend I think I’m going to attempt to build a little smooth section underneath the caster so that it can easily open.

And I mean, technically no one actually goes into the backyard this way, but the plan was to make it more accessible so that we had the option to use this path in the winter while the boat is blocking the other main gate.
At least our sideyard looks great now! (Okay yes, if you ignore the weeds and the crumbling chimney…).
It’s almost crazy to believe how far this space has come this past year. From a plain grassy patch, to a pile of dirt and then two disjoined walkways, it has slowly evolved over time. By working at it piece by piece, we were able to finish the sideyard landscaping as our budget allowed. All in all, everything probably cost just under 500$ for the whole area, but the biggest expense was obviously the time and labour it took to complete everything.
I’m happy we tackled this space, and cannot wait to finish off the rest of our outdoor projects (or at least attempt to finish them!) this summer.
See you next time :)
No Comments