
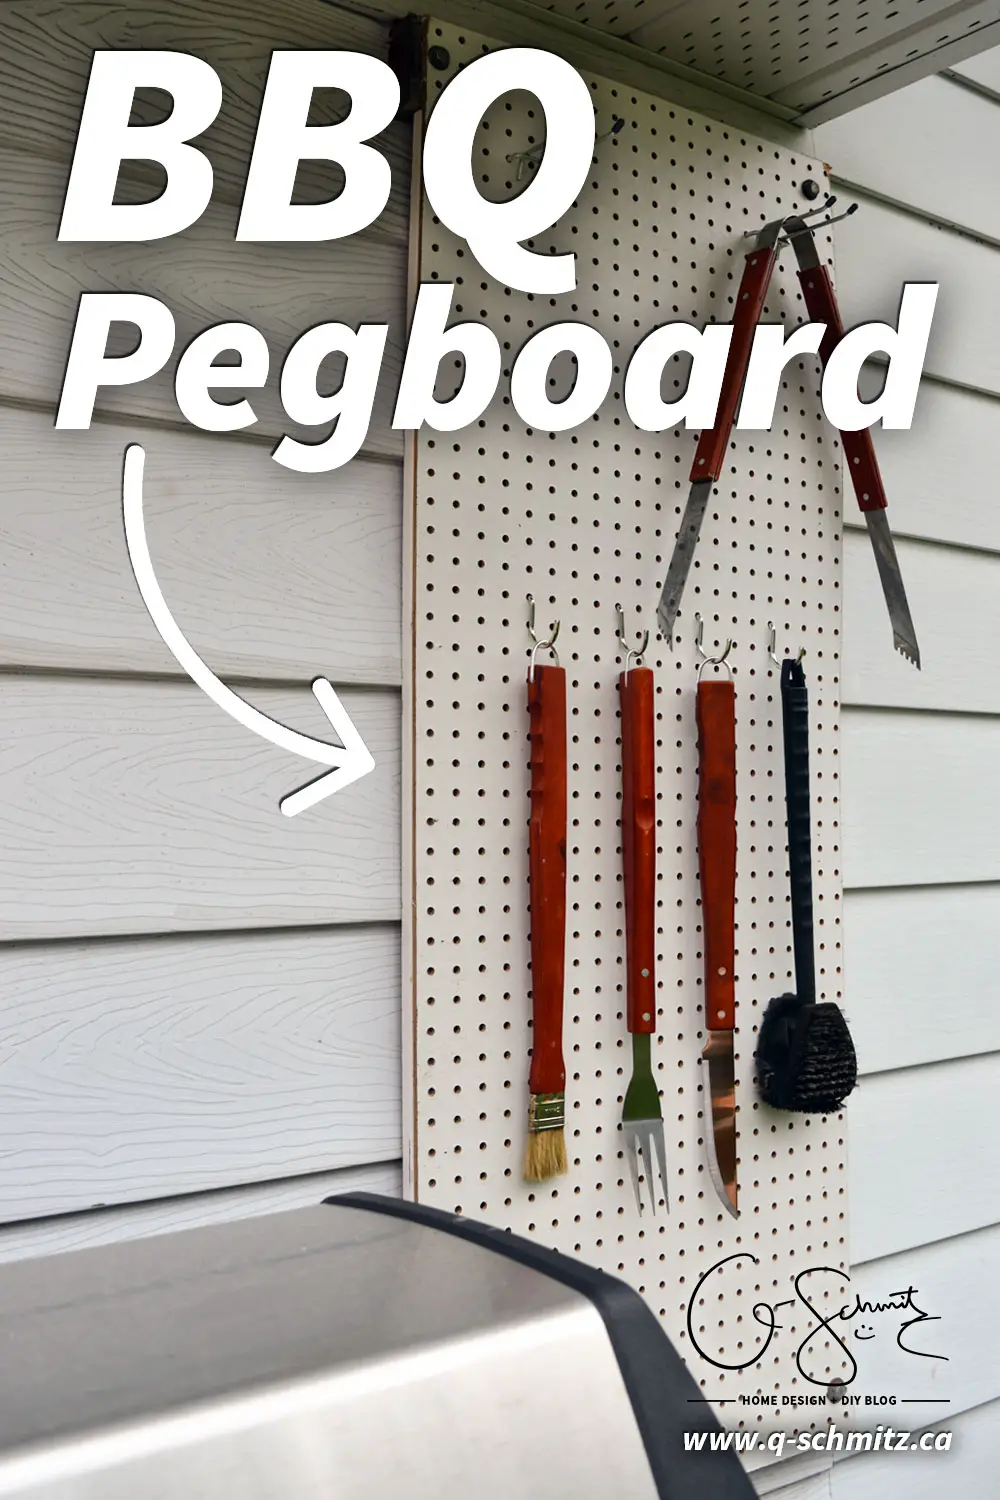
Here is a sort of quick DIY project that I came up with a while ago, but we just implemented recently. (I say sort of quick because the time involved was very minimal, but of course it was dragged out over a longer period of time). I present to you our “BBQ Pegboard” which is great for holding all your barbecue related tools! But first… a story…
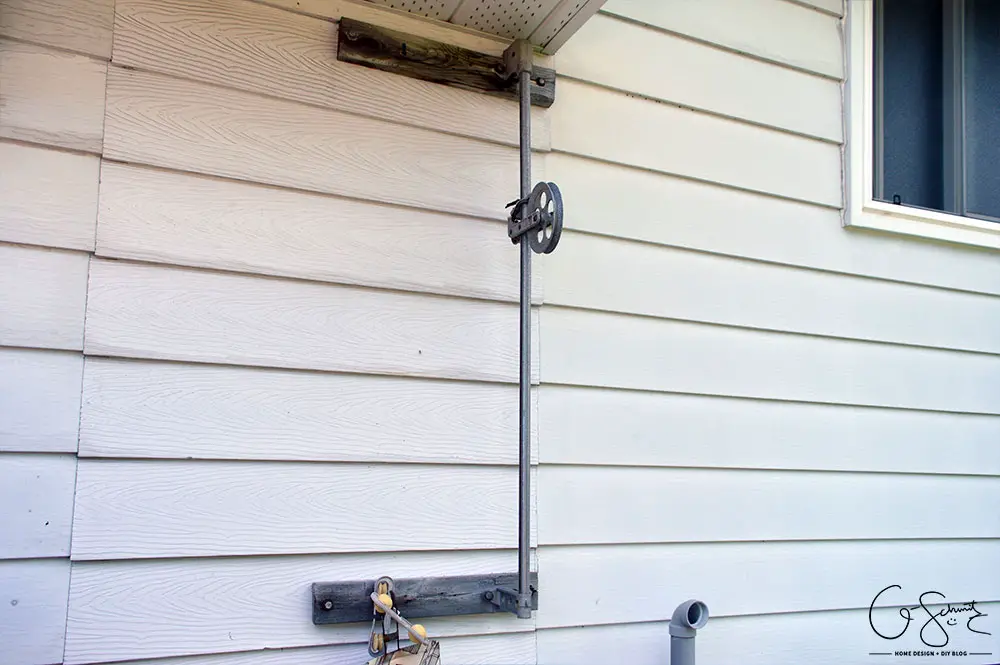
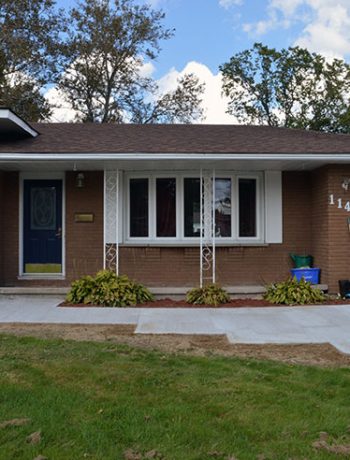
This is the area where I envisioned my future BBQ pegboard – it was actually installed there (by the previous homeowners I’m guessing) to hold the outdoor laundry line. Now, I’m all for hanging laundry instead of using the dryer whenever possible (I talked about my laundry before here) BUT the string was not included and it’s just easier for me to hang our stuff indoors all year round.
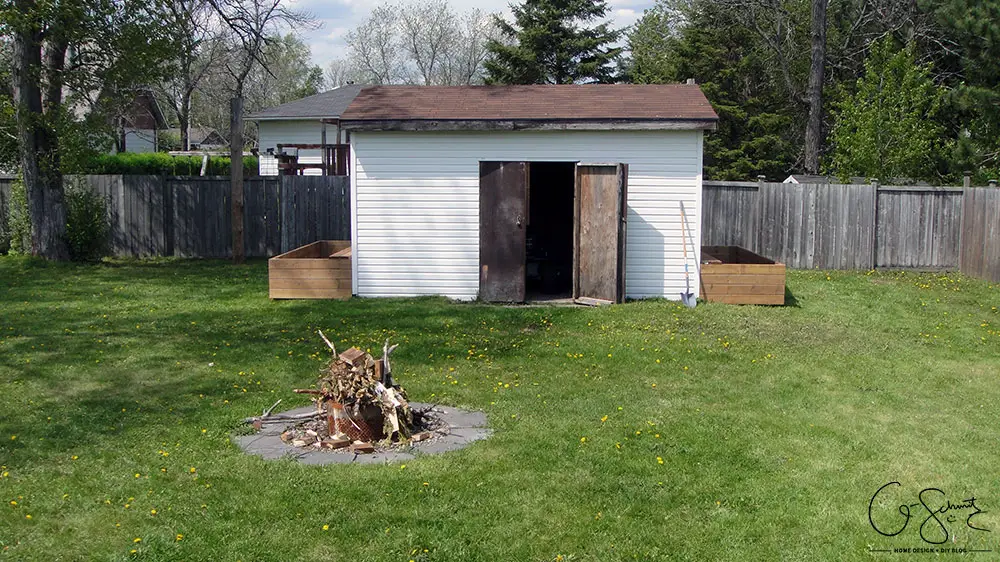
Photo First Appeared in Filling and Planting a Raised Garden Bed
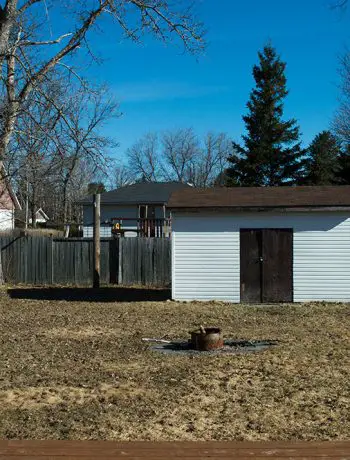
Anyways, on the other end of the supposed-to-be laundry line, was a wooden pole in between the shed and the tree. Since we never used the laundry line, this pole kind of got in the way when we were cutting the grass.
Until recently!
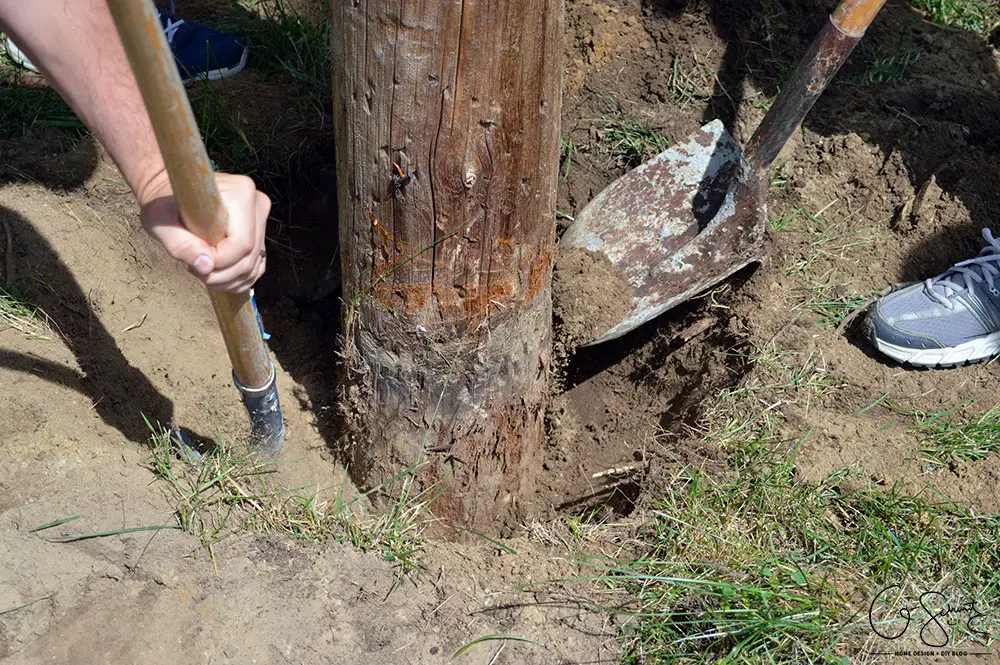
A member of our lovely extended family wanted to install the pole and laundry line at their house. So one day a month or so ago, they came over to dig it out.
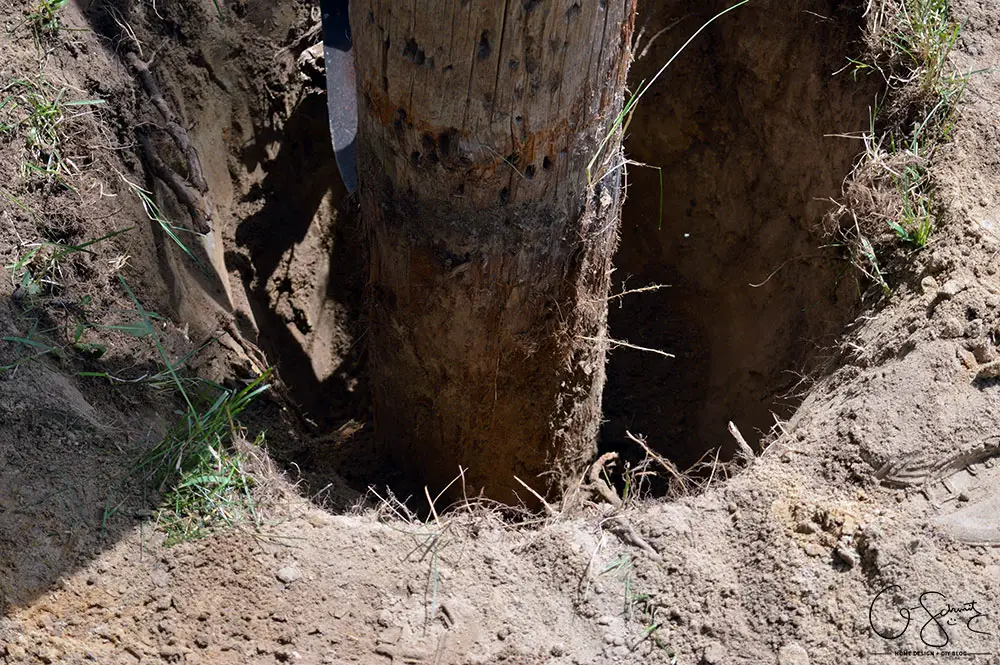
After getting down a few feet, they discovered that the pole was set in concrete. So the Husband decided to just cut it out with the chainsaw (actually, he had wanted to do that in the first place!).
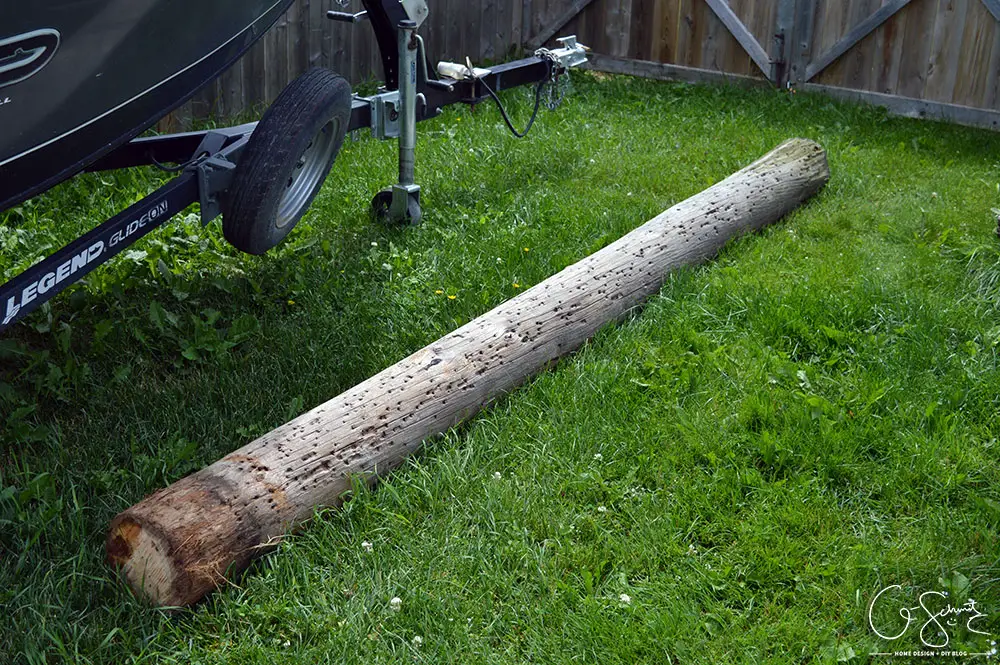
I’m guessing that this part was at least 10 feet long… so who knows how deep it was in the concrete too!
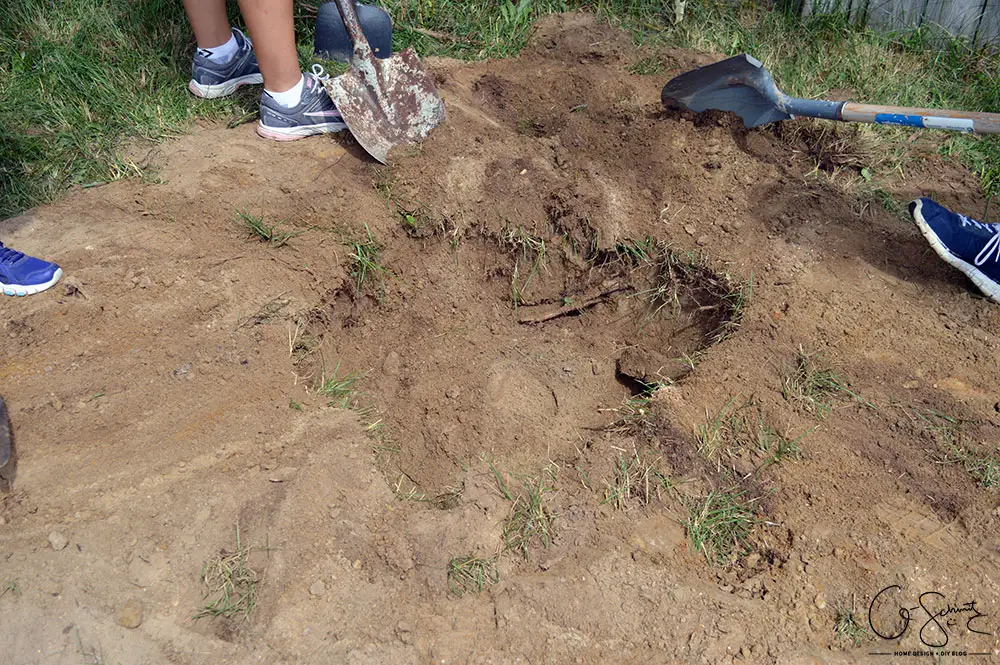
They filled the hole back up and even placed some sod pieces on top, so now you can’t even tell there was a pole there!
Okay, back to the part that was on the house. I removed the gear thing and laundry line accessories but the two pieces of wood were anchored into the siding. If we would have taken them off, there would have been some large bolt holes leftover that would most likely need to be filled.
But this is where my BBQ pegboard would be instead!
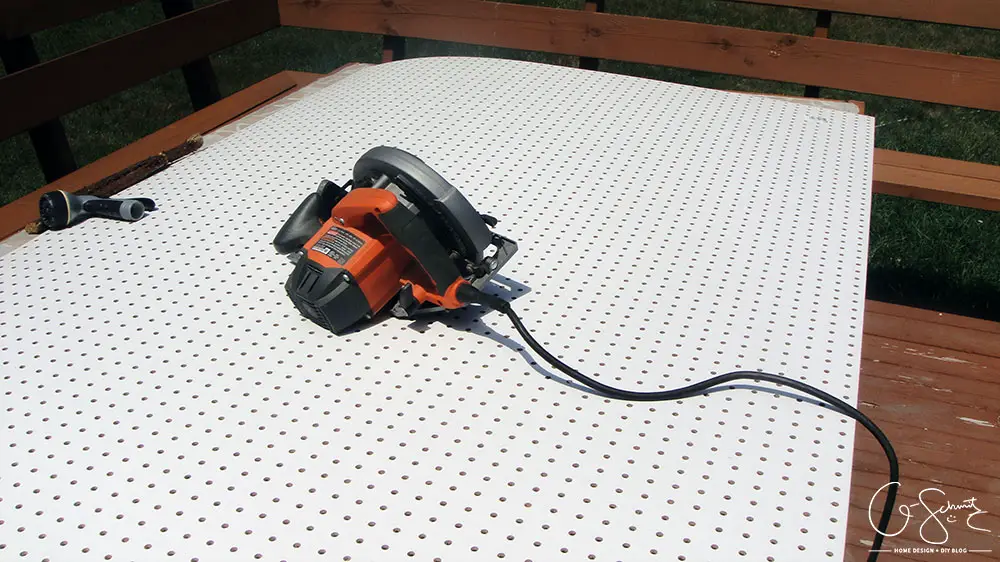
We actually bought and cut the pegboard to size at the same time as the trellis for our mini-fences, but this project just took longer to finish (aka get off my bum and start!).

You see, I needed the Husband’s help to screw in the bolts while I held the pegboard in place. We had to carefully take them out, hold the piece of wood, put the pegboard in front, and then screw them back in to the same spot.
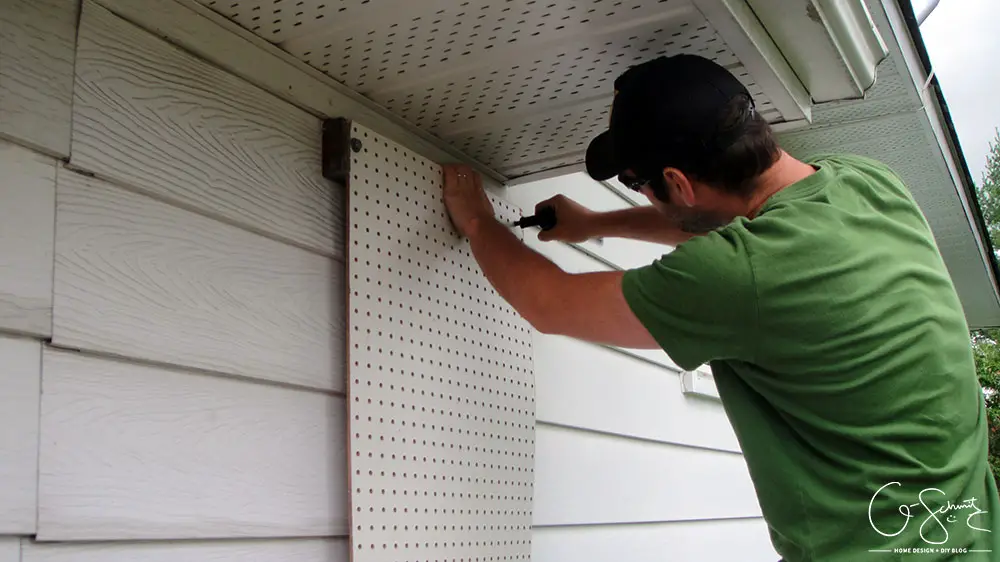
We started with the top, then once that was in, we removed the bolts in the bottom piece of wood and did the same thing.
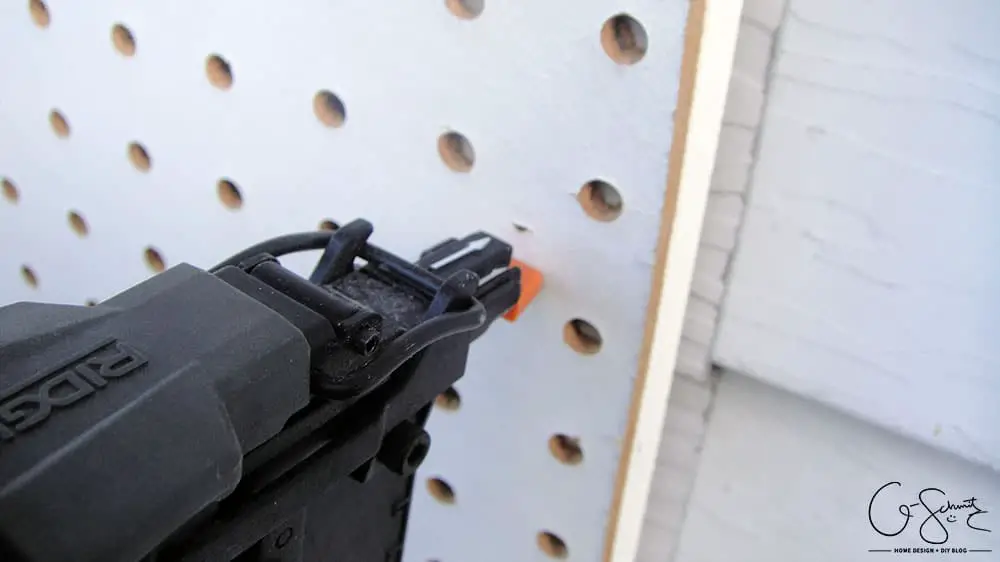
Our BBQ pegboard was just over 4′ tall if I remember correctly, and I was worried the sides would wobble in if you pressed too hard. To solve that, I simply nailed in two pieces of leftover trim along the edges so that it would create a buffer. They are just nailed into the pegboard and not the siding in case you were wondering.

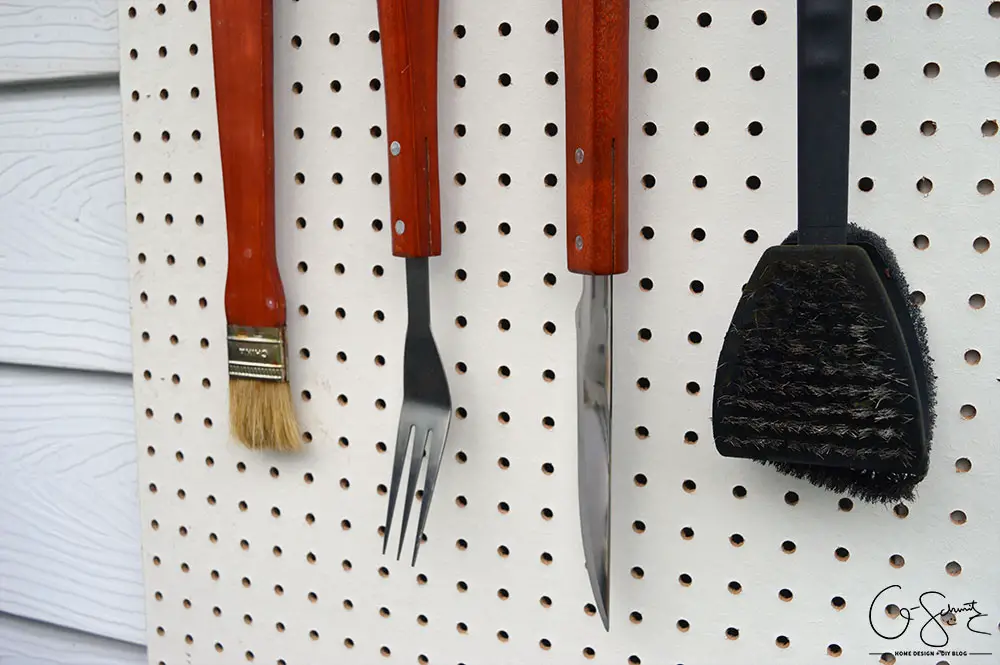
I bought a kit of assorted pegboard hooks and placed a few of them on the board, then attached some barbecue tools to show how it works!
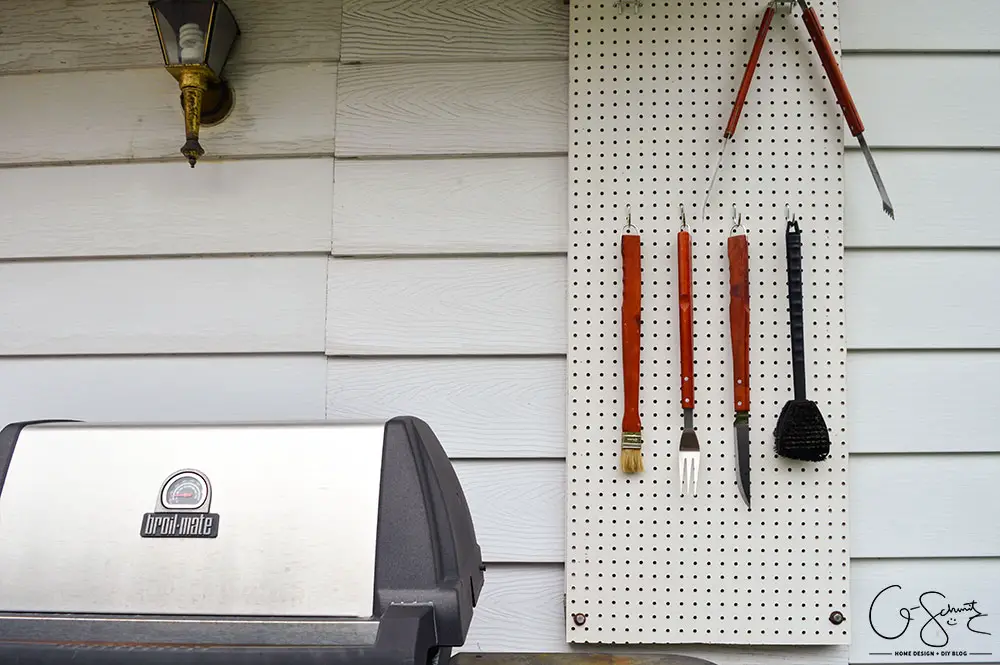
Now all our stuff is within arm’s reach of the barbecue and we can use the horizontal barbecue counter/arms for plates or dishes without having to move all the utensils around to make room.
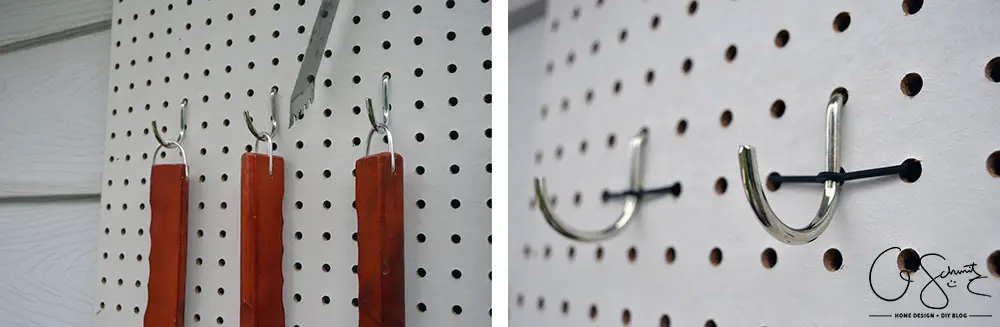
What’s neat is that the pegboard kit came with these little black clip holder things, so that your hooks stay in place when you grab your tools! Seriously, if you’ve ever used a pegboard with normal hooks, you’ll know the frustration that is trying to carefully remove an item without knocking the hook down!
Now technically the pegboard is a hardboard material, and it’s not really supposed to be outside exposed to the elements. As long as the rain doesn’t get too wild, it should be well protected under the eaves. Spoiler though, I did have it outside for like a month and it did get wet… sooooo… oops! I’m looking forward to actually using this BBQ pegboard to its full potential – and we still have other hooks if I need to vary my setup in the future.
But let’s be honest, the only thing I use out here regularly is the BBQ scraper brush haha! (All the rest of the barbecue tools are normally stored in our house, and they will probably stay that way until I barbecue again).
I’m happy that this project turned out exactly how I had envisioned it (don’t you love when that happens!?) – and I’m curious to see if you would incorporate a BBQ pegboard into your barbecuing station? We’ll see how it holds up over time, because ideally I would have liked to have a hardier and less porous surface (maybe some sort of plastic pegboard?). I can only imagine what damage BBQ sauces and grease will do to this… but hey – I can always cut another piece off my leftover pegboard for next season right?
See you guys next time :)

No Comments