
I’ve been decorating Christmas trees as long as I can remember, but a few years ago I realized that not everyone knows the best way. And yes, I may be saying that my way is the best… ha! So today I’m sharing this easy guide to decorating a Christmas tree, along with helpful graphics and photos (sort of showing) our tree for this year!
– Note: This post contains affiliate links. See more information about affiliates here. –
Normally, I like to have my Christmas decor up by December 1st, but because baby is due November 28th, I had everything up a bit early this year.
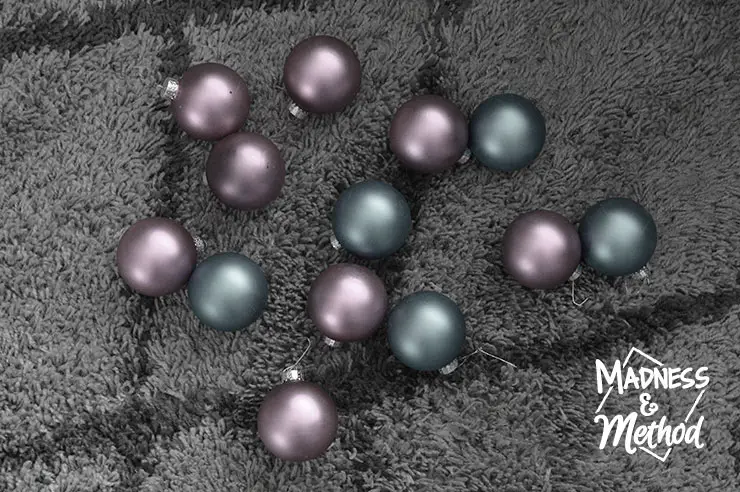
Next week I’ll be showing off our Christmas decor colour scheme, so I figured I’d keep everything hidden with the photos in black and white:

This guide to decorating a Christmas tree takes into account that you already have your tree up and ready to go. It doesn’t matter if you have a real tree or a fake tree, the steps should be the same!
Here is essentially where we started with our tree:
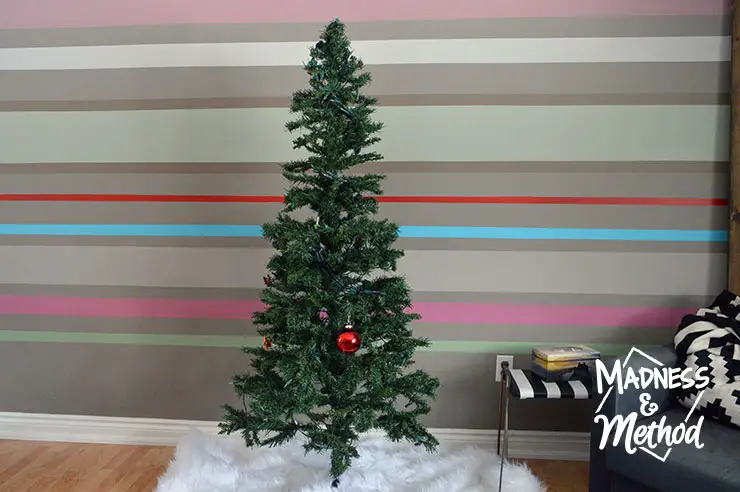
It’s a 6′ tall pre-lit tree (although the top section of lights no longer work), and this year we put it in the living room where our little couch goes. The toddler started helping put ornaments up, but not the proper order of course, ha!
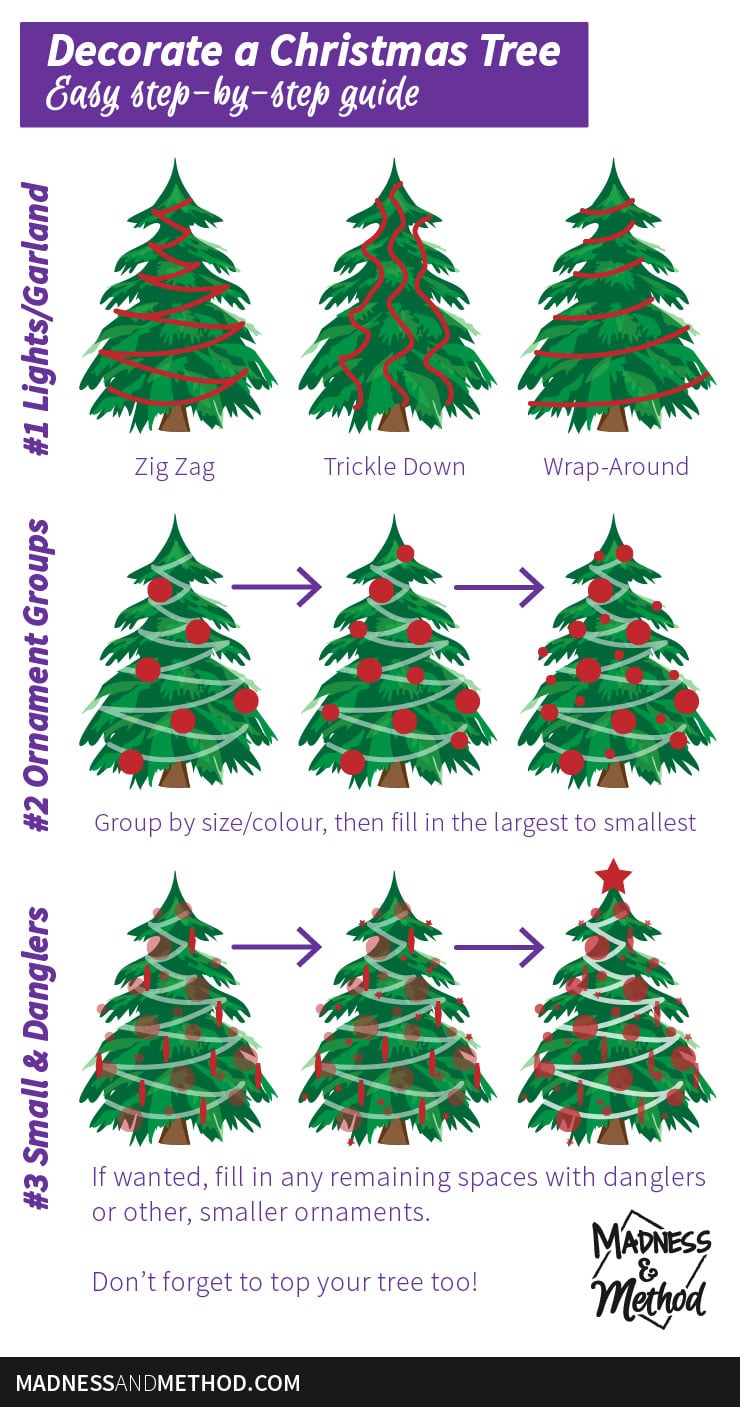
Let’s dive into the three (and a half) different elements you may be putting on your tree: lights/garlands, ornaments and danglers.
Step 1: Add your Lights THEN Garlands
Installing lights on your tree (assuming it’s not pre-lit) should always be the first step when decorating. But first-first, you’ll want to plug in your strand to make sure all the bulbs work.
(There’s nothing worse than stringing the lights around your tree only to realize that they don’t work!)
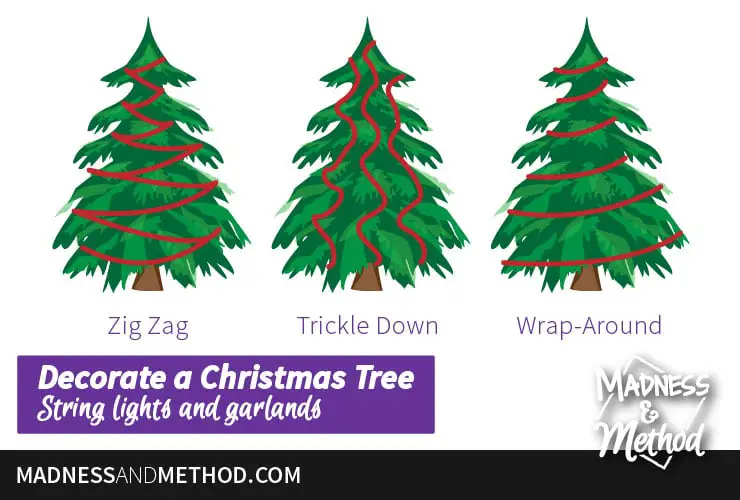
If you’re placing your tree in a corner or against the wall, you can probably get away with doing a zig-zag pattern, or the trickle-down method. I like to decorate my tree 360º, so usually do a wrap-around (aka going from the top all the way down to the bottom).
Garlands, similar to lights, can be installed the same ways (just don’t overlap them completely). A lot of people like the trickle-down design for garlands, so it’s up to your personal preference.
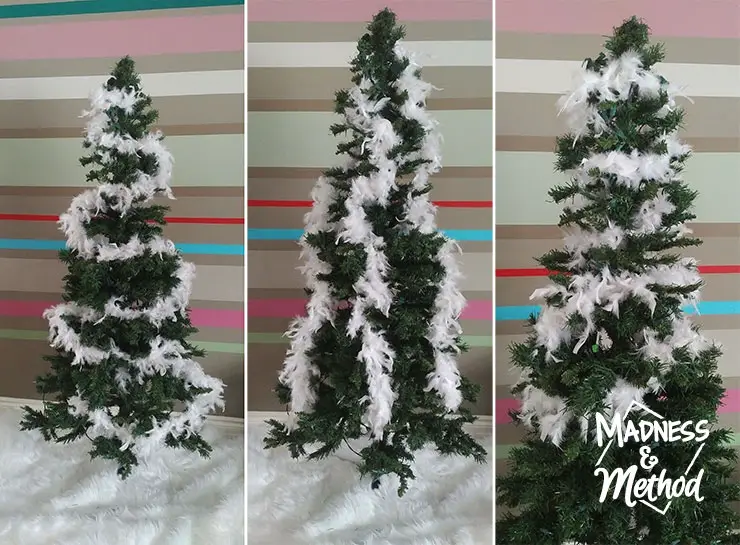
Photo showing the three methods, using 3 strands of boas. Notice how the wrap-around doesn’t go all the way down? You may need to account for that!
Step 2: Group Ornaments by Size, then Place Throughout Tree
I tend to use ball-shaped ornaments the most, but there are others that come in different sizes/shapes. Think groups of bows, ovals, etc. You’ll want to do an inventory of all the ornaments you have, then group them by type, size, and colour as well.
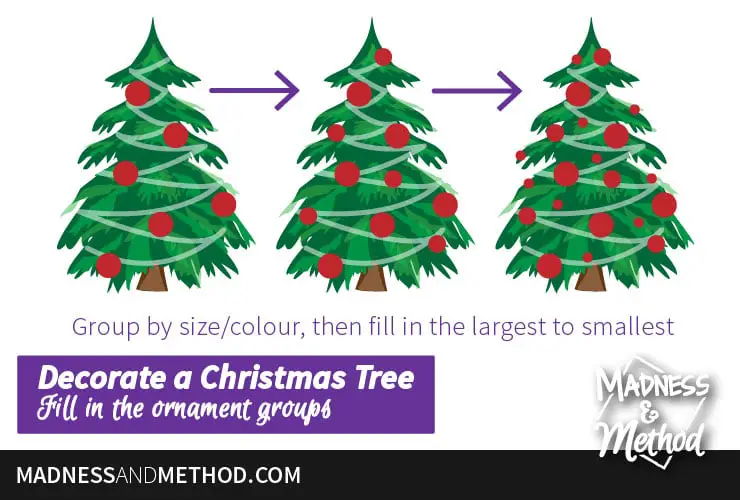
Then, you’ll take your largest ornaments and place those on the tree first. Make sure to evenly space them out, and remember you can skip the back of the tree if you have it against a wall.
Continue to add ornaments going to a smaller size and/or another colour grouping, until you feel like you have a nice look (or have run out!).
Remember, it’s a lot easier to fill in the large ornaments first because they take up the most space (literally and visually).
Ha, the full black and white photo made all the ornaments look like the same colour. We used two colours this year, and didn’t have too many of each.
Step 3: Add ‘Danglers’, Small Groups + Topper
This final step is more-or-less dependant on if you have these types of ornaments. By danglers, I mean the small pieces of tinsel that can be thrown on the tree. Growing up, we had hard/metal “tinsel” pieces, so we always added them at the end.

Essentially, these ornaments take up less space on the tree, so they can easily be tucked into smaller spaces. (We also had a small nativity family, each piece about the size of a penny. I would group them all together at the end as well).
Finally, you’ll add your topper – whether an angel, star or anything else! I think we’ll be upgrading toppers in the future (our star is missing some pieces), but there’s no rush for that!

For us, the “random” ornaments are all our sentimental ones.
You can also add any random/single/sentimental ornaments at this stage. For us, that’s our handprint ornaments and our wedding photo. I still have to do the handprint for the new baby, so we’ll add that afterwards too :)
I hope this easy guide to decorating a Christmas tree helped! Especially if this is your first time doing it alone (maybe you’ve recently moved away from your parents?) or you’re trying to convince your spouse/children that there is an order to things :)
Are you a tree decorating pro? Is this the same pattern you follow to decorate your Christmas tree as well? I’d love to know if you do things in a different order!
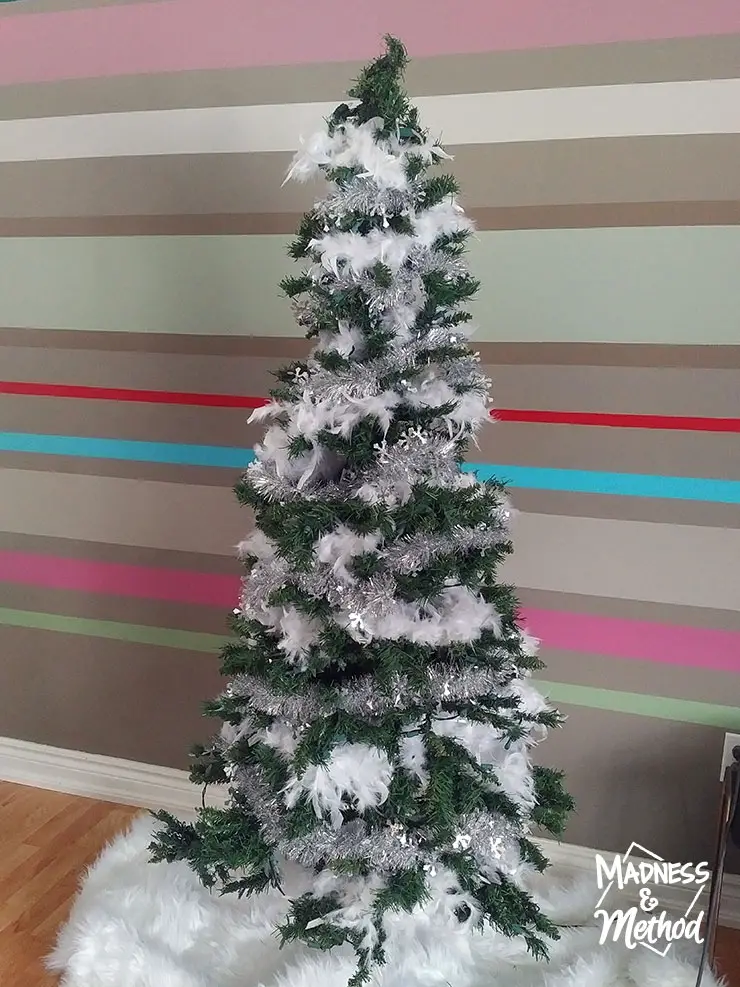
This year, I added a LOT more garlands/streamers than I normally do, so we added less of the ball ornaments. I did a wrap-around for all of them, so picture the different garlands as candy cane stripes.
Remember to come back next week to see our tree fully decked out (and in colour!). The theme is a bit fun and on-point for us :)


2 Comments
steve
June 4, 2020 at 9:47 amhose lights are CRAZY!!!! I loved checking out your home… truly gorgeous!! So glad you participated in this Home Tour, it was an honor to be surrounded by so many amazing bloggers!
Nicole
December 7, 2020 at 2:46 pmThanks!