
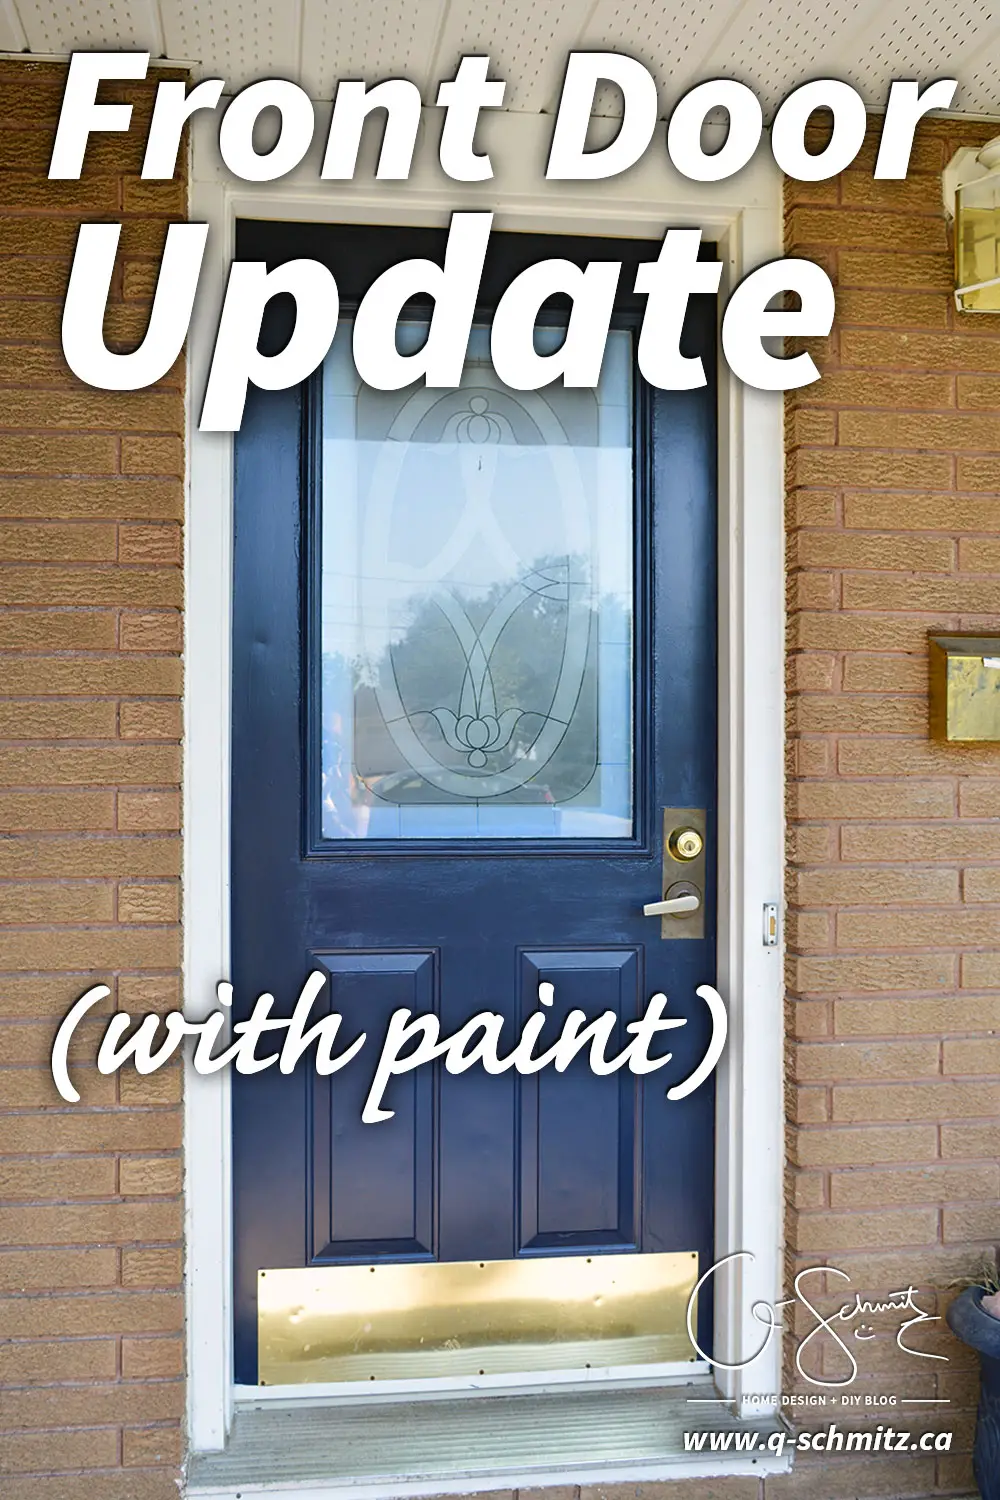
The front door update is finally finished! I was hoping to get to this somewhat easy project earlier in the summer, but with the new baby and all – I put it on the backburner until I had a bit more time. We had a few days of nice weather and I gave the door a quick refresh with some paint – let me show you how.
Let’s just go back in time and remember that we used to have a white door that I painted dark blue last year. During the winter, for some reason the liner on the front of the door started peeling off, and it looked like a big mess for months.
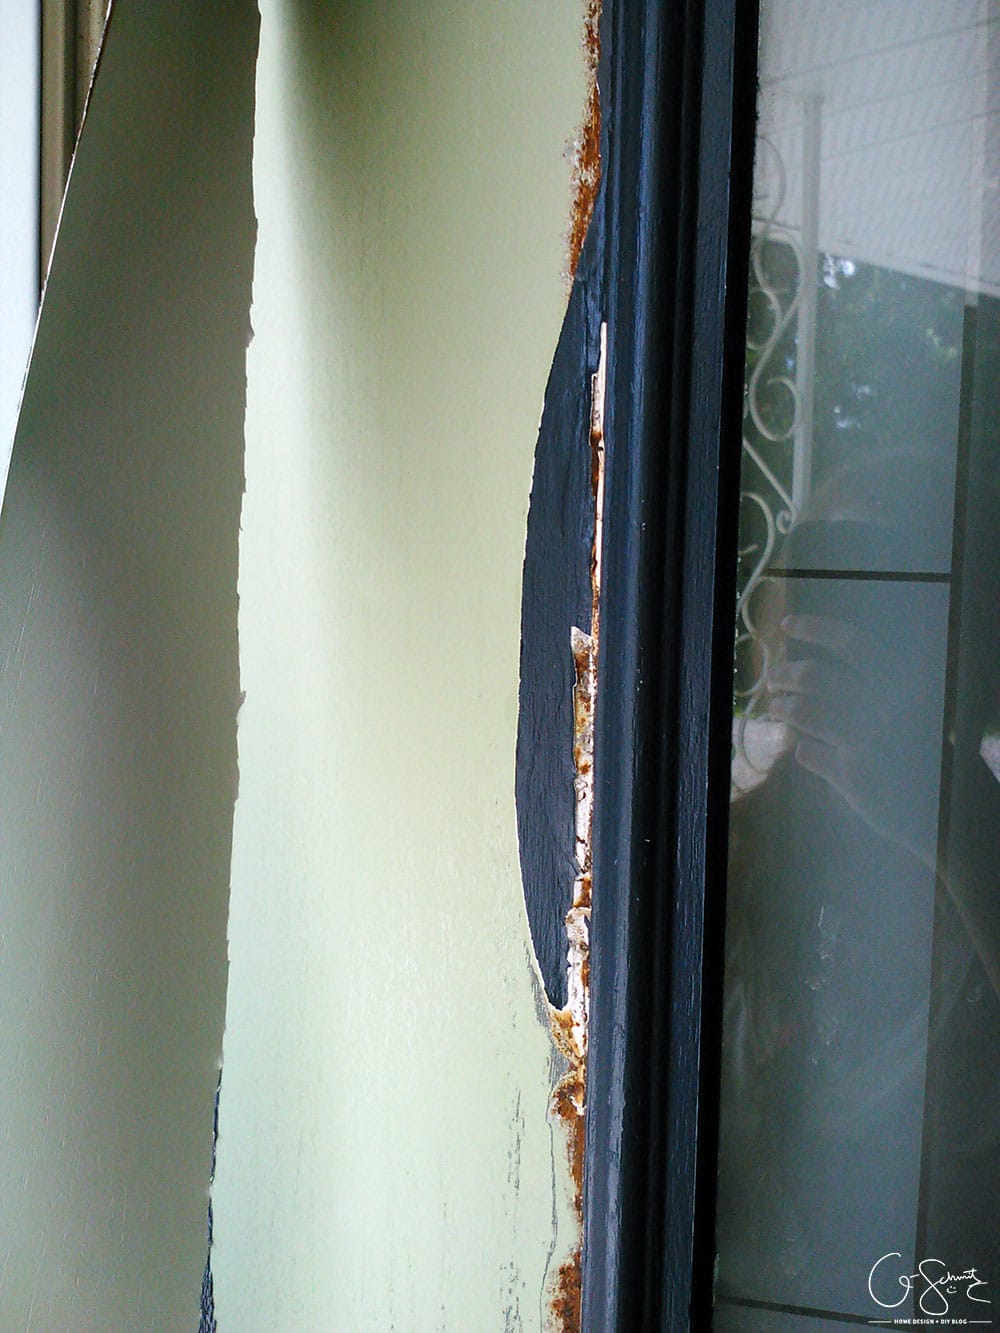
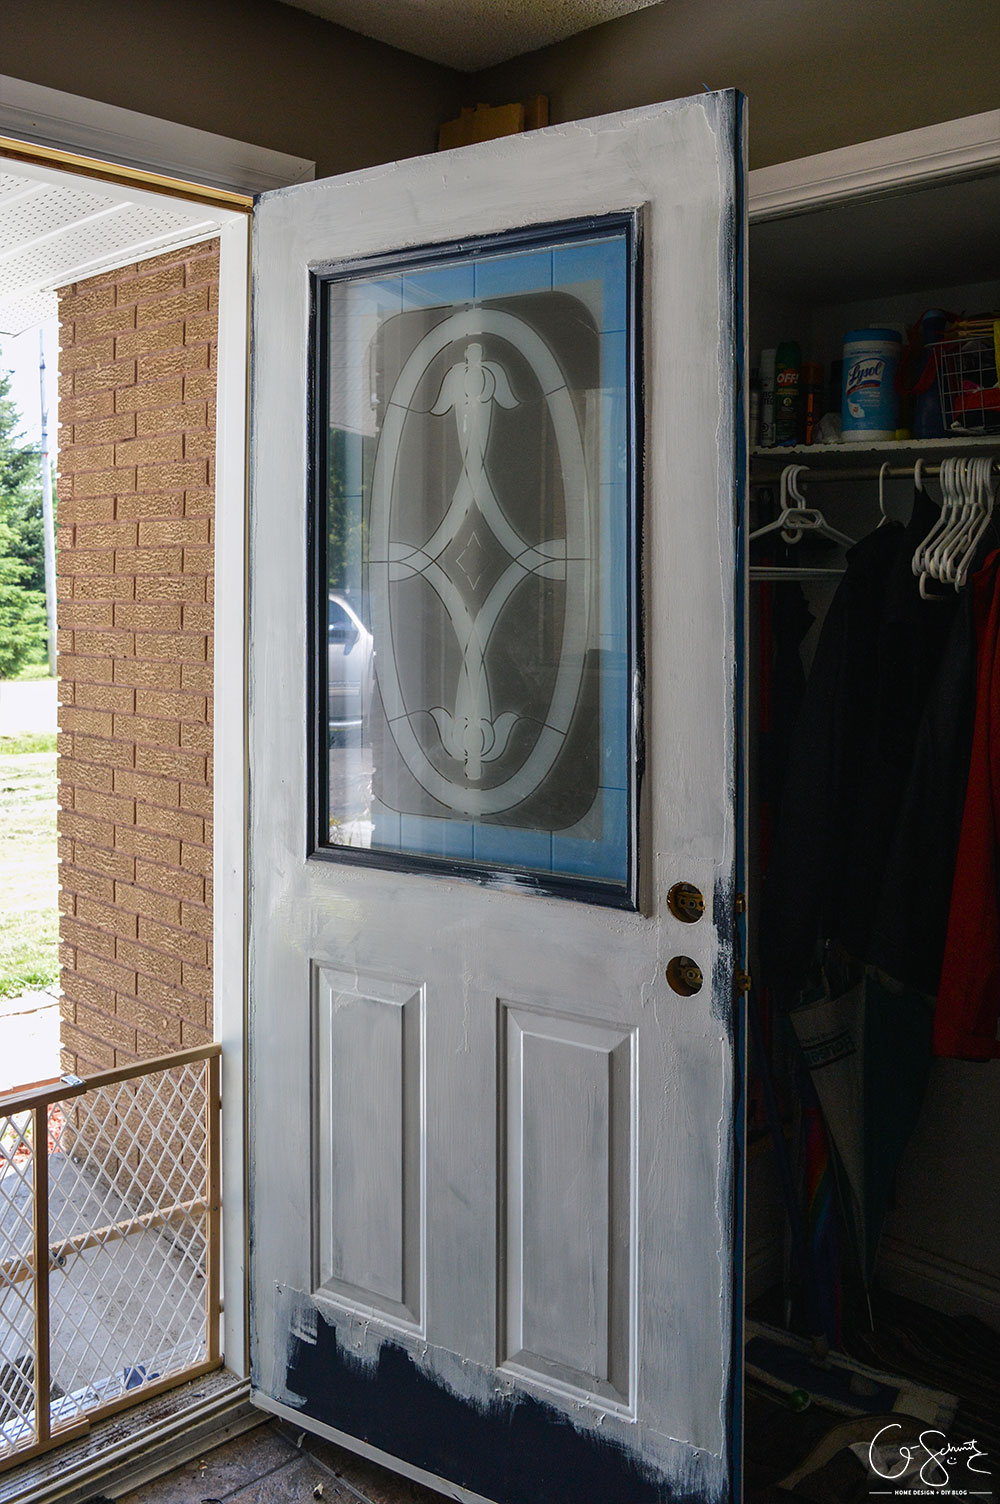
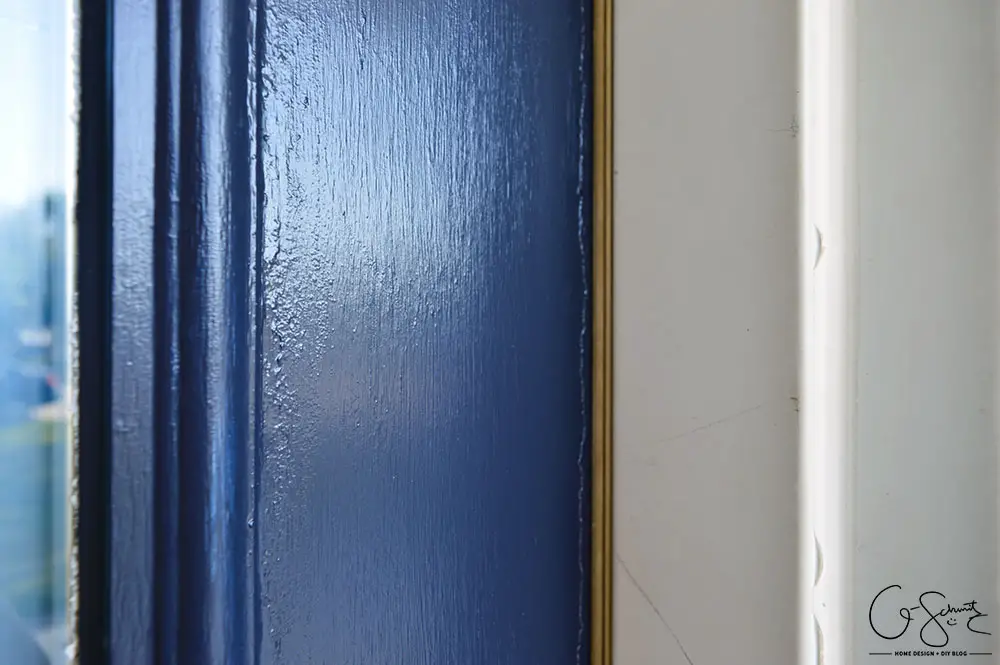
I started by peeling the loose liner from the door, and it was pretty easy to get off (on most sections). See this photo (above) that I took with my cell phone during the process? Well, that one section in blue along the window is where the liner was missing last year, and I had patched it to match the height. Glad to see my DIY fix held up!
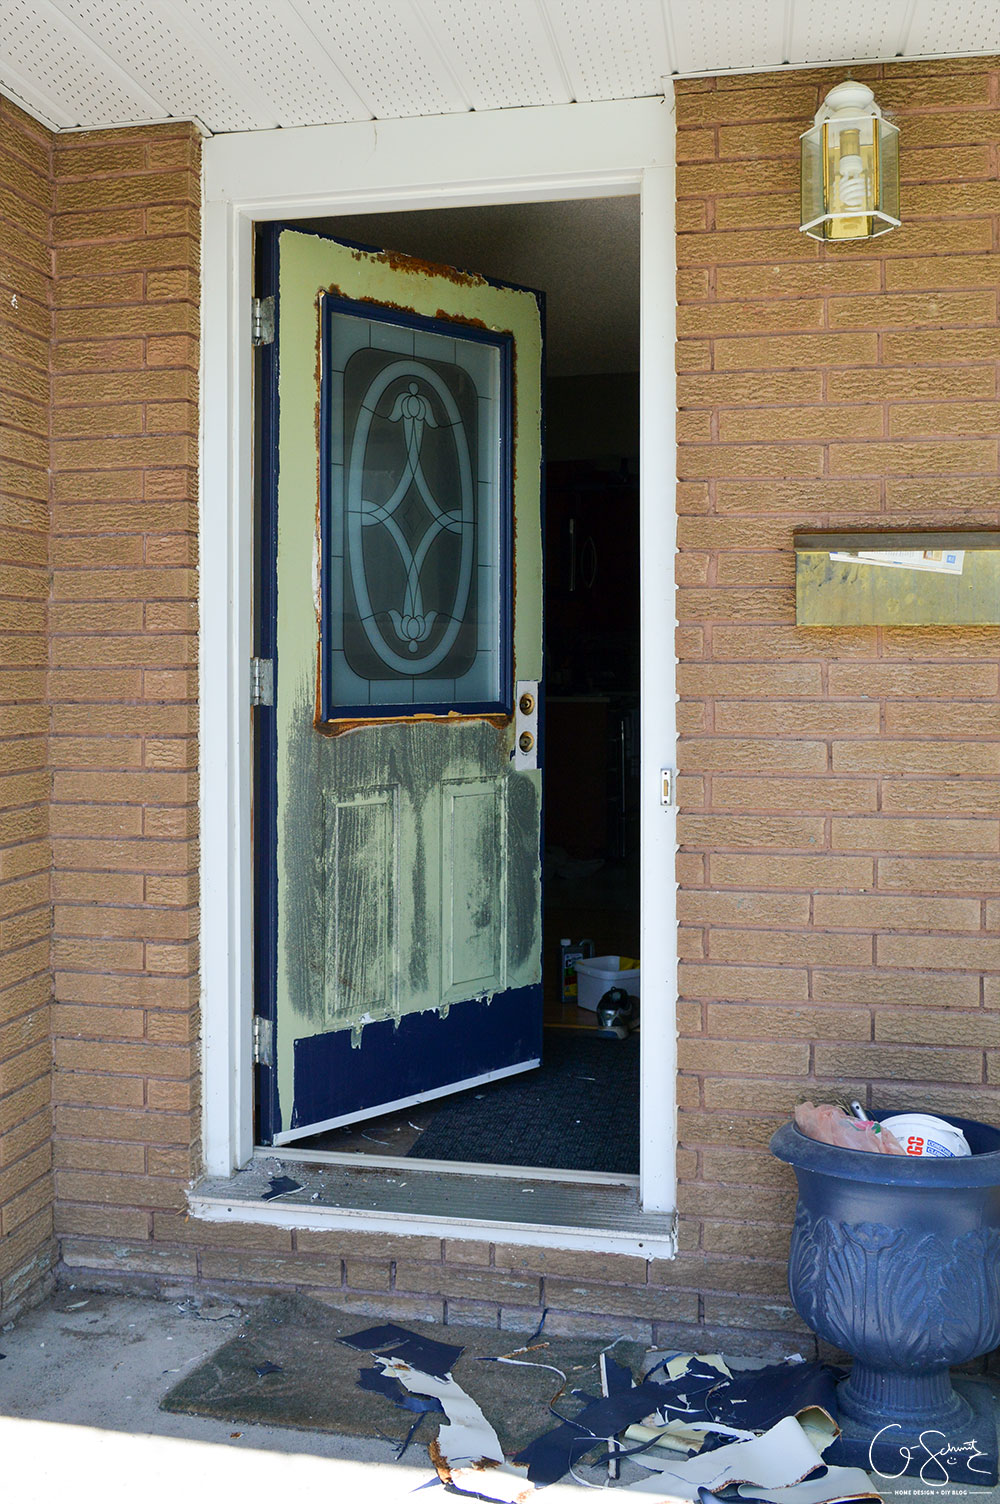
Basically, wherever the liner was on the “exposed” part of the door, came off really easily. Everywhere that was not directly exposed to the elements (under the brass kick-plate and along the edges where the door is closed) was ridiculously hard to remove.
I had a scraper out and everything, and those sections would just not come off. I didn’t think any chemicals would work (for example, a paint stripper like Erin from Lemons, Lavender and Laundry used for her front door) because it was the glue/liner that was stuck, not paint. In the end I decided to just leave the liner there because it would just be concealed again.
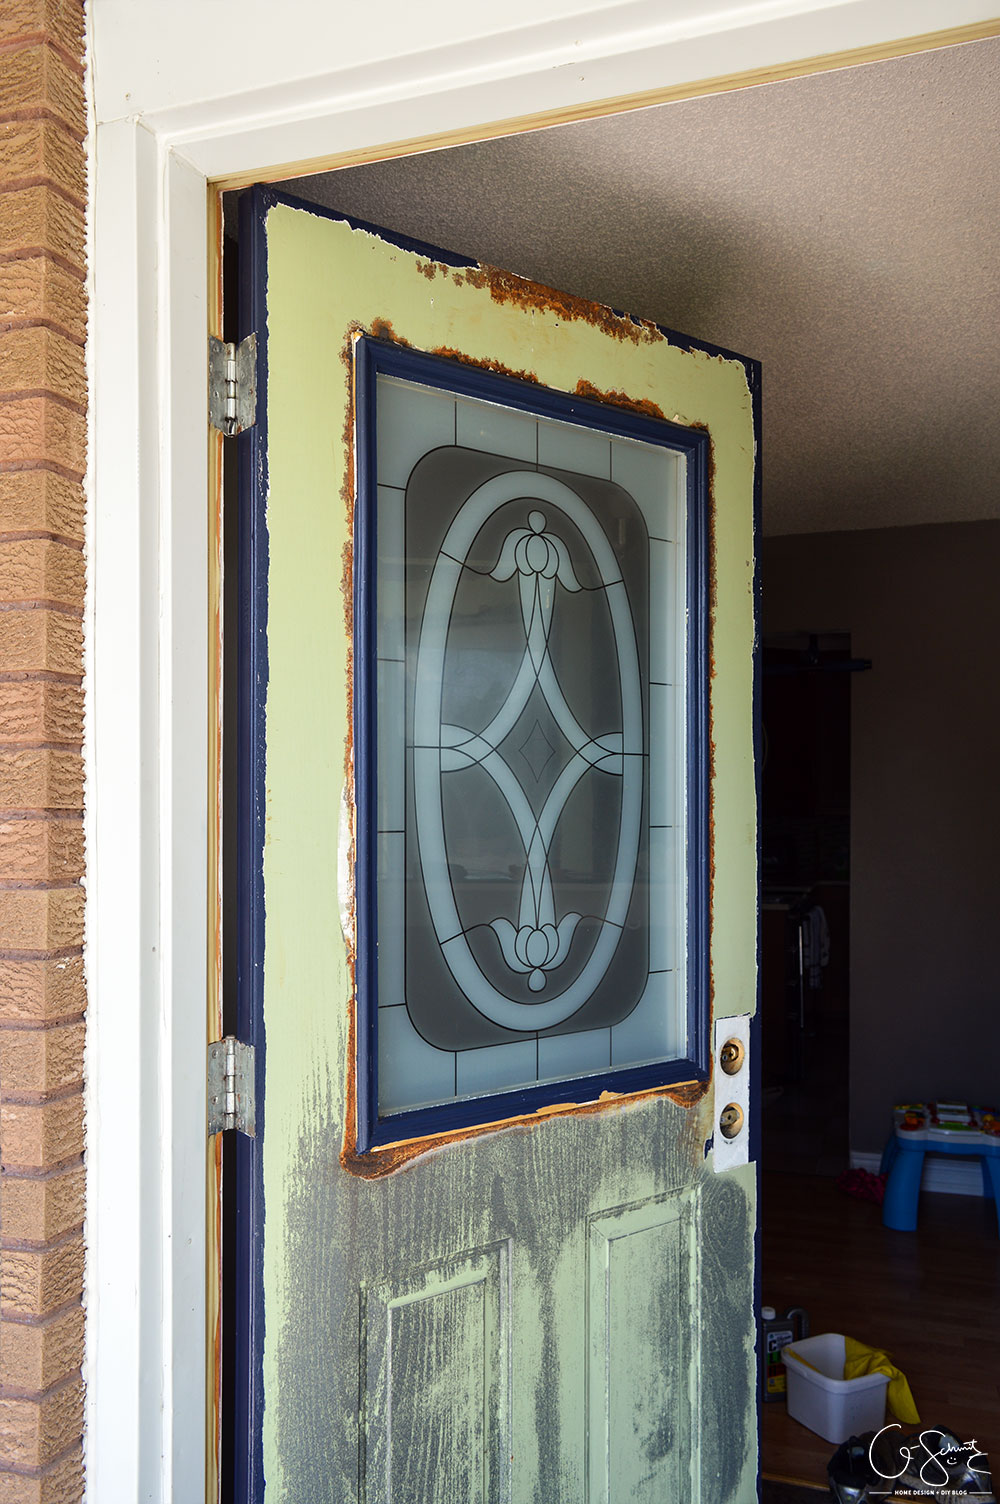
Oh, and notice all that rust along the window and top of the door? I scrubbed everything down with some CLR and then wiped it all clean before I primed.
We also caulked the seam along the window frame and the door (which was larger now that the liner was removed).
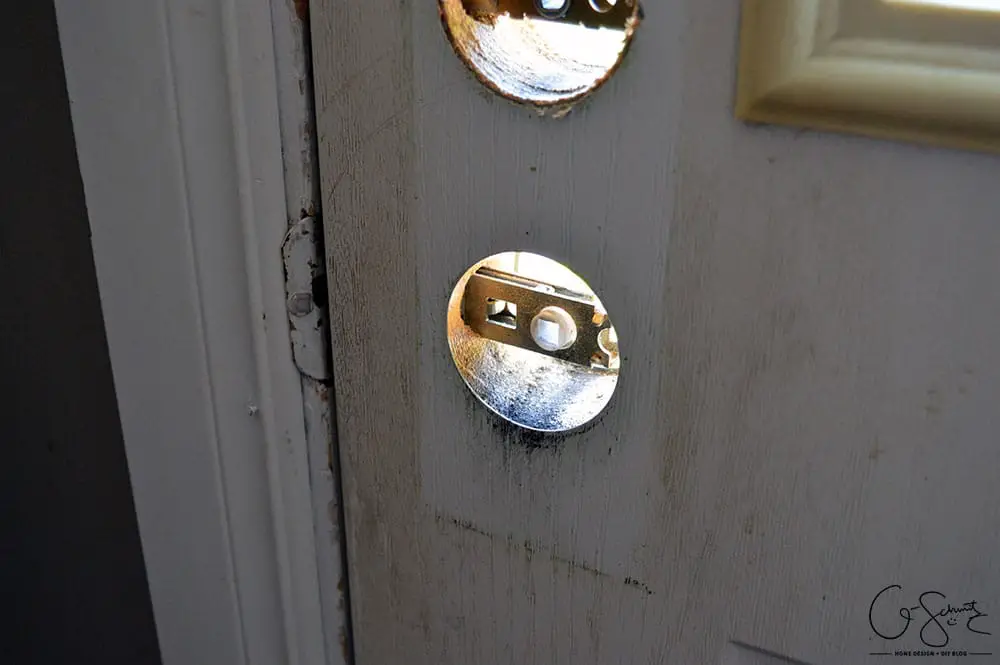
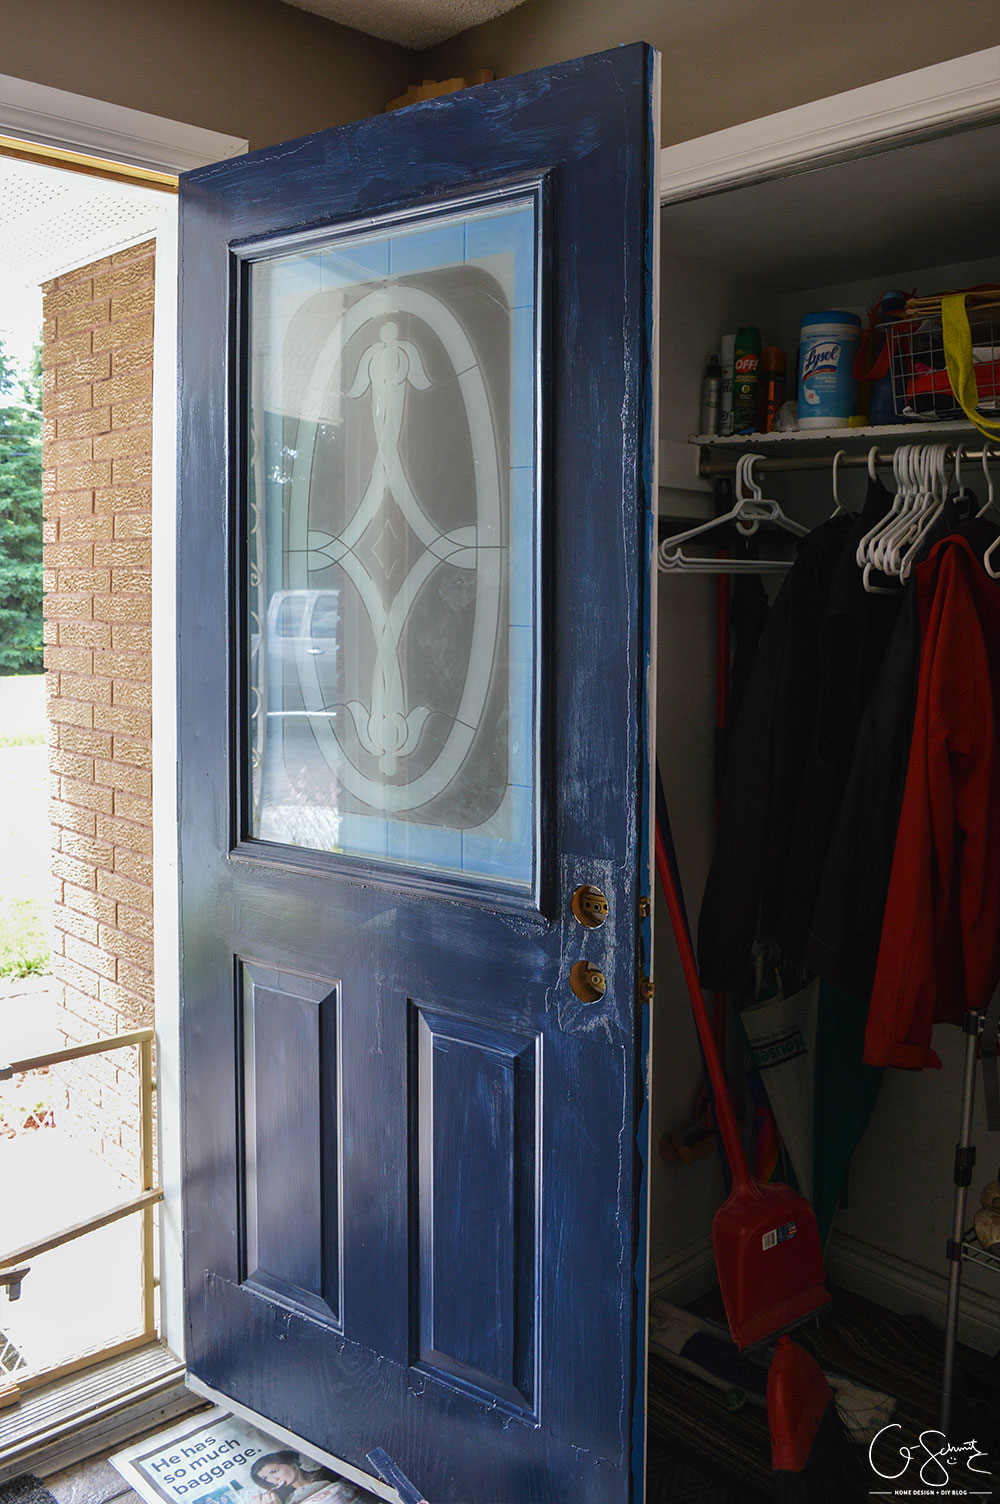
Because I wanted to remove the liner, I had to take off the lock and door knob this time (last year I just painted around them). I always knew the inside portion of the door was dingy… but I didn’t know how gross it was until I could compare to the original colour! Yuck :(
(And yes, I accidently closed the door a couple of times, and not having a handle makes it super hard to open again!).
Anyways, I primed the door again with some Zinsser, and did the inside/house side too. I taped the window on the inside of the house, but since the outside section was already blue, I just stayed away from that part (the paint was already fine in that area).
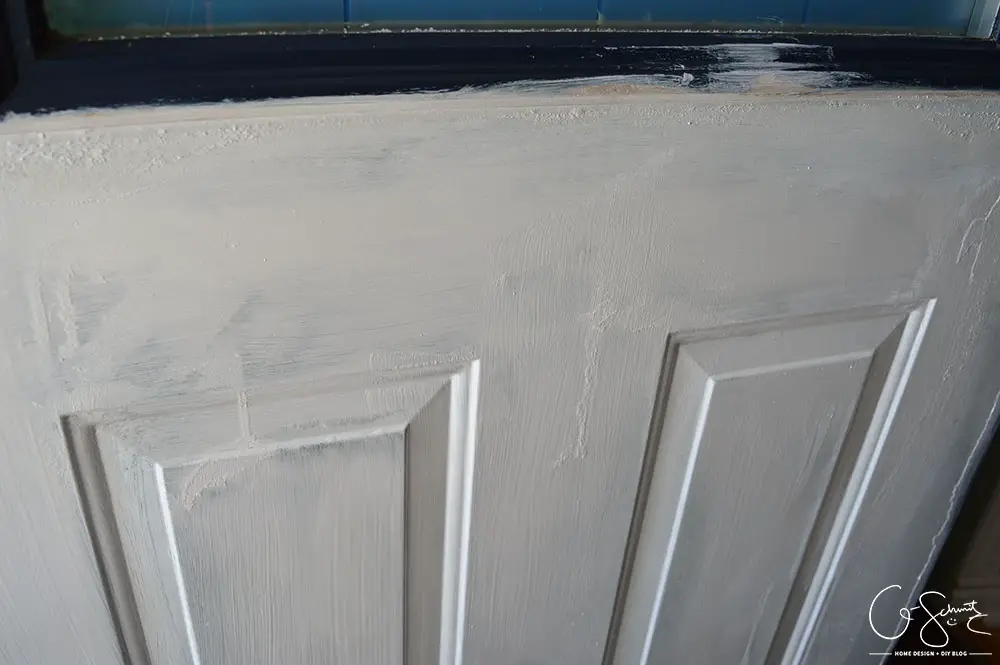
At this point the Husband did NOT like the way our door was looking. A lot of the rust spots were still visible and he was telling me I was crazy and we needed a new door.
Just wait I said…
The first coat went on really quickly, and I was reminded how much I liked this Modern Masters Front Door Paint in the first place (it’s supppperrr smooth!).
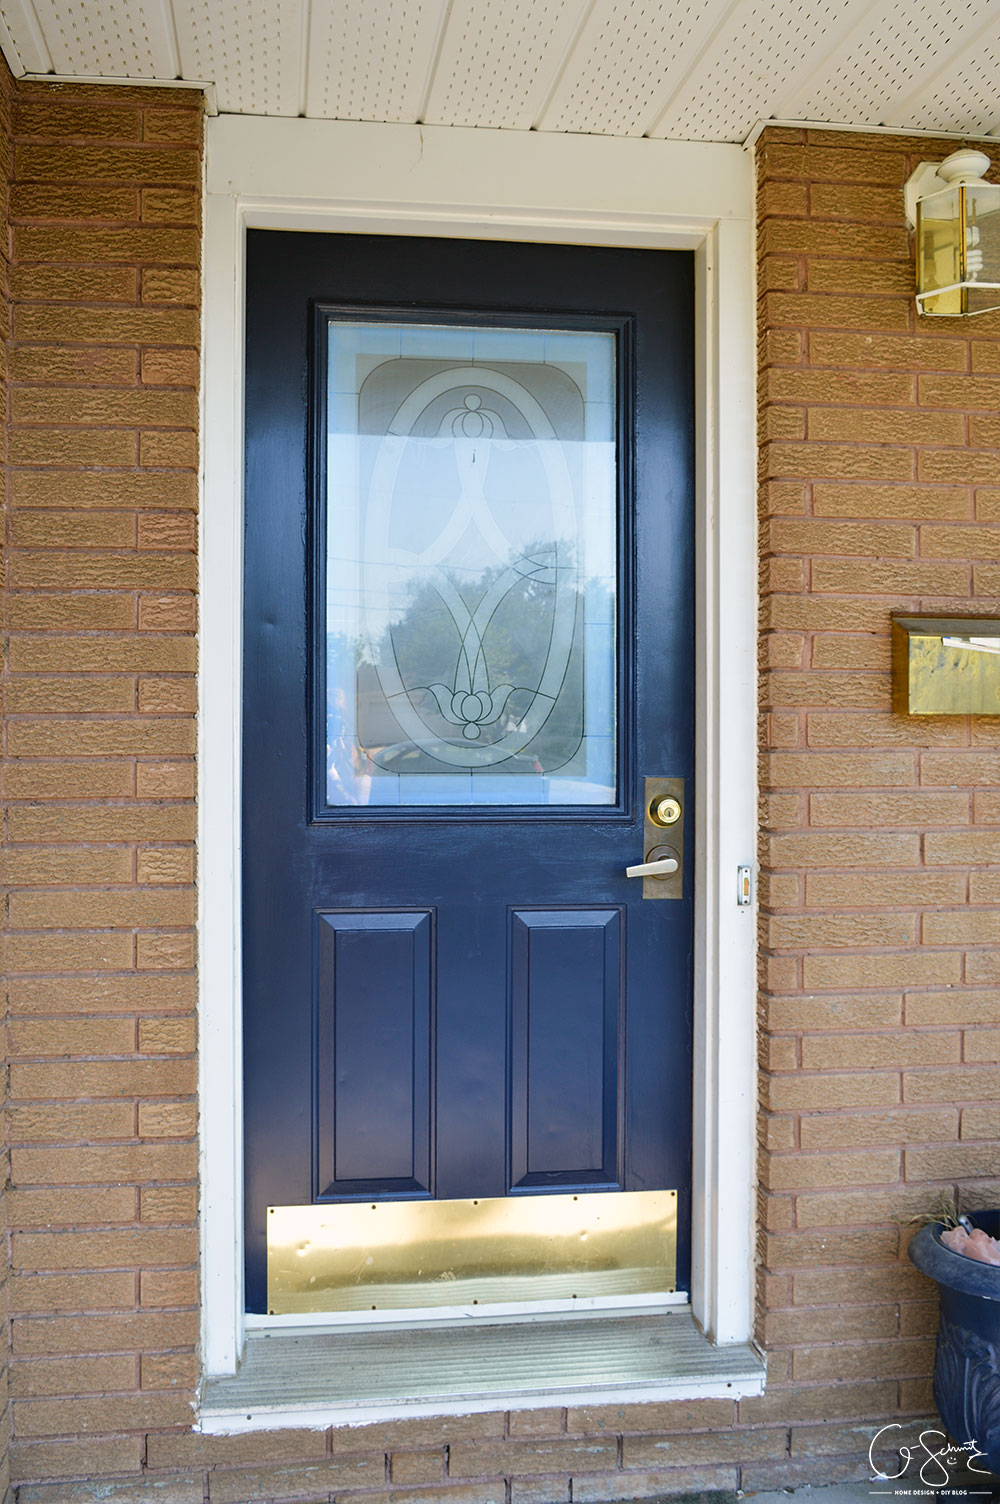
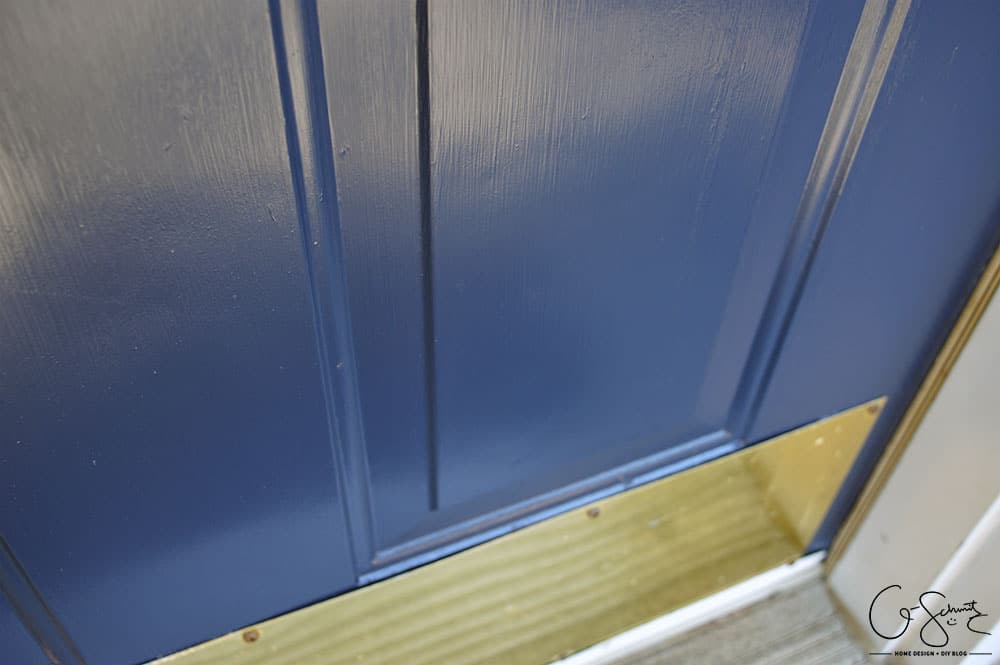
I did 2.5 coats and let everything dry overnight. I could finally put the door knob and lock back on, and screwed in the kick-plate too. Not being able to properly close the door for a few days was annoying (and lots of flies came in when the paint was drying too!).
If you look really close, you can still see the liner along the edge of the door frame – and the covered rust section isn’t as smooth as the rest of the door.
But you know what? The Husband actually said it looks much better now, and took back the whole “we need a new door” thing. If this isn’t a lesson in why DIY can save you hundreds of dollars (and prove your husband wrong) then I don’t know what is haha!
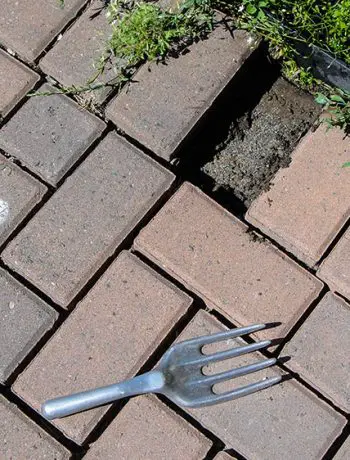
It was much quicker painting the door the second time around (maybe because I didn’t have to be careful around the lock-plates?) and you can hardly tell that the liner is still leftover in some sections. I did one coat of white on the inside, but until it’s done I’m going to keep that painters tape up as a reminder haha! And with this front door update (and the crack repair, and flower planting), our front yard updates are done for 2016!
Have I convinced you yet that painting your front door is a great solution to add some almost instant curb appeal? (Remember to read the original, more detailed front door painting post for a more in-depth tutorial!).
See you next time :)
2 Comments
Erin @ Lemons, Lavender, & Laundry
August 17, 2016 at 8:12 amThis turned out beautifully Nicole! Total money-saver!
Nicole
August 18, 2016 at 8:45 pmRight? Now both our doors are lovely shades of blue without peeling paint! Hopefully they last this winter :)