
In our big outdoor to-do list, there were a few things we wanted to fix/finish for the actual walkway. Those included repairing the crack, maybe fixing some low spots and painting the concrete. We’ve decided to just focus on the crack this summer, that way we can see how it will last throughout the winter before we spend too much time beautifying everything. Here’s the super-easy lowdown on how to seal a crack in concrete!
– Note: This post contains affiliate links. See more information about affiliates here –
We had poured our concrete late last summer / early fall and I was really worried that it would crack. The Husband told me all concrete cracks eventually, and obviously, with the amount of snow and freezing temperatures around here, our beautiful walkway gave during the winter.
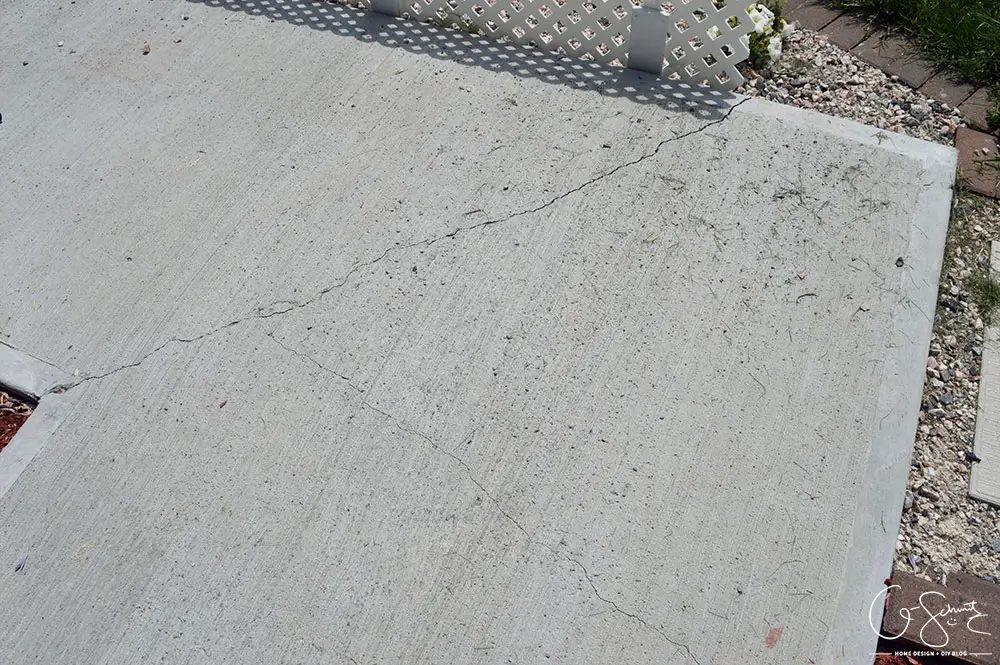
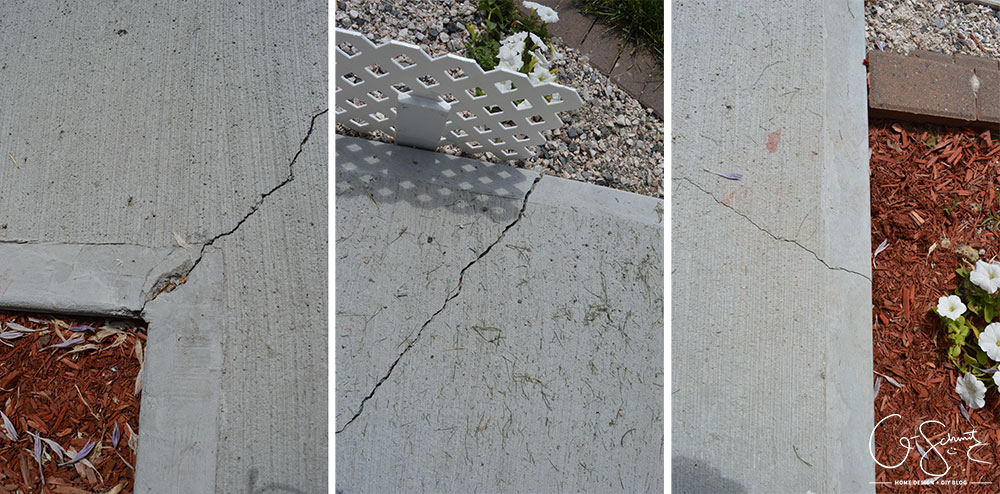
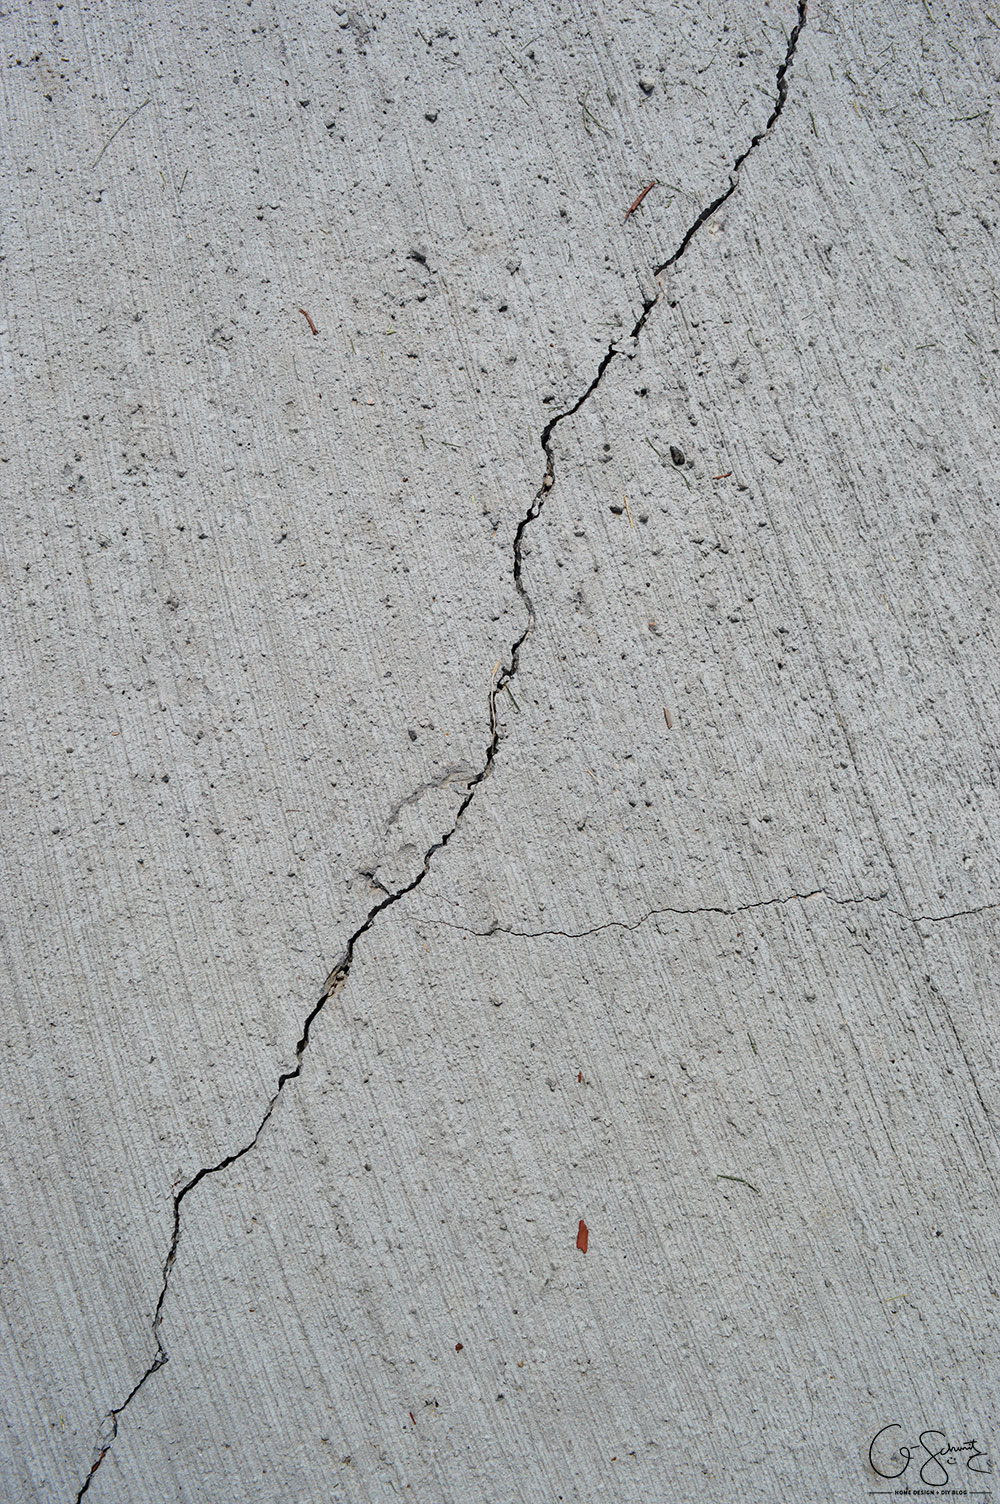
There was one large crack that ran diagonally from the corner of the flower beds to the far section, then a very small crack that went from the big one to the side of the walkway.
The large crack was very noticeable, and I was worried that it would fill up with dirt/rocks and get damaged more.
Materials Required
- A shop vac and possibly outdoor broom
- Concrete crack filler (this one is the same brand, but not exactly the same)
- Gloves to protect your hands
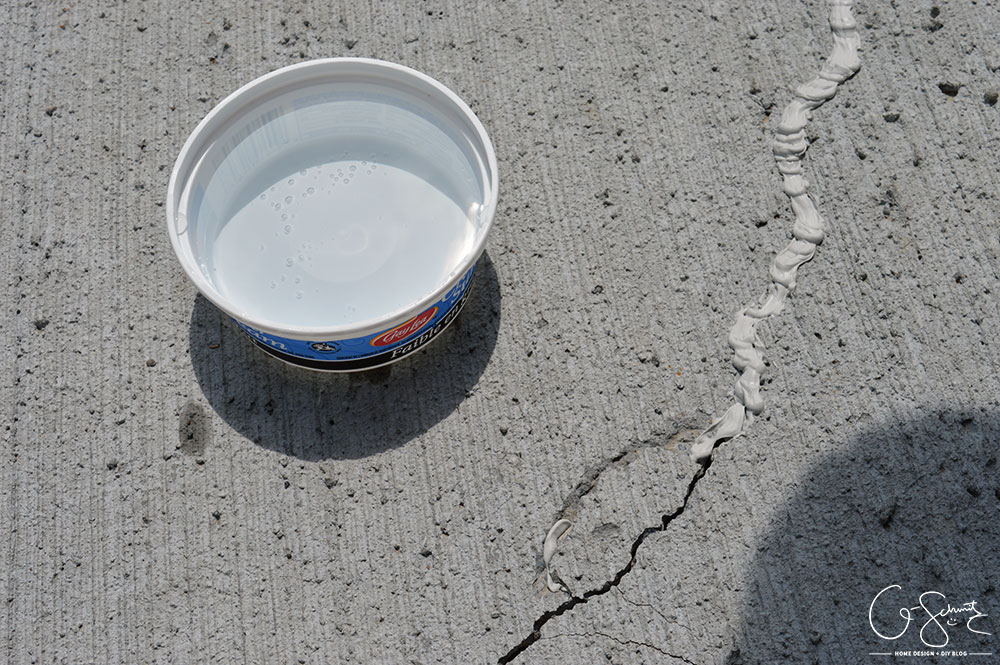
- Small tub of water
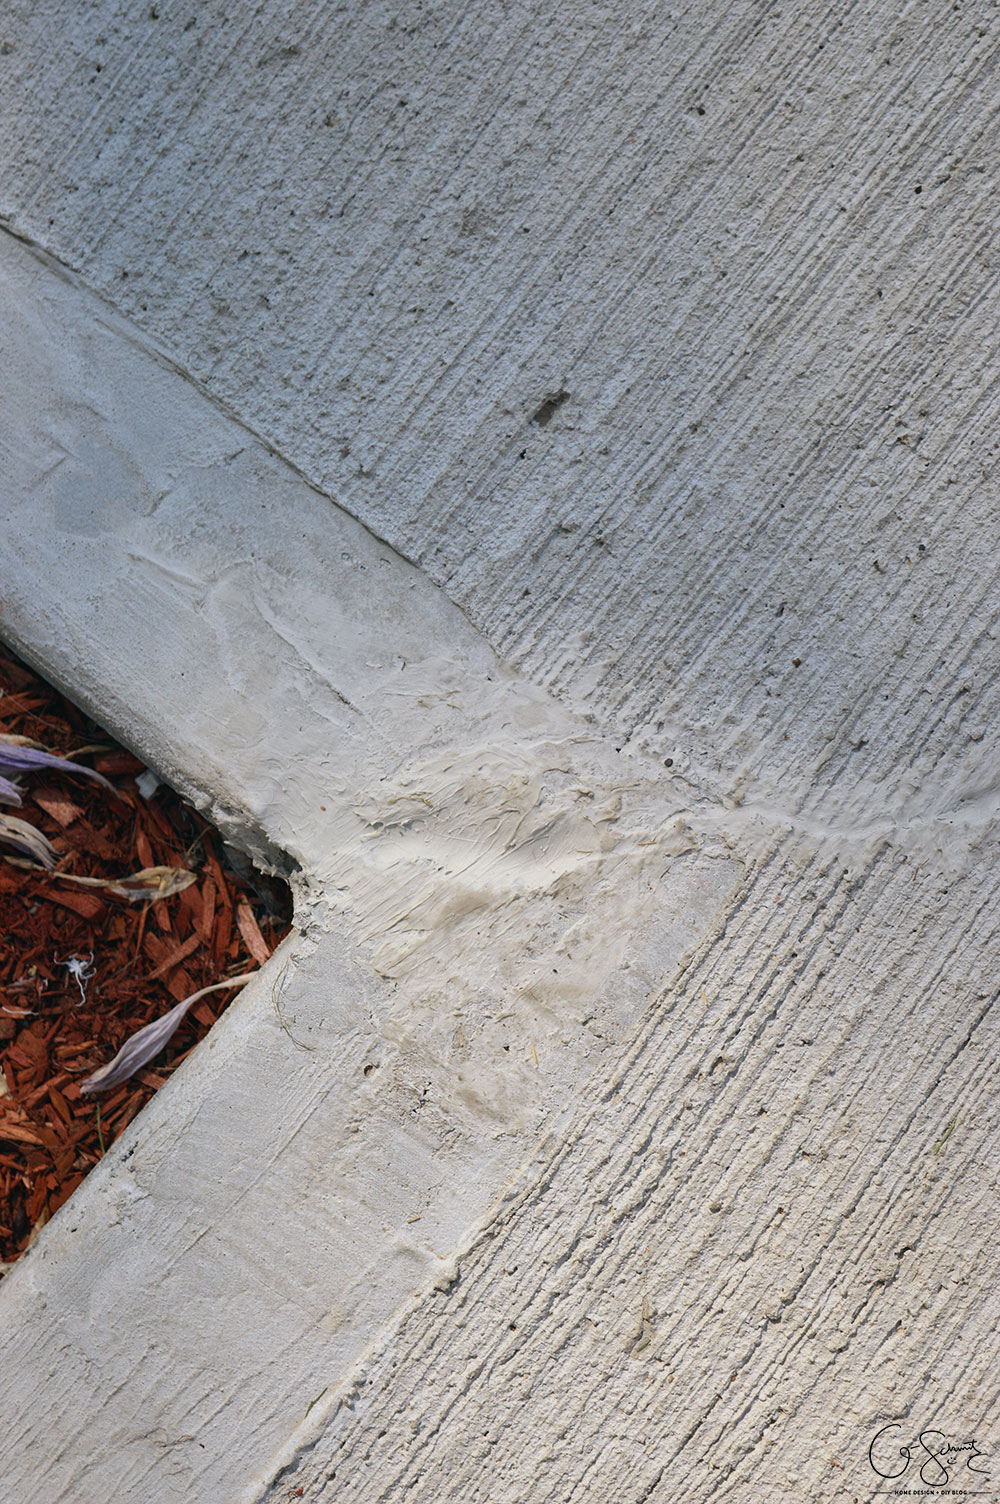
To top it off, there was also a loose chunk where the cracks met, and clearly it could not be hidden with the crack filler!
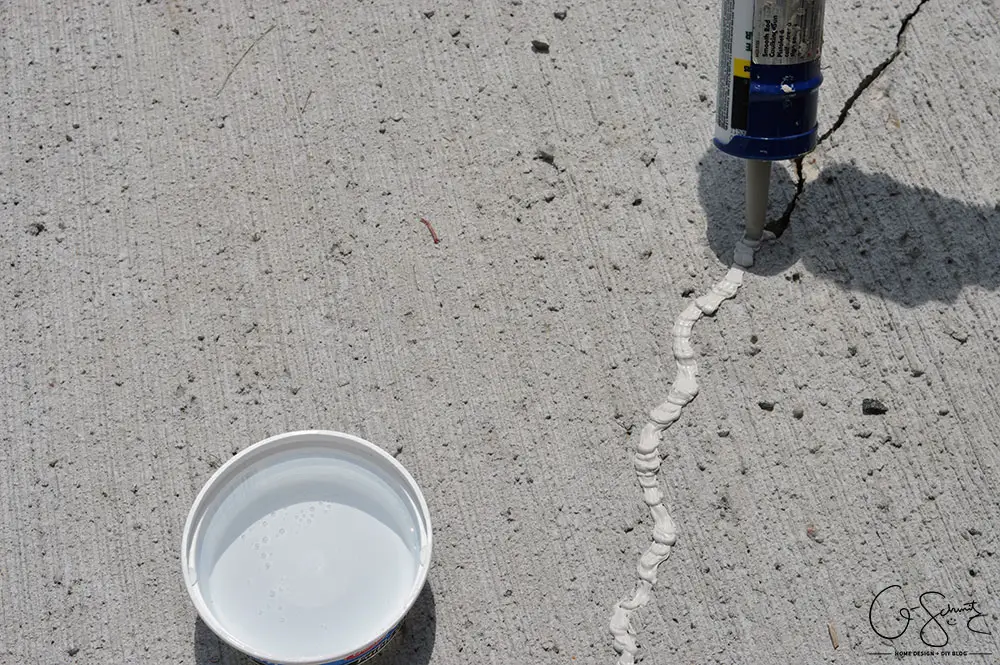
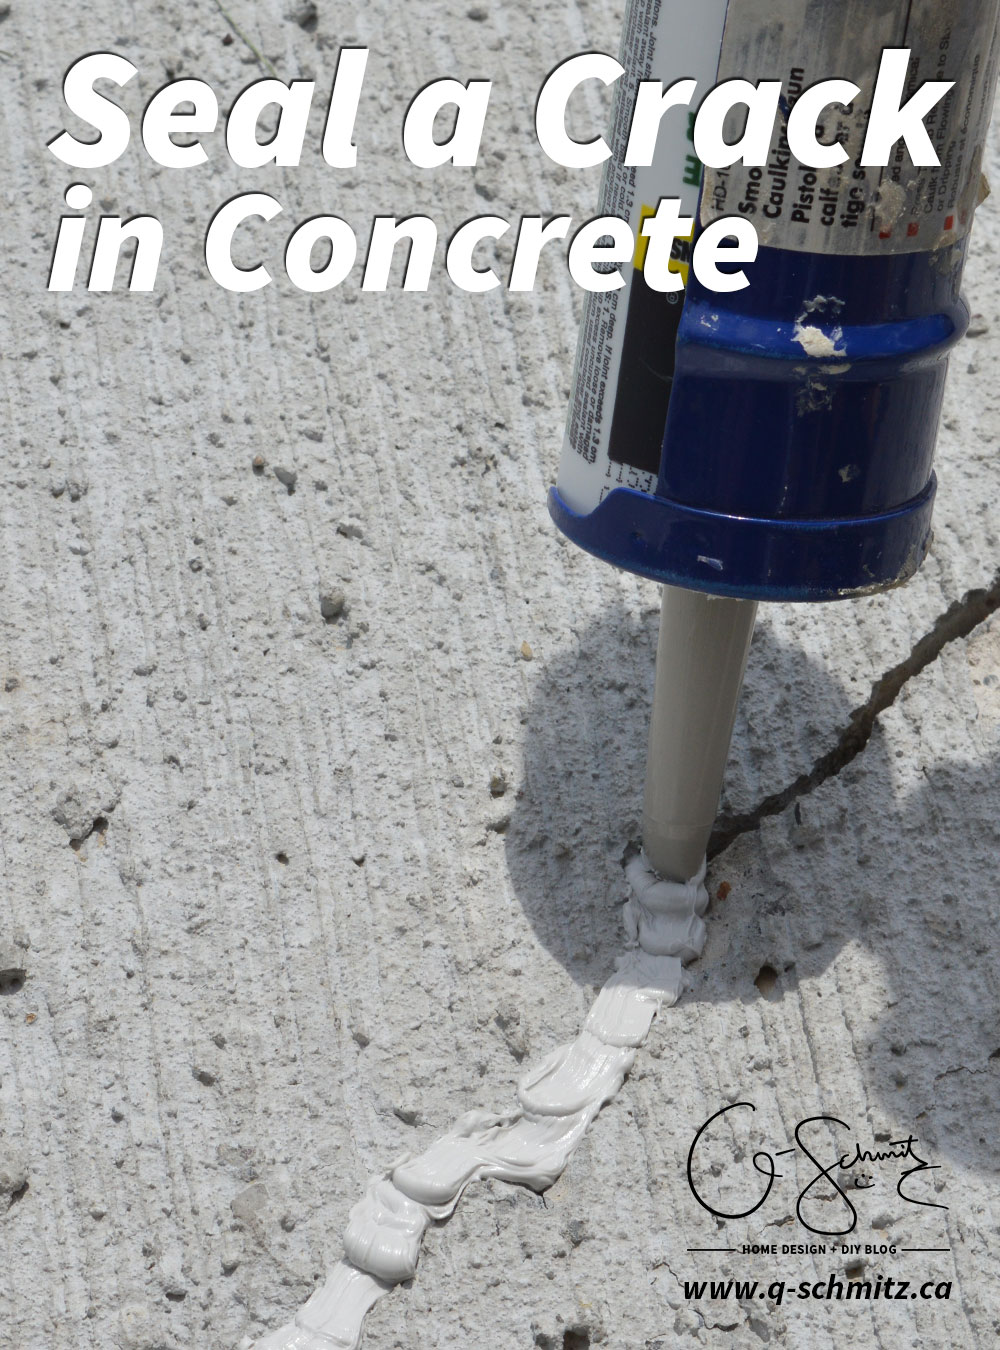
We bought a tube of concrete crack filler (this one is the same brand, but not exactly the same), and after giving the cracks a good vacuuming with the shop vac (similar), we got to work filling them up!
For the chunk, we actually just lifted it out of place, applied some crack filler, and then stuck it back in its original position!
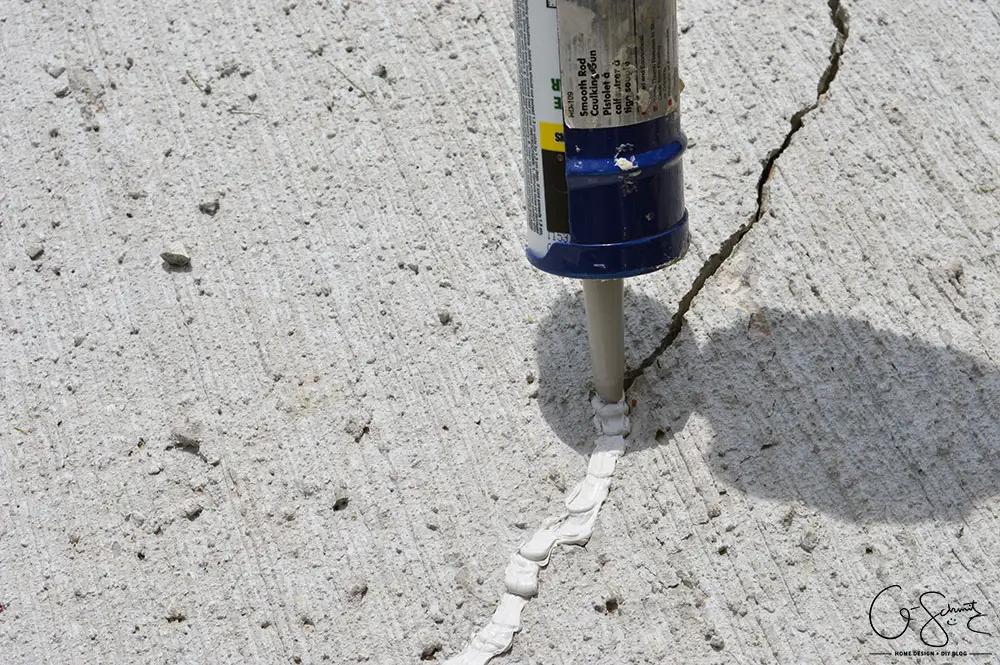
The Husband was in charge of the caulking gun and applying the filler, and I went in afterwards with a wet finger and spread it out. There is a warning on the tube to not get the product on your hands, so I was extra cautious and wore a glove.
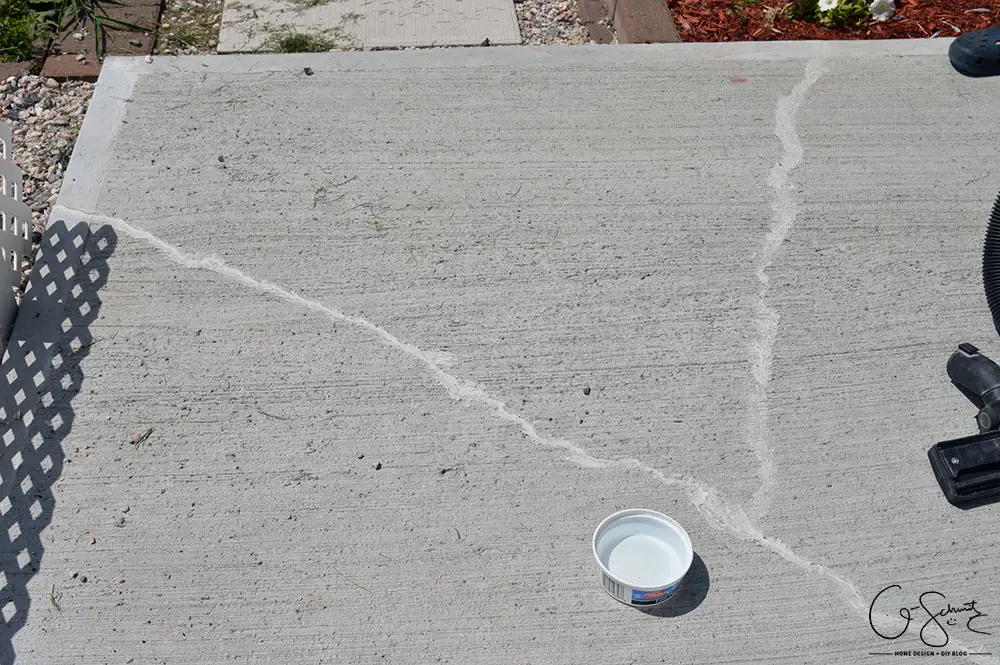
I kept the bowl in the same place while we worked (so we could always compare the pictures exactly), and here is what everything looked like right after the crack filler was applied.
For the small crack, I was able to just use the excess filler that was on my fingers and I tried to spread it into the crack that way.

We left the filler to dry overnight (we applied it in the late afternoon, so it wasn’t toooo hot) but some of the thin sections were already drying pretty quickly.
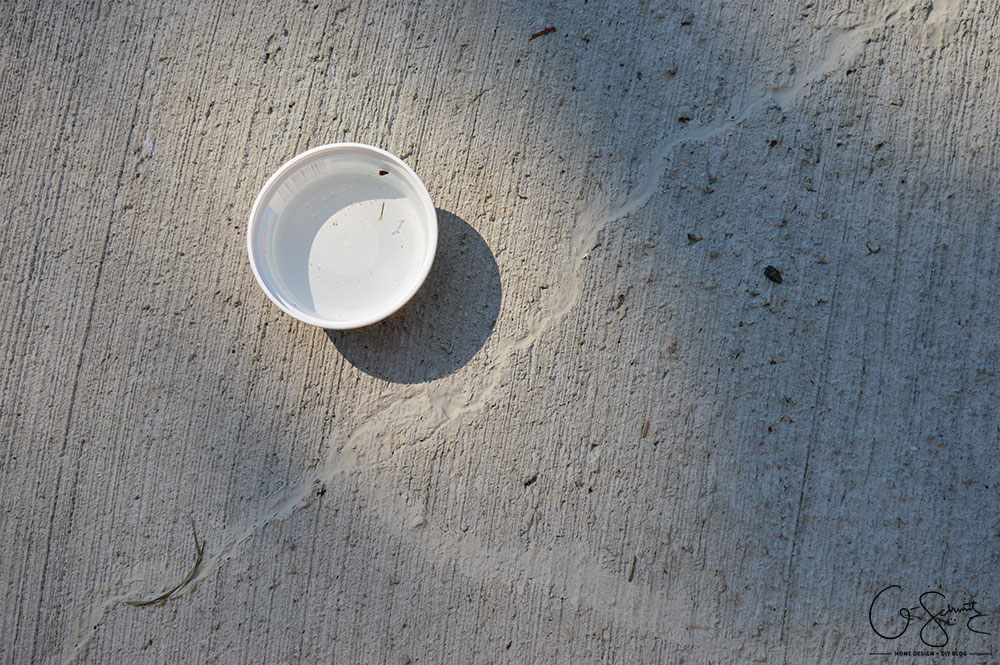
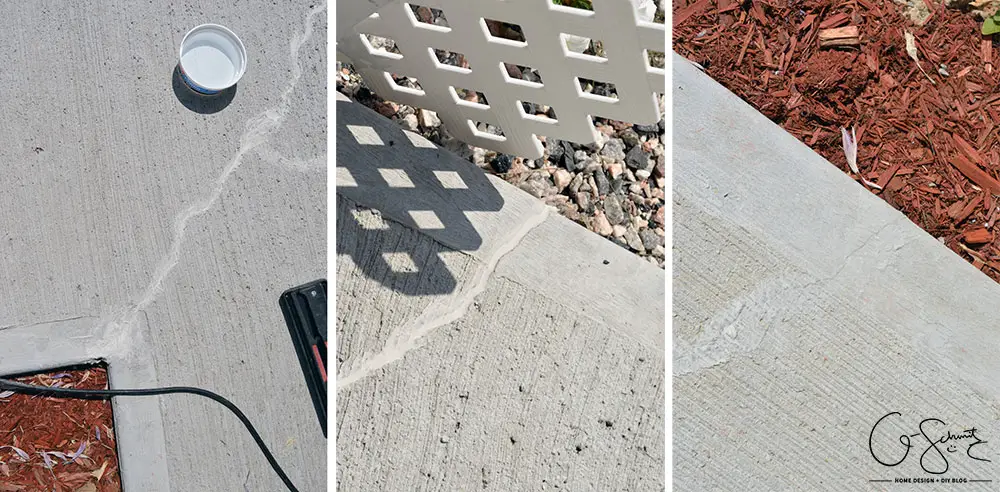
By the next morning, the filler was dry and the colour was almost exactly matching the concrete (if our walkway was cleaned haha!).
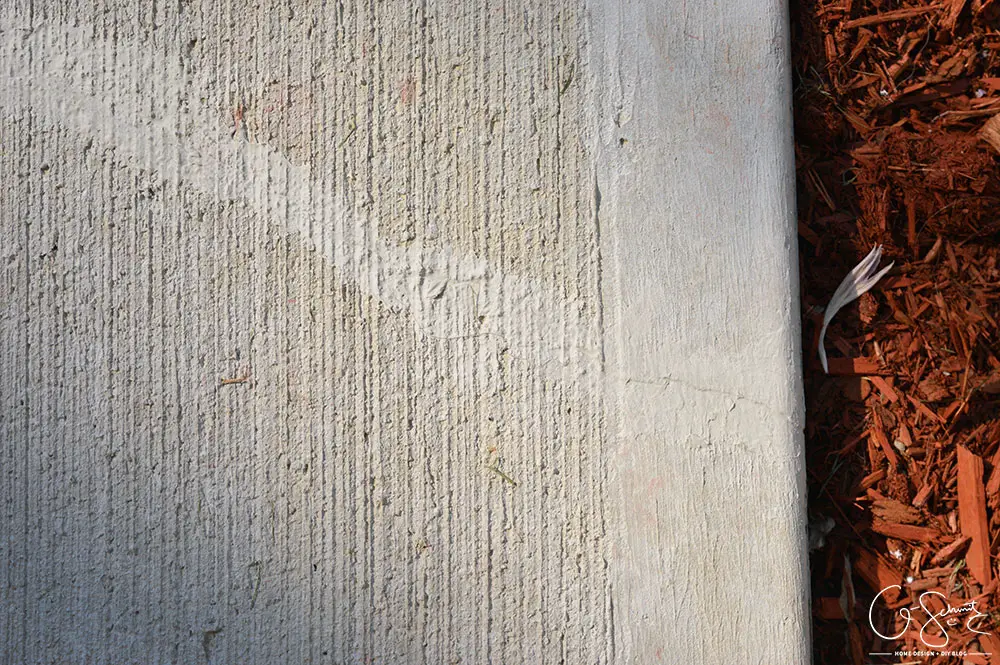
It blends seamlessly in the smooth areas, and you only really notice the difference of colour because of the dirty spots.
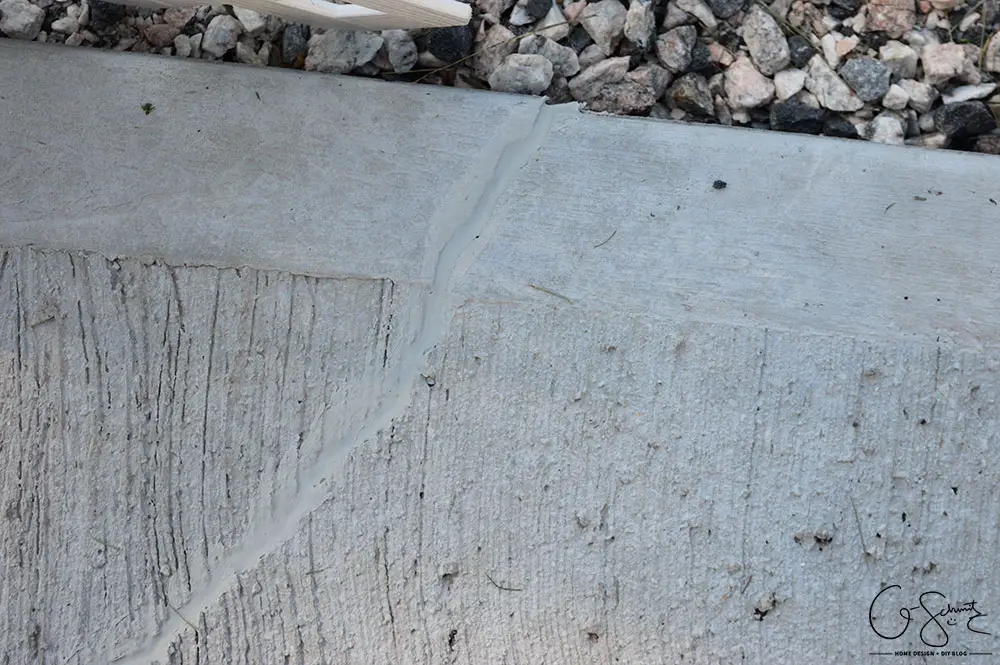
Of course, there is a noticeable seam along the huge crack where the filler dips down. I’m not sure if we should/could go back and level it out, or just leave it like it is for now.
Either way, I’m super happy the crack is “gone” and won’t have to worry about rocks or water getting in there and freezing in the winter (causing more damage!). Weeds should hopefully not sprout up anymore either (there was one in the center of the crack at one point).
As always, I’ll make sure to update everyone with the progress of the crack within the next few months. But honestly, we will have to wait another winter to see how it fares in the cold weather, so hold your horses until then haha!
It was very easy to seal a crack in concrete, and if you’ve ever worked with caulking before, the process is identical. Not sure if anyone has any tips on how to blend the crack filler better (maybe try and mimic the brushed pattern?), I’d love to hear them in the comments!
Next year, if everything goes well we will paint the concrete (the Husband doesn’t like the “concrete” colour), so hopefully we don’t have any more cracks to deal with!
See you next time :)
UPDATE: WHEN the concrete would get wet, you could clearly see the crack filled section because it was a different colour. And once we redid our main porch, this crack became much more pronounced. We’re hoping to fill it in with permanent concrete in the future.
Shop This Post

2 Comments
Kim
April 28, 2020 at 8:01 amAt least from the photos you had, I noticed that there were no troweled or cut joints in the sidewalk. These joints are extremely important in sidewalks and driveways, especially in freezing winter temperatures. What these crack do is more often than not, direct the eventual cracking along the joints. Then the cracks are somewhat less noticeable and more importantly won’t have to be filled in.
It’s very unusual that your concrete would crack after the first winter season. I’m not sure how or what you did in preparing the ground where the sidewalk was poured. Longevity with any job is in the details and preparation tops the list. A few inches of soil needs to be removed and then thoroughly tamped with a power tamper. Then a layer of sand spread over the tamped soil and then thoroughly tamped again. Another condition that can help with crack prevention is the grade surrounding the sidewalk. Hopefully it slopes away from the sidewalk to allow proper drainage away from the sidewalk. Not always an easy job with limited landscape areas. Congratulations on tackling a sidewalk project. Working with cement and the preparation is a lot of hard heavy work. Kim
Nicole
April 28, 2020 at 1:09 pmThanks for the info Kim! We cut one expansion joint about halfway through the sidewalk (you can see the full size/joint here). The other side of the sidewalk has stayed the same all these years. We’ll be doing a proper patch/repair to this crack as soon as the weather permits, and cutting an extra joint :)