
After completing this project, I can now say that our basement looks less like a demolition zone, and more like a completed space. We still have plenty of work ahead of us, and it’s still messy and unorganized… but we’re so much closer to the finish line! Today I’m talking about how to install tongue and groove panelling, (which is what we used to we cover up the bare wood from the removed bricks).
Once again I need to say a HUGE thank you to Metrie for providing all the interior finishing pieces for this project. I used a few different pieces, so let me try and explain where everything fits!
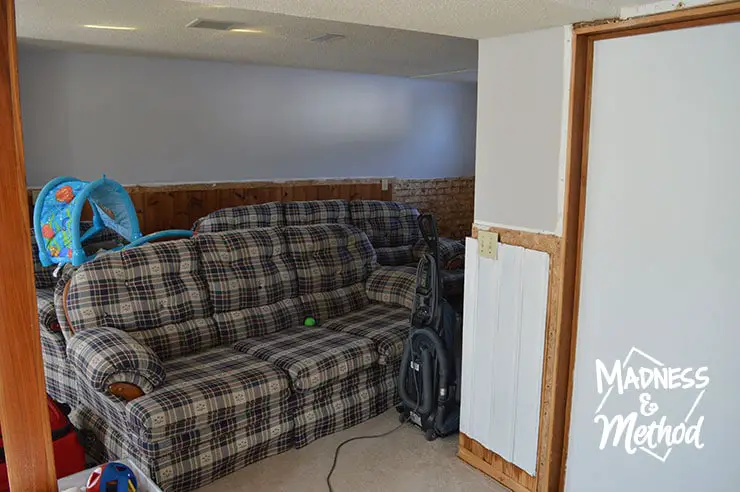
We had to move all the furniture to the center of the room
We started out by removing all the baseboards, chair rail and top pieces that covered the panelling we had in the basement. I was only planning on finding a piece few pieces to fill in the area above the bricks in the back corner of the living room. But once I removed what was there (exposing an aspenite/chip board), the Husband decided it would be better to remove all the bricks too.
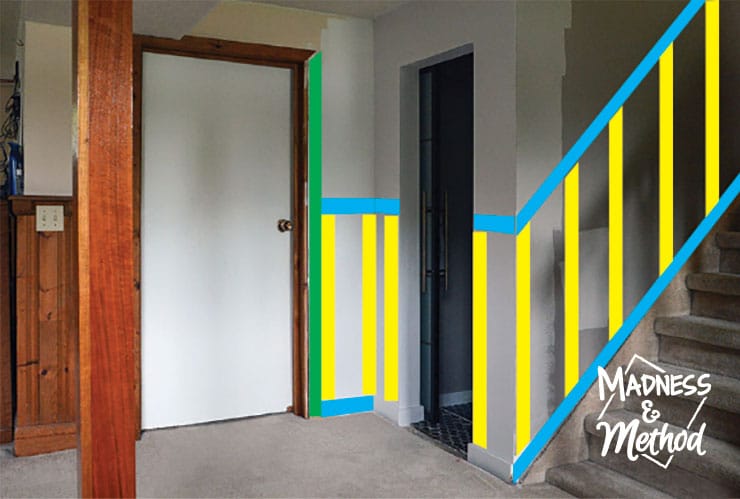
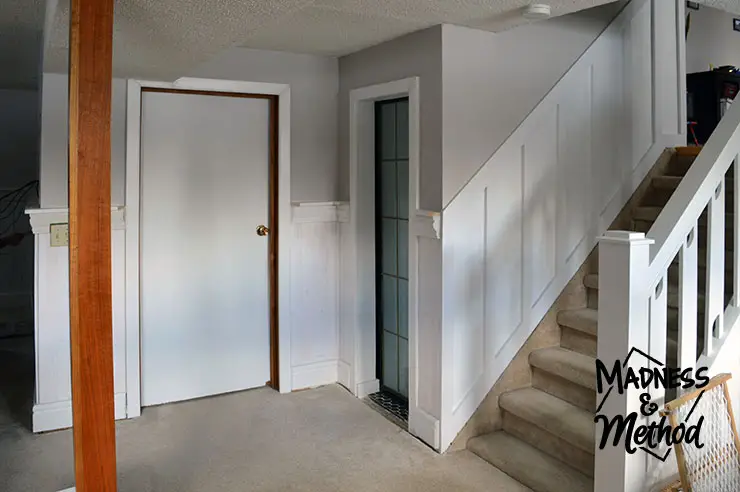
My original idea for the board and batten staircase was to continue the finish down into this area by the doors. It used to be all panelling (like the rest of the basement) but we took it out when we ripped down the wall and added the bathroom.

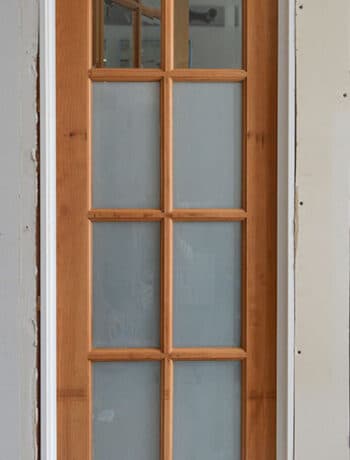
However, I knew that I would be bothered if one side of the door didn’t match the other. It made more sense to stop the board and batten at the end of the staircase, and to install tongue and groove panelling here to match everything else in the basement.
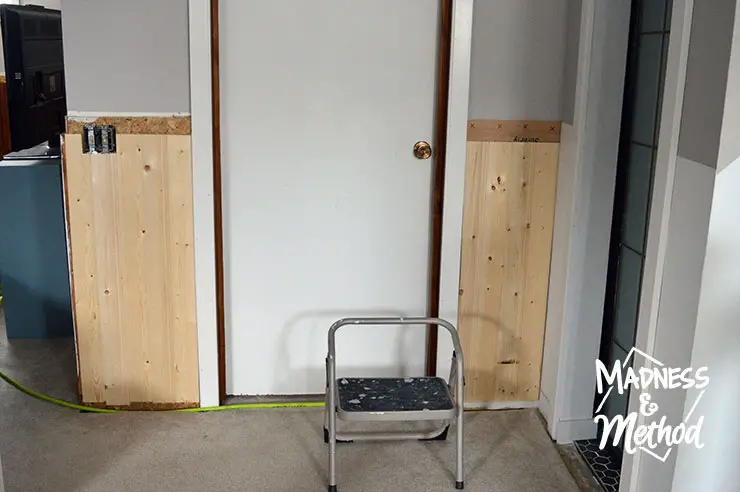
I took out (and saved) the few pieces of old panelling on the left, and added a piece of Sureply to match the depth on the right side (the aspenite was installed behind all the panelling, and I was not planning on removing it). I then added the Fashion Forward Casing around both of the doors and installed a few pieces of tongue and groove panelling.
I used both the “flat” tongue and groove, and also the “curly” tongue and groove to get a look that more closely matched what we already had in the basement. The pieces came in packs of six, and had instructions on how to install them. It was super simple, and once you had your lengths all cut, you could install tongue and groove panelling pretty quickly!
For the bathroom wall, I installed the planks directly on the wall. When I did the board and batten on the staircase, I also made sure to leave an overhang from the edge so that the pieces would fit in nicely.
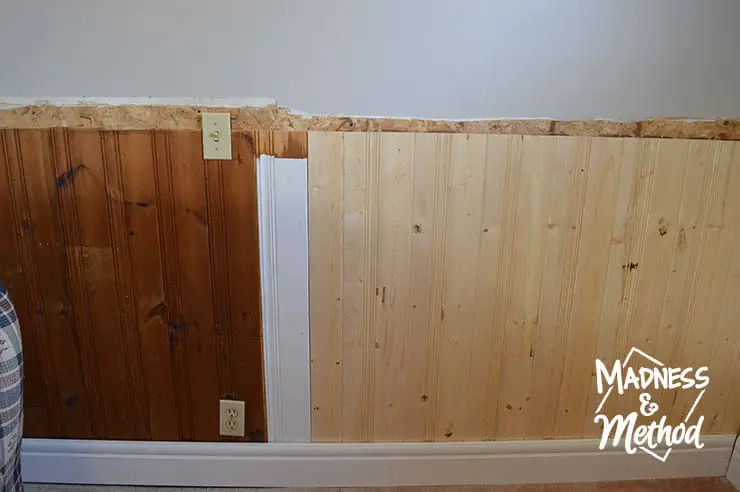
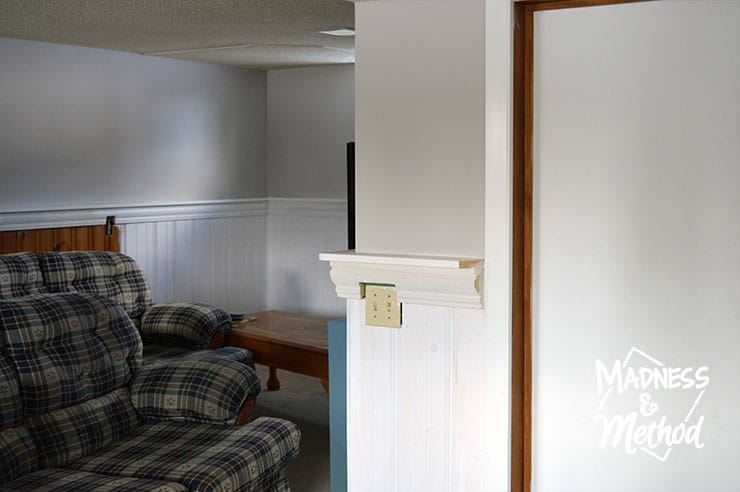
After priming the tongue and groove planks white, everything blends in well together! Still need to add a couple of coats of paint, but it’s looking much nicer already :)
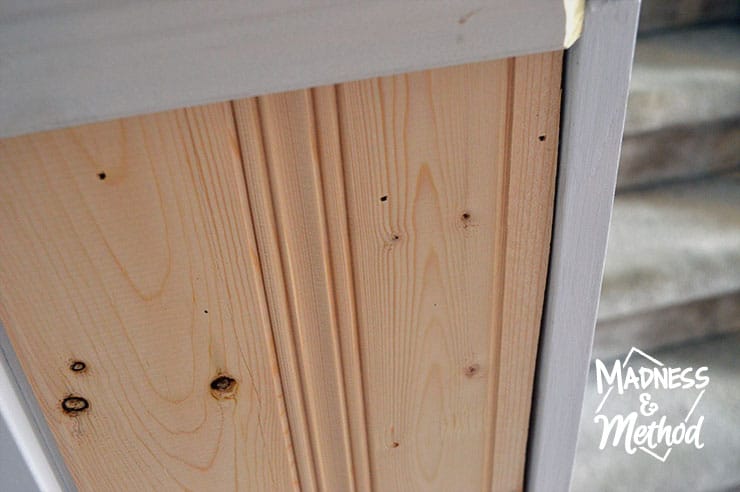
The tongue and groove planks were then capped with Metrie’s Fashion Forward Chair Rail and I added the same Fashion Forward Casings on top of that. You could totally install the chair rail on its own (it’s 1-1/2″ thick), but I was set on having the ledge like there was before.
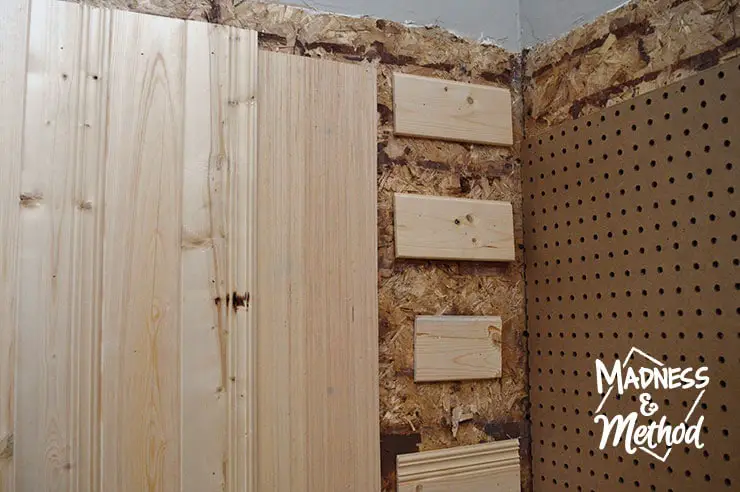
How To: Install Tongue and Groove (Corner Area)

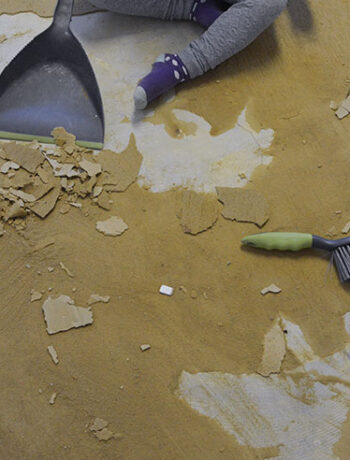
So, essentially we’ve been living with an exposed piece of (messy) wood for a couple of months now. The old tongue and groove panelling pieces were actually 1/2″ thick, so we had to install another backing to match the depth.
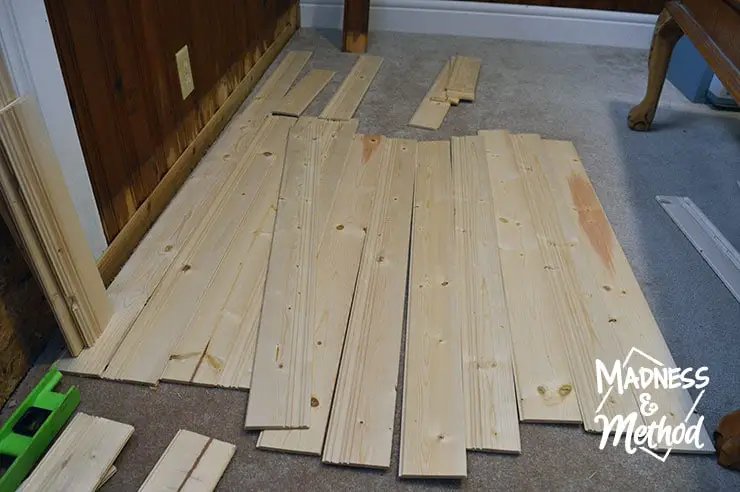
The installation instructions for the tongue and groove say to bring them into the room for at least 72 hours before install (so they can acclimatize to the space). I did cheat and cut them to length ahead of time (while they were in my garage), but laid them out on the ground for a few days after that.
I actually ended up using small cuts of any damaged pieces to fill in the back (shh!)
Normally (as per the instructions) you would install tongue and groove panelling from the corner (tongue in, groove out) and work your way out. Because my situation is unique (that I was trying to fill in a space), I worked out to in (still placing them in the correct direction).
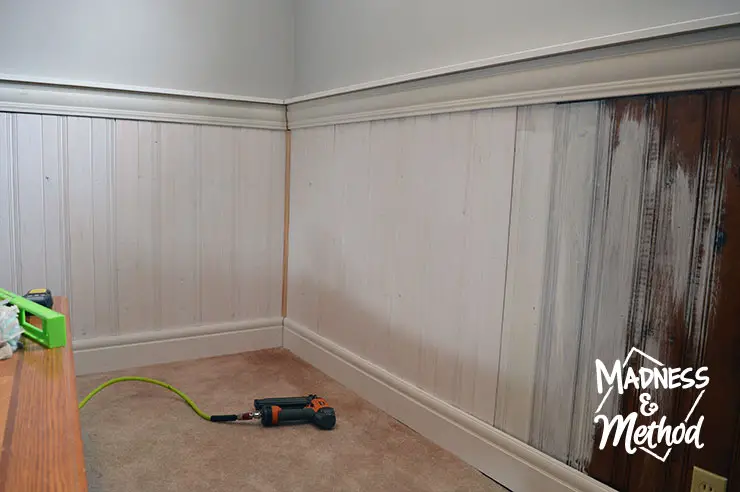
You want to make sure that your first piece is level, and then you can install the rest by “snapping” them in place using the tongues and grooves. I still checked if they were level every few pieces or so, and would adjust if I had too. I also checked the top with my level and made sure that both sides of the corners lined up.
Once all the pieces of tongue and groove boards were in place, we installed the Fashion Forward Baseboards around the room. (Fun fact: I actually chose the interior finishing pieces from Metrie that most closely resembled what we had before). And in case you were wondering, that once piece of white panelling was actually from the door section, because I swapped out the piece that was there before (that had been cut).
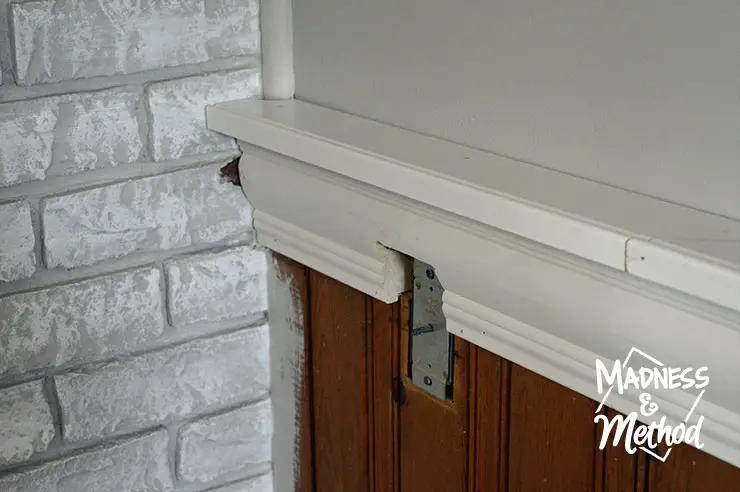
The chair rail and casing were added last, and as you can tell from the photo above, the new pieces are just couple of inches taller than before.
Finally, I added a cute little cove in the corner and painted everything white. I then went in and caulked along the seams, and was happy that I didn’t have to do the vertical sections in between the tongue and groove panelling pieces. (Compared to the panelling that was there before, where I had to do every.single.section.).
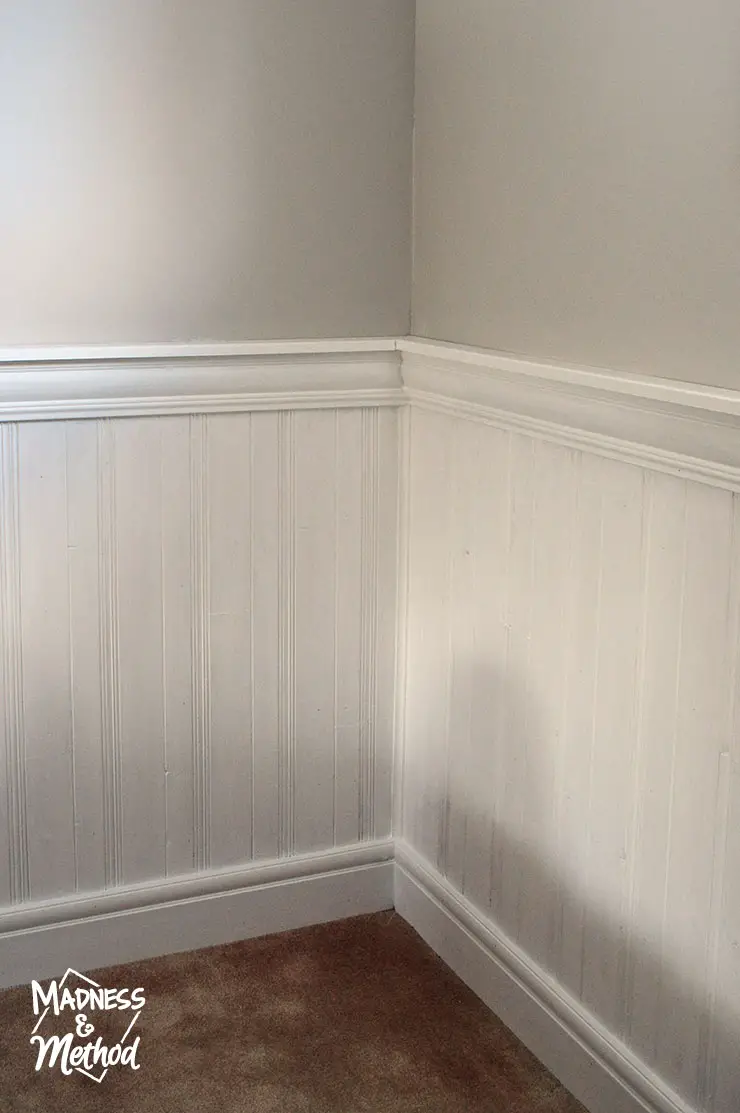
Doesn’t it look so much better than the exposed aspenite?!
And here’s a cute little animation showing the progress of the corner.
Are you planning to install tongue and groove panelling? It’s actually super quick, and most of the time spent on this project had to do with installing the horizontal pieces (those notches!). I’m super happy with how it almost seamlessly blends into the old panelling pieces, and I can’t wait to have everything complete down here :)
Ha, you know, just in case you thought that I was close to being done the basement! Still have WAY more painting to do, some more caulking, patching, painting and painting…

PS: Super thanks again to Metrie for providing the interior finishing pieces used, and also to the Mother-in-law for helping me cut and install everything :)
10 Comments
Morgan
March 29, 2017 at 10:40 amthis looks absolutely fantastic! Very professional and so timeless. Great job!!
Nicole
March 30, 2017 at 12:12 pmThanks Morgan – it definitely made more sense to keep the panelling throughout the basement
Sheri
March 29, 2017 at 8:37 pmVery pretty! You did a great job. Thanks for the tutorial!
Nicole
March 30, 2017 at 12:13 pmNo problem Sheri, it was simple to install and has a big impact
Rachel
April 2, 2017 at 2:03 amLove it! It will brighten up the space and the top edging is a beautiful touch. Pinning for our basement one day.
Nicole
April 4, 2017 at 11:04 amThanks Rachel :) I’m hoping to use the top ledge as a place to hold photos/artwork!
Amy @ mylifefromhome
April 3, 2017 at 12:42 pmIt looks fantastic! Freshens and lightens the space beautifully!
Nicole
April 4, 2017 at 11:06 amDefinitely matches the old panelling much better than the bricks did :)
Sarah
April 4, 2017 at 10:04 amIt looks so great, Nicole! Adds so much to the space.
Nicole
April 4, 2017 at 11:07 amIt blends it with the rest of the basement perfectly now!