
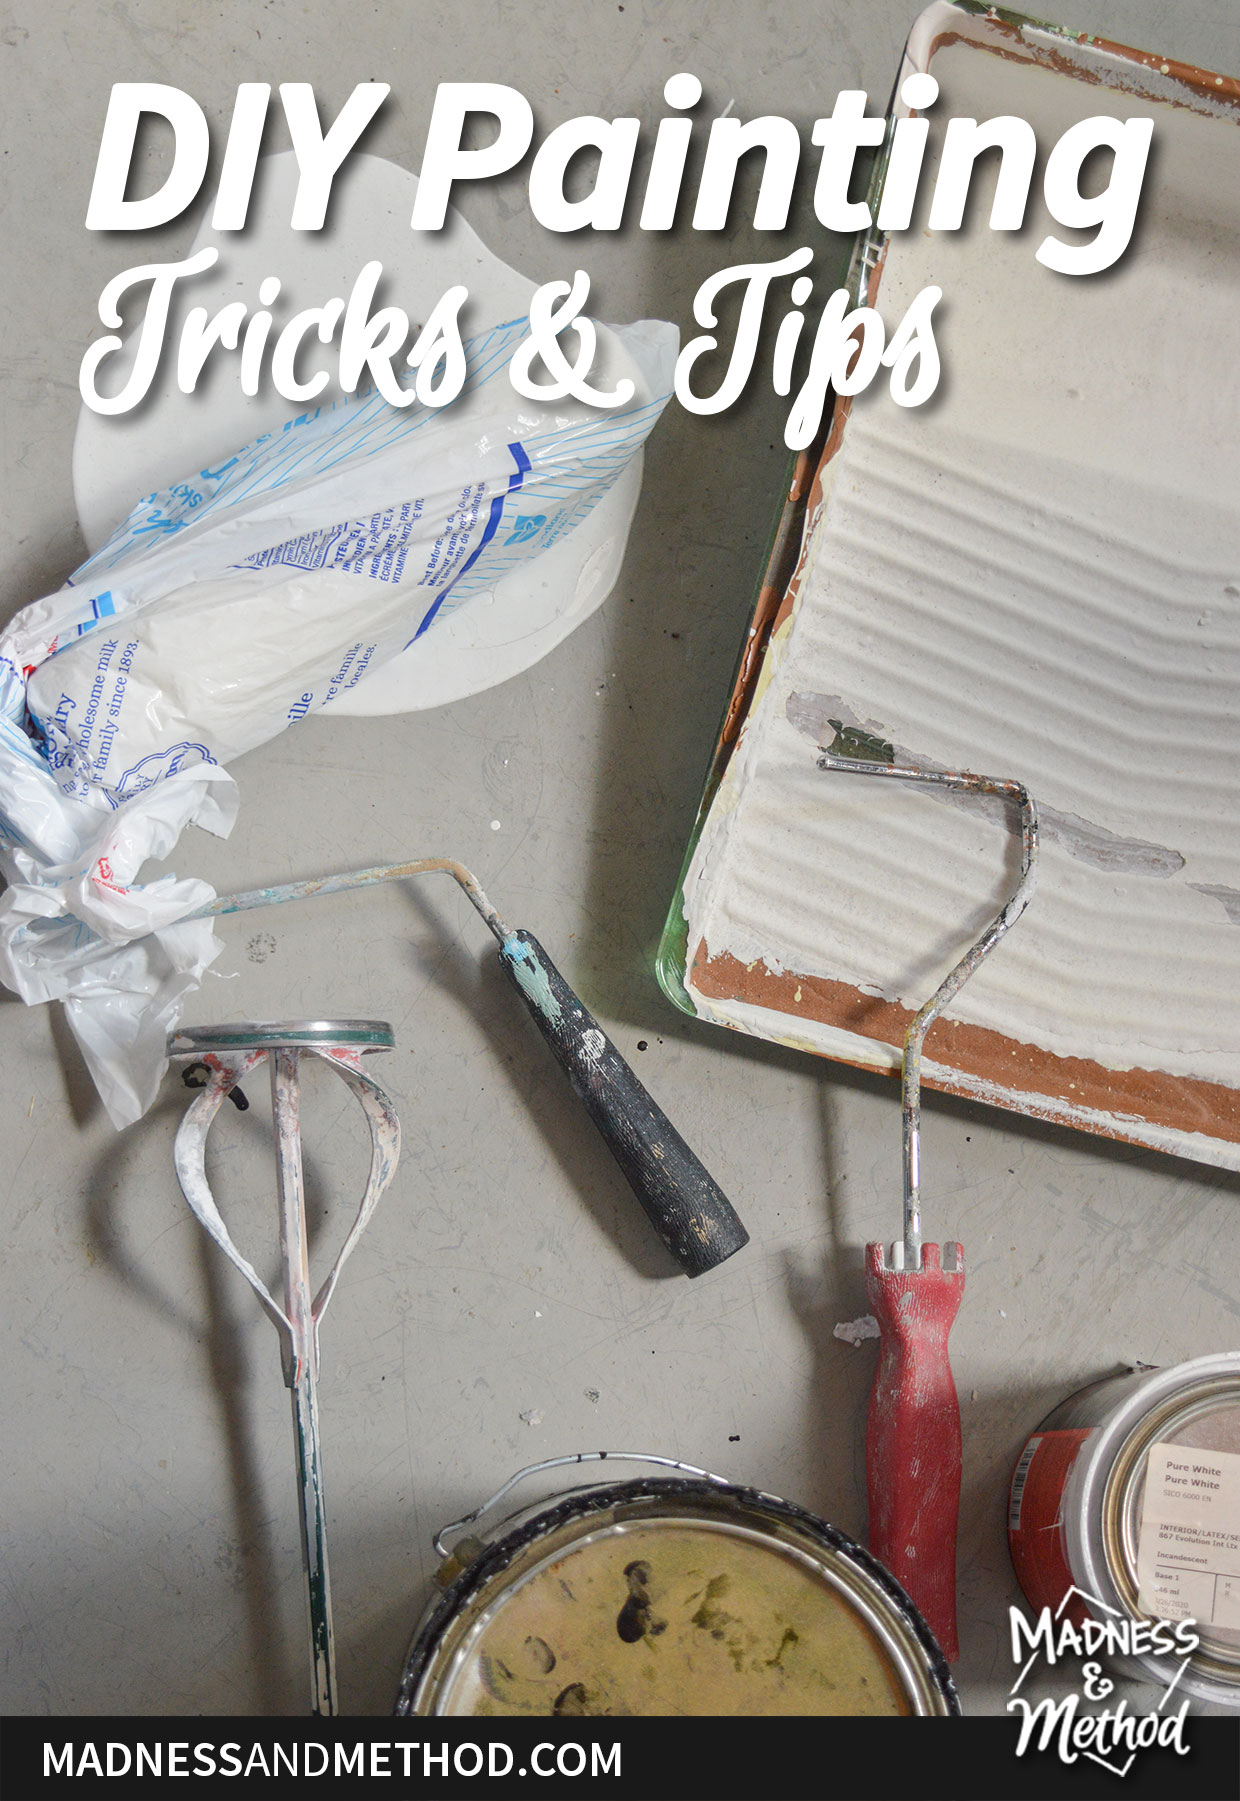
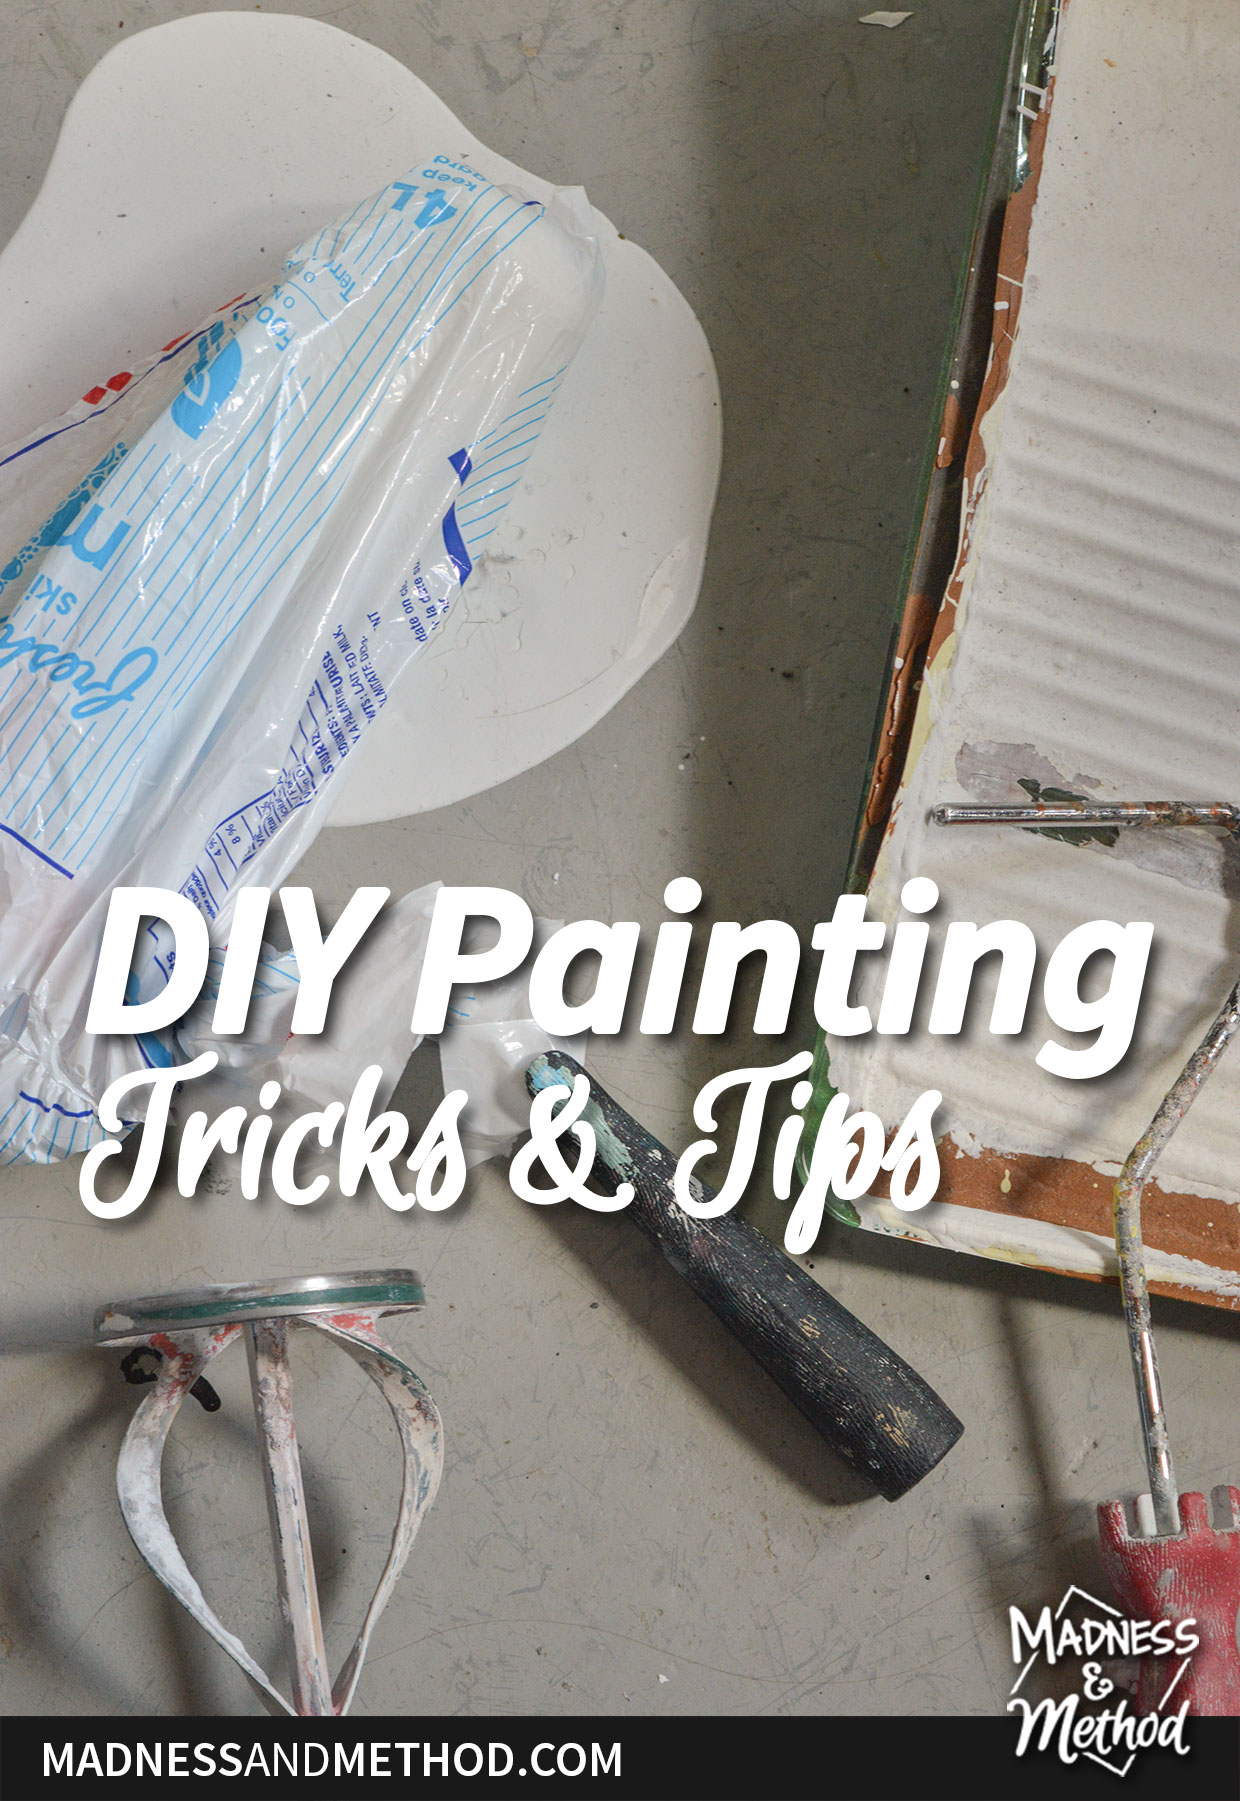
Are you planning your next interior painting project!? Whether you’re a seasoned DIYer or a complete newbie, I want to share some of my painting tricks and tips with you! I’ve been blogging for 7+ years and painting rooms since I was in high school, so I have a lot of experience under my belt. Hopefully, this post will give you the info (and confidence!) to transform your next room with paint :)
– Note: This post contains affiliate links. See more information about affiliates here–
I’m going to go over some of the basic DIY painting steps, including prep work, tips for mixing paint at home and painting specific areas. I’ll even link to a bunch of fun wall painting projects I’ve done. Let’s get to it!
This post was originally written May 31, 2016 and titled “Paint Tricks I’ve been Using Lately”. It has been refreshed and republished June 3, 2022.
In the original version of this post, I was painting a bunch of rooms in our first house. We were expecting baby #1 (Zachary is almost 6 now!) and it was a mad dash to get all the new rooms set up and rearranged.
Painting Prep
Let’s start with some basic pre-painting steps:
- Wipe down all walls and baseboards/surfaces (wash if super dirty)
- Clear out as much space as you can in the room (if the furniture is staying, move it to the centre)
- Remove all outlet covers, blinds, artwork, etc!
- Patch and sand any holes or cracks (see this post for more tips on patching)
- Prime if needed (see tips below AND check out this post on selecting primer for panelling).
- Protect surfaces
- Select paint
According to the book What’s a Homeowner to do, you’re actually “supposed” to prime all your walls before you paint them. Now, I don’t know about you… but to me, that’s just added work. I would only prime my walls if I was going from a darker/brighter colour to a lighter colour. Nevertheless, you should always prime your patched/repaired areas.
Paint Trick 1: Prime Edges Only
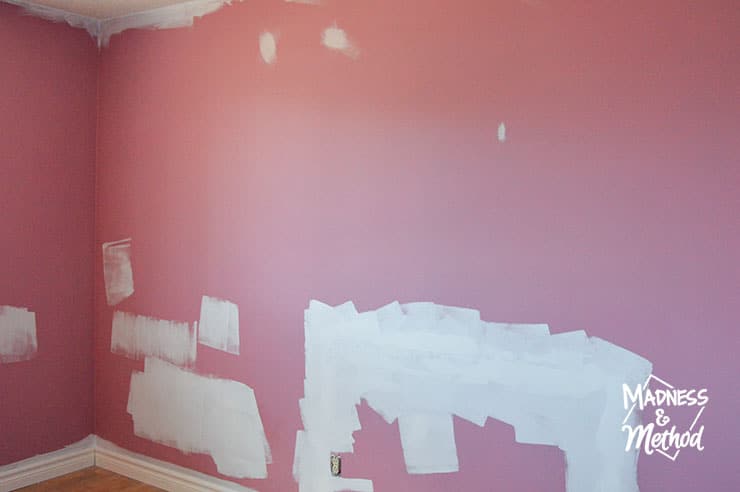
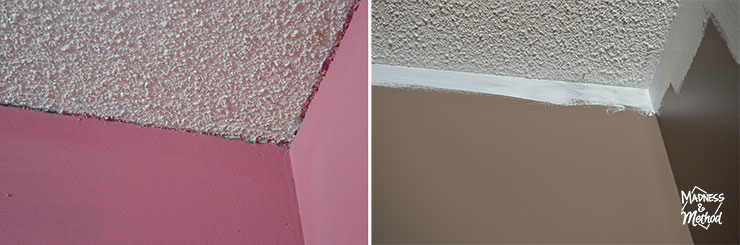
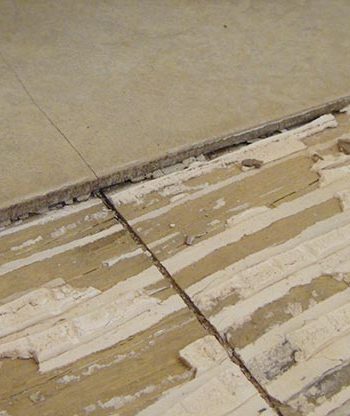
Let’s say you’re among the 75-80% of people who have white ceilings and white trim (I totally made that statistic up, don’t quote me on it!).
Maybe the room was taped, or maybe it was free-hand painted… but either way, you may have come across something like this before (see photos above)? Basically, the old colour(s) of the room were either painted too tight to the ceiling/trim lines, or you didn’t cover them enough the first time you painted.
You can always leave them as they are, but you’ll most likely end up with either more colour-stripes section by cutting in too thin again, or some sort of weird clown lipstick where you cover the old paint with your new colour, but you’re way out of the lines where you should be!
Since you’ve already got your prime ready from any patching you might have done, it makes sense to prime the edges of the room (along the trim and ceiling) at the same time.
You also don’t have to go over the white areas completely either. All you want to do is cover up any colours that were there before, not redo your entire trim and ceiling again!
If you have a coloured ceiling you can also paint the edges of the room with that ceiling colour. I find it’s easier to cut a nice line on the wall than on the ceiling
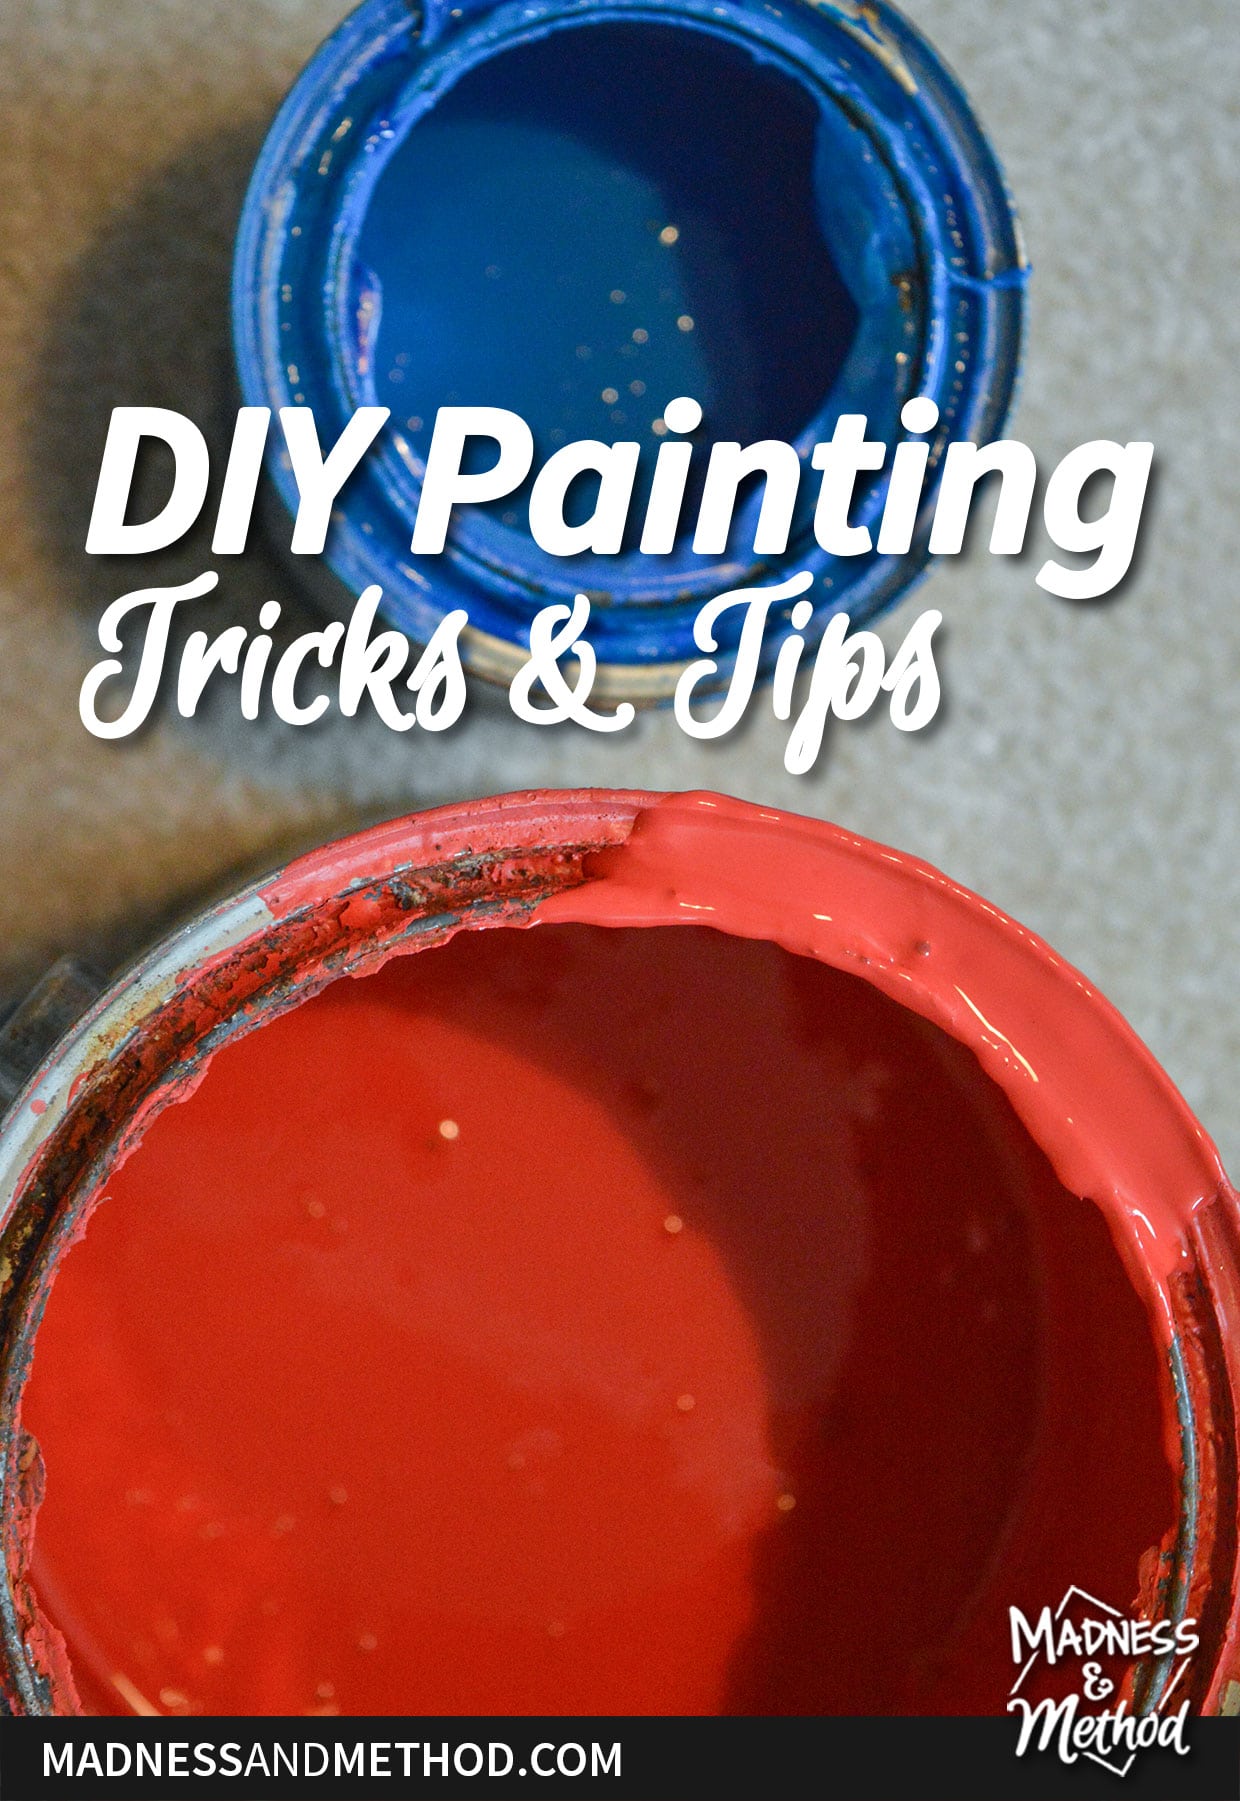
Trick 2: Mix Paint Perfectly
Let’s say you’re like me and a bit of a paint hoarder (guilty!). Or maybe you are trying to save a bit of money and aren’t too picky on your exact paint colour choice (also me). You may find yourself mixing a few different colours of paint to get something that you want (or just to save up some storage space by combining half-empty paint cans).
Either way, you’ll need to mix the paints perfectly so that when it does come time to paint, you don’t have a can that’s half mixed and comes out streaky on your walls.
My number one tip is to NOT mix your paints in a “dirty” paint can (aka one with wet paint). Check out this blog post and video on how to perfectly mix your own paint at home!
Not mixing your own paint? You may still need to give the can a stir before you paint :)
Painting Tricks & Tips
Now that we have our walls prepped, our paint purchased/mixed, and our surfaces covered – it’s time to gather our supplies and paint!
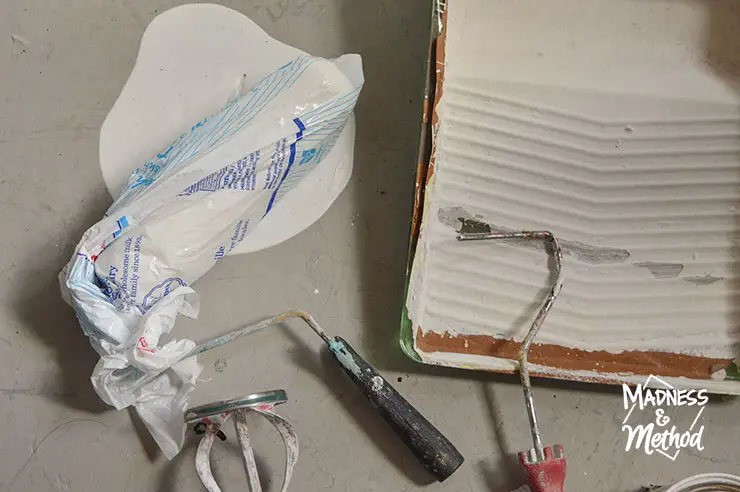
Supplies you may need:
- Paintbrush
- Paint roller and cover (the metal part and the fuzzy tube)
- Paint tray
- Clean rags and water
- Painter’s tape
- Small bucket/container
Pour the paint you think you’ll use into your paint tray, or a small container if you’re edging. You want to avoid dipping your brush/roller into the original container. That’s because dirt/lint could get in, and it’s easier to keep the container as clean as possible. Plus, it’s easier to walk around with a small handheld container rather than lug a heavy gallon of paint around!
When painting a room, it’s always best to cut in the room first (aka edging with a brush). Then, use your roller for the large sections in the middle. Do a minimum of two coats of paint, making sure to follow the instructions about dry/recoat times.
Trick 3: Paint without Taping
Did you know that most pro painters do NOT tape a room before they paint? It may sound crazy (especially if you’re not a paint perfectionist or don’t have experience) but taping up a room perfectly takes sooooo much time. I’ve found that’s it much simpler to go slow when I’m cutting in. The tape may end up bleeding through and/or wasn’t put on correctly (aka paint stripes like in trick 1).
Besides, it’s much easier to clean up paint that might have gotten onto the wrong surface when it’s fresh and wet. Rather than realize the mistake after you’ve peeled up the tape and everything has dried.
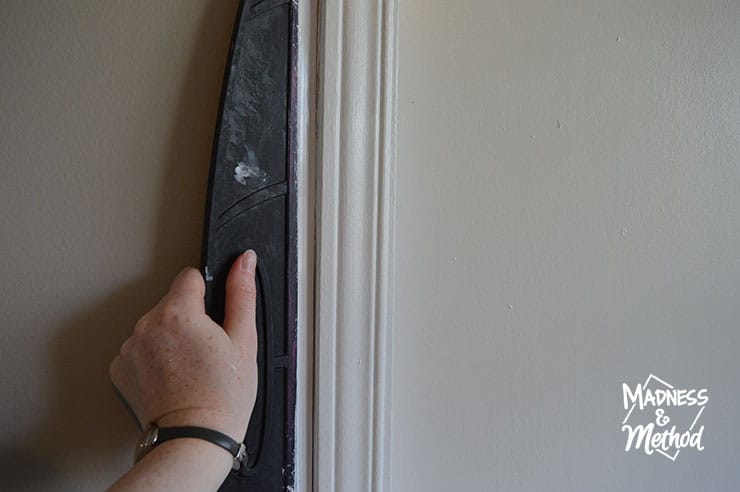
If you’re still worried about your edging skills, invest in one of these trim guides (shown above) which basically creates a barrier between two areas. Paint may still leak through, but as long as you’re cautious and don’t overload your brush, it should be good. (And again, easier to clean paint when it’s wet!). Don’t have that tool? A stiff piece of paper or thin cardboard (think cereal box) will work great!
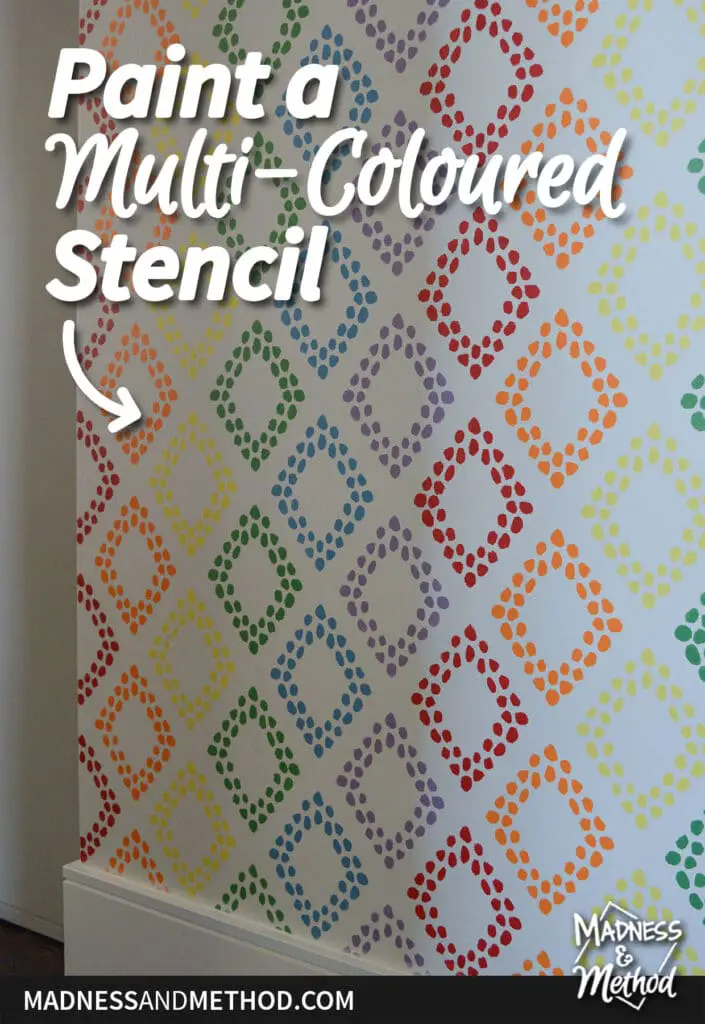
Conversely, I will always use tape if I want crisp stripes or patterns – see below for examples of those projects :)
Trick 4: Reaching Far Areas
Have an area that’s too far to reach? If using a stool or ladder doesn’t work (or you’d rather not climb up and down) you can use a roller extender. In a pinch, any broom handle could work (simply unscrew the broom side and screw it into the paint roller). BUT I’ve found that they are not as strong and may break (ask me how I know!).
What about edging a room that’s too far? One time, I hacked a brush holder using an empty toilet paper roll, a roller extender and some rubber bands/tape. Visit this post to see it in action!
Trick 5: Get Crisp Paint Lines with Tape
The secret to crisp paint lines? Apply your tape, then go over the area using the base wall colour. When it’s dry, apply the final wall colour. Any bleed-through will be done with the original (base) colour, and you won’t even see it! Have textured walls? Applying a smooth line of caulk over the tape’s edge will accomplish the same goal. Although I haven’t used that technique yet, I hear it works great.
Paint Cleanup
So, you’re done painting and ready to clean up. Or, maybe you ran out of time and need to store your paint until you’re ready again. No worries, you can totally save your paint brush or roller without having to wash it.
Trick 7: Save your brush/roller for later
Coming back to paint in an hour or so? Simply place your roller in a tight plastic bag. Yes, you can cover your paint tray too!
Want to store your paint roller for a day or more? Toss that plastic bag in the fridge. Put the extra paint in a lidded container (clean margarine/yoghurt tubs work great).
Storing paint rollers for more than a week!? Place the bagged roller in the freezer! Just give yourself enough time for the paint to defrost before you start again :)
I should mention that 75% of the time I do wash my brush rather than bag it.
Trick 6: Storing Paint
If you mixed your own paint, you can buy empty paint gallons or empty quarts to store large quantities of paint. Have a small amount of paint that you want to keep? A plastic tub or glass jar works great! Remember, it’s better NOT to remix the paint that was in the tray back into the gallon/original container.
Try to use a can/jar/bucket that’s close in size to the amount of paint you have left. Storing a tiny bit of paint in a too-huge bucket will undoubtedly trap more air than necessary and cause your paint to dry out quicker. (Not to mention it takes up more storage space!).
Store your paints in an area that won’t freeze, make sure to label them (colours/rooms) and close the lids tight!
Fun Painting Techniques


I have a bunch more painting projects, but I tried to keep them wall/floor related (as opposed to furniture/cabinets).
Do you do a lot of painting in your house?
You may have heard of one or two of these paint tricks, but you probably hadn’t heard them all before! Do you have another painting trick or tip to add? I’d love to hear your feedback in the comments!
Looking for more painting projects!? Check out all these paint-related posts!

2 Comments
cherie
June 2, 2016 at 9:23 amHey, Nicole! Those are GREAT tips!!! I have painted for so many years and haven’t heard of those! Although I do have to confess, I have painted without taping and feel so much better that you approve! ; )
Nicole
June 2, 2016 at 10:53 amI think I’ve made more messes using tape than not using tape. I actually have some professional painters in my family, and I don’t think they even know what painting tape is haha! Thanks for stopping in :)