

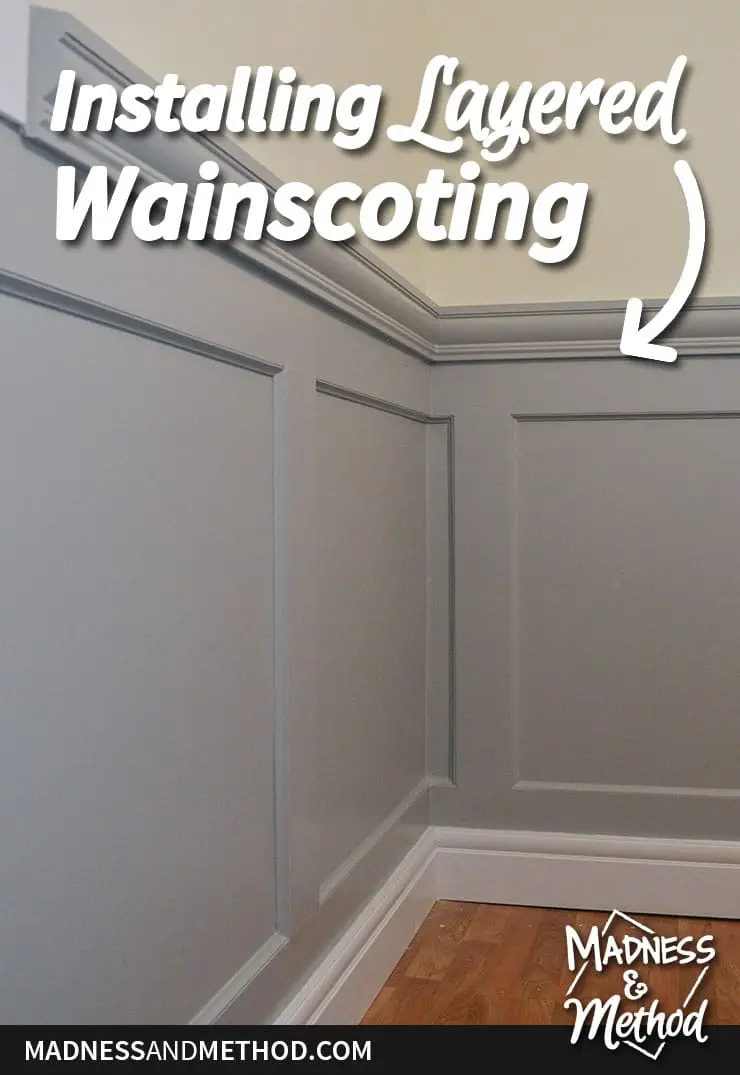
I LOVE me some fancy wall treatments, and before we were even expecting baby #3, I knew that I would be installing layered wainscoting in the new nursery. We did a pretty extensive diamond wainscoting treatment in our last nursery, and I wanted something very similar to match. Today I’ll be sharing some install tips to recreate the look!
Alrighty – let’s dive right into this week’s One Room Challenge progress update before I talk about the wainscoting. We’re coming up to the end of our 6-week journey, and so far I’ve shared the design plans for the space, painted the walls (a million times!), painted the crib a dark teal and built a custom pompom mobile.
All the while I’ve ALSO been working on installing the layered wainscoting (it’s a time-consuming project). So here’s a bit of a breakdown of all the tasks for the room (some of which I have been adding week by week):
Nursery Progress
What’s Been Completed
- Clear out the room (including blinds)
- Remove old trim and unattached phone cable
- Patch any holes and prime top parts of walls
- Paint light yellow (did this three times!)
- Clean and paint crib
- Install new trim (first casings, then flat pieces, baseboards, chair rails)
- Patched wainscotting, then sanded and patched/sanded again
- Build a mobile and hang from the ceiling (pretty much done)
- Installed panel moulds on doors, and centre/angle pieces
- Finish sanding and caulking new wainscotting
- Prime and paint grey wainscotting
- Paint white baseboards and casings
What Needs To Be Done
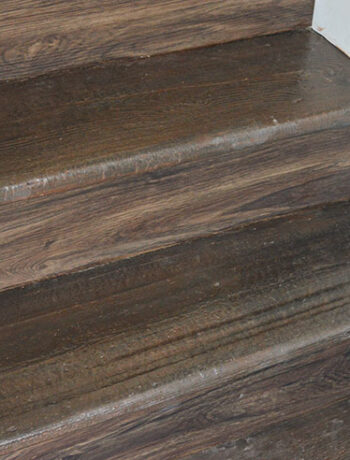
- Clearcoat crib (did one coat, need to sand and do another)
- Added: white paint touch-ups
- Added: yellow paint touch-ups
- Reinstall blinds, install curtain rod and curtains
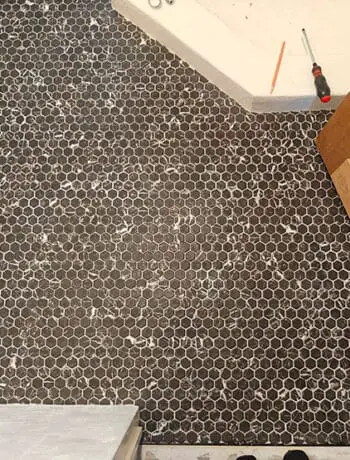
- Scrape paint from floors
- Clean everything, bring in furniture
- Hang artwork and take photos!
- (Prep for baby by organizing clothes and drawers)
I was hoping to have all the painting/mess stuff done this weekend, but thankfully I mostly just have small touch-ups to do. (Unless you count clear-coating the crib, which I forgot to account for originally).
Anyways, let’s dive into the wainscoting install tips!
Installing Layered Wainscoting
So, what exactly do I mean by layered wainscoting? Essentially, wainscoting is a type of moulding treatment installed on the bottom portion of the wall. It can be made up of tongue and groove panelling, simple board and batten pieces, intricate patterns like diamonds, beadboard, etc!
When I first shared the plans for this nursery, I had also determined that I would be doing a (more simple) square pattern for our wainscoting:
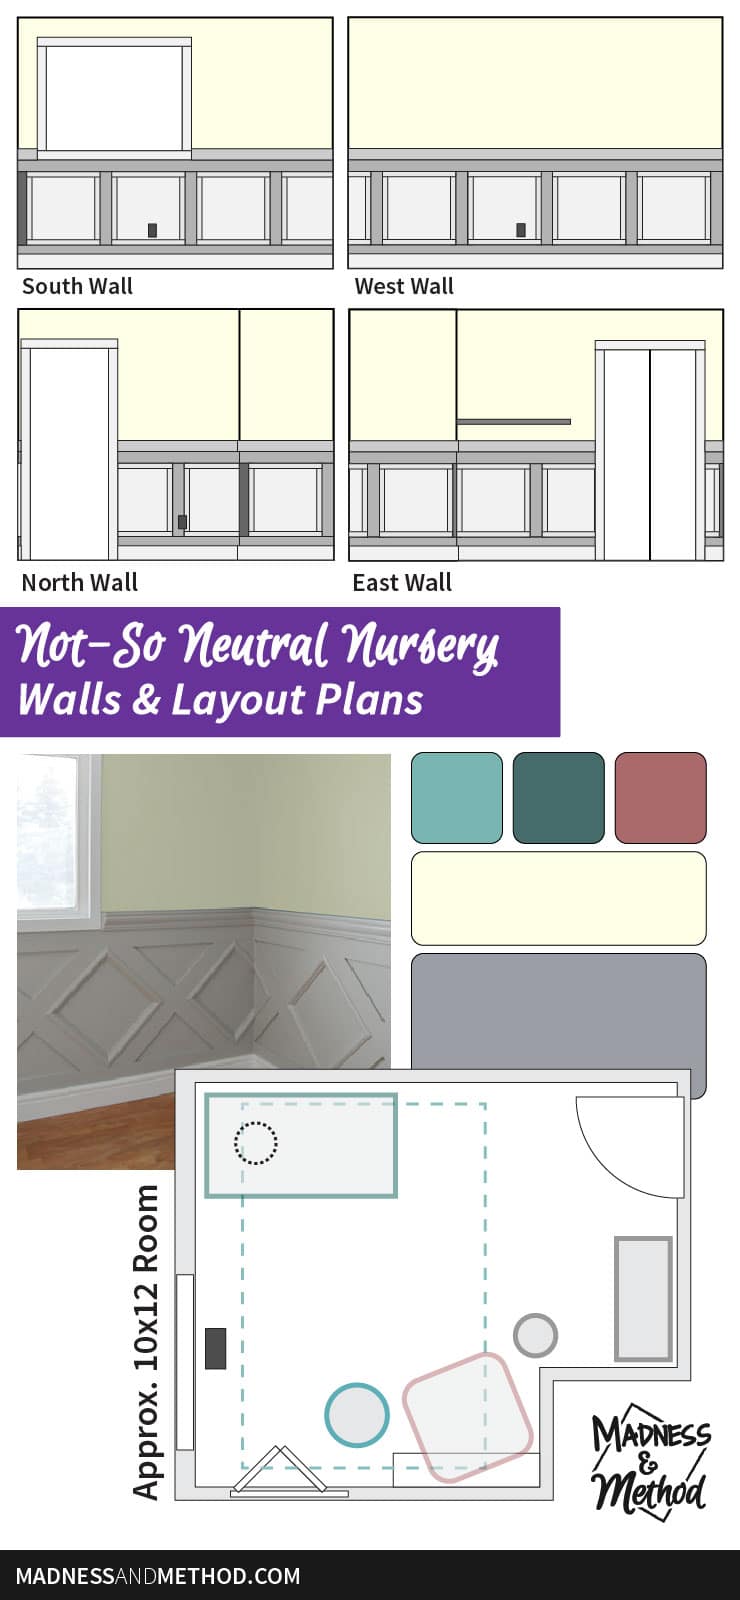
Image first appeared in Yellow, Grey and Teal Nursery Plans
I had measured out the room and walls and done some mockups of different looks. This also helped me determine how much material I would need for each component so I could order what I needed.
So, the real first step in installing wainscoting is, of course, deciding what type you’ll be doing, what pattern, what material, etc.

Alright, so I came up with the graphic above to show a breakdown of what section gets installed first (if you’re doing a similar style to me).
ALWAYS install the casings first, then whichever sections need to be on the wall/behind the others (in my case, the horizontal pieces), then either the baseboards/chair rails or vertical stiles. Finally, add the decorative pieces if you would like!
Let me show you some photos…
Installing Horizontal Sections
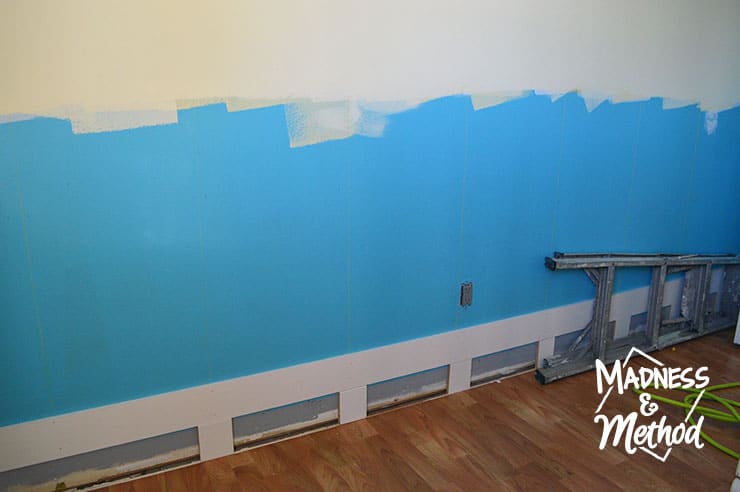
As we had done in the first room, I knew I wanted a double layer of height for our bottom section. Rather than waste full lengths of boards, I simply cut little pieces and lined them up with the studs to hold up the full-lengths. You also want to make sure your lengths are installed LEVEL, regardless of the little pieces touching all the way.
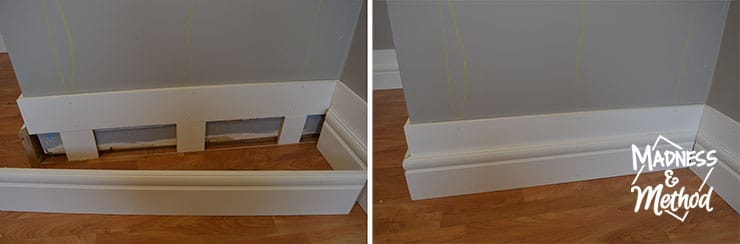
The photo above shows how the baseboards get installed in front, therefore hiding the small “guides”. Notice that we also chalked where our studs were – handy to know!
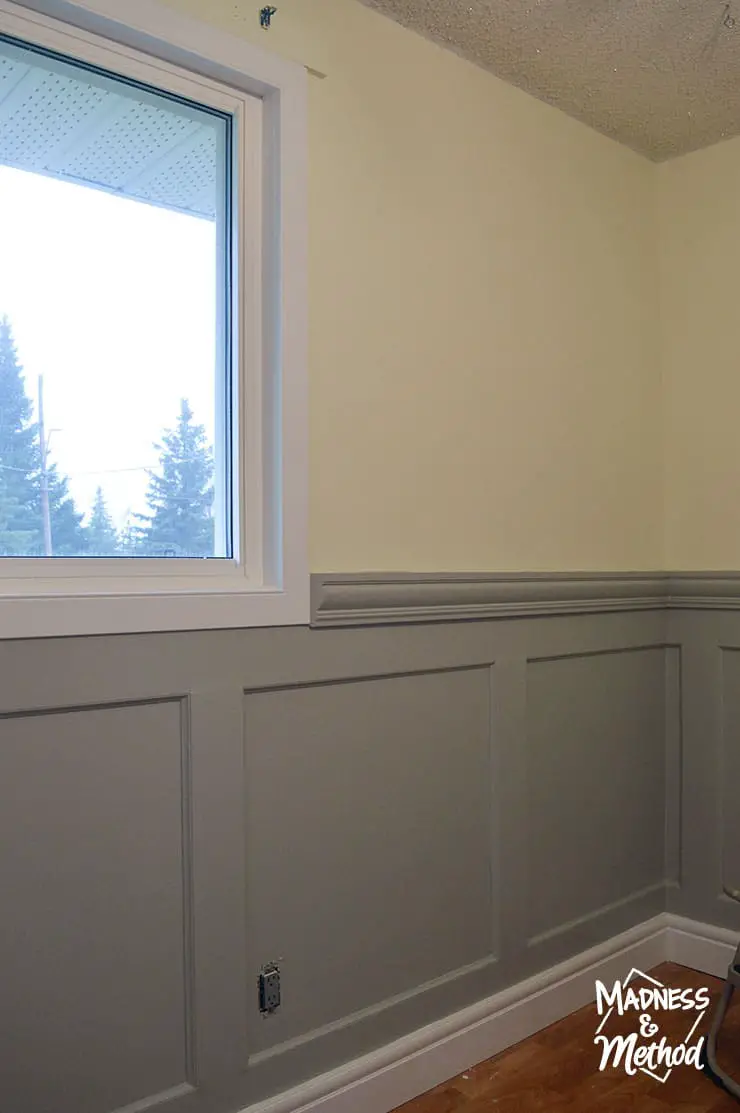
Using a level, we then installed the top horizontal sections (lining up to the height under our window casing).
Installing Vertical Sections, Chair Rails and Baseboards
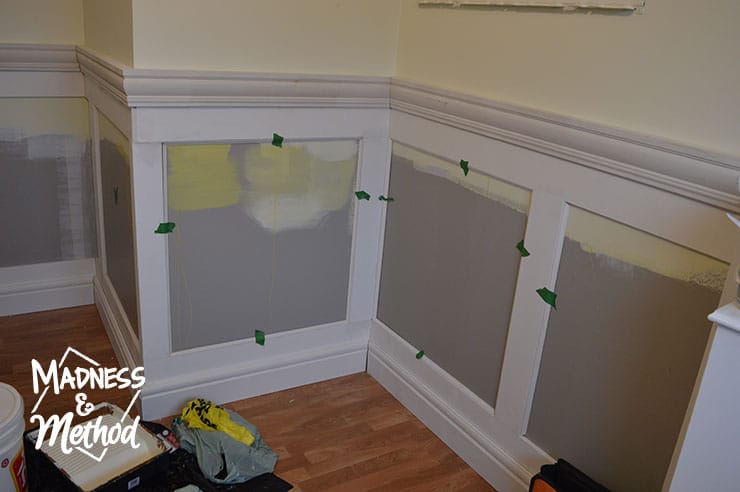
From there, I went in and installed all the vertical stiles/battens, and also the baseboards and chair rails. Because I had already mapped out my wainscoting plan ahead of time, I knew where I wanted to start (in this corner section).
I then worked my way around the room from there, making sure to create (almost) perfect squares.
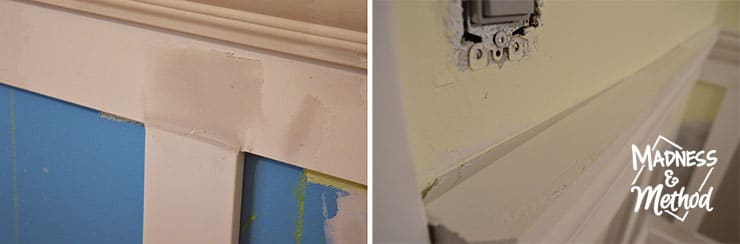
Here is where I hit a bit of a snag in my project. I was hoping to use the same applied moulding pieces as we did in the other nursery, but unfortunately, they were discontinued and I couldn’t get anymore. While I did have some leftovers, I would either have to do every one square with those pieces and then something for the other sections – or choose a new material altogether.
While I was waiting/deciding, I did go ahead and do my drywall patching of the sections that needed it. (Notice the crazy bow in our wall in the above photo on the right?!).
Installing Moulding Details
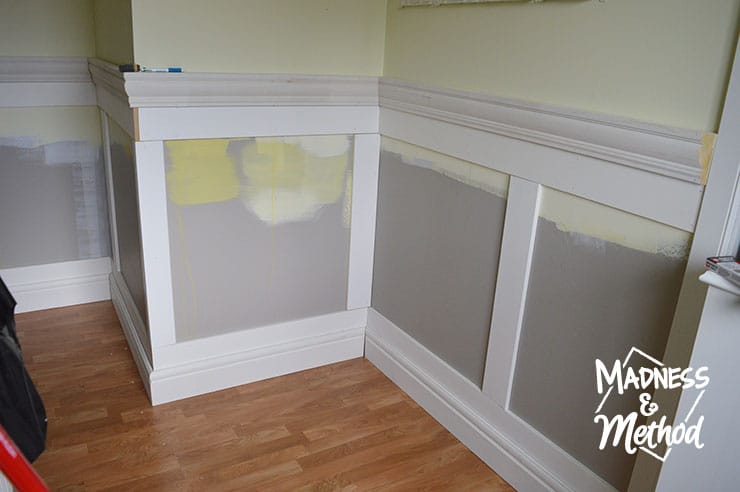
In the end, I went with a simple 1/2″ cove to do the inner sections of my wainscoting squares. While I wanted something a bit beefier, nothing was really available (especially at this point in the project!). I then measured, cut and installed all those pieces, then had to wait for a back-order to finish the last few sections.
(I told you I’ve been working on this part of the nursery for a while!).

One good thing about the cove moulds is that they are such a small profile and hardly required any caulking (if at all). I was estimating that I would need to use 6 tubes of caulking (so bought 12) and only ended up needing just over 2! This also freed up a lot of time (I usually take 1-2 hours per tube), so that was a welcome bonus.
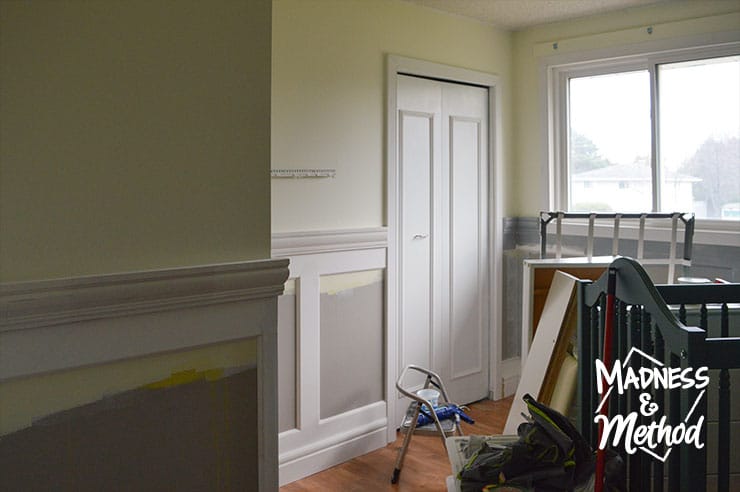
I even went ahead and primed most of the room while I waited for the last two lengths to come in from back-order. (You can sort of make that out behind the crib/mess in the photo above).
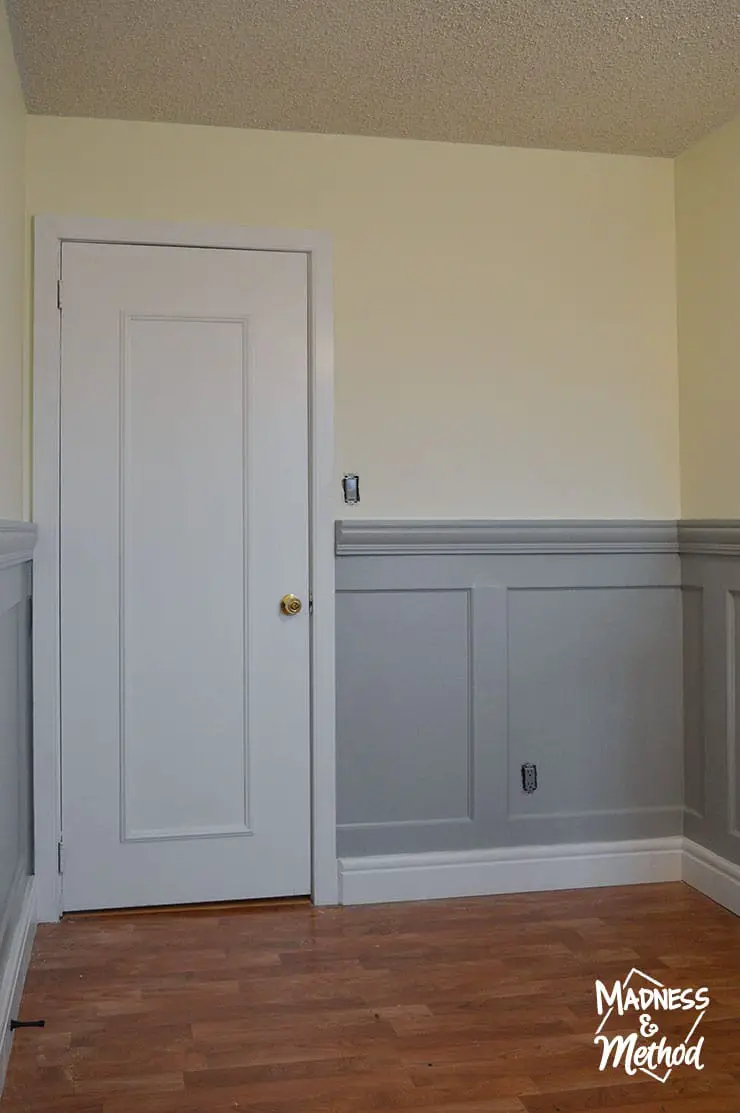
OH! And I did my fancy door treatments as well… literally the simplest part of the process (but such a big impact!).
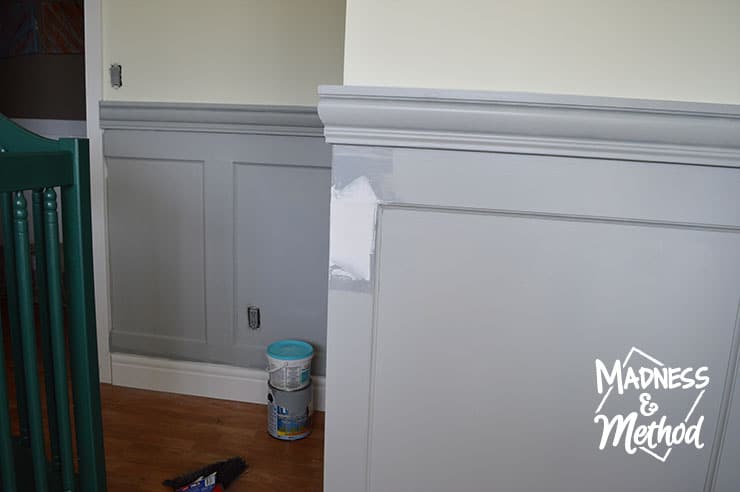
This past weekend I was able to install the final pieces I was missing, finished priming everything, (did a wee bit of patching again), and gave the main sections 2 coats of grey paint. I also painted the casings and baseboards white but will have to go back and do some touch-ups where the grey seeped a bit. (Same with the yellow along the chair rails).
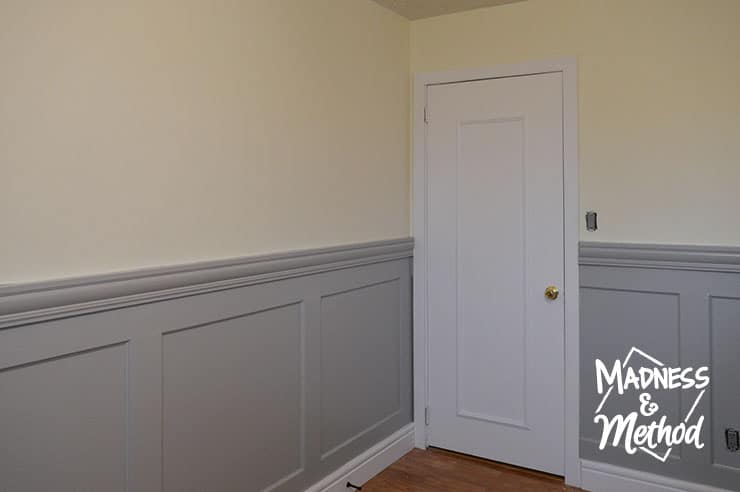
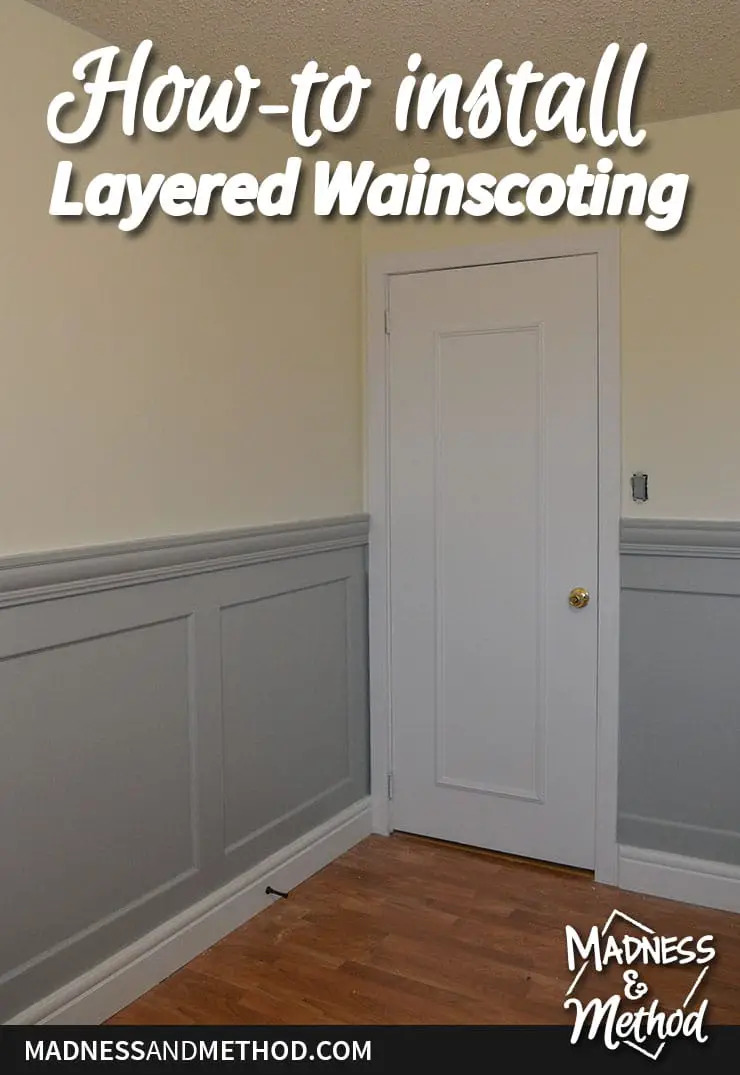
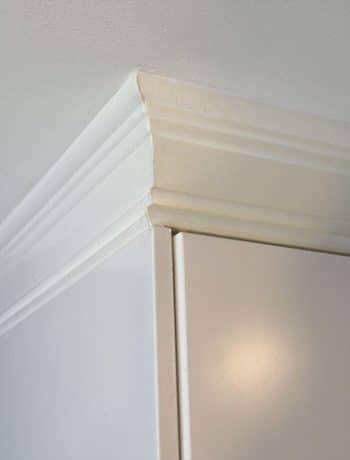
Upgraded Board and Batten Wainscoting
I’d say the style of wainscoting for this room is an upgraded board and batten. The layered baseboards, chair rails and added cove mouldings along the edges really make the room pop!
I also quickly went ahead and installed our doorstop, because literally minutes after removing our old one during the demo, the doorknob smashed a hole in the drywall :(
So for the past few weeks, I’ve made sure to keep our garbage pail behind the door to catch it.
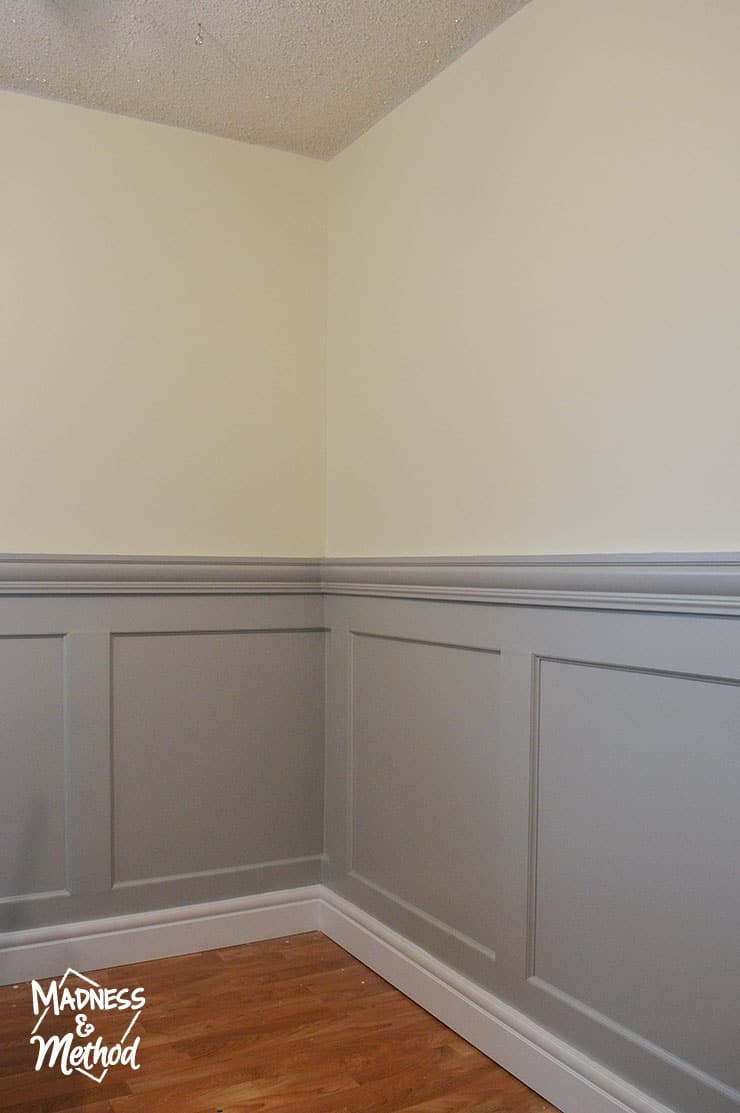
And here’s the corner where the crib will go! If you scroll all the way back up, you’ll see I sort of mocked up this area in the original design plans.

Of course, I still have to clear coat the crib again, scrape all the paint off the floors and get the rug in here… but we’re so close to done!
Actually, I might go ahead and install the blinds before I even finish the other stuff. The other day it was tricky to clearcoat the crib when the sun was shining in my eye (and I was stuck in the crib at that point so couldn’t move around).
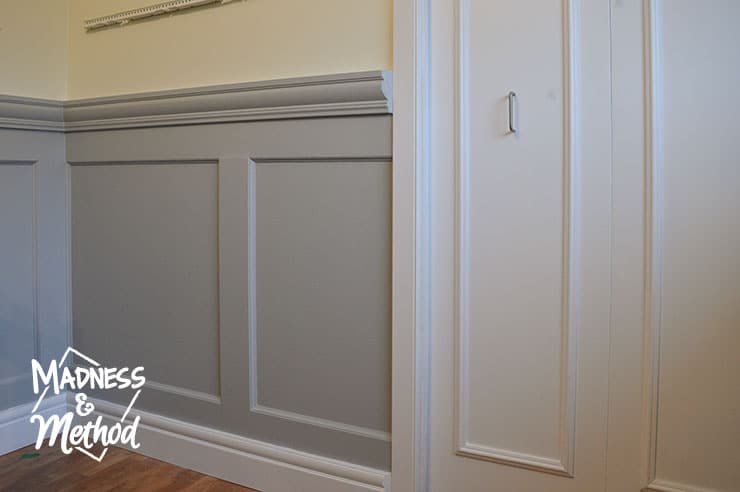
OH! Another thing! After putting our panel moulds up on the once-flat close doors, I realized the old pull was really off-centre. I put a quick poll up on Instagram Stories to see if I should install it vertically (as shown above) or get a single knob instead.
I did move it vertically so I could patch the other hole, and I may just keep it this way… because… time.
Phew! That seemed like a long post! If you’ve made it all the way here without skimming (and aren’t looking for tips on installing layered wainscoting) – then kudos to you! Please go see the other bloggers/designers who are working on their 6-week makeovers, hopefully, they have quicker/shorter updates :)
Follow the One Room Challenge
Check out all the other bloggers and linking participants for the One Room Challenge here.

Week 1: Yellow, Grey and Teal Nursery Plans
Week 2: Painting Yellow Walls
Week 3: Painting a Dark Teal Crib
Week 4: Easy DIY Pom Pom Mobile
Week 5: Installing Layered Wainscoting (you’re here!)
AND wish everyone luck that we’ll all complete our spaces in time. I was hoping to get some work in on Thursday night, but then remembered that it was Halloween! So, that means it’s a rush on Friday to finish all the painting/cleaning/un-messing.
That should give me enough time to get the room back together and photographed on either Saturday or Sunday (when the sun is out!).
Oh, and we’re supposed to get crazy snow on Thursday and Friday… not fun!

No Comments