
I’m chugging along in the nursery, and back today with more painting progress. We actually got a lot of other stuff done in the nursery, but I’m going to focus on painting a dark teal crib and leave the rest (aka trim work) for its own post when we’re 100% done. Let’s dive in!
– Note: This post contains affiliate links. See more information about affiliates here. –
So, just a reminder that we’re transforming a nursery (that was for our oldest, but who recently got moved into a new room) into another nursery because we’re expecting baby #3 at the end of November.
I’m completing the project as a linking participant in the One Room Challenge. In the first week, I shared the design plans and photos for the room, and last week I shared our progress and (multiple) attempts at painting the walls yellow.
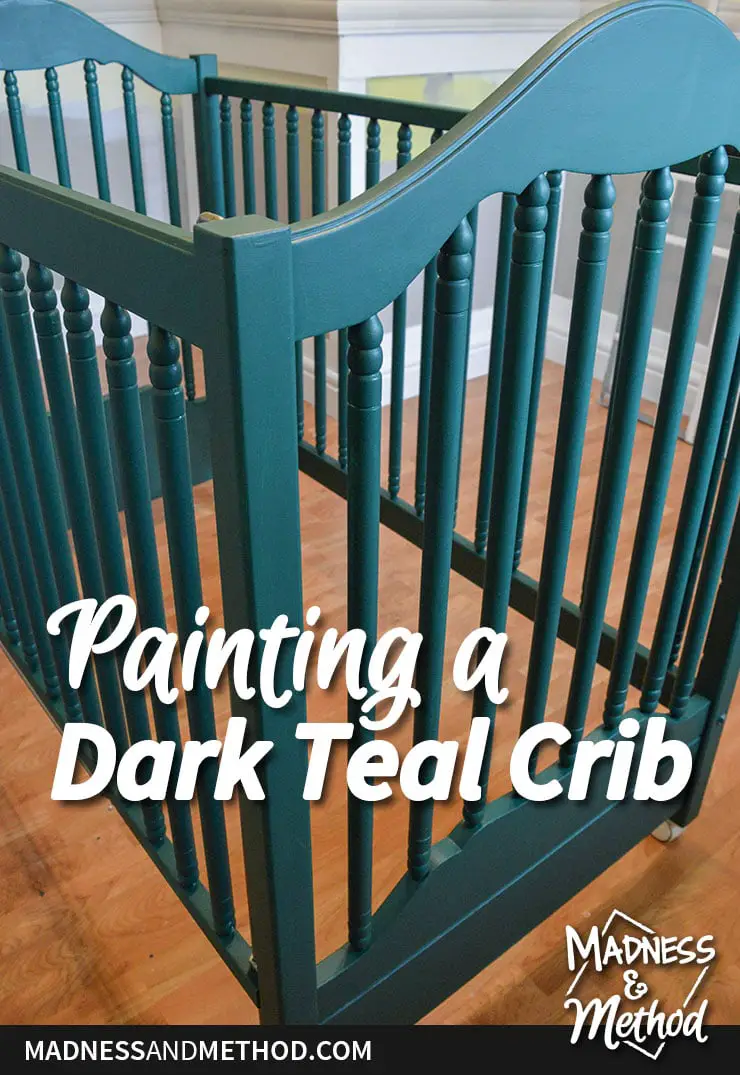
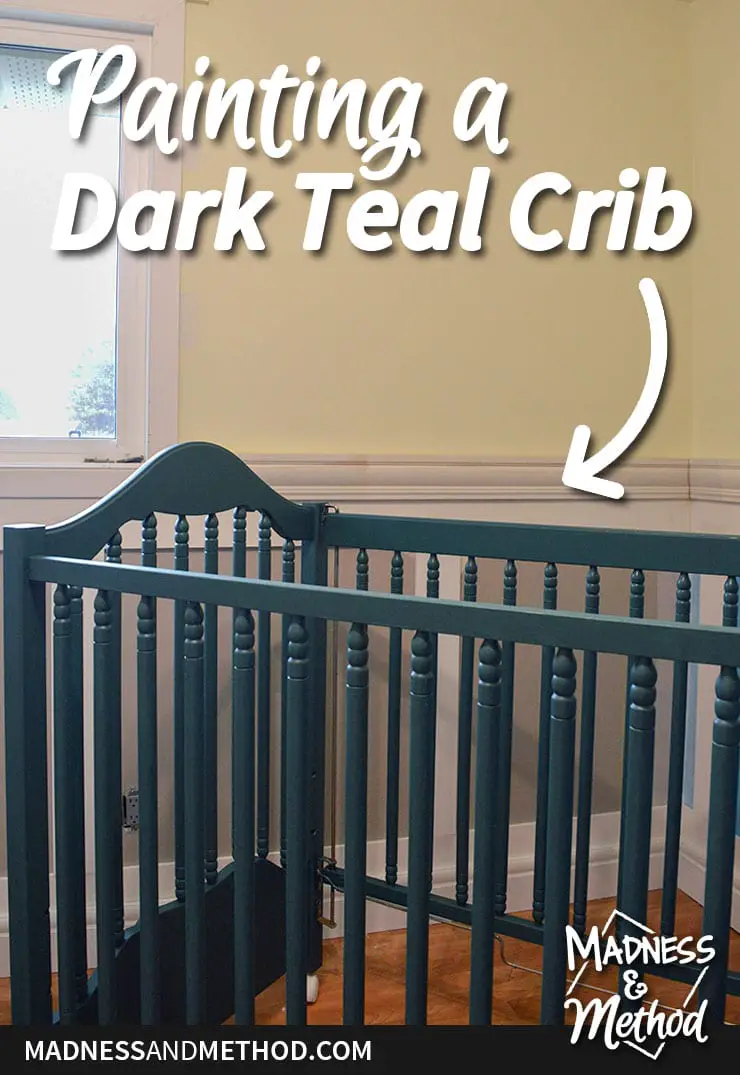
Ready to see how this crib went from off-white to a nice dark teal colour?
Want to skip the step of painting a crib? I found a similar crib style here on Amazon. Although, nothing really in a dark teal colour!
Painting a Dark Teal Crib
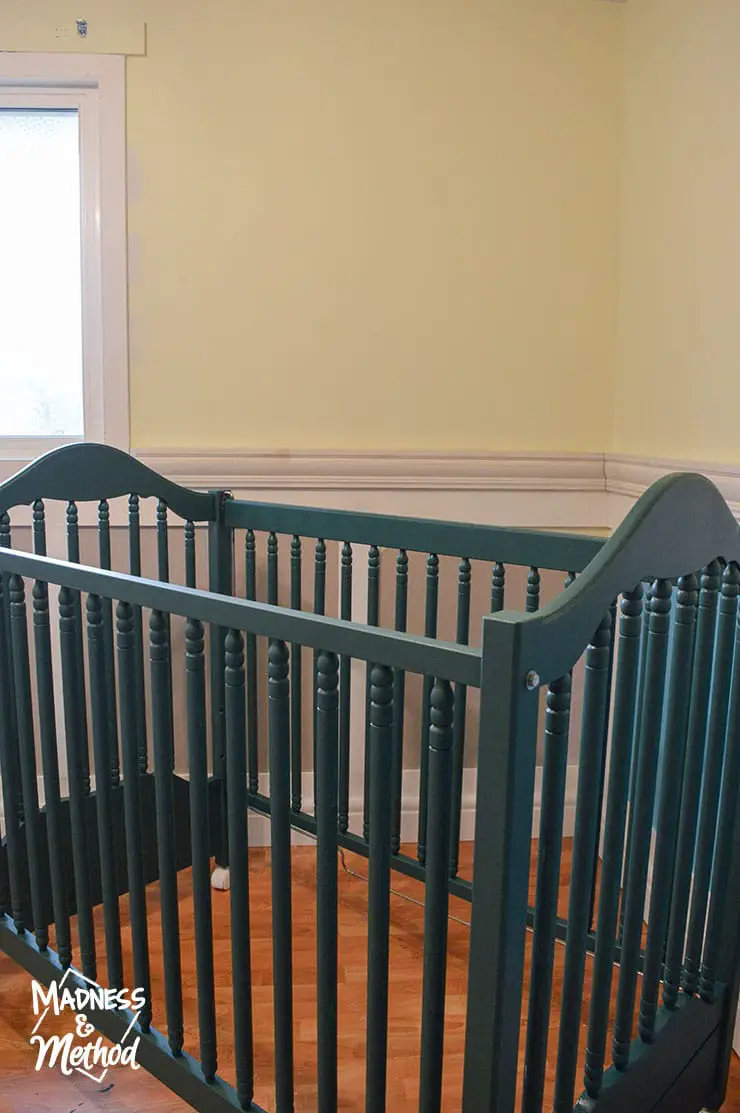
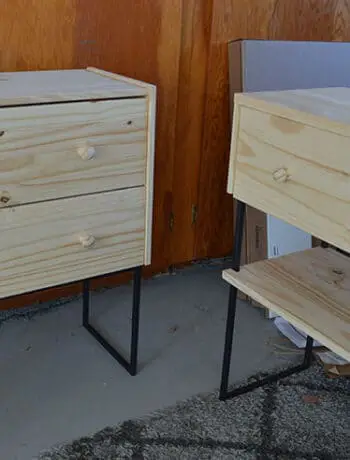
We started with a (was probably once white) crib and moved it into the middle of the room so I could work on the walls.
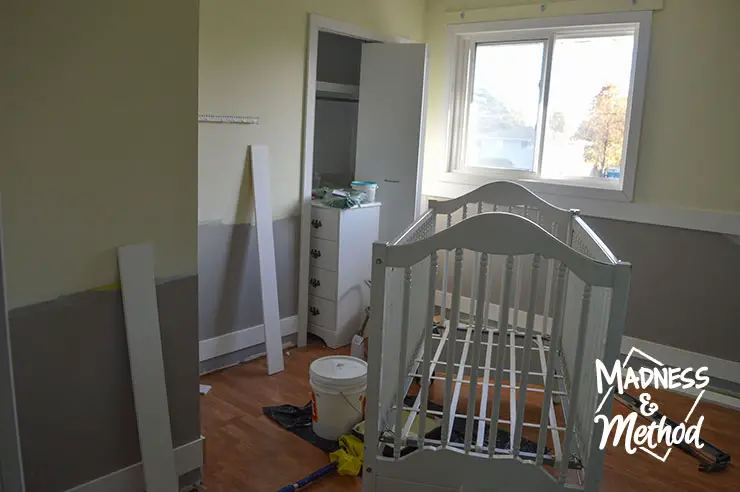
(We also managed to install about 75% of the trim on Friday and Saturday – so you’ll see the wainscotting slowly come together in the background).
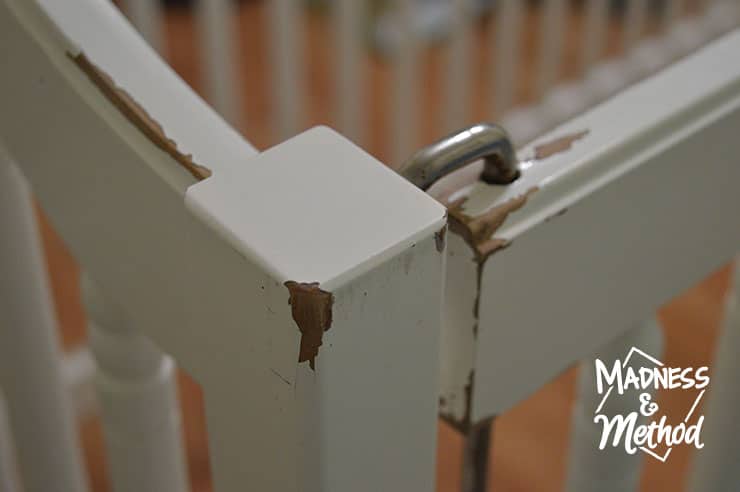
Not sure if I mentioned, but this crib has gone through a LOT of babies! It was my crib (30 years ago!) and there were a few signs of wear along some of the edges.
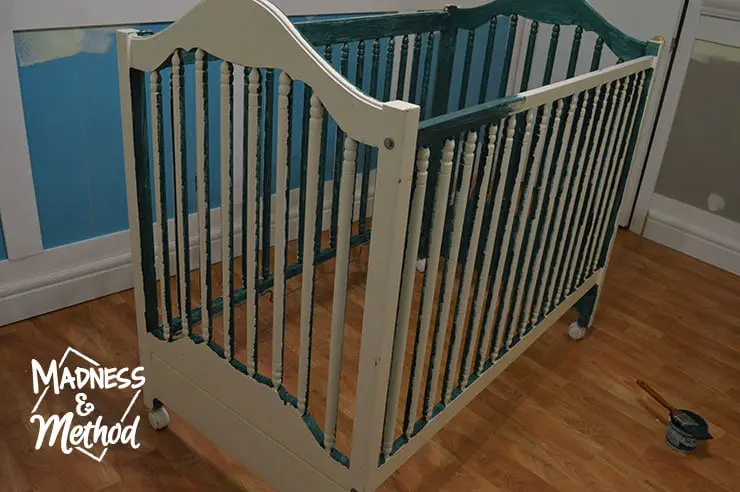
I started by giving it a good scrubbing with a TSP and water solution. I figured it would be easier to keep it fully assembled, and we just had to take the base out so I could get inside and paint those sections first.
Although… let me be honest and say that I had gotten trapped inside when everything was wet. (It was at night and I couldn’t yell down to the Husband to help me because the children were sleeping). Just picture a largely pregnant woman trying to shimmy under the crib (which is only like 8″ off the ground) and then slowly lift it up…
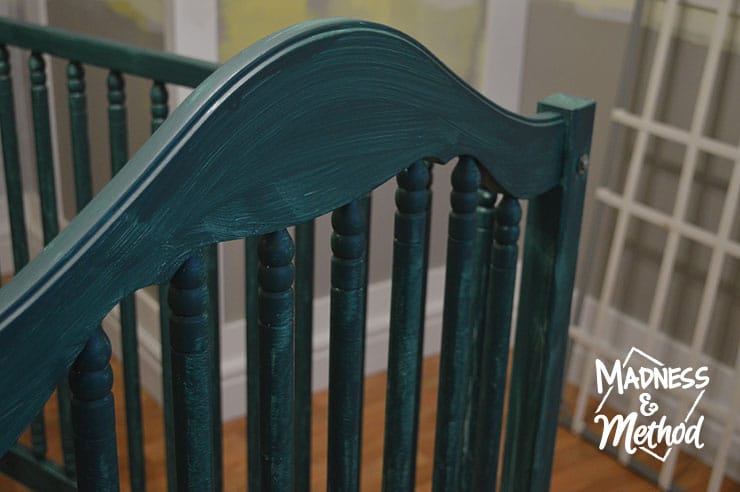
Anyways! I was able to get to the outside sections easier and let the first coat dry overnight.
(Oh, and one of the sides was installed upside down, so we’ll have to fix that too!).
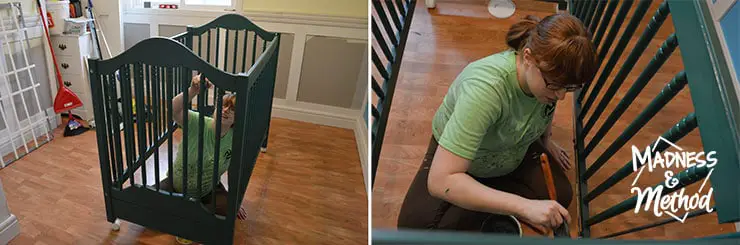
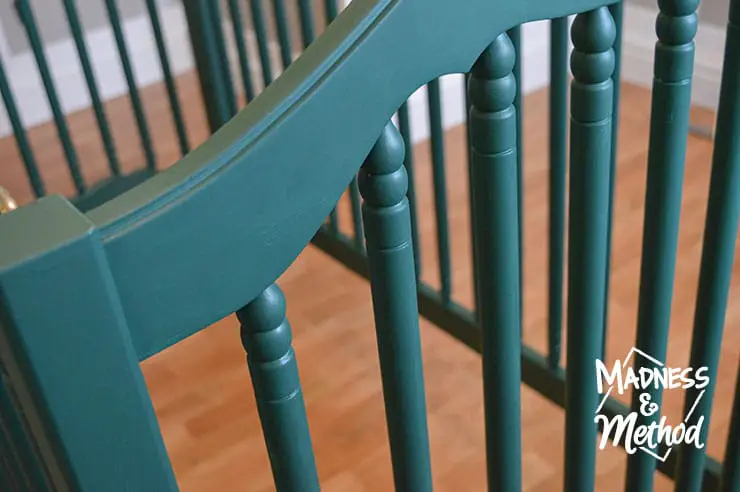
The next day, I did the outside sections first and made sure to brush in the opposite direction to minimize brush strokes. I waited for the Husband to come home (he was running a race that day) then he helped me in and out of the middle.
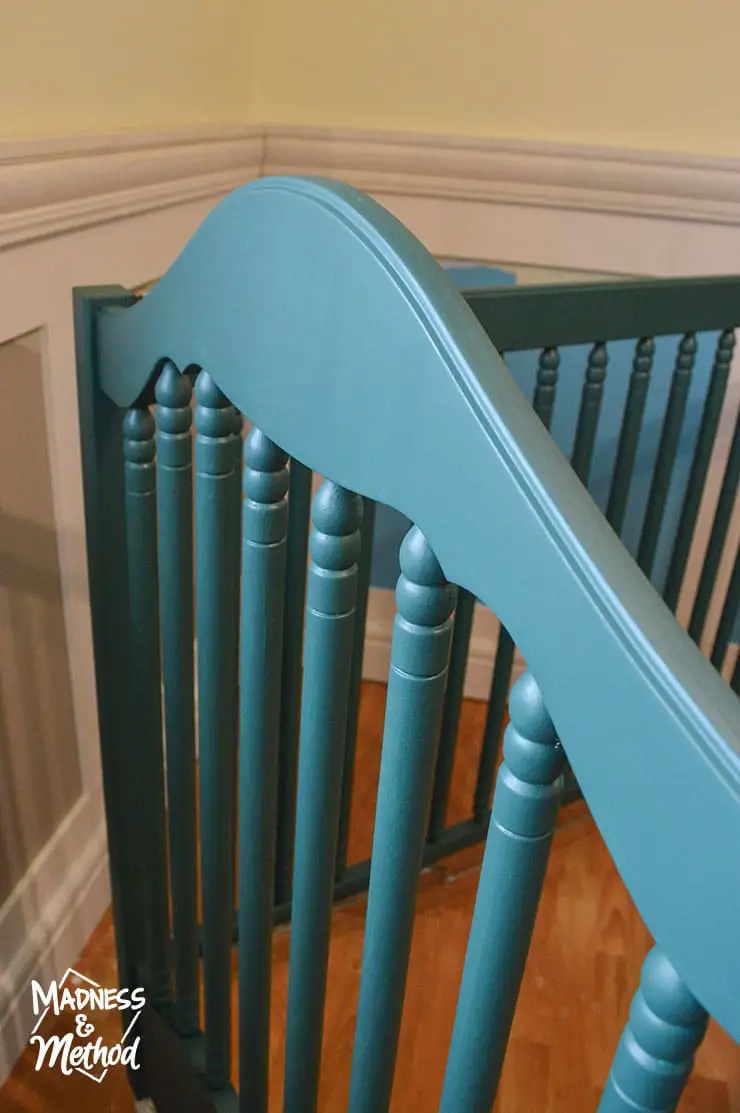
Dark Teal Crib
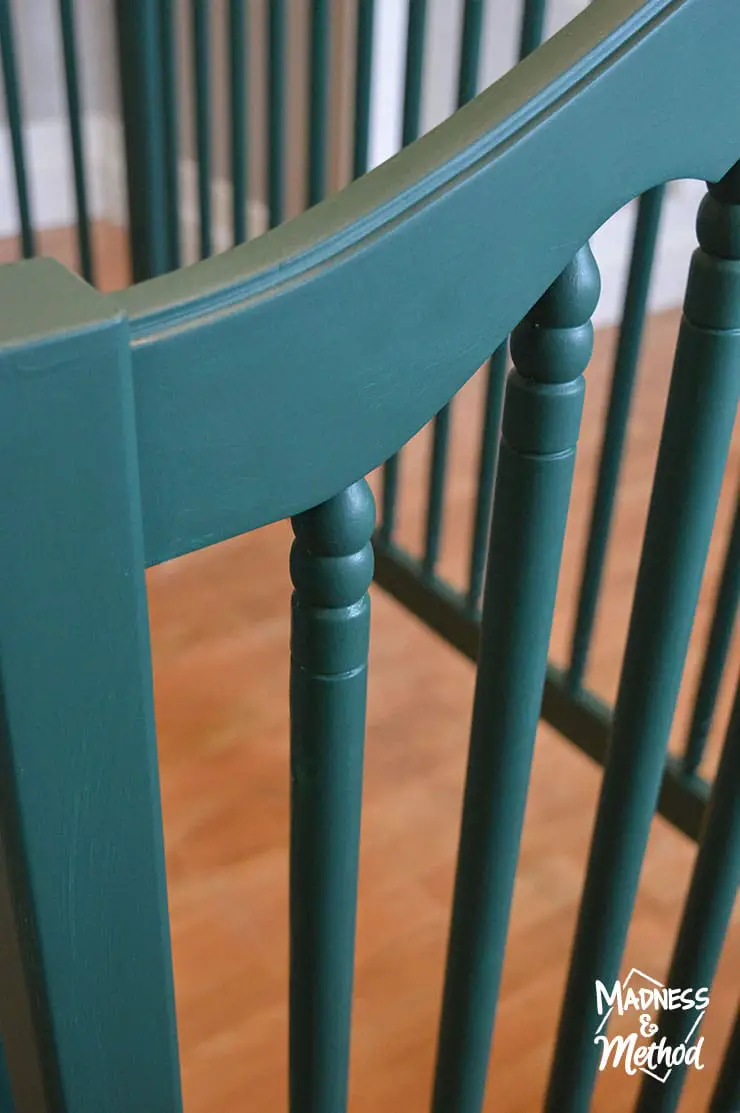
I almost forgot to mention! It’s actually a blend of the dark green paint I had used for our last One Room Challenge bedroom dresser mixed with about 50% of the wall teal colour from the last nursery.

I do have to go back and touch up a few last spots, but it’s looking really good so far!
Painting the dark teal crib also helped me see the walls a bit better. I do think I’m going to mix the yellow a bit lighter (yes, it will be the third time!). Right now, the yellow walls bounce warm light onto the crib and makes it slightly more green looking.

And of course, you’ll just have to picture fully grey wainscoting instead of stripes of white, grey and bright blue!
And finally, I realized I’d have to probably do a coat (or two) or Polycrylic so that the paint doesn’t scratch or wear off. Because it’s a mixed paint between proper furniture paint (the Fusion) and regular wall paint, I don’t know how strong it would be without a clear coat.
Nursery Progress
What’s Been Completed
- Clear out the room (including blinds)
- Remove old trim and unattached phone cable
- Patch any holes and prime top parts of walls
- Paint light yellow (decide colour)
- Clean and paint crib
- Install new trim (first casings, then flat pieces, baseboards, chair rails)
- Patched wainscotting where needed
What Needs To Be Done
- Install panel moulds on doors, and centre/angle trim pieces
- Added: Clear coat crib (after doing a final touch-up coat)
- Added: Mix yellow and paint walls again
- Build a mobile and hang from the ceiling
- Sand, patch again, sand and caulk new wainscotting
- Prime and paint grey wainscotting
- Paint white baseboards and casings
- Reinstall blinds, install curtain rod and curtains
- Clean everything, bring in furniture
- Hang artwork and take photos!
- (Prep for baby by organizing clothes and drawers)
I’m hoping to get the first half of the still-needs-to-be-done list completed this coming weekend, then just leave the last weekend of October for painting and touch-ups. That should get me on track for one final push of getting the room together and photos :)
Follow the One Room Challenge
Check out all the other bloggers and linking participants for the One Room Challenge here.

Week 1: Yellow, Grey and Teal Nursery Plans
Week 2: Painting Yellow Walls
Week 3: Painting a Dark Teal Crib (you’re here!)
Next week I’m planning on building and hanging the custom mobile (in addition to getting the wainscotting completely installed and ready) – so stay tuned for that post!
Oh, and keep your fingers crossed that the newest/lighter yellow colour will be the one :)

No Comments