

As I continue to talk about my brother’s kitchen renovation, I want to break down some of the elements that we added to the space. One way to really finish off the look of a kitchen is to add nice finishing trim along the top of the cabinets (usually crown moulding). Today I’m going to talk about how to install trim above cabinets in your own kitchen, and hopefully my handy diagrams will be easy to follow!
– Note: This post was sponsored and contains affiliate links. See more information about affiliates and sponsored posts here. –
Because we were going with a more modern/sleek look in the kitchen, I knew that a traditional crown moulding wouldn’t mesh well with the flat cabinet fronts. I also chose to use the extra tall 40″ wall cabinets, and we needed to install them as high as possible so we’d have enough clearance on the counters. I found the PERFECT solution when I was looking at all the finishing trim options from Metrie, and I’m happy to say that they provided the architrave we used for this space.
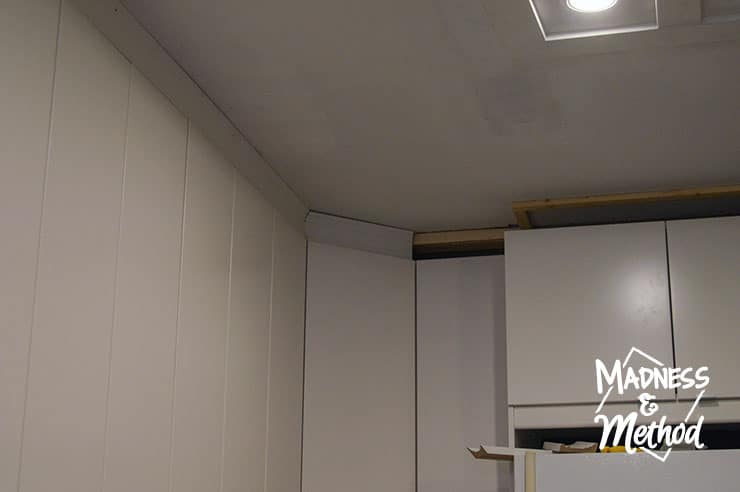
Last week I shared some of the pictures from the kitchen demo, and included this one of the Husband installing the wall cabinets:
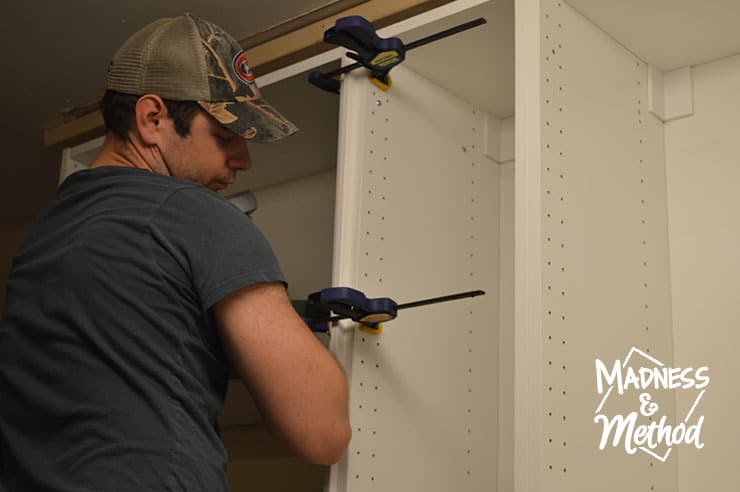
Image First Appeared in Kitchen Renovation Issues
Notice the 2x4s on the ceiling above the cabinets? My idea was to use them to install the pieces of moulding… but unfortunately I didn’t calculate the correct distance and we had to come up with another solution!
Materials You May Need
- Small pieces of wood (1″ x 2″) and finishing trim (I used architrave)
- Mitre saw or hand saw and mitre box
- Wood filler, spackling or regular drywall joint compound
- Painter’s tape, paint brushes, paint, measuring tape
- Nail gun, compressor, etc.
- Caulk and caulking tube
Install a “Backing”
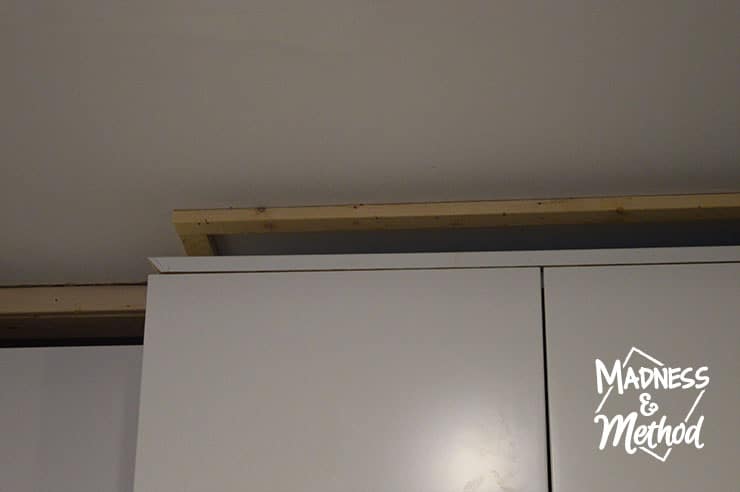
My Dad said that it would be much easier to use pieces of 1×2 strapping instead of a 2×4 since it would be lighter and easier to attach. It’s obviously much simpler to install the pieces of 1×2 BEFORE you get the cabinets in, but it’s doable afterwards.
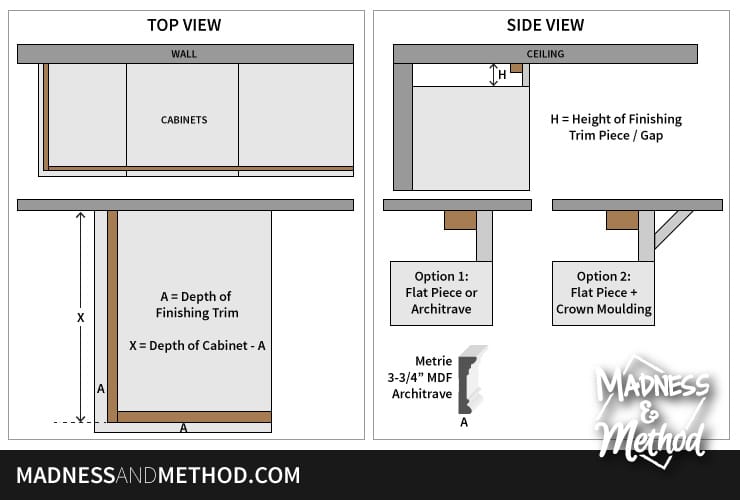
Essentially, you want to measure the depth of the cabinet and take into account how thick your finishing trim is. If you’re going with a piece of flatstock, or an architrave like us, you’ll be able to install trim above cabinets with a limited height gap to the ceiling. For crown moulding, you’ll need to make sure that you have enough clearance so that it doesn’t come too low and block the cabinet doors. (It’s a bit trickier with the angles, and you definitely can’t cheat and try to make it fit!).
The architrave I chose was the exact right height for my brother’s kitchen. Traditionally, architraves are placed above doors or windows, but I thought it would be a fun feature for the top of the cabinets instead! It added just the right amount of detailing (rather than having just a flat profile) and didn’t jut into the space like crown moulding would.
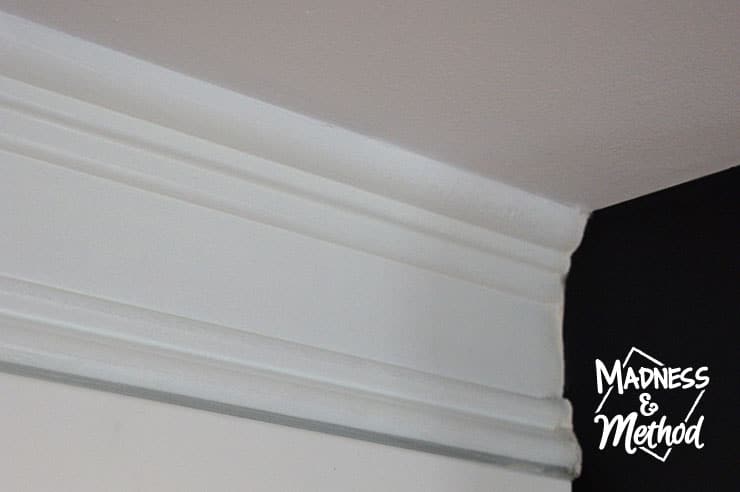
For our “A” dimension, the depth of the finishing trim, I used the bottom section of the architrave (which was about 3/4″ if I remember). That way it would line up with the cabinets, and come out a bit at the top.
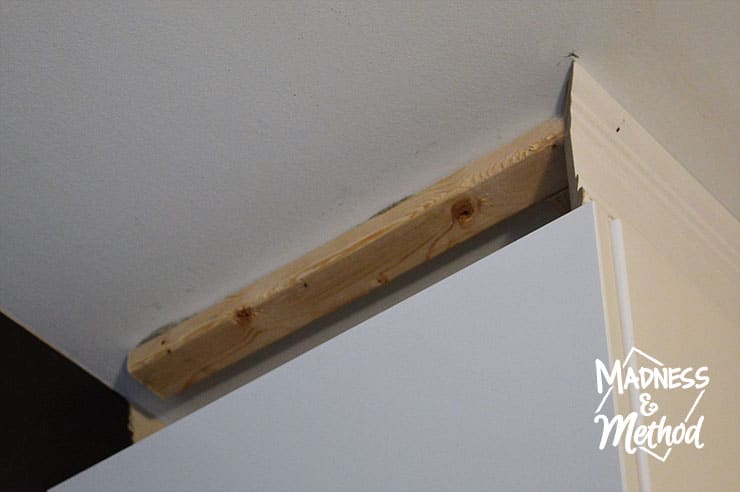
We used both construction adhesive and finishing nails to attach our pieces of strapping/backing. Once they’re in place, you simply need to line up your finishing trim to the front, and attach them (with glue and nails as well)!
The backing helps give the finishing trim something to lean against and nail into, so it’s important to make sure that it’s in the correct location before you start installing your moulding.
Another option would be to install the backing pieces on the cabinets themselves (rather than the ceiling). BUT I didn’t think that it would be as secure, and there was a bit more variation with the levelness along the tops of the cabinets.
Install Trim Above Cabinets
While the pieces of strapping can be cut at a straight angle, you want to make sure you properly cut all your finishing trim pieces!
We started with the longest section first (since we needed an extra-long piece of architrave for that area) and we didn’t want to come up short. We planned out all our cuts, and made sure that everything fit together nicely BEFORE we started nailing the pieces in.
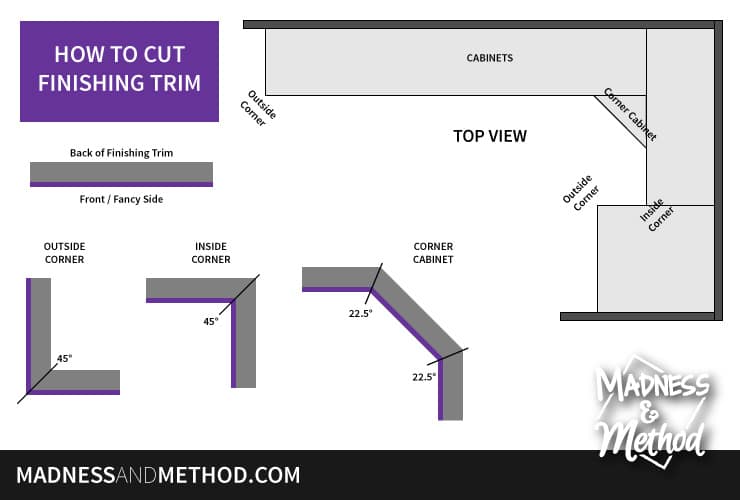
I made this handy diagram to give you an overview of the kitchen layout, and to explain how to cut the different angles you may need. Just remember to have the front/fancy side in the correct location, and know that all the cuts are shown from the top view.
If you’re working with a flat stock, you don’t have to mind the up/down as much, since you can flip your piece over and it will be the same. AND if you have to install crown moulding, you’ll also have the added challenge of working with the extra angle (make sure to cut the pieces with that in mind).
It’s always easier to cut a couple of small test pieces to check the fit and angles before you cut the length you need (not all houses/kitchens will be perfect!).
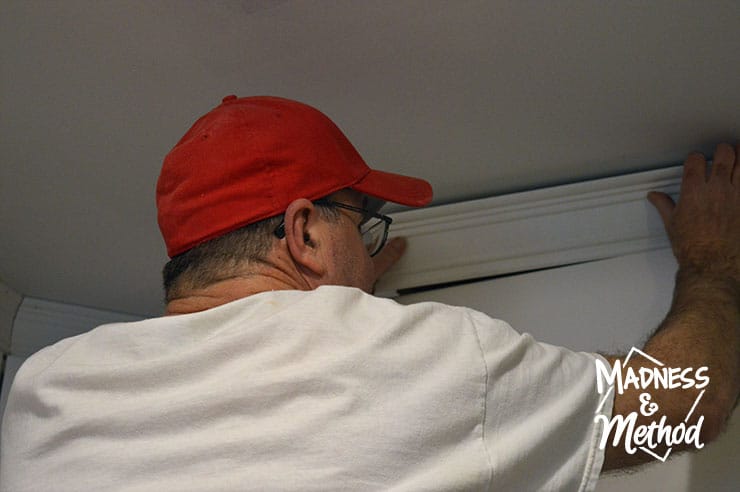
The trickiest part for us was probably the tight corner that came around where the fridge is. And it’s always a bit of a pain to have to hold the small pieces of moulding when you’re closing the area (as in, there’s nowhere to “pull” to adjust).
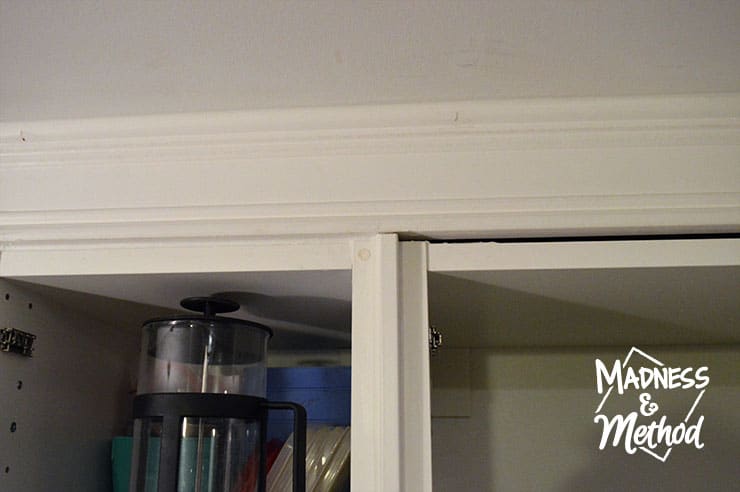
Once we finished installing the trim above the cabinets, we went in and caulked all the seams. Once the doors are installed you won’t be able to see most of the gaps, but it really finishes it off nicely, and disguises any sections that may have more space than others. We then got some gloss paint colour-matched to the Ikea Veddinge cabinets, and gave everything a couple of coats just so it would further blend in!
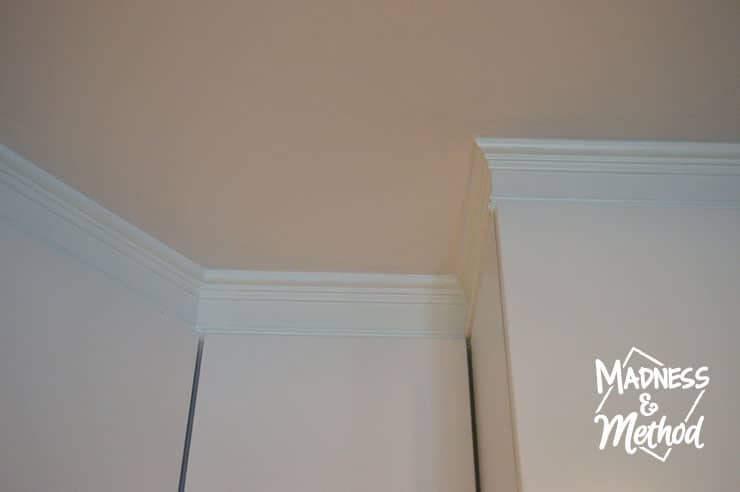
The architrave we used added a nice bit of detail to the tops of the cabinets, but still kept the kitchen looking sleek and modern!
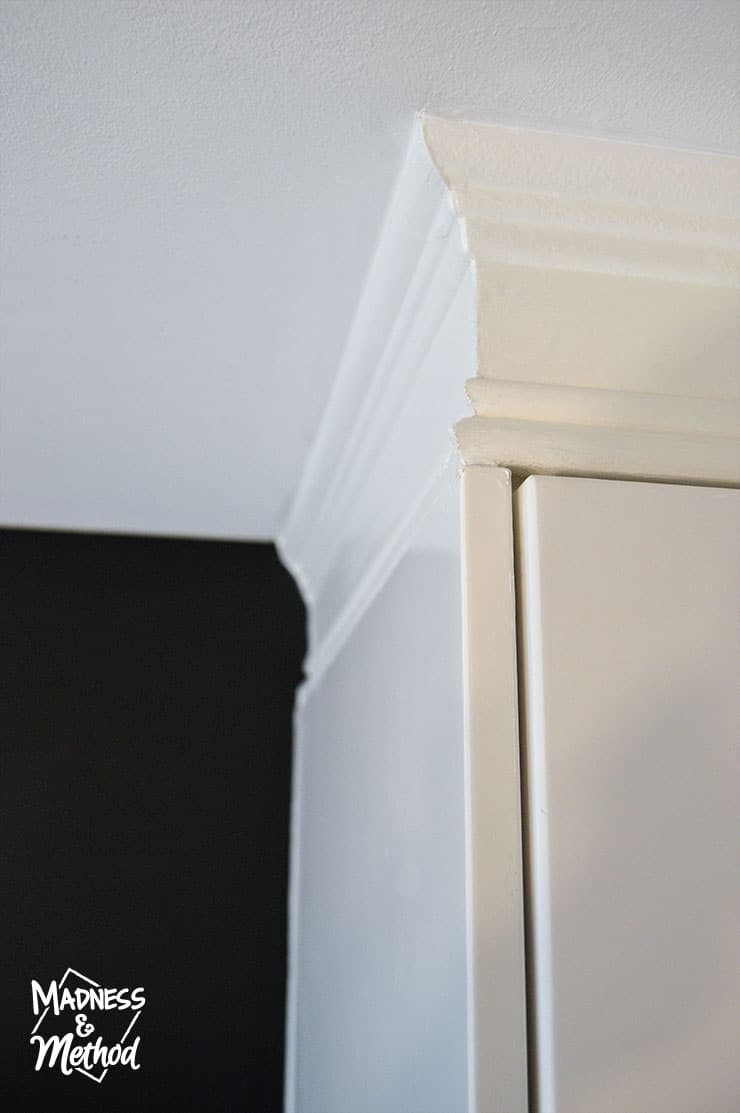
I still have one more fun project to show before I do the big reveal, but here’s just another sneak peek at the black walls…
When you install trim above cabinets, it also eliminates an area you need to clean in your house! No more getting out the ladder and dusting :)
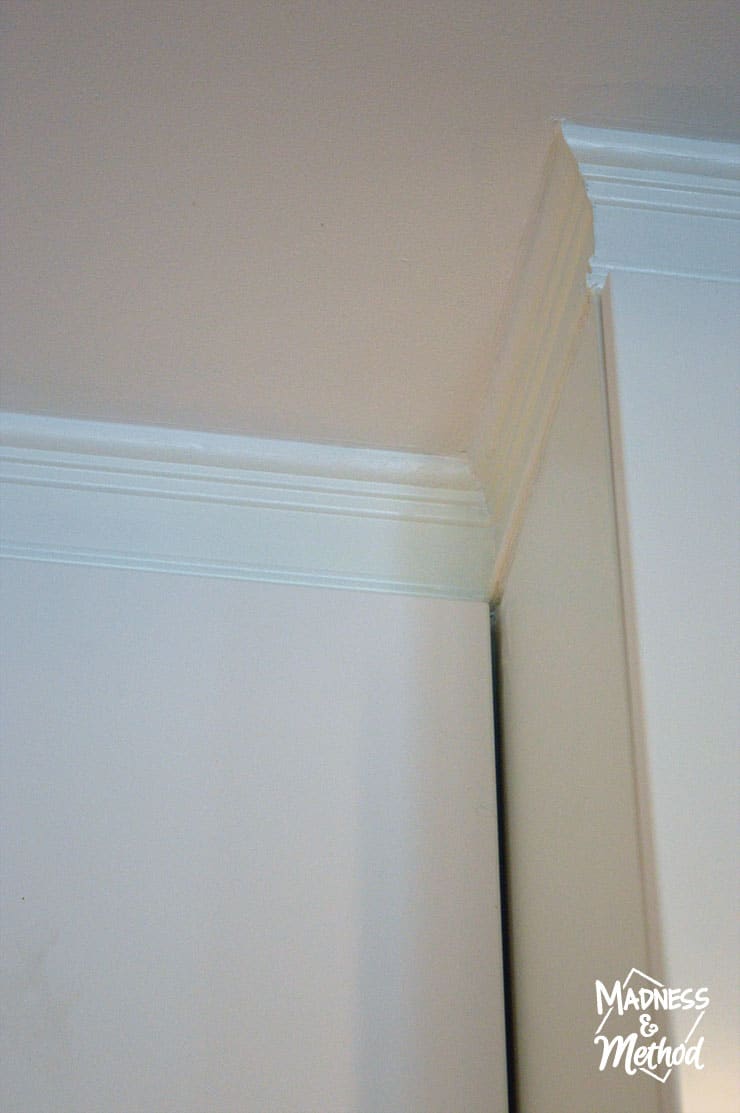
Luckily, my brother’s house is very level and the gap between the cabinets and the ceiling was pretty much the same all the way across. When we renovated our kitchen, we had professional come in and do the trim above the cabinets because there was such as slant!

However, since installing them myself (with the help of my Dad of course, you definitely need a buddy!), I think I’m way more willing to DIY them again.
If you were searching for how to install trim above cabinets, or wanted to add crown moulding to your kitchen cabinets, I’m hoping my tips and diagrams helped! It certainly adds a great detail to a kitchen, and with the variety of finishing trim available, the look and style you want to achieve are almost endless!
Once again, I’d like to thank Metrie for partnering with me on this project :)


No Comments