
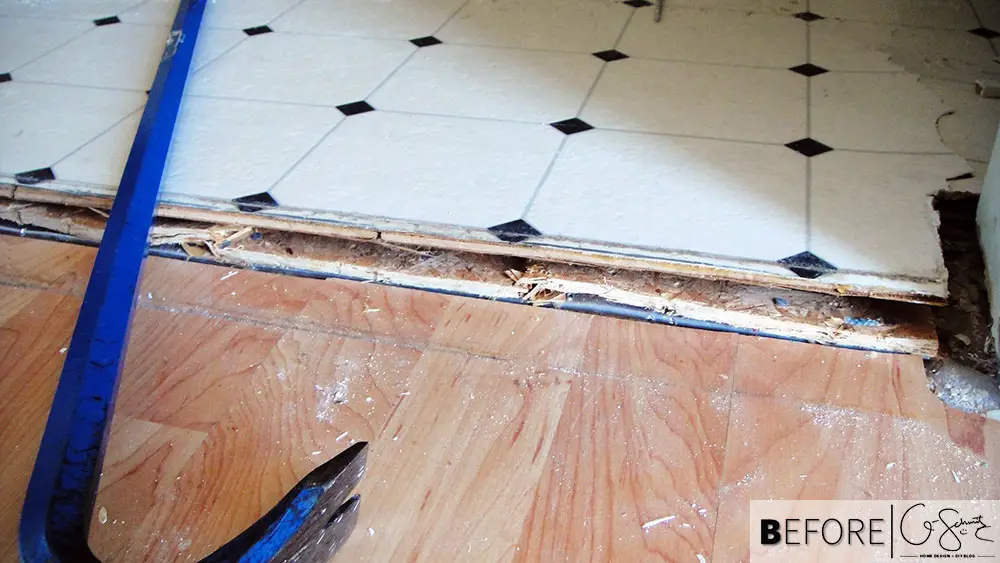
We removed the floors during our big “demo weekend” in July, but this did not go as quickly and easily as the cabinet and wall removal. We’ve taken out a few different types of floors in the past, including carpet, ceramic tile, and vinyl/linoleum tile. These kitchen floors were a linoleum sheet, and I can say were definitely easier to remove than the individual vinyl tiles. (Note: I use vinyl and linoleum interchangeably, although they are actually two different types of flooring… I’m not sure which is which yet though!).

Regardless of which type of flooring you are removing, I think that it’s always best to start at a corner or an edge. For the kitchen, we began by removing the floor transition at both entrances. It was then much easier to grab up the linoleum flooring and peel it out. However, once we removed the floors, we discovered that the linoleum had been installed on a thin sheet of plywood… on top of another layer of linoleum flooring!
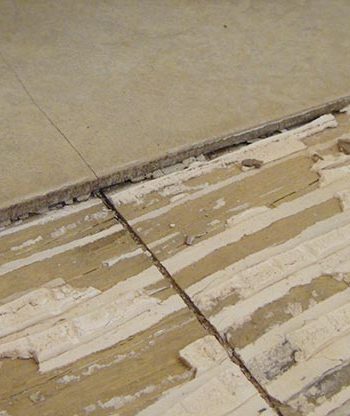
In order to install tiles, which is what we were doing, you need to have a nice level surface, and shouldn’t really install on other flooring. This second level of linoleum as not even, and I didn’t want to simply install cement board on top of it. The kitchen floors were originally about 1/4 to 1/2 inch taller than the living/dining room floors, and I wanted to get them as even as possible to eliminate such a large transition piece. So off this second layer of flooring had to go! And you know what was underneath that? Another layer of (even thinner) plywood, and a third layer of linoleum flooring! (In the same yellow-ish seventies pattern as the second btw)
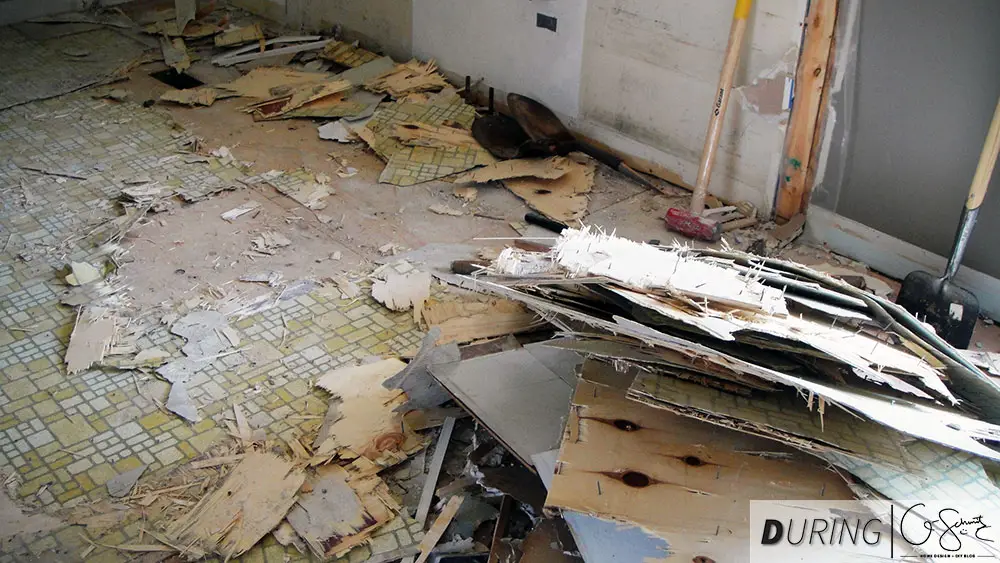
During the floors/demolition, we had three people (including myself) helping out. And let me tell you, these floors were some back-breaking work. For every layer of linoleum and plywood that was there, the people who installed them must had used a hundred nails per. Notice in the photo above how we have two broken spades/shovels there? Yes, when you do DIY work you definitely use whatever tools you have on hand… and these stubborn floors of course took some casualties with them. After the Husband and our helper (his friend) left for a few days to go camping, only about half of the floors were actually removed… well two and a half vinyl layers were gone, leaving about one and a half left for me to do. I thought the easiest thing would be to take out all the nails from the top that I could, and that way it would be easier to lift up the floors because there would be less resistance pushing down. Genius, I was right! (It took a few tedious hours to get them out, but saved me from doing super muscly work).

In the end, there were six (6!) layers of flooring that we removed, including the three layers of linoleum, and three layers of plywood (or balsam wood perhaps? It was honestly that thin!). Oh, did I mention that it was actually the hottest weekend of the summer that year and we don’t have central air? After working and sweating for a full day in 30°C weather (almost 90 Fahrenheit), we decided to bring in our portable air conditioner to help cool us down (shown below). I did have to go back a few more times afterwards and pull out any leftover nails; and my technique was to run the head of my hammer across the floor in rows until it caught on something.

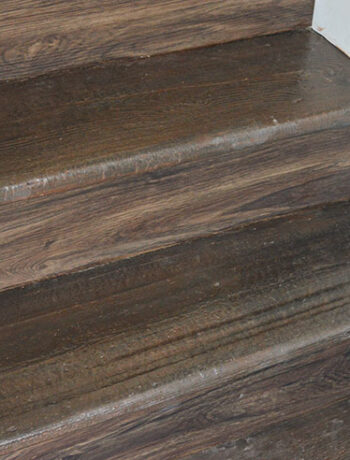
But yes, thankfully the floors were finally clean and ready to be tiled! But not before we did the electrical, put up the sheets of drywall, primed and painted. Which will be discussed next week!

6 Comments
J
January 17, 2018 at 6:48 pmI love your honesty! That’s A LOT of layers of flooring. My husband and I are about to start this project and hopefully we don’t encounter that many layers! How many more people helping would have made it easier? – J
J
January 23, 2018 at 8:24 pmWell, I guess you don’t always get what you wish for! https://www.house4baby.com/blog/2018/1/23/bye-bye-vinyl-flooring
Nicole
January 24, 2018 at 1:17 pmOooh we’ve had to deal with the stickiness in the past too – one good thing about the kitchen was the extra thin layers of subfloor (that the vinyl was glued on top of). Thankfully those were just nailed down and not glued!
Nicole
January 24, 2018 at 1:16 pmAt one point, we did have 3 of us in there, but depending on the size of your space – extra bodies just take up too much room! (One person going one way, one another, one cleanup as the other goes would be ideal).
Lauren
September 3, 2019 at 5:27 pmHello! Did you take precaution at all for asbestos? Vinyl/asbestos flooring was common in the 70s. I know we have it and I’m wondering if it’s something we can demo ourselves.
Nicole
September 9, 2019 at 2:56 pmYes and no… I can’t remember if we thought about it before we started, and then we were already in the middle so continued as is. I believe you might be able to do demolition yourselves, however, you’d need to do research in terms of proper safety gear and removal. Depending on where you live, there might also be special garbage/waste requirements to dispose of it.