
After almost 2 years of living in a kitchen that we didn’t love, and after dreaming about finishes and décor for months, and then finally deciding on a layout, it was time to start that demo! Ok, well first we actually had to come up with the money to pay for the renovation… But thankfully we received a good portion to cover the kitchen budget from our friends and family as wedding gifts. We were married in early June, and although I didn’t think we could do a wedding and a renovation in one summer, by the start of July I had had enough of our current kitchen. It also just so happened that we had a lot of miscellaneous disposable plates and utensils from our wedding events (that were spilling out of our pantry onto the floor by the way) so I thought, hey we have the tools to survive without a dishwasher and kitchen sink for a while (ok, and oven… and easily accessible storage… and a proper dining room). But alas, it was about time we started, so here is the 5 step process for ours, and any kitchen demolition!
1. Clean out all your stuff
I organized all our items into separate boxes. I think I mentioned this before, but I always seem to have a lot of empty boxes on hand. I mean, we only moved in like two years earlier… people keep empty boxes and bubble wrap for years right? Anyways, the things that I figured we wouldn’t be using (ie: all our glassware, plates, ovenware, etc.) I put in clearly marked boxes (and made sure to wrap all the breakables of course). I made sure to place all our non-perishable food items in boxes in easy to access spots, and kept a “Tupperware survival kit” box handy too (I didn’t need 10 of each size, so I kept one container of each, and had to wash them by hand… in the bathroom sink throughout the renovation).
2. Remove your appliances
While I was able to clean out all the cabinets and stuff myself, I definitely needed a helper to move the appliances out. Bring on the Husband! We were lazy and didn’t take any of the stuff out of the fridge because we only had to move the appliances about 20 feet (and yay, there were no messy food/beverage accidents!). If we were moving the stuff further, we would have probably also needed a third person, but thankfully our temporary kitchen was not far away.
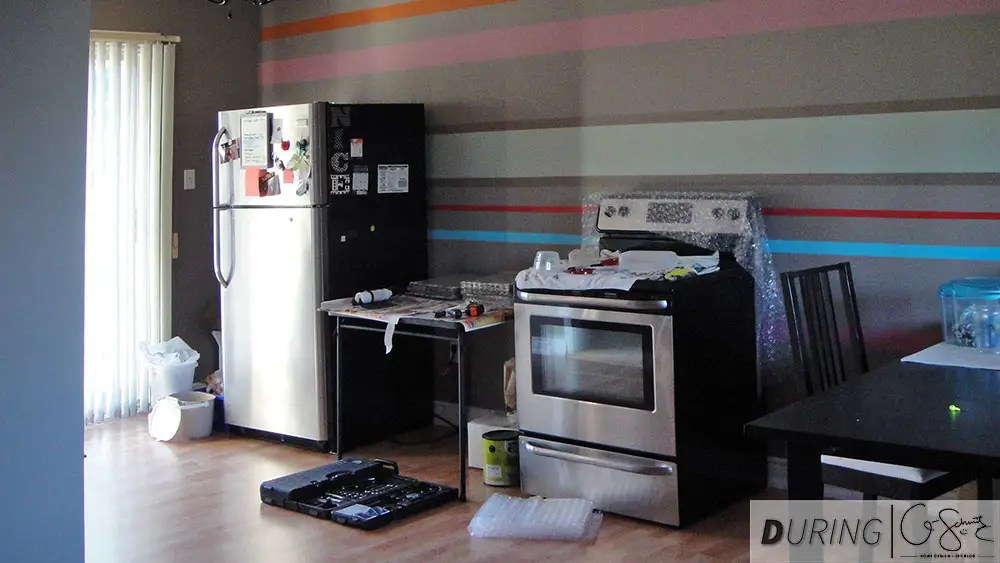
3. Prepare a temporary kitchen space
If you’re not planning on living in your house during your kitchen renovations, where you move all your stuff will probably not matter. However, because we still needed to access most of our stuff, and especially the fridge and food items, we set up a mini “kitchen” in our dining room. Where did our table and chairs go? We moved the table into the living room, and all the chairs and living room furniture into the basement (but kept one or two chairs upstairs). We knew the renovation process was going to be really messy, so we wanted to limit the dust that got on our fabric items and were also using the living room as our food/dinnerware storage area.
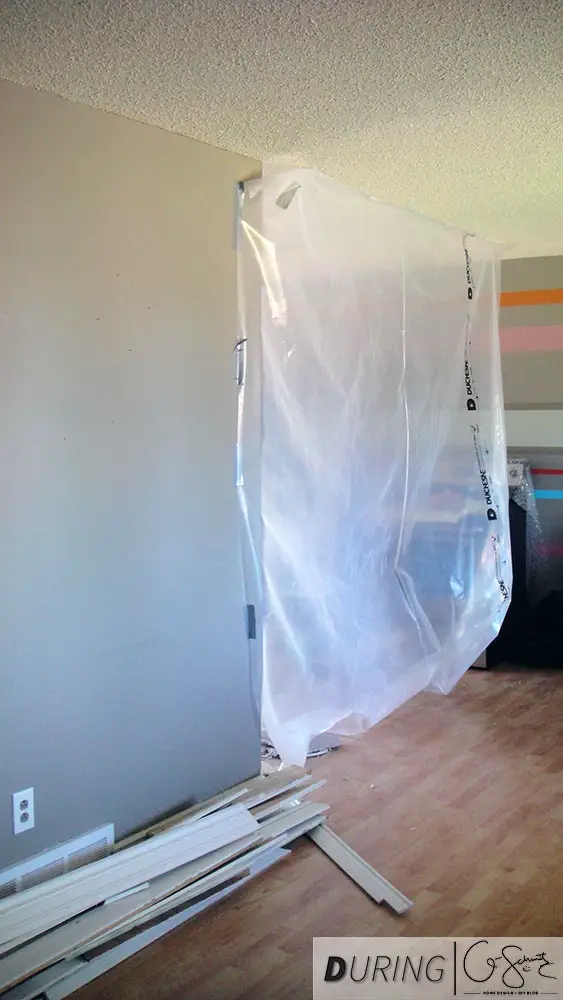
If you’re able to, it’s also a good idea to seal off any areas that you don’t want covered in dust; and we just so happened to have a lot of plastic sheeting handy at the time. (Oh and I stapled it into the ceiling since the duct tape wouldn’t work on the popcorn).
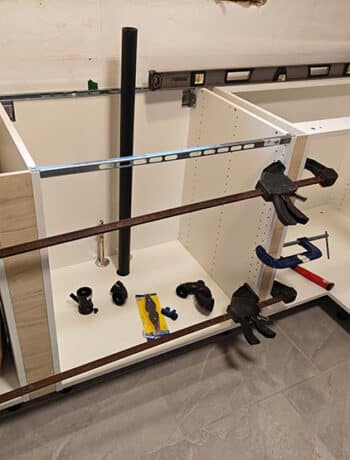
4. Take out all the cabinets
We were able to remove about half of the cabinets in complete sections, and I sold them using Kijiji. For some reason, the base cabinet on the north wall (with the sink) was one full piece, so it unfortunately had to come out in pieces. But of course the Husband had a great time tearing it out!
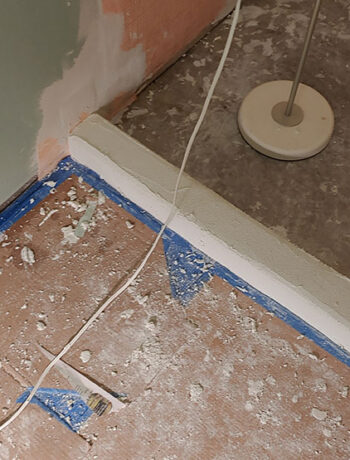
5. Tear out any drywall and walls
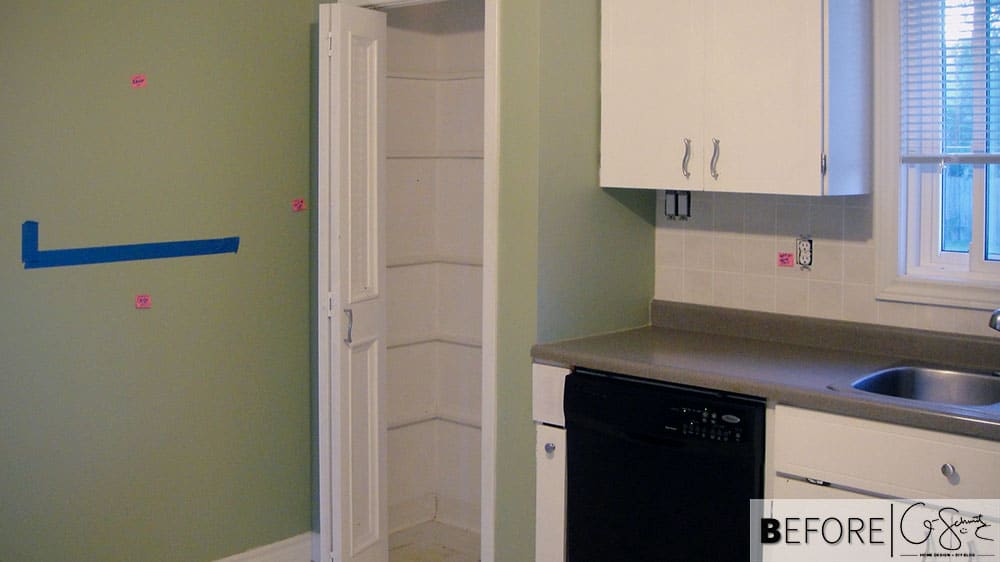
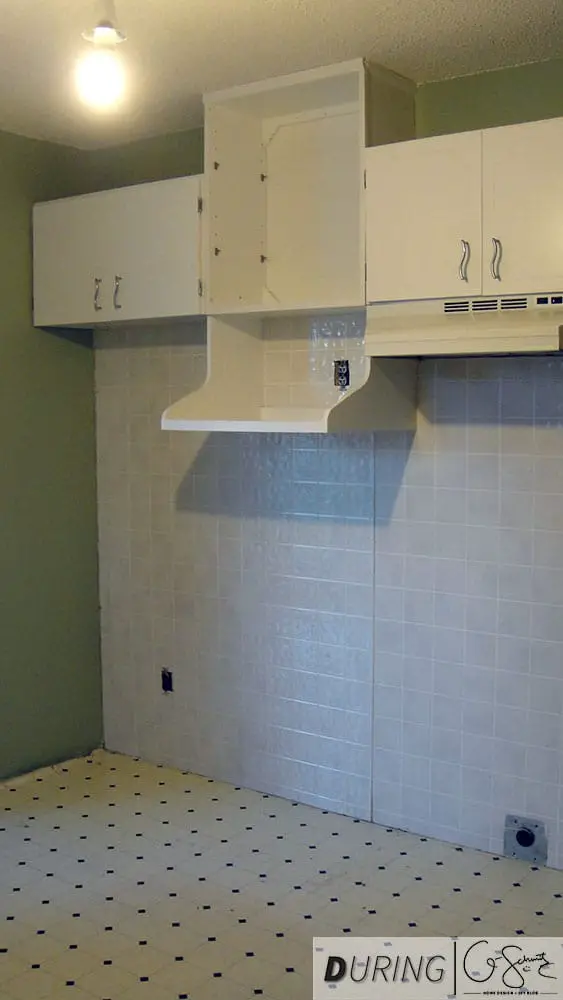
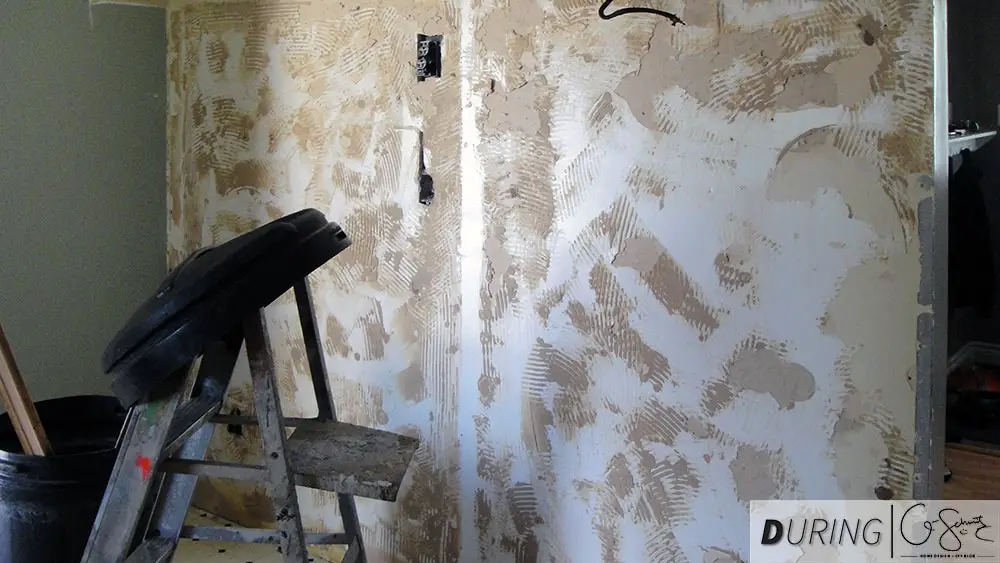
(and baseboards/trim if necessary). If you’re lucky, you won’t have to take down any walls at all; but for us, we knew we would be tearing down a wall in order to open up our kitchen space. Our south wall (as shown above) had a peel and stick backsplash on it, and we thought we could just remove it and not have to touch the drywall. We were wrong. There was so much glue/mud that it was easier to just take the drywall down and start from a clean slate.
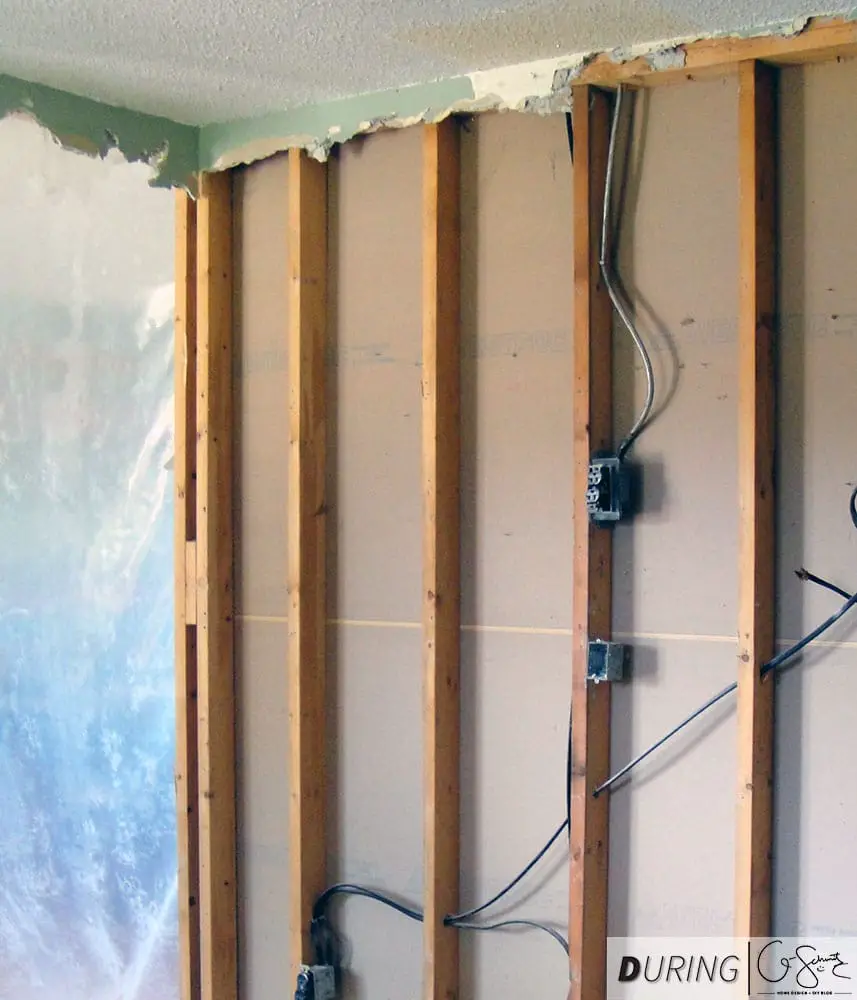
It also happened to work out in our favour, since we had easier access to move the electrical and we could create a nicer seam on the edge of the wall (rather than trying to patch a 4″ section), creating a proper outer corner.
So what was our next step after we removed all the cabinets and walls? As Kanye West said “Next week it’s the floors” (or was it the fries?) either way, next week is all about the floors, ’bout the floors ’bout the floors… and lots of trouble! (Sorry for all the songs – just had to throw those in for dramatic effect!).

See you then :)

2 Comments
Albat
September 8, 2022 at 5:50 amThanks
Nicole
September 8, 2022 at 4:03 pmNo problem :)