
A have a big list of projects/posts that I want to talk about here; but before I can get started on those, I need to finish up a bunch of other things! For example, you may remember that way back when I shared a picture of the DIY photo ledge in our guest bedroom? Well, we originally installed it MONTHS ago, but just this past week I was able to fix it and now it’s done for realsies. Apparently, we didn’t make it properly, so if you want to make a stronger photo ledge – make sure you don’t make the same mistakes as me :)
– Note: This post contains affiliate links. See more information about affiliates here. –
I had our photo groupings up for a bit (first installed in October!), and slowly I would add more pieces as I got them in. I originally shared some inspirational artwork ideas that I wanted for our office (back when the pink room used to be the office)… but clearly we were late on getting that setup haha!
Anyways, flash forward to a month or so ago and I was changing the sheets in the guest bedroom when I noticed that our photo ledge had fallen! Not sure if it slowly came down all by itself, or maybe it fell on someone’s head while they were sleeping!? Either way, everything seemed to be okay, the photo ledge was just not attached anymore.
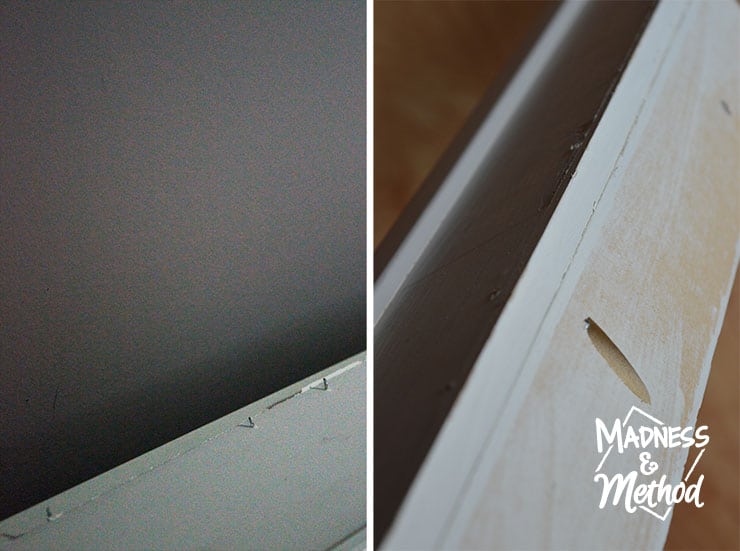
I remember when we first built it (the Husband and I). We used some pieces of leftover moulding from the hallway board and batten, and simply nailed it in with our trusty nail gun. I remember telling the Husband that we needed to use glue as well, but mister hurry insisted the nails would hold it in…
Haha.
Well, let’s not argue over who was right… but maybe say we were both wrong? This time, I decided to attach it with pocket holes, and I knew it would be much stronger.
After painstakingly removing all. the. nails. (because clearly 20 nails would hold it right!?) I setup my Kreg pocket hole jig and in less than 5 minutes had everything ready to go. I was able to put them in along the back, and that way I didn’t have to redo the whole ledge (and they would be hidden!).
I simply screwed it back into the wall using the same original holes and screws (we made sure to hit a bunch of studs) and now I could add the art back up!
When I was first thinking about adding a photo ledge in this room, I was considering using the pre-made Ikea ones. Unfortunately, I wanted it to be the exact width of the bed, and I would have had to use multiple ones (and it wasn’t going to be perfect).
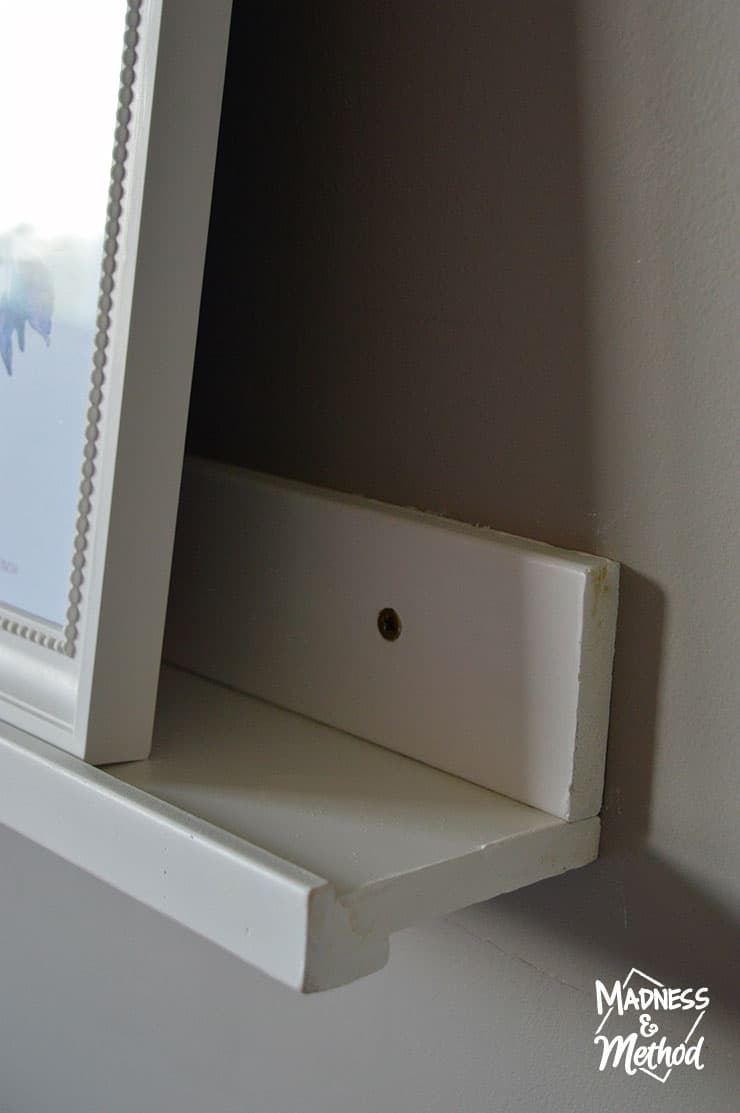
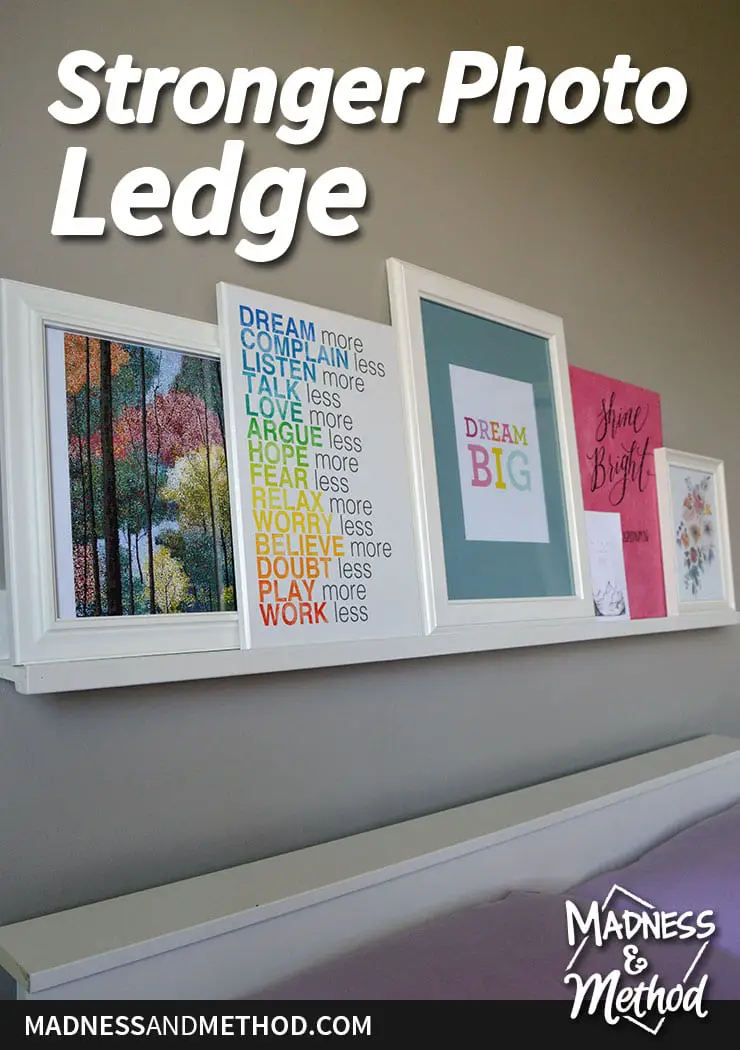
You can build your own photo ledges using a few simple pieces: a back piece (to screw into the wall), a ledge (that the photos sit on) and a small lip (that stops the photos from sliding off). For our lip, we just used a corner piece of moulding, and I already mentioned that we used some leftover flat stock to do the main section.
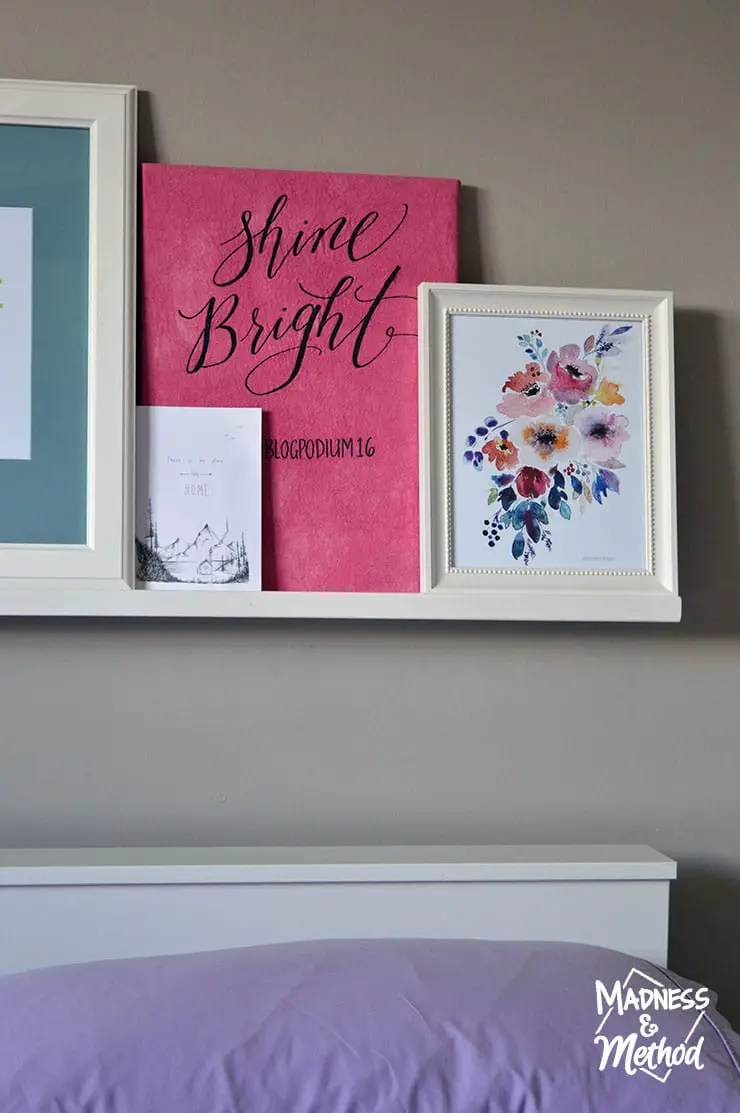
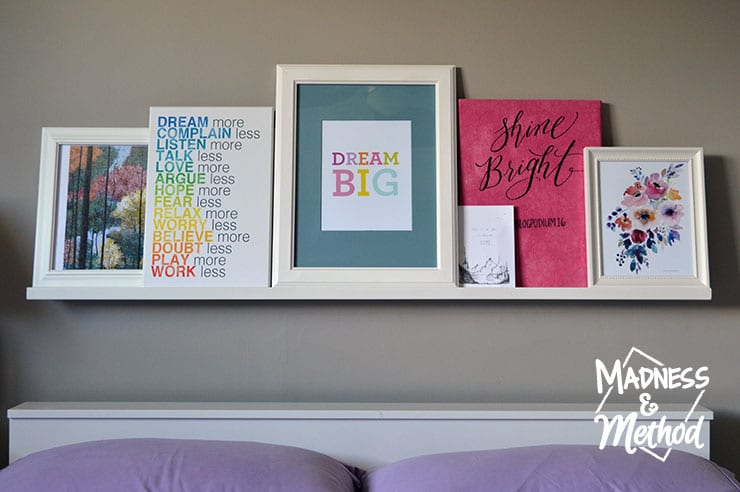
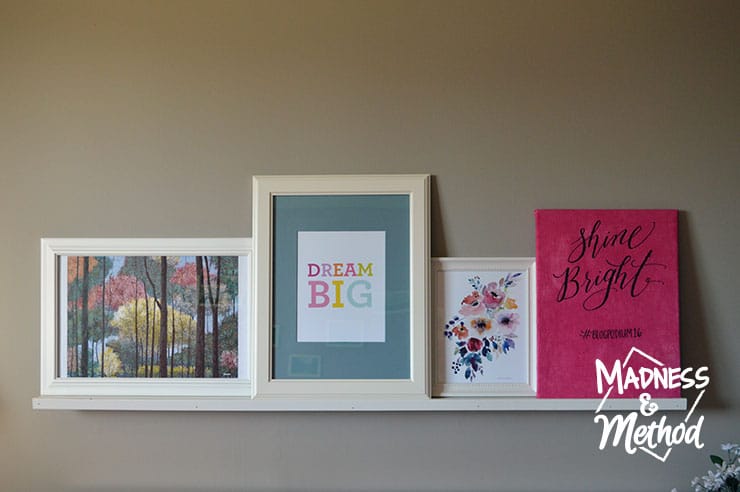
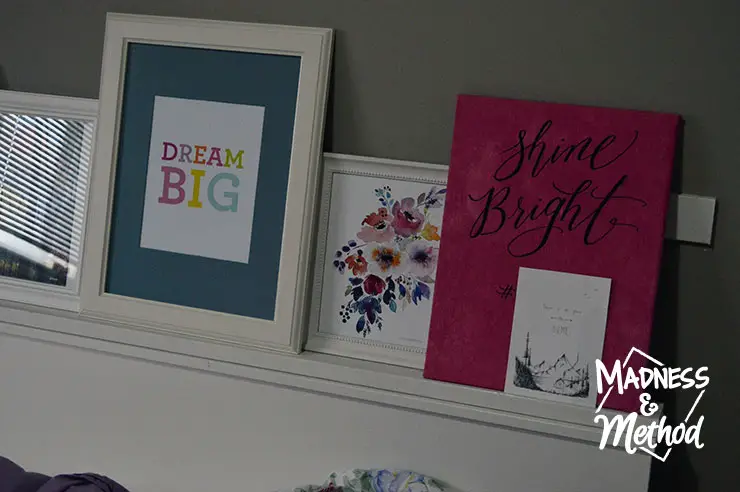
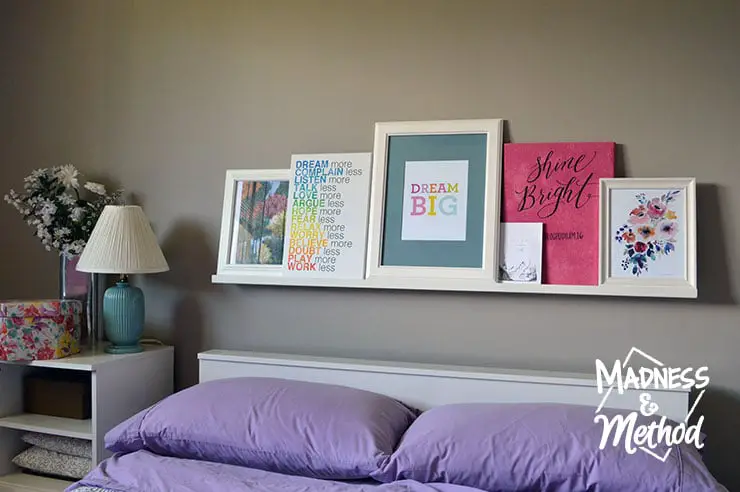
I actually have the artwork sitting all across the photo ledge, and have different pieces layered on top of one another.
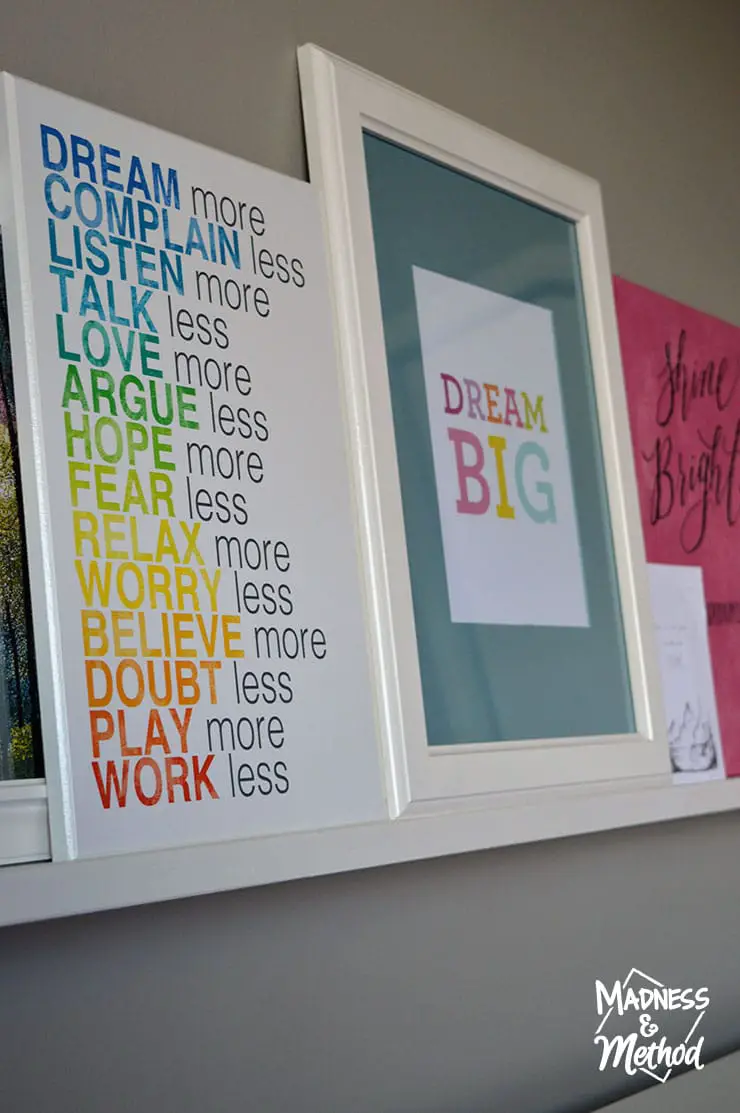
You probably didn’t notice, but I also gave a coat of white spray paint to the large “Dream Big” frame, because the Ikea Virserum frame was slightly off-white. (I also painted the mat with some Fusion Blue paint to make it pop!).
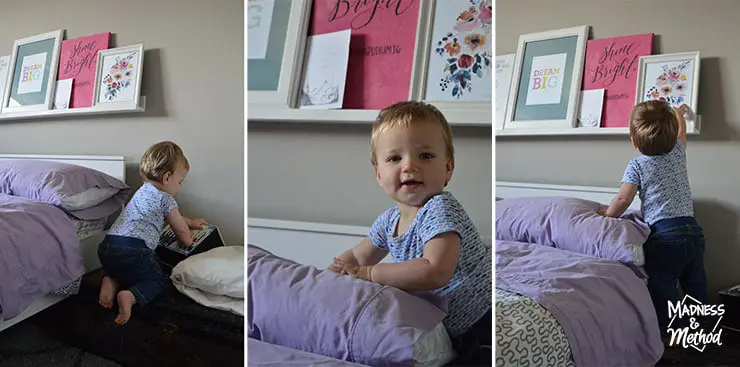
I was taking these photos and the mister was roaming around (making a mess of course) so I figured it would be cute to add some photos of him :)
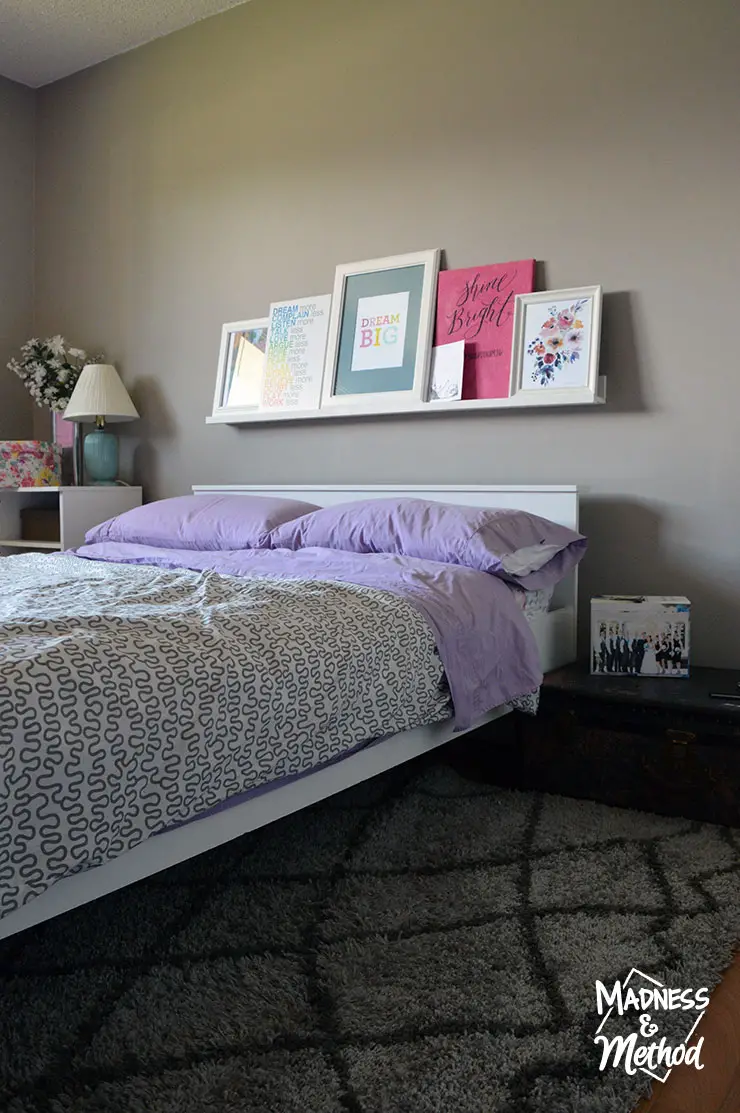
And here is the most up-to-date image of our guest bedroom (with the new rug). In the future, this room will turn into another nursery, but I’m thinking our photo ledge will stay put!
If you’re thinking of adding a unique, easily changeable gallery area in your house – why not consider a stronger photo ledge?! Just remember to use screws instead of finishing nails, and you won’t make the same DIY mistake as me! And, if you’re looking for some inspirational art to hang up remember to check out this post for some more ideas.
What do you think, do you like the idea of a photo ledge?

No Comments