
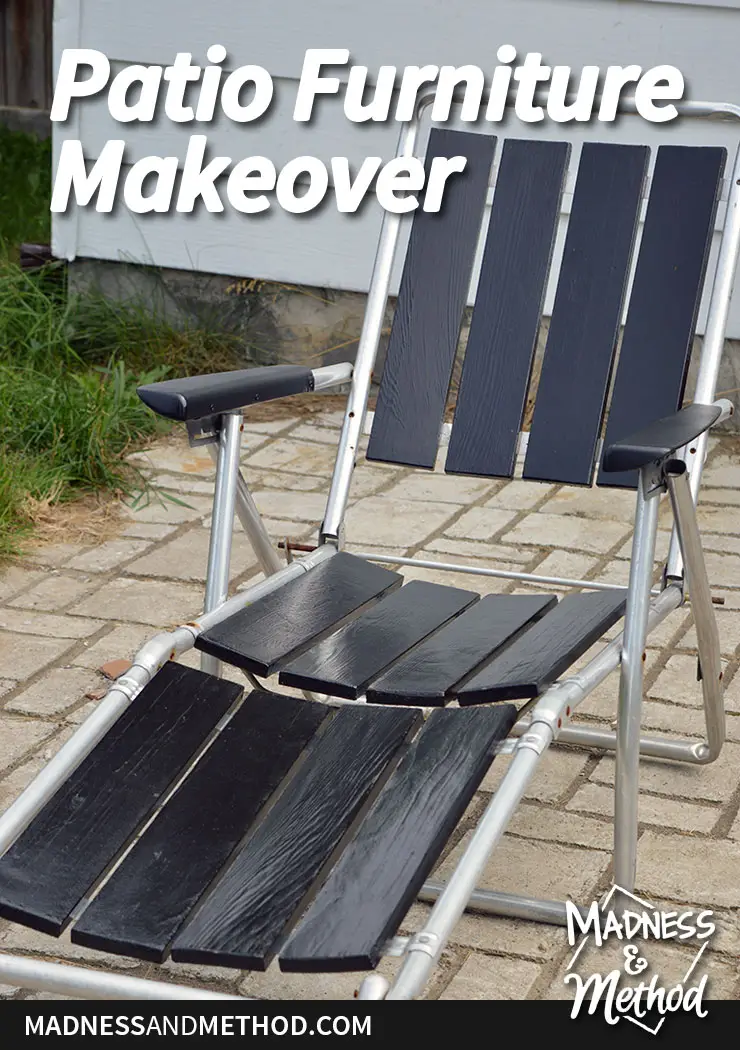
If you’ve visited the blog before, you might have noticed that we had an old set of patio furniture in our backyard. It originally belonged to my grandparents, and I’m pretty sure the set is older than me (by a lot!). Living in Canada, our outdoor furniture definitely sees some harsh weather (even though I sometimes remember to store our stuff for the winter) and everything was starting to look a little sad. I wanted to give our chairs a refresh, but I ended up changing them a bit more with this antique patio furniture makeover than I was originally thinking…
– Note: This post contains affiliate links. See more information about affiliates here. –
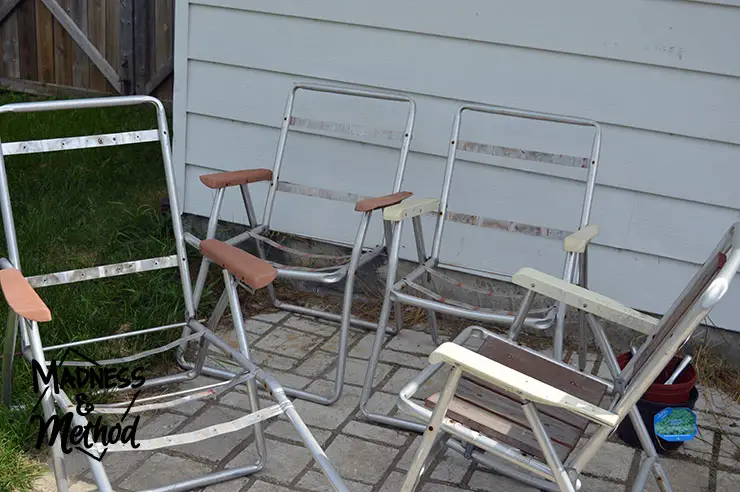
From what I researched online, they are called redwood patio furniture. In total we had four of these chairs; two regular folding ones, a rocking chair, and a folding lounger.
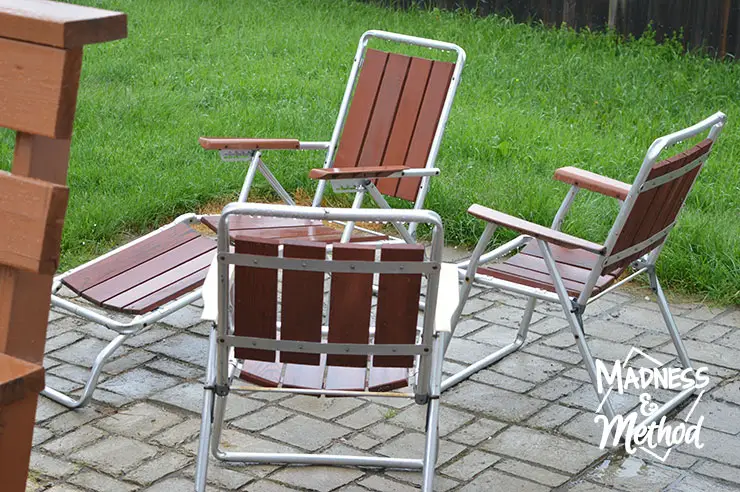
Image First Appeared in: Month of July (2017)
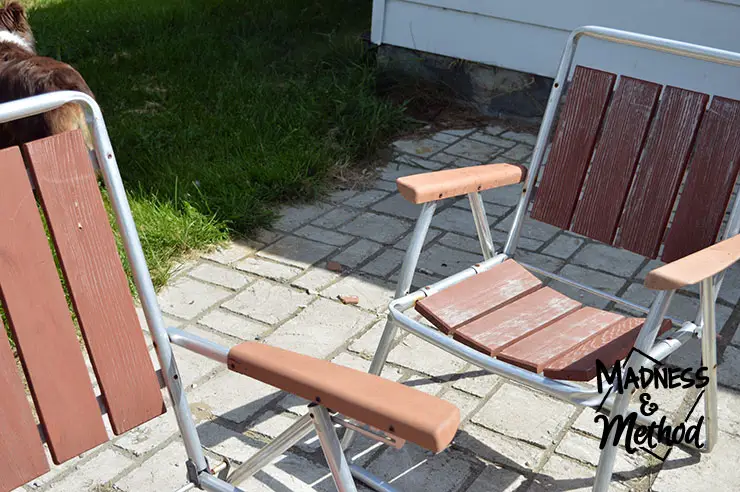
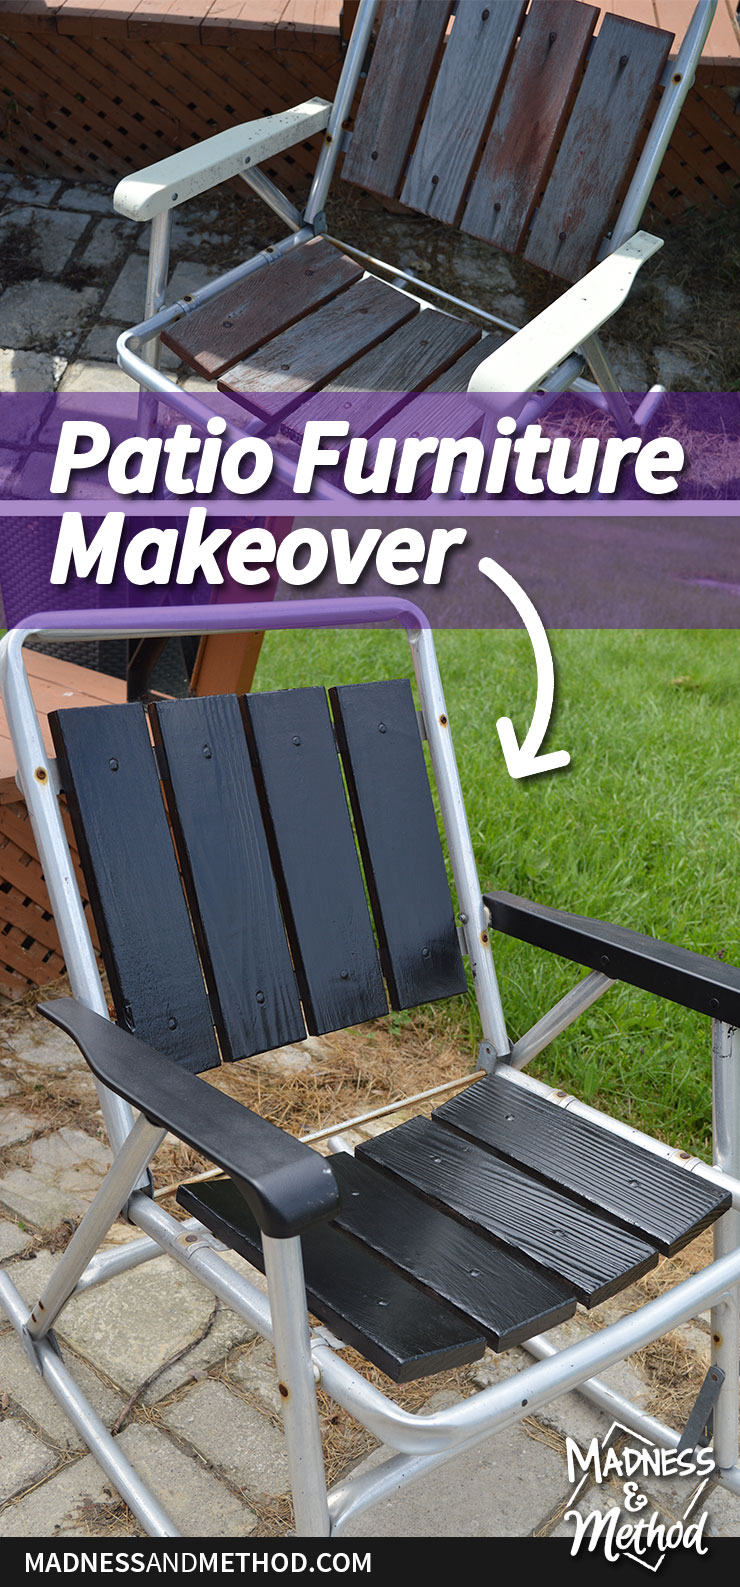
They looked okay from afar, but if you got closer, you could see the wood was starting to fade.
Using my orbital sander, I gave the surface of the wood a good sanding to remove the loose paint.
The rocking chair was probably in the saddest condition, and it definitely needed a makeover!
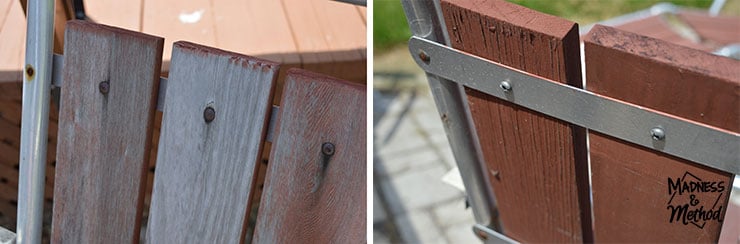
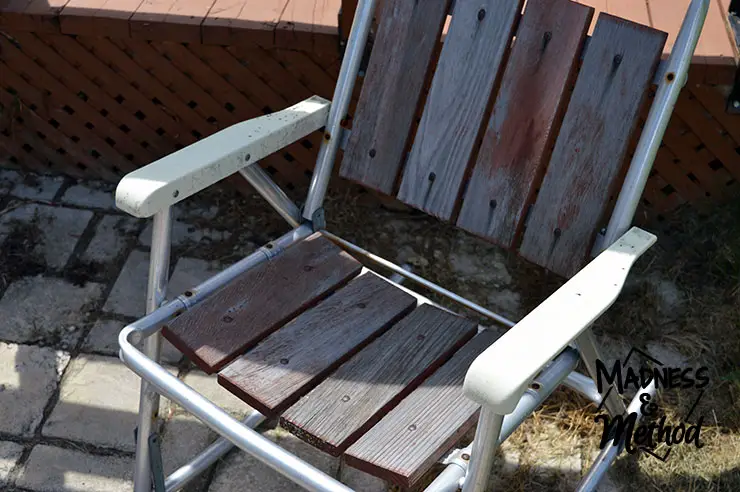
Unfortunately, the wooden slats were riveted on; whereas they were just screwed into the back on the three other chairs. I thought about removing the rivets, but it would have been a big hassle, and I would either have had to live with holes in the front, or buy new wooden slats to replace those.
I removed all the slats that I could, and gave the chairs a good scrubbing. The aluminum frame was still in good condition, so I decided to leave it as is.
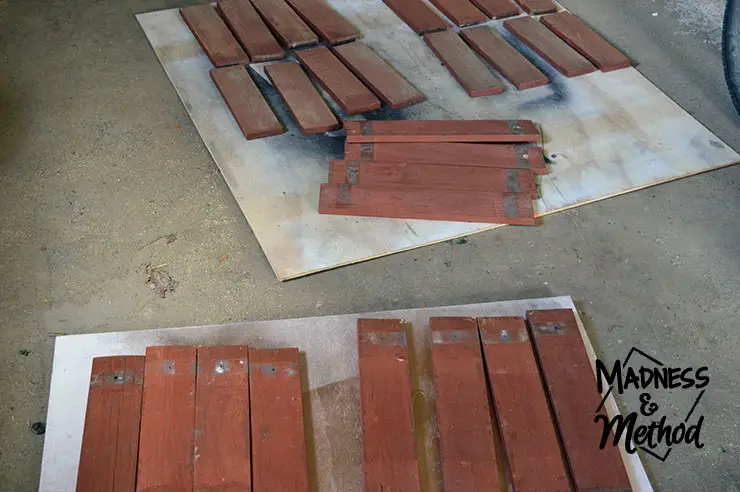
All the slats were placed in position in the garage, and I lightly hand sanded the back and sides.
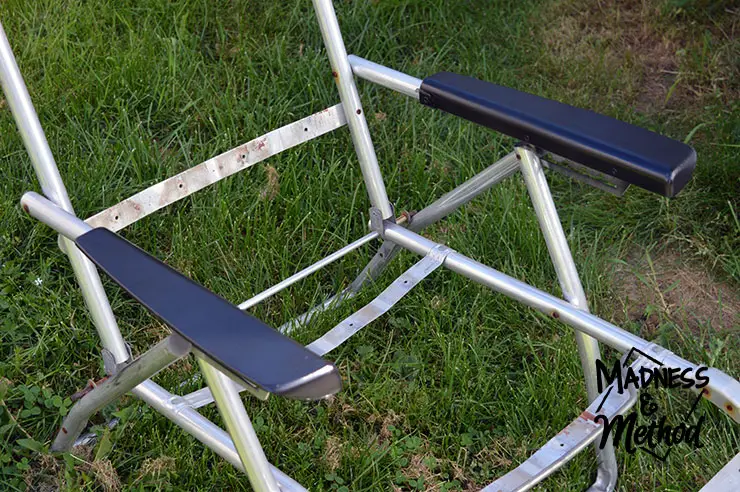
Since the plastic arm rests were different colours, I spray painted them black so they would all match. The antique patio furniture makeover was looking super sharp so far, and I was looking forward to having newly stained wood slats.
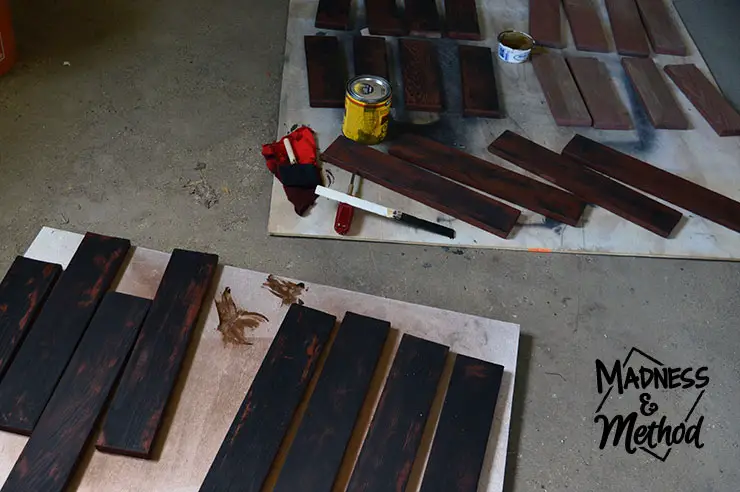
The Husband didn’t want black stain, so he chose the next lightest colour; but it was still pretty dark.
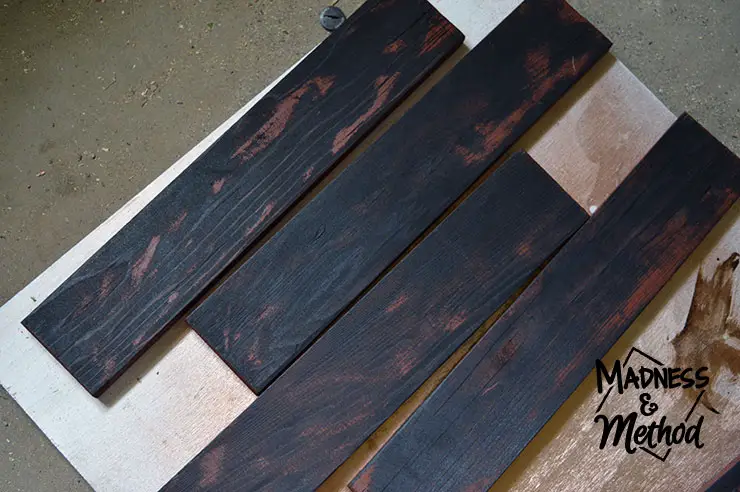
Unfortunately, the stain wasn’t adhering to a few sections of the good/old stain; and it was looking tiger stripe-y.
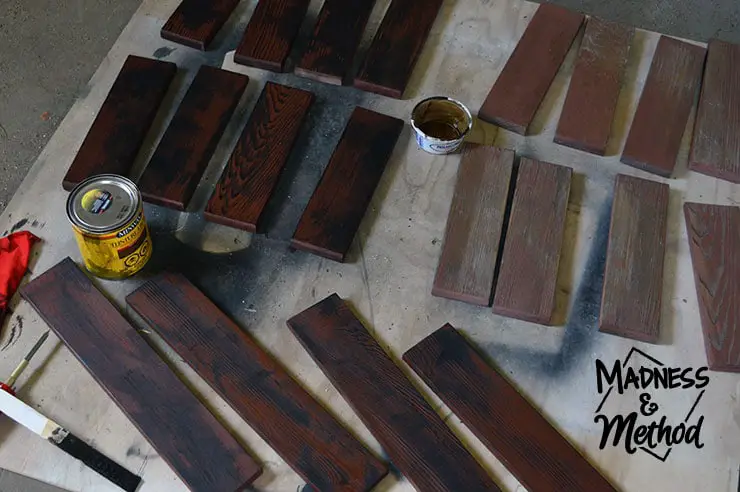
I actually didn’t mind that look at all, but I was upset that it wasn’t the same across each board! Some pieces had a lot more of the red/orange stain coming through, and I figured that the back (where it was less affected by weather) would be very different.
I waited until the Husband came home to ask what his opinion was; either continue with the staining and have it not match, or just paint the wood slats completely.
In the end, he said that painting would make it look more cohesive, and they would match better. (Actually, I think he said that he didn’t care and do whatever I wanted… but I felt like painting it would go against his original stain choice!)
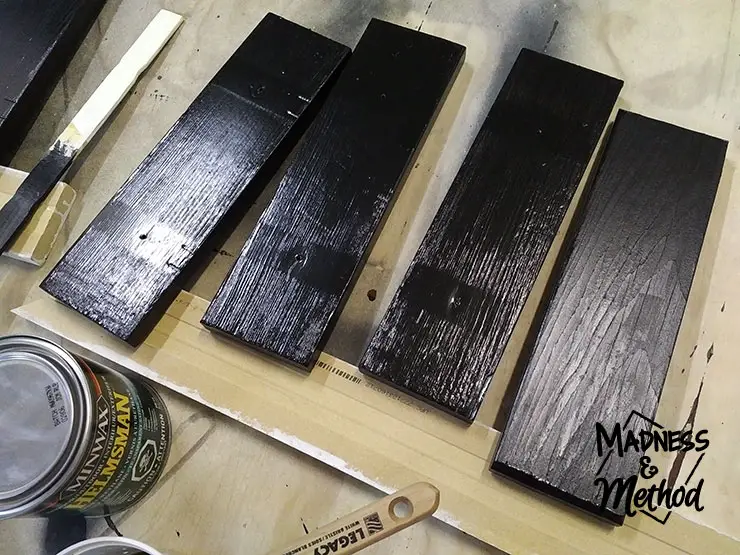
The slat on the right has not been sealed yet, the sealant was much glossier than expected!
I gave all the slats two coats of this pre-mixed black paint, and then sealed them all with a coat of Minwax Helmsman for Outdoors. I had already purchased the Helmsman for when we were going to stain them, so figured I could still use it with the paint (even though the paint said it was for indoor/outdoor use).
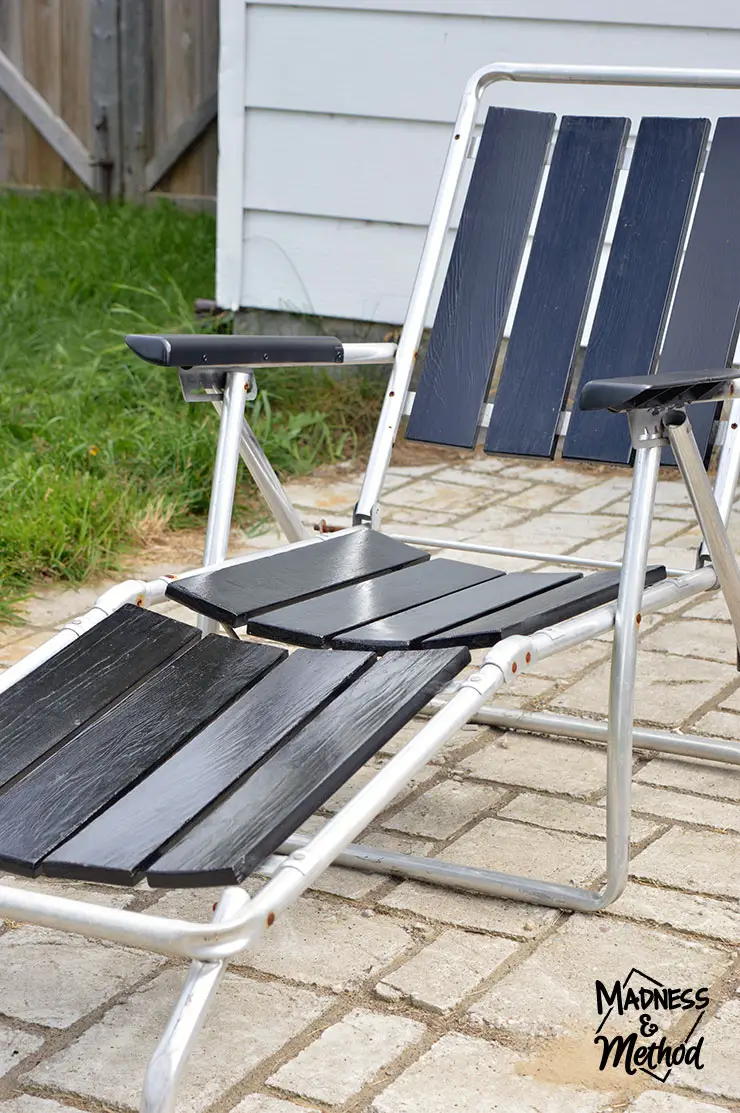
The Husband helped me install all the slats (okay, he did most of the work while I cleaned the garage) and the patio chairs were looking good!
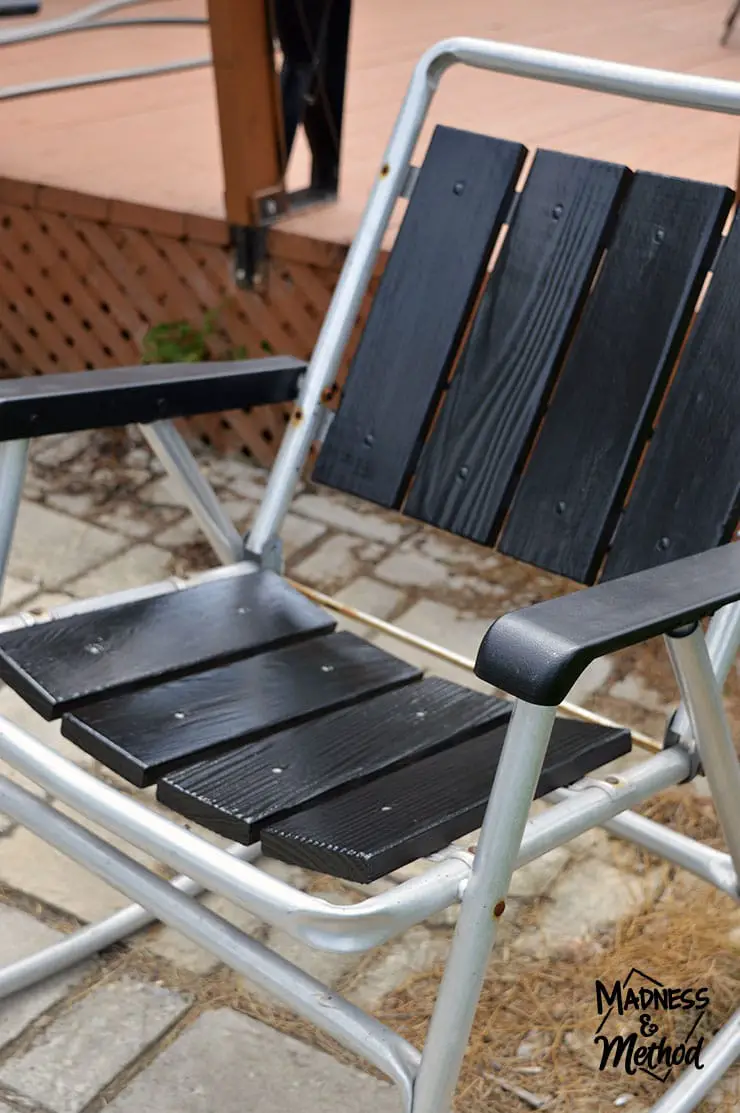
The finish is a bit glossier than I would have liked (I only did one coat of the Helmsman, so maybe the recommended 3 would have toned it down?), but the antique patio furniture looks infinitely better than it did before.
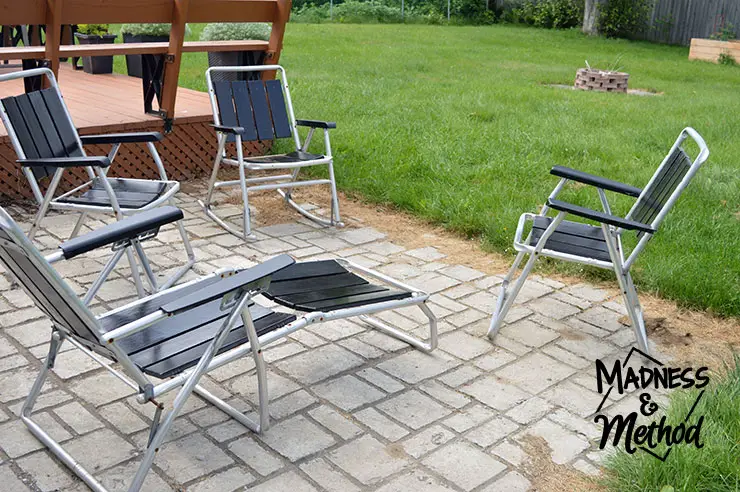
I did put them back on the lower concrete section, but I think I might do some re-arranging of our outdoor furniture soon (like my back deck plans) and will let you know how that goes!
I’m not exactly sure what makes something an “antique” versus plain old “old”, but I will let you know that I saw one of these patio chairs at an antiques sale, so I figured they must qualify haha! Anyways, I also figure that it probably would have been better if I had just stained them, so they keep whatever antique-y value they may have… but I have to live with them now so it made sense that I painted them to go with our style.
(Besides, even if the Husband said he didn’t care if they were splotchy/tiger-y; I knew he would have definitely brought it up as a negative after I went through all the work of finishing them…)
Ha!
What do you think about my antique patio furniture makeover? Would you have tried to maintain the stained look (maybe re-sand or strip the slats?) or do you think painting was the way to go? I guess my only concern now is that the black may be a bit hotter in the sun… but it’s been a bit chilly lately so maybe it will help make our Northern Ontario summers seem longer :)
I also made this before and after graphic that you can choose to save to Pinterest if you like!
Shop This Post

No Comments