
Let me tell you a story. A story that explains where everything started (in my world of DIY projects and love for interior décor specifically). Let’s look back into the past together shall we? It all began in the bedroom…
Whoa, maybe not quite what you’re thinking – I’m not going that far back! BUT today I will be talking about the bedroom I grew up in; the one I painted myself when I was about 15 years old maybe? So no, I didn’t lie when I said it “began in the bedroom”.
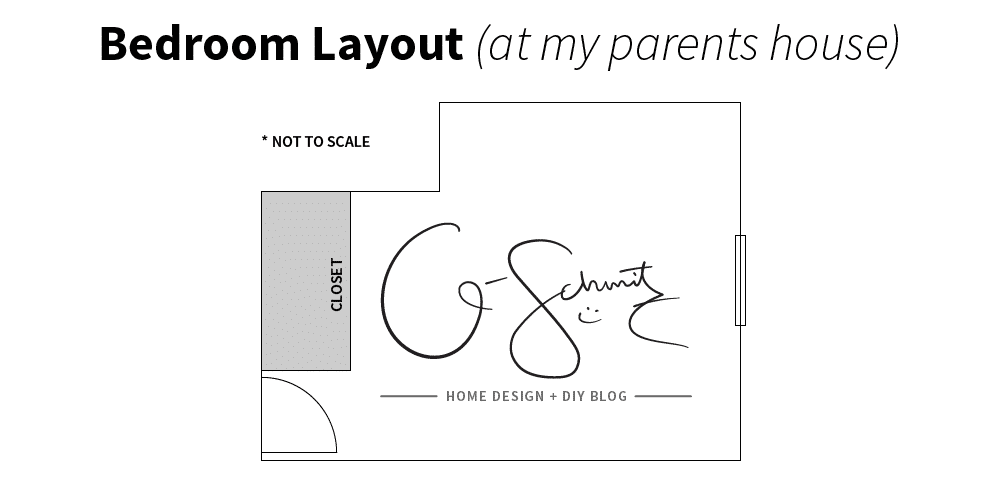
Before we begin, let me give a quick overview of the room layout. There was one single window on the East wall opposite the doorway. The room was an odd-ish shape, with my closet AND the back of the entryway closet jutting out into the space. My parents had recently had my room painted a nice bright baby blue (maybe two years before I changed it?) and there was a little pink painted butterfly border across the top (which I’m pretty sure I had did myself as well… come to think of it).
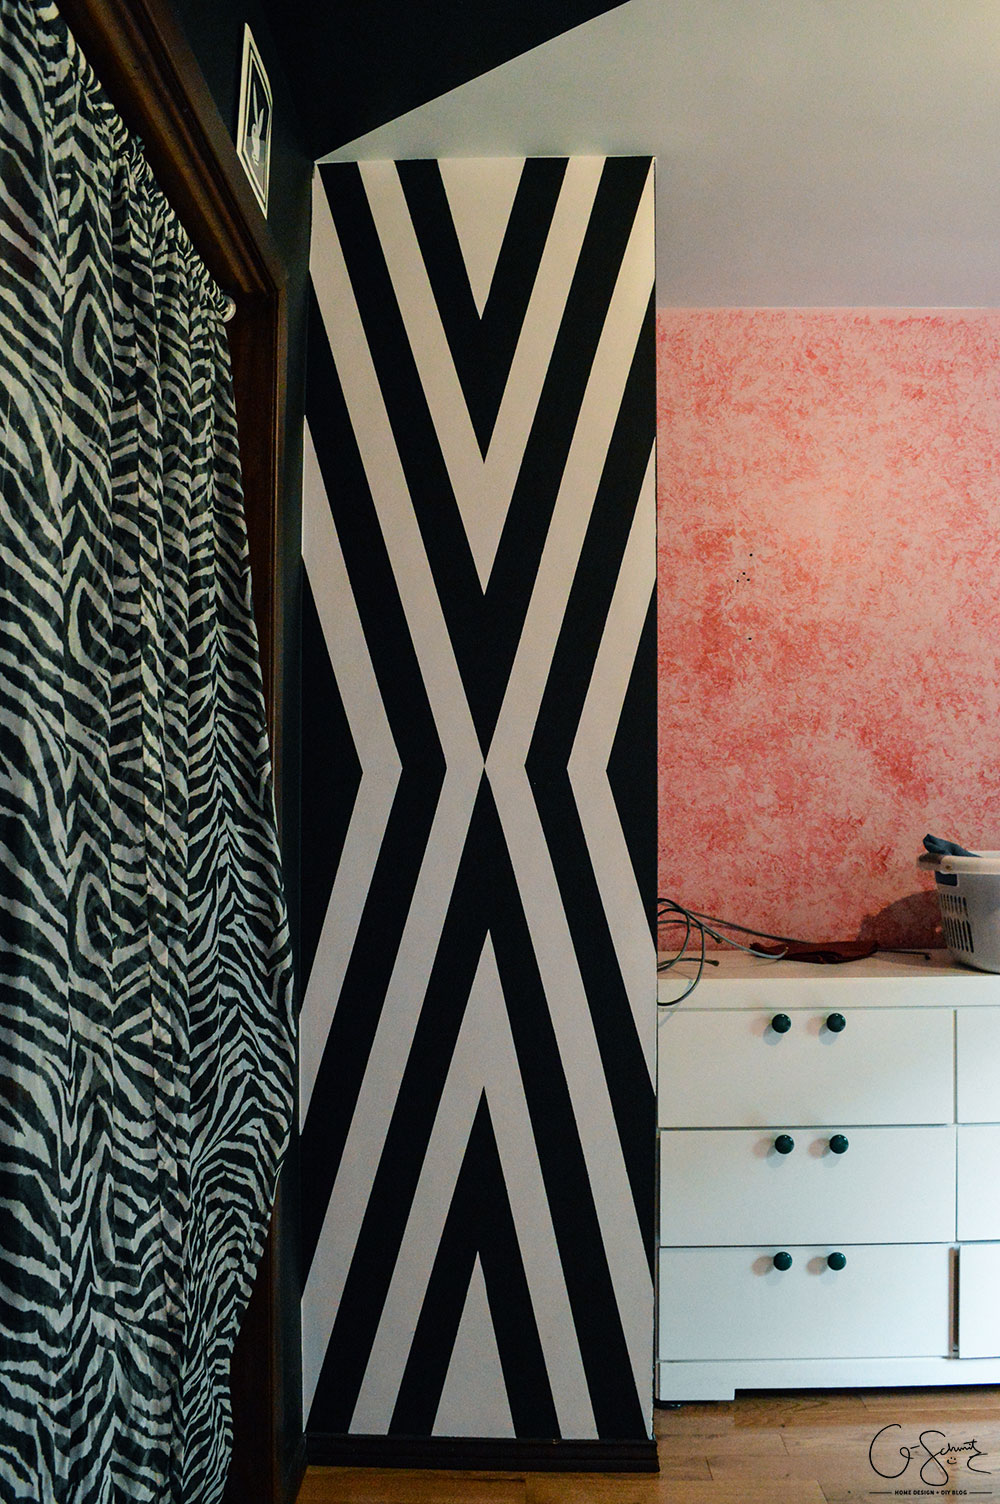
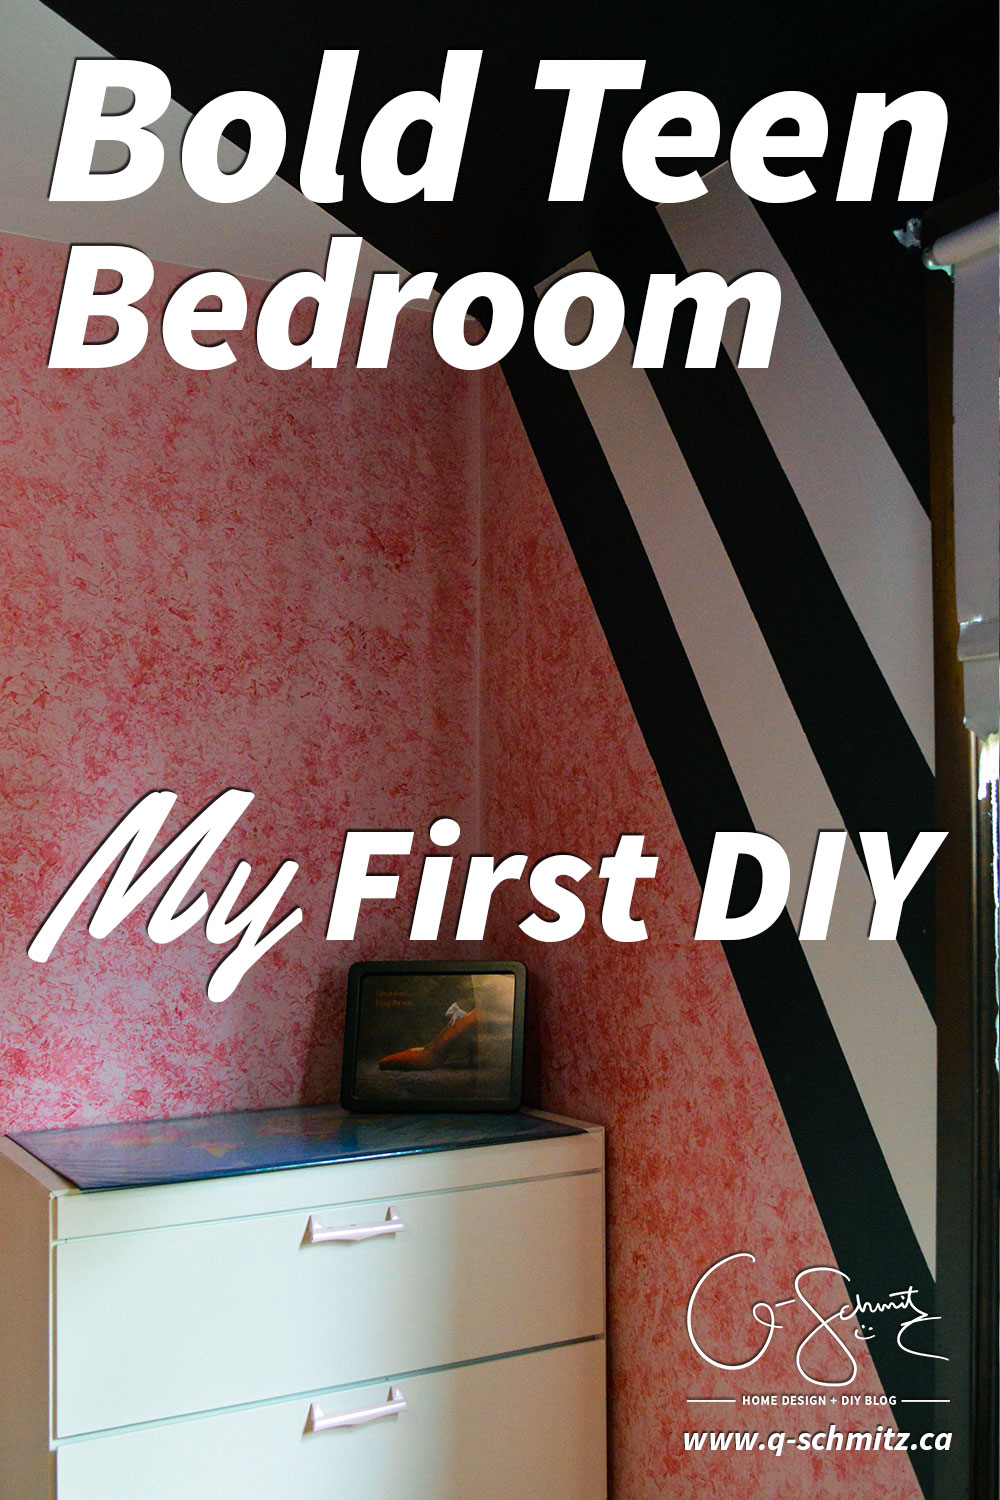
I decided I wanted something bright and bold, so I came up with this paint design:
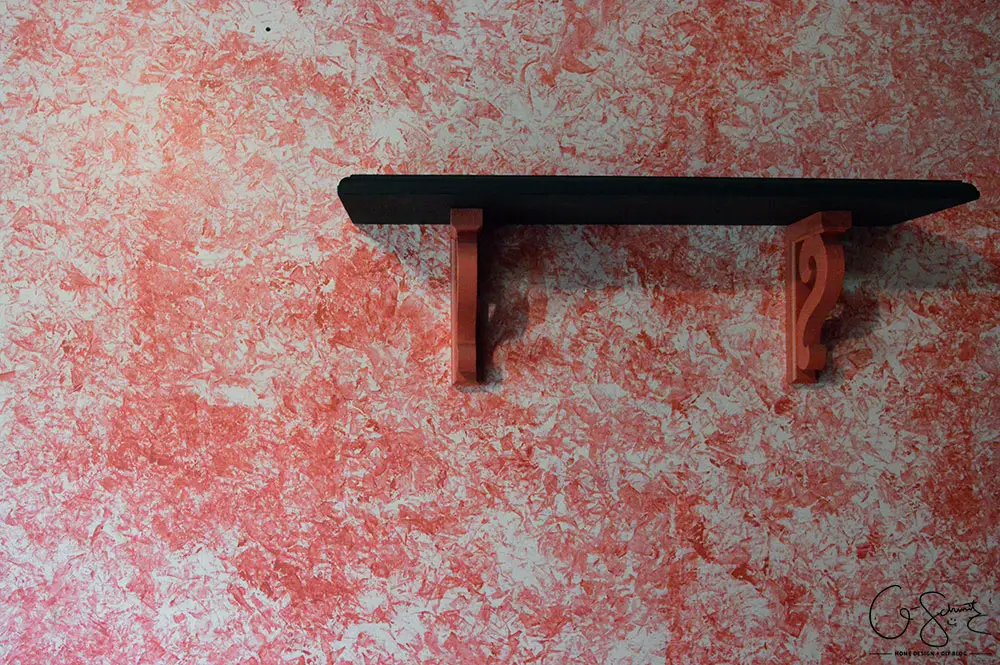
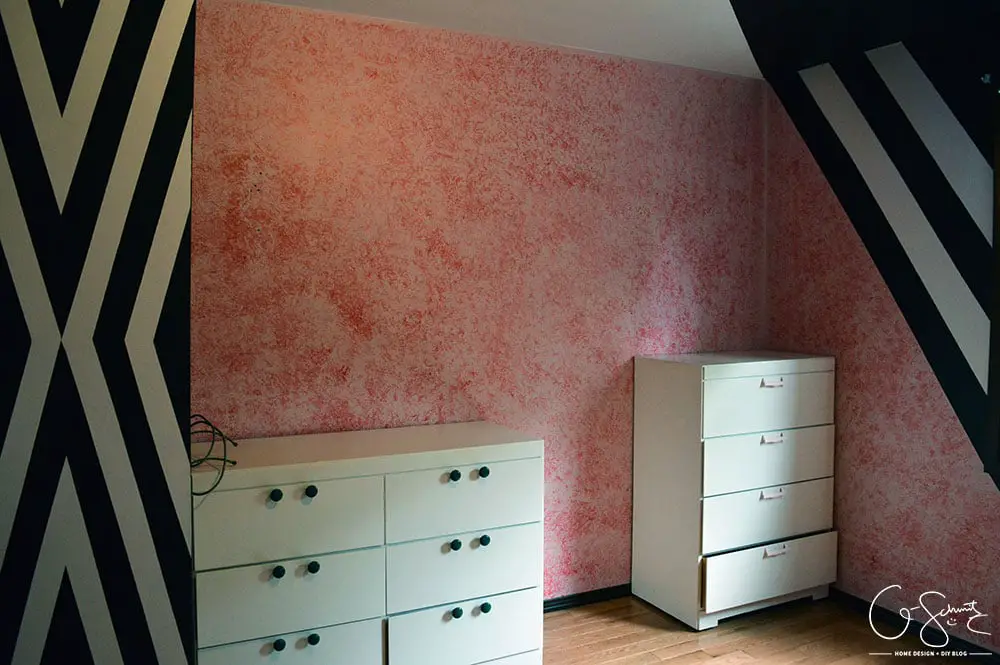
Now I should mention that the floors were pink carpet at the time (“Dusty Rose” actually) so I played on that colour by doing the main section of the walls to (almost) match the floors.
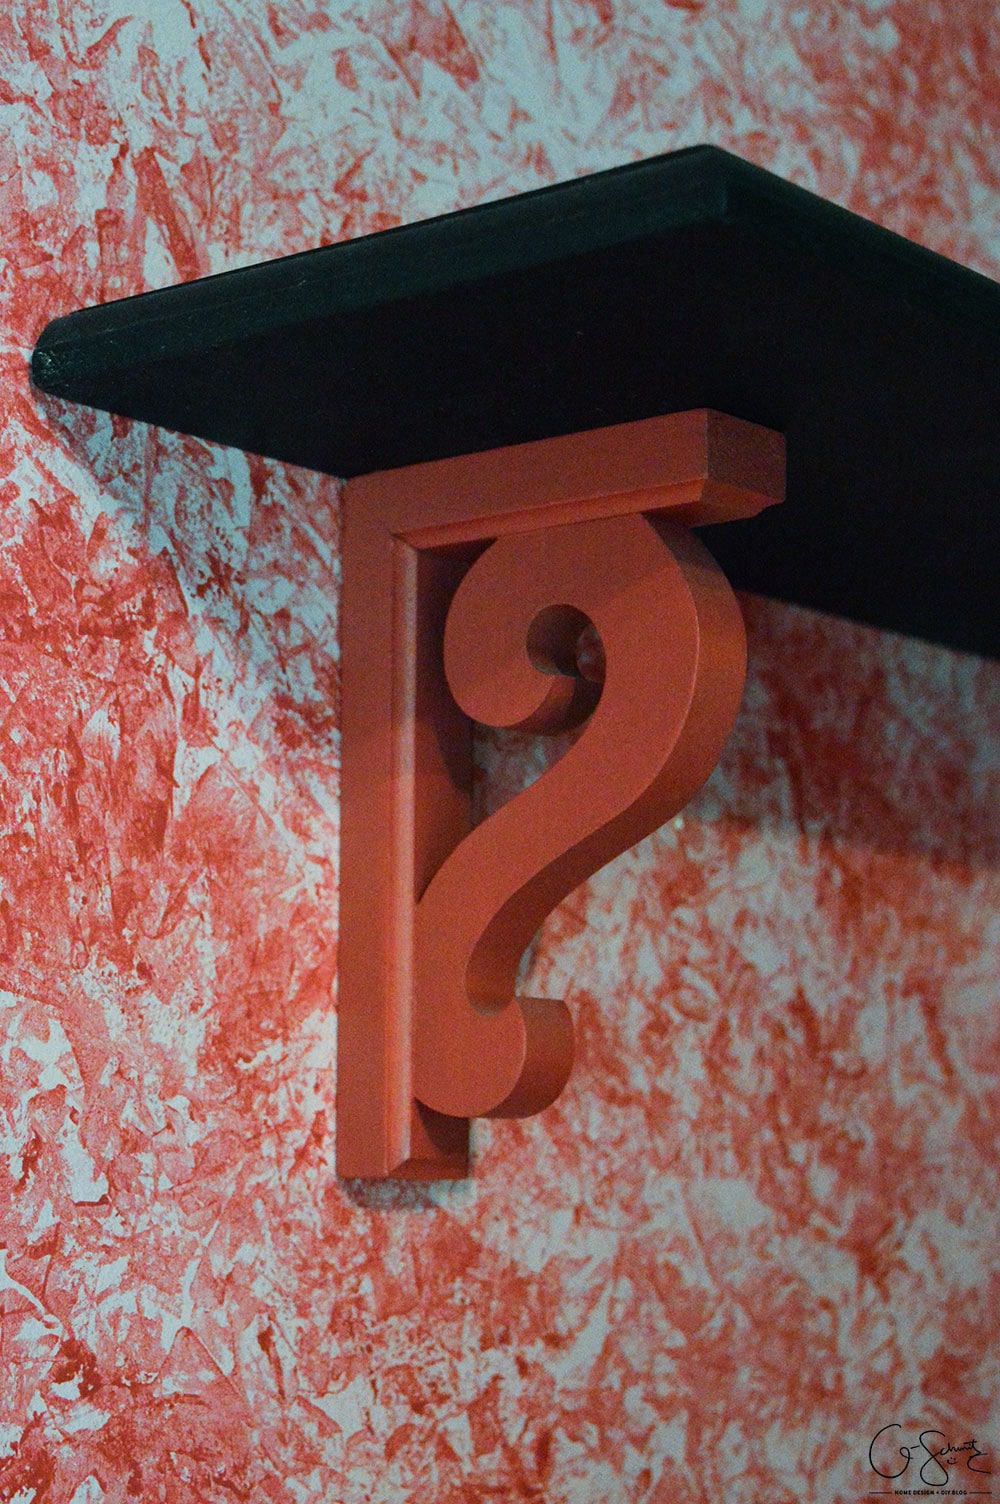
I had then used a fancy paint roller with a top layer of red to create a unique textured effect. And I used that (top layer) colour to paint some wooden shelf brackets too.
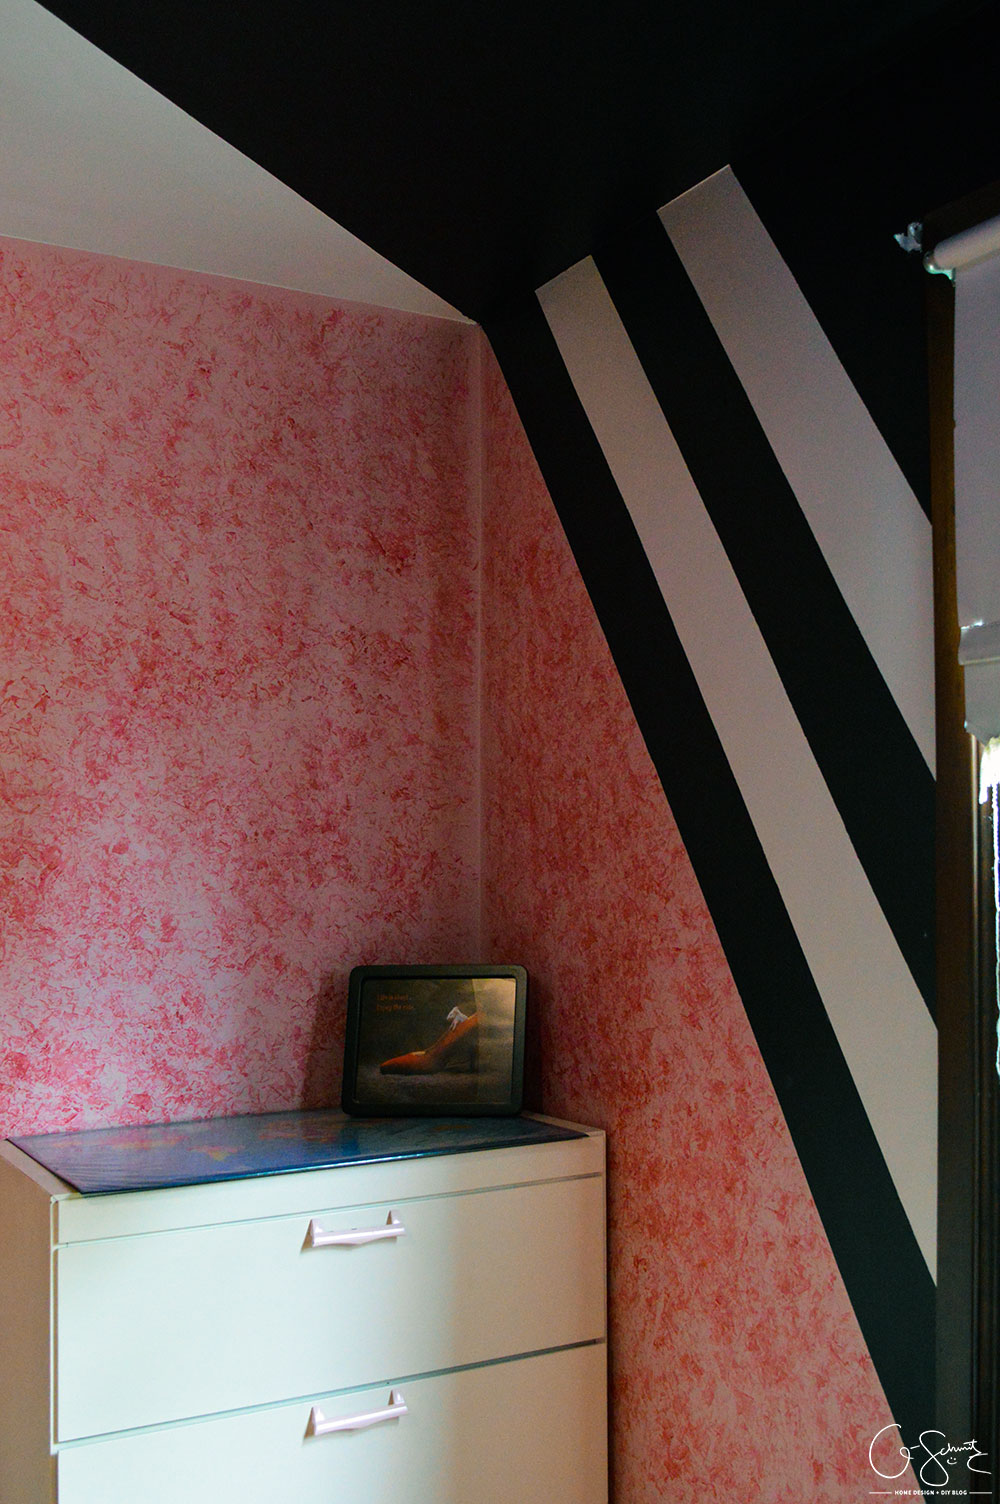
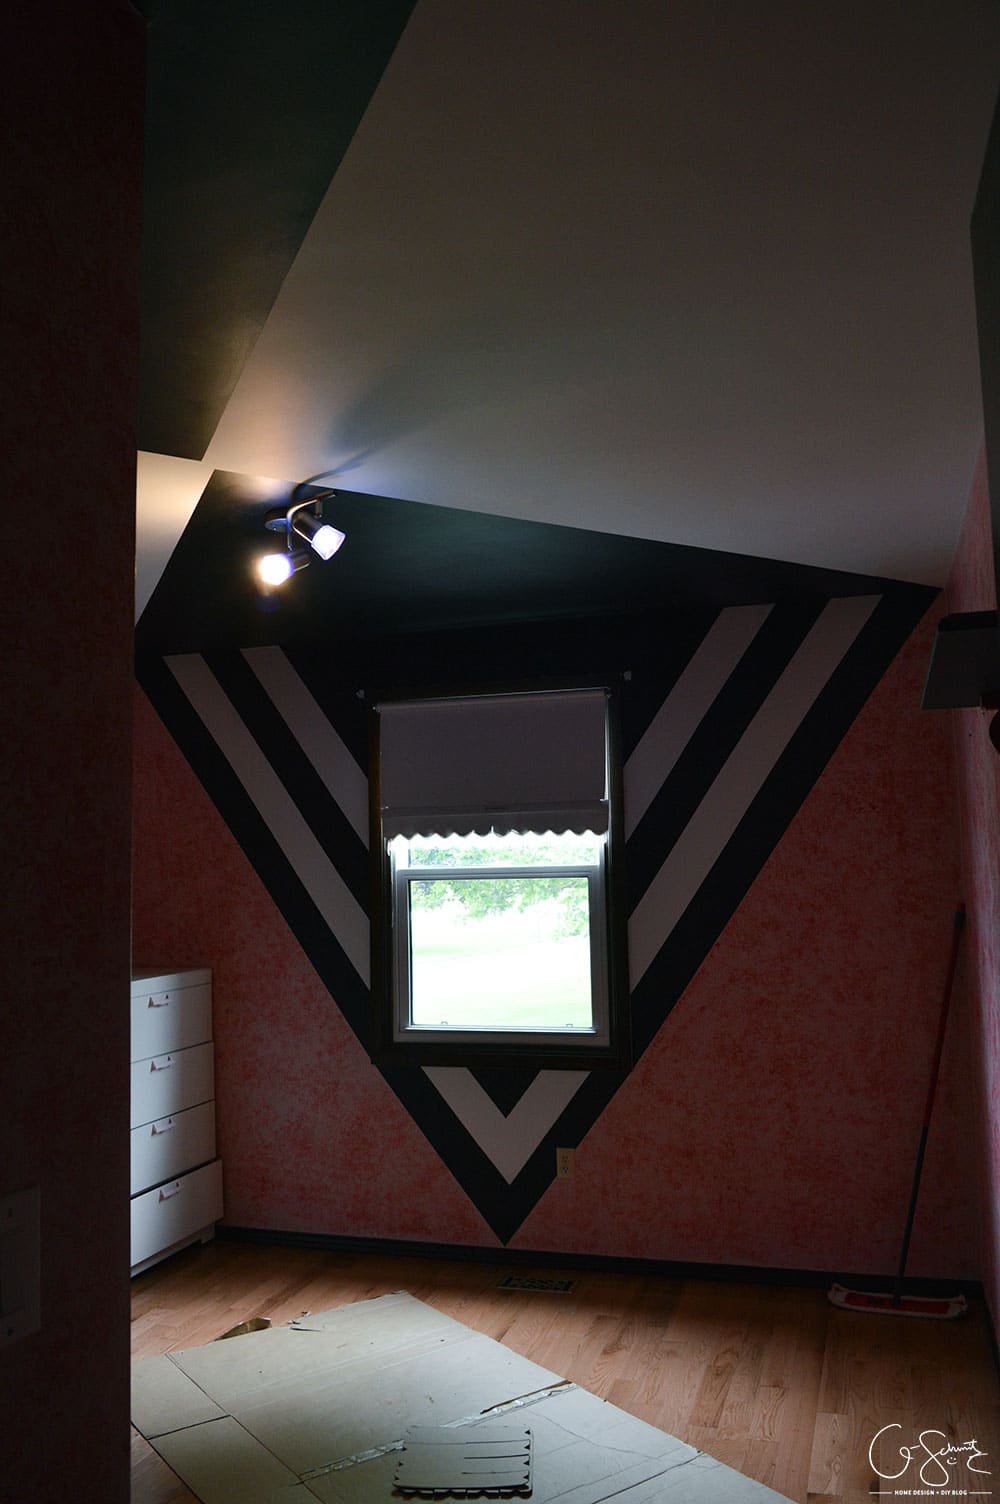
Not bold enough for you maybe? Well, I also painted a few small sections in black, and I did a (very) graphic design along the ceiling and the small closet bump-out.
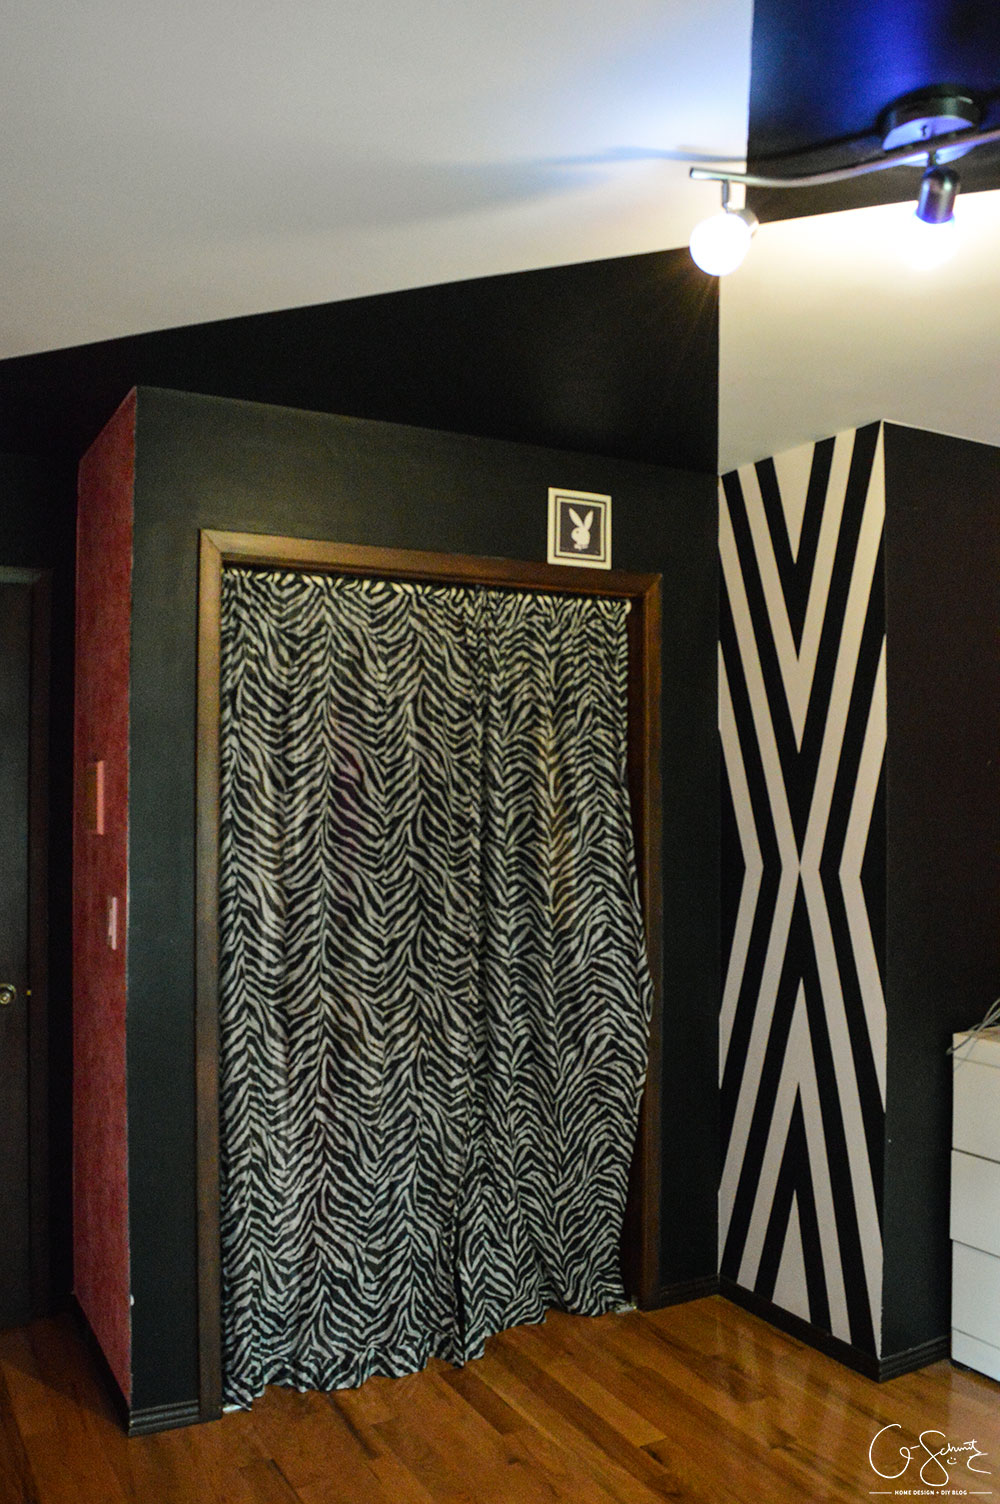
This wall sort of jumps out as you further entered the room (because you can’t actually see it from the doorway).
Also note that the furniture in these pictures aren’t what I had at the time (my Mom since turned this room into her dressing room); but know that I was always re-arranging the layout of where my bed, dressers and desk were.
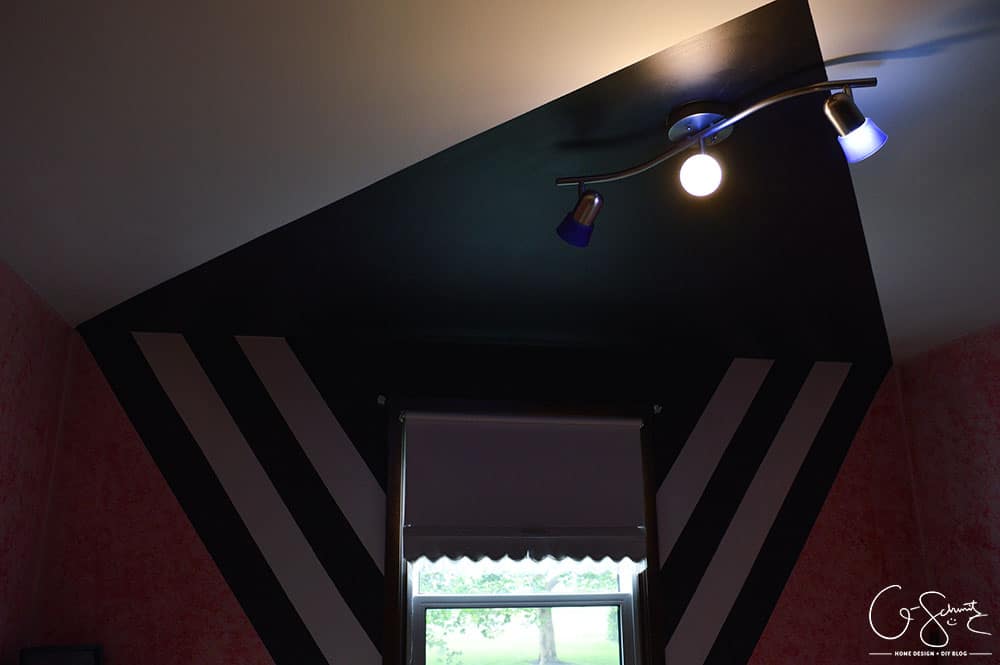
I continued the bold black + white onto the ceiling as well, and in the photo above you can see how the angle also comes down the window wall into another striped section.
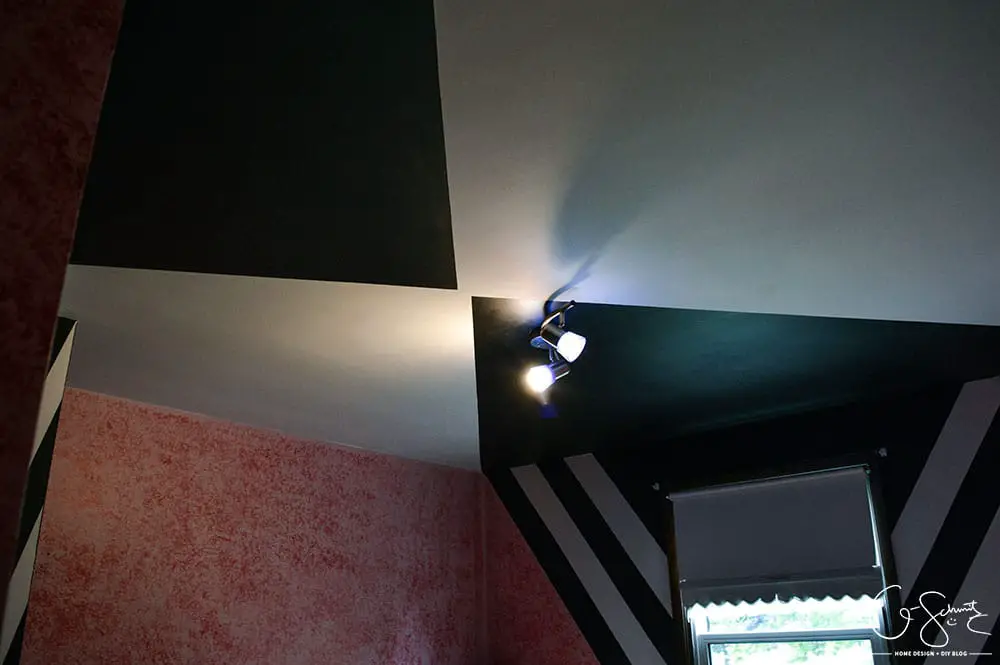
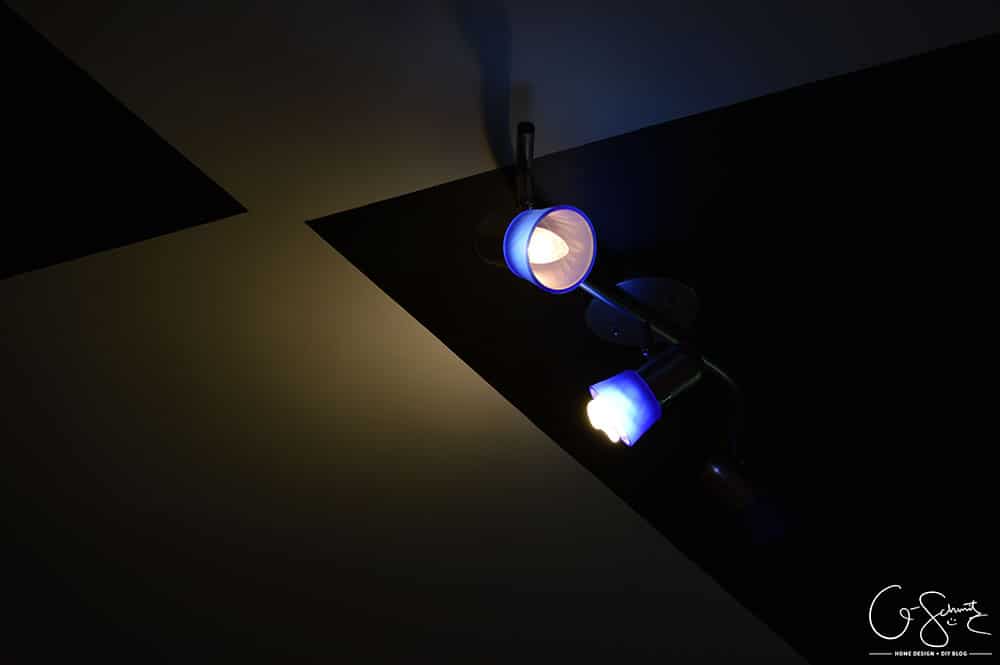
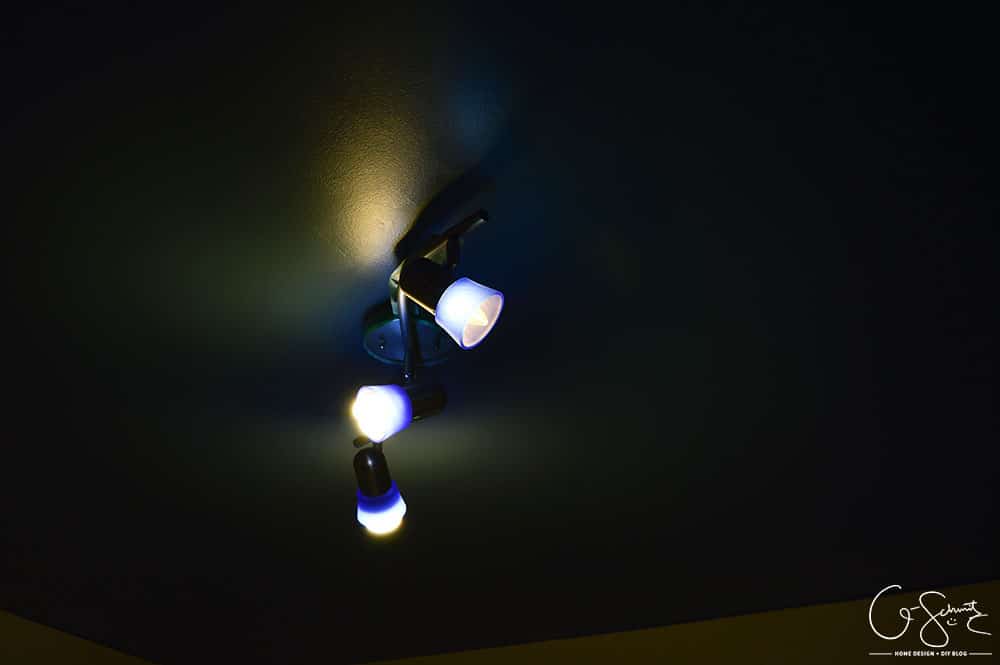
The light fixture was still blue from when my parents had replaced it in the recent bedroom change… and it never got changed after this. Now, you may be wondering – why doesn’t the center stripes of the room line up with the light fixture? Well, I had designed the stripes so they would converge in the exact centre (by having one roll of tape stretch across from one corner to the other) and apparently the light was not in the middle.
Yes, there was a lot of taping involved in the bedroom paint job!
I don’t think I’ve done anything quite as bold as this room since; but I do still have the same love for bright colours as I did back then (over 10 years ago btw).
And, although I loved (and still love) the unique paint design in this room; my parents were ready for a change. So when I visited them last month, we removed all the stuff and got ready to paint all the walls.
My Mom (mistakenly?) told me I could do whatever I wanted to this room as long as I helped. I knew that we would need to prime all the walls, but I was really not looking forward to priming and painting the ceiling. I mean, I was only going to be home for a few days, I didn’t have time to wait for paint to dry!
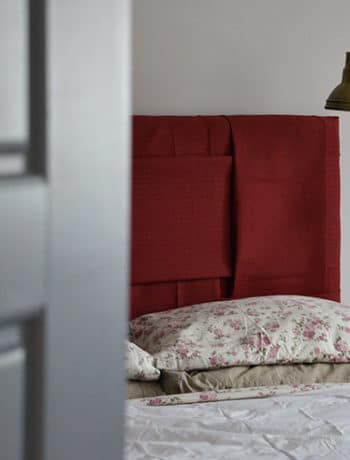
So, I came up with the idea to paint the ceiling another bold colour – a nice dark, muted blue and the walls would be a light neutral colour. This way, we could still keep the blue light fixture and it wouldn’t add a weird shade of light that would conflict with the paint colour.
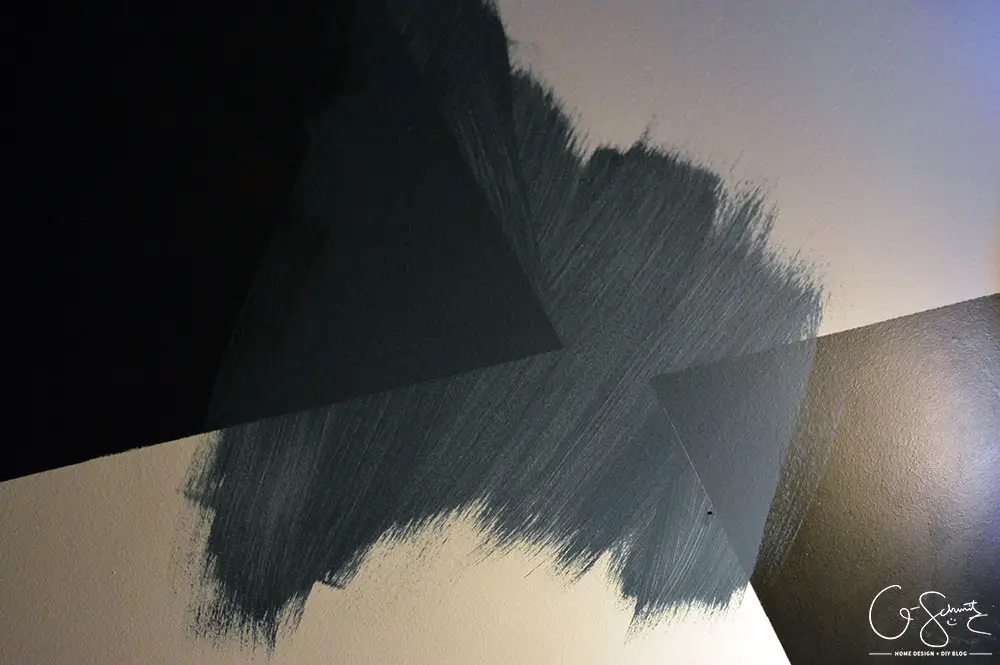
We did a test brush on the ceiling to see if the colour would go through. Even though it looked really transparent here, once I actually started rolling it went on much thicker. I could have even gotten away with one coat of paint too (I love when that happens!) but opted to do two just in case.
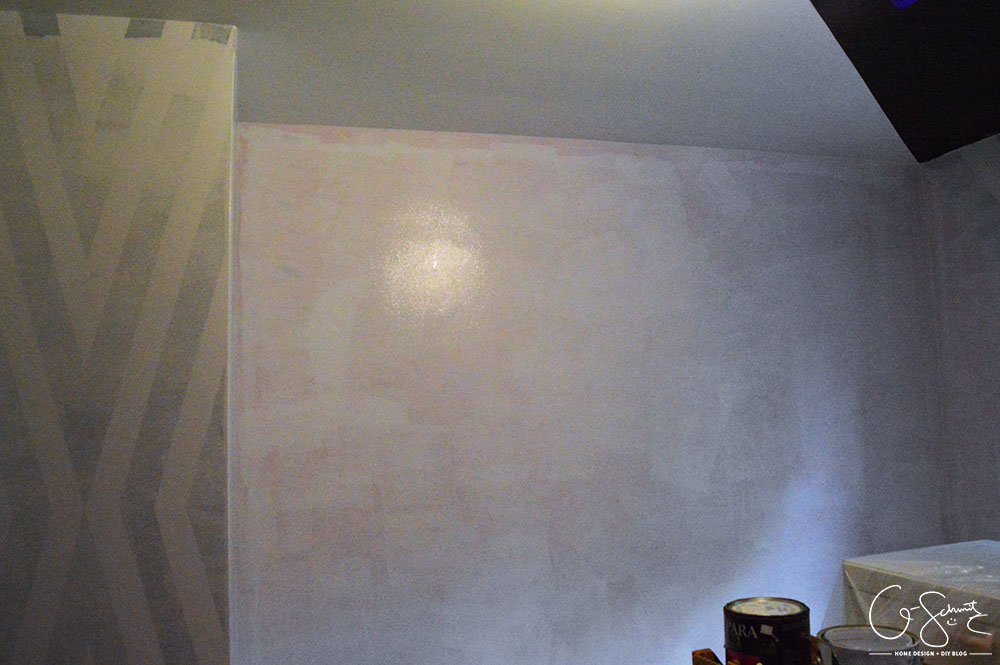
Because we were going lighter on the walls, we definitely had to prime them first. It worked out – I did the ceiling, and my Mom did primed the walls at the same time.
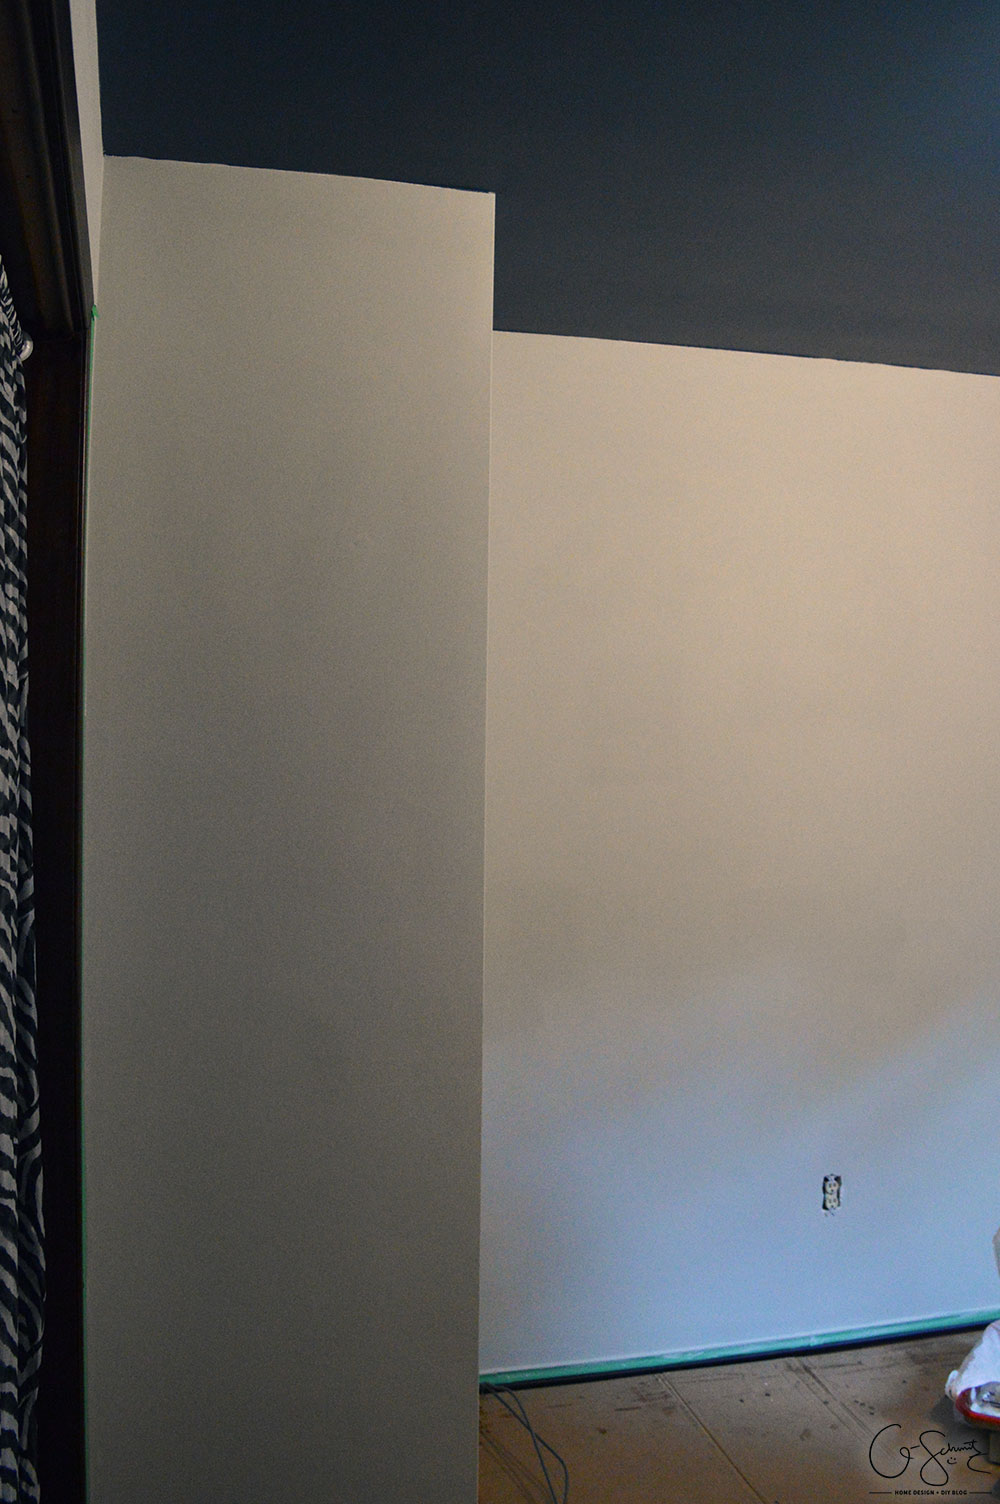
Now this photo above is just awful because it’s way too dark – but I have it here so you can see the faint line from where the white and black were. Not sure what people normally do to cover up stripes and edges (that occur when you use painter’s tape)… maybe they sand them down first? If someone knows, pass the info along please :)
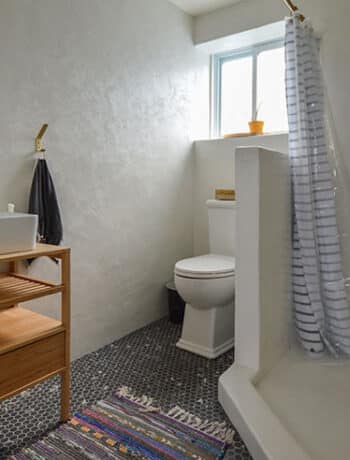
Anyways, this is what the room looks like now! I only have one picture because my Mom had to finish some touch ups and edging after I had left, but this is basically how it turned out.
Goodbye beautiful bold, graphic stripes – hello sophisticated and more neutral room. This is much better for a guest room too, as I imagine it to be a more peaceful night’s sleep than before – but I don’t think I ever had a problem with the design! It was perfect for little ‘ole teenaged me.
I know you’re probably not going to go running to paint your master bedrooms with bright contrasting stripes, as this design would be more suited for a teen’s room. If I could change anything… maybe I wouldn’t have had such a contrasting texture as well (the pink and red sections), and instead I’d go with something flat? But hey… it would have been a lot crazier if the main sections were neon green right!?
I’m glad you followed me on this journey into the past and explored my first major DIY project! In fact, once my Mom saw how I had done my room, she actually let me paint their master bedroom, then the bathroom… then the kitchen… dining… living room… and well – now I’m here with my own Home Design +DIY website! Haha, maybe you’re thinking she was crazy!? (Especially since I painted her bedroom without letting her know which colours I was doing).
But it all worked out in the end :)
Did you like reading about this “old” project I did? I’d love to hear your thoughts in the comments! And if you’re wondering how our outdoor walkway is going… just know that my arms hurt and I needed to take a break… but I’m still working on it, don’t worry!
2 Comments
Louise
August 8, 2015 at 11:04 amKind of liking the blue ceiling now after having spent the last week or so sleeping in that room while I moved to our room. Still have a couple touches left to wrap up .. something with the curtains or decorative pillows to blend the red/blue/grey. Still waiting for suggestions on what to do with the handles for the dressers.
Nicole
August 8, 2015 at 1:19 pmI have an idea for the curtains – but you’ll have to wait until I’m back. I’ll let you know about the dressers too