Last week I went over the steps to create a simple deck bench with brackets; and today I’ll be building a corner bench with brackets. It’s basically the same technique, but we did add something completely unique to our corner piece, which literally helped tie everything in together!
– Note: This post contains affiliate links. See more information about affiliates here –
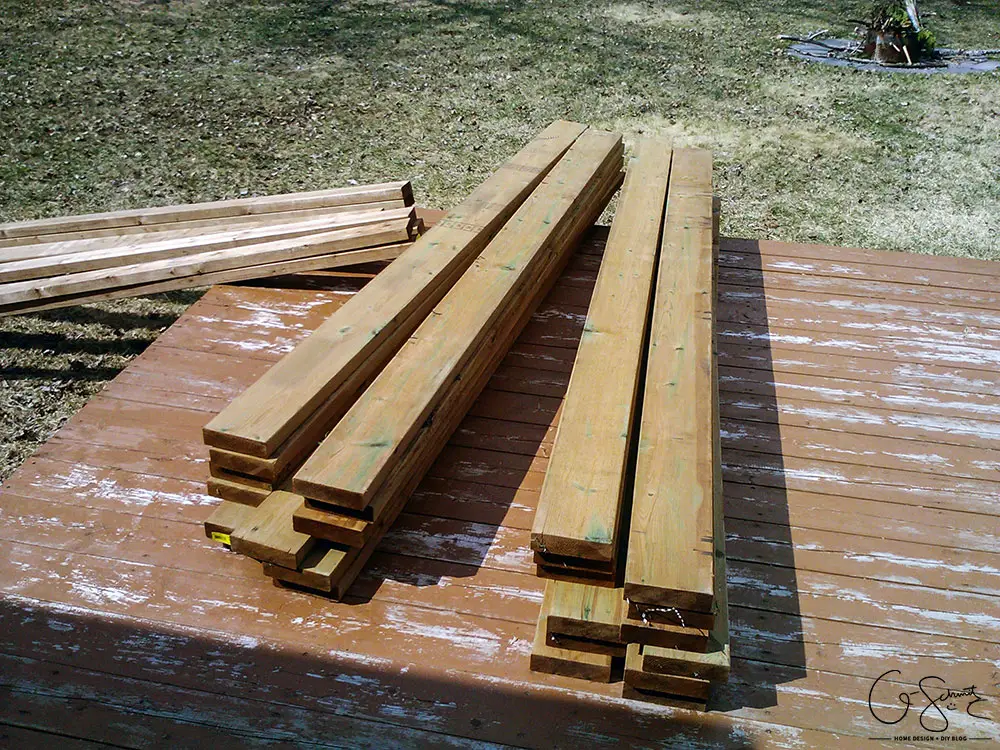
We bought all the lumber and brackets at the same time, and the photo above is a real “before” photo! If you haven’t checked out the post on building a deck bench with brackets, it might be a good idea to read it over to get a basic understanding of how to build a straight bench. For the corner, it’s pretty much the same thing, but there are some added cuts and challenges. You’ll also need more bench brackets.
The most obvious difference is that now you have a corner, and you’ll need to cut some 45° angles into your 2×6 boards. We wanted our corner bench to be 8′ long on each side, so we had to buy 10′ long pieces of wood to accommodate the corner. Okay, we forgot to read the instructions on this and did have to go back to the store to get some longer pieces of wood!
DIY/PRO Tip: Measure your pieces of wood and cut the extra length off BEFORE you put them in place. We didn’t, and the Husband thought he could just cut off the extra with a chainsaw. Yes. A Chainsaw. Not exactly the nicest edge!
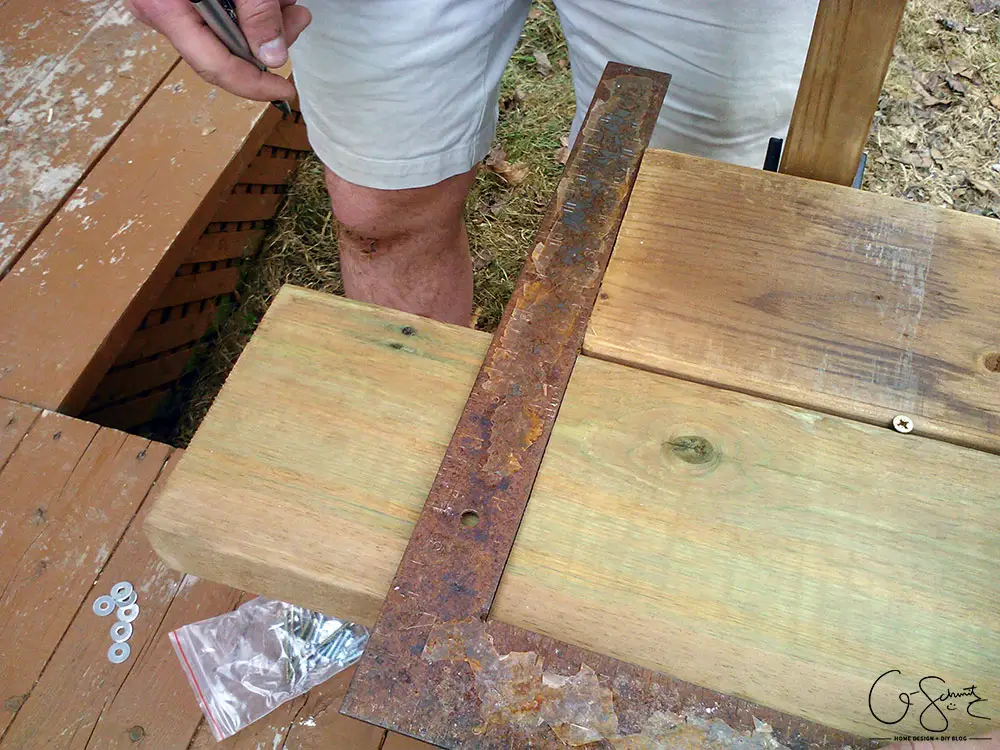
The photo above shows my Papa (dad) the Husband using a square to create a nice straight line where the boards line up. Also notice the screw in between our boards? Just a reminder, we place screws to help create a nice even gap between all the pieces, and they don’t get wedged in because you can literally unscrew them if they get stuck! (Post-Update: The Husband was upset I didn’t recognize those were his legs in the photo, so I had to update the text. On another note, apparently my Papa and the Husband have the same looking legs… so not sure if that’s a good thing …).
It will take a bit of tweaking to get your corner pieces perfectly lined up, and the Husband wanted to make sure everything was perfect.
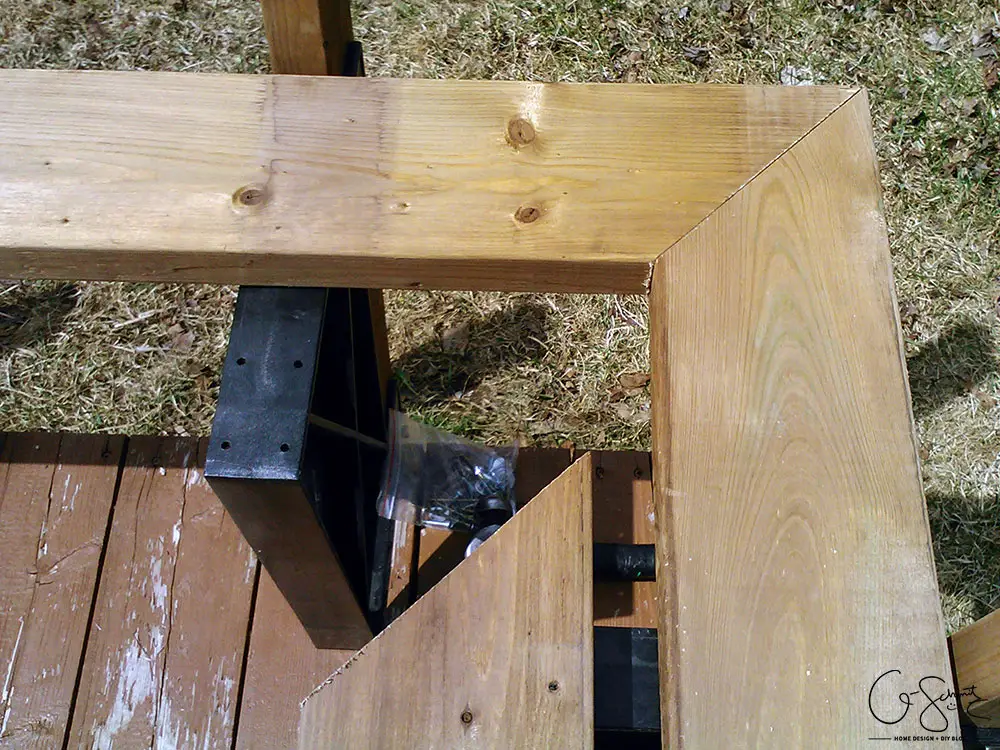
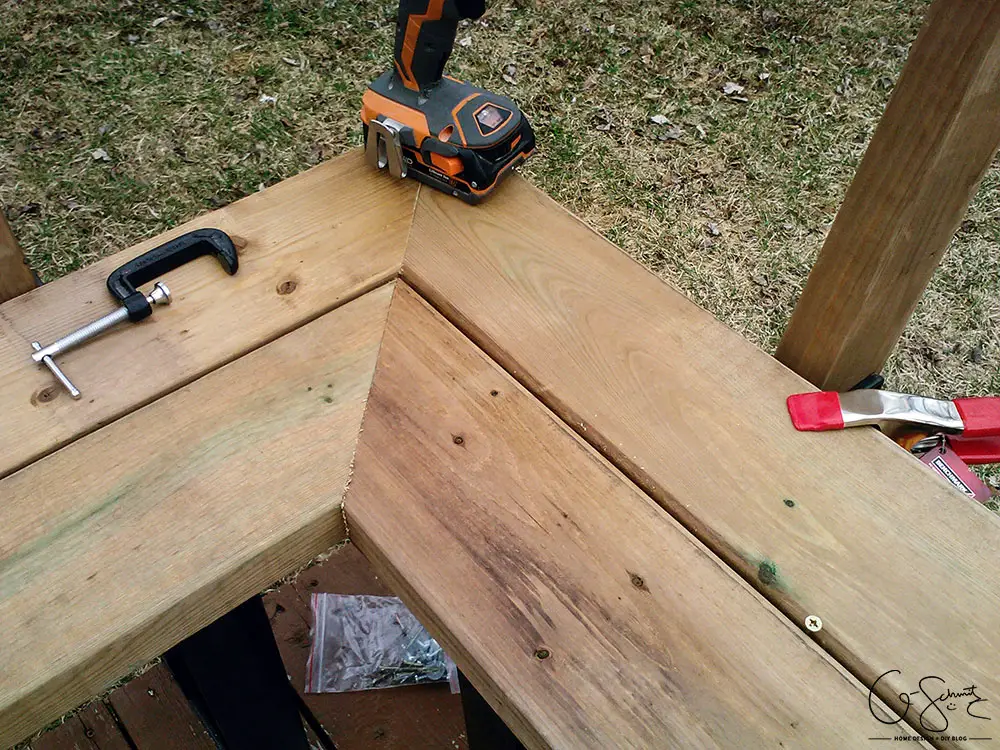
Once the bottom (seat) boards were in place, we bolted in the 2x4s along the back and put the top 2×6 in. We wanted a nice tight corner at the top, and the Husband had a great idea of how to achieve this. However, our benches had to sit like this (unfinished) for a few weeks before we could complete them.
Okay a few weeks have gone by! Where were we?
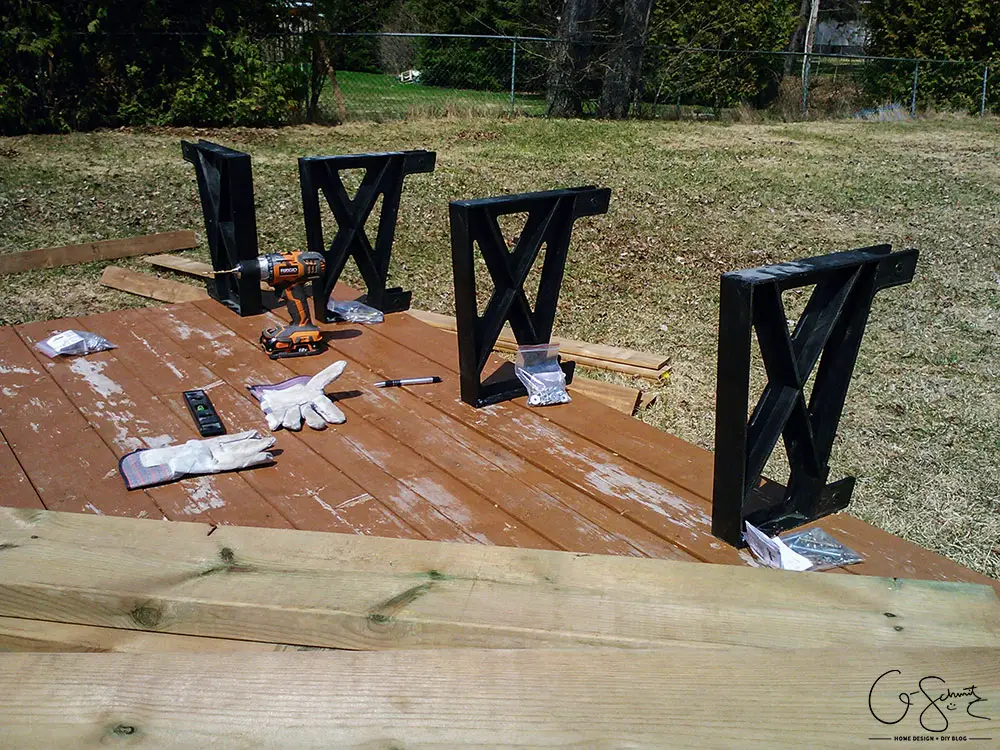
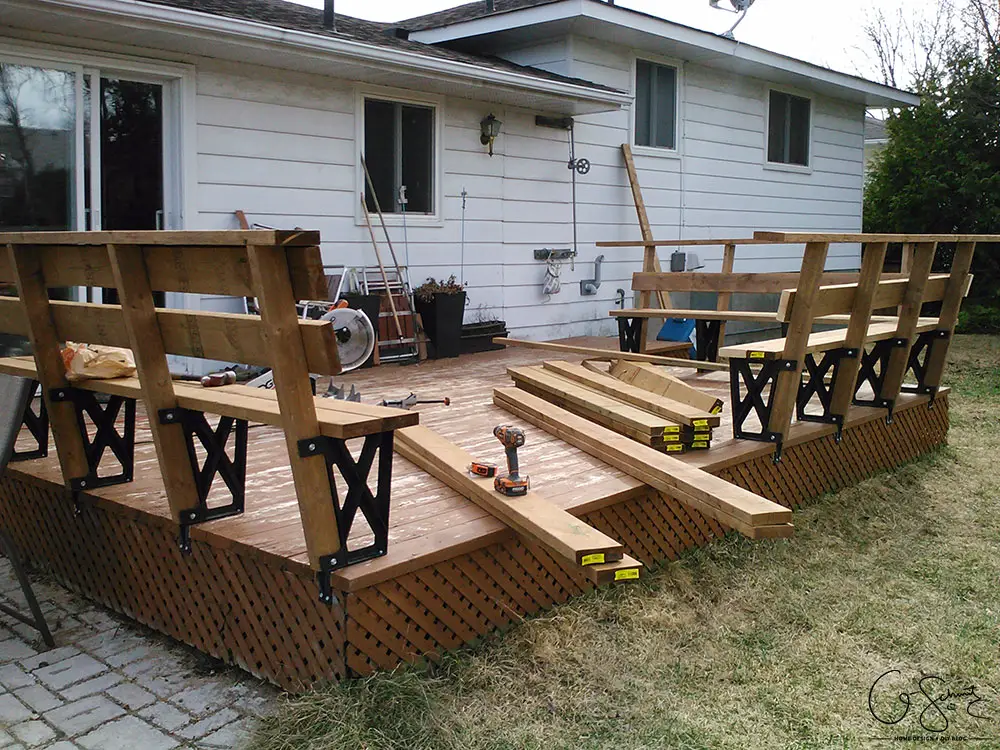
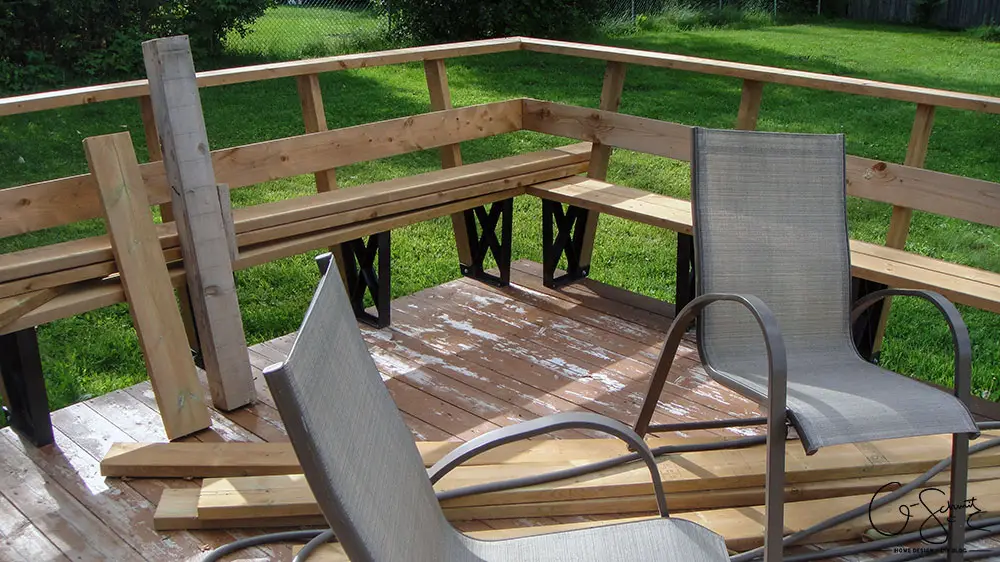
Oh right, a messy deck with a bunch of pieces of wood scattered about! Okay you caught me, the photo was taken the same day, but it pretty much looked the same for a long time (minus the tools being out, we put all those away). Notice that nice big hole in the trellis at the bottom of the deck? Our Tootsie doggie thought it would be fun to chew chunks out of our deck :) (Momma was not happy!).
She looks cute, but don’t let her fool you!
So back to the benches, now in present day (notice how much greener the grass is too!). I did have to move the 10′ boards to the top of the benches, rather than on the deck, so that I knew which ones we had to save. That’s because I accidentally cut one when we were building our raised garden beds. Oops!
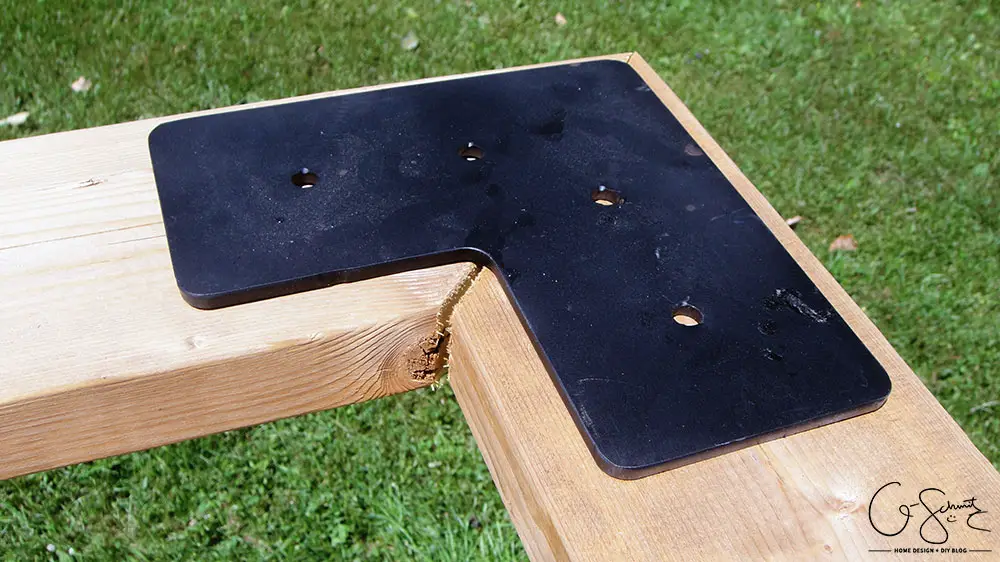
The Husband fabricated two pieces of metal that would sit above and below the top ledge on the corner bench.
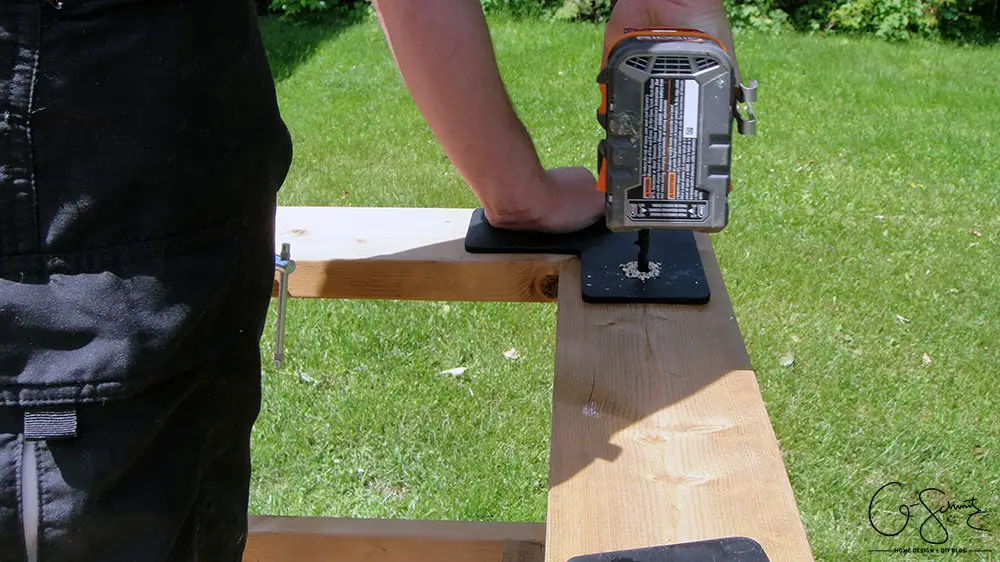
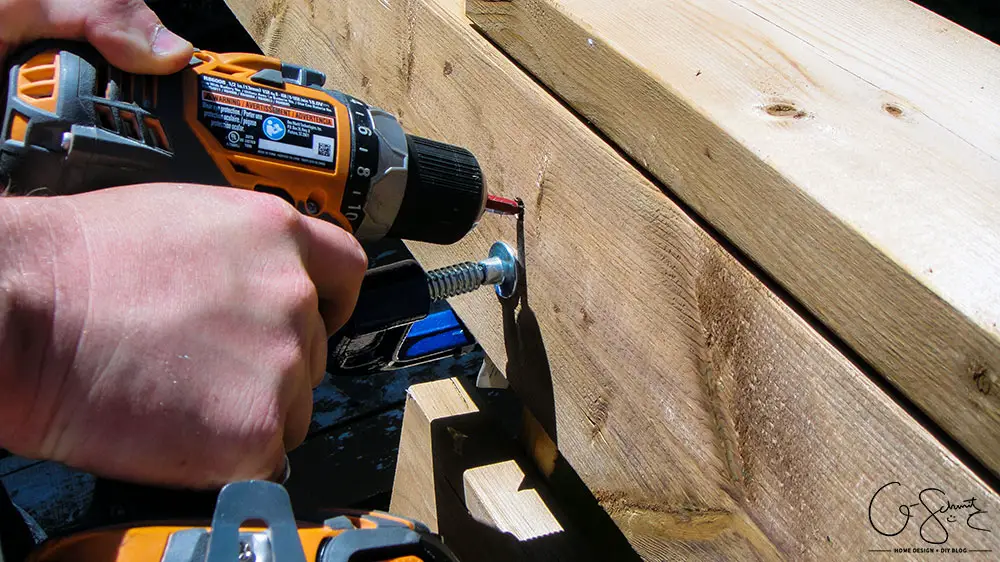
He held the top bracket in place and drilled some pilot holes into the first piece of wood.
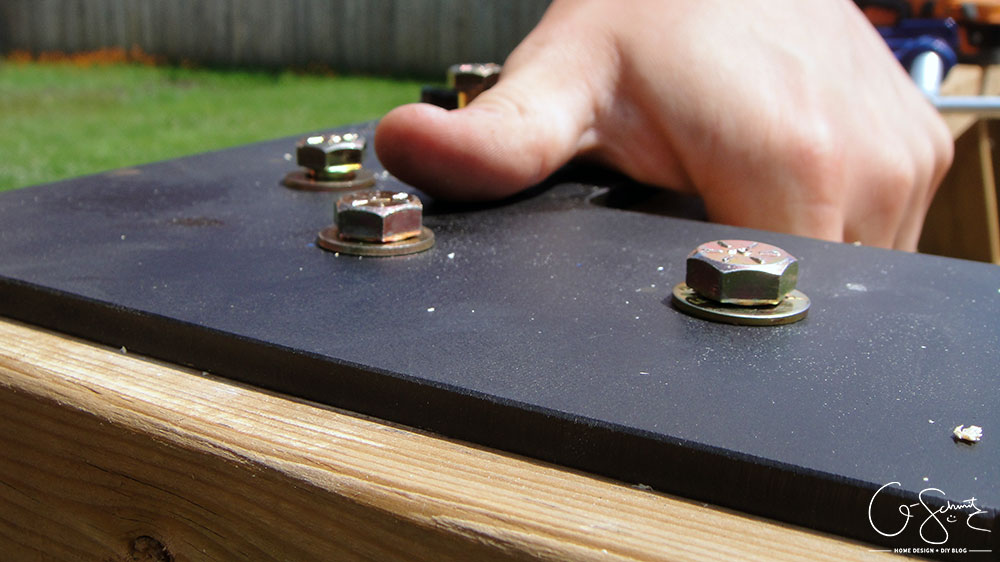
From there, we could squeeze the top boards in tight to close the gap, drilled holes into the second 2×6 and then we bolted the plates in place.
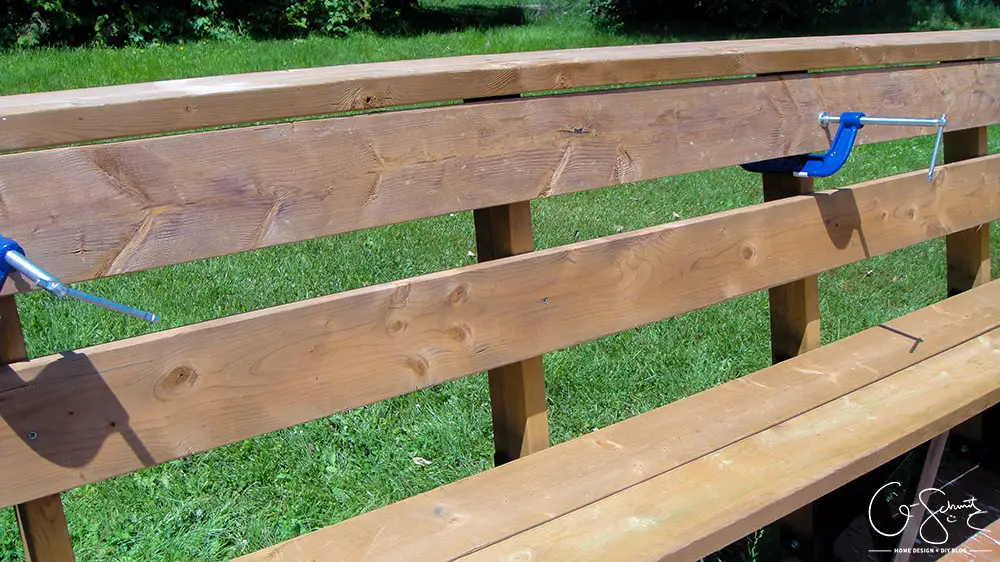
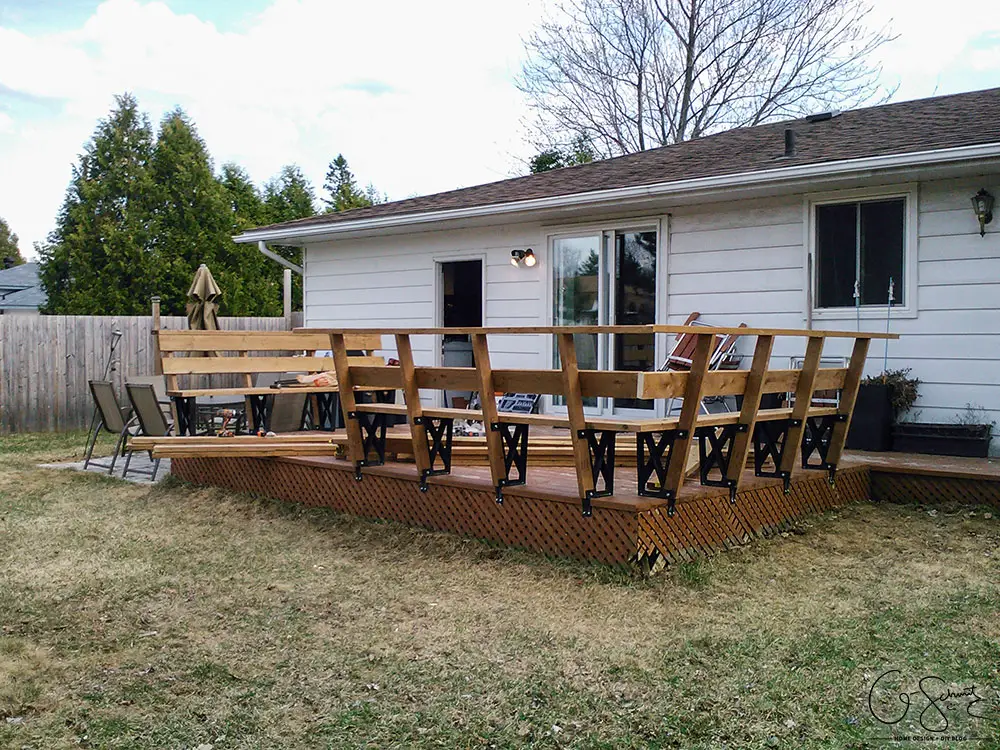
Finally, we could add the last piece of wood along the top back of the benches. We hadn’t put it up earlier because we were waiting to add the steel bracket. It was easiest to clamp these in place and then screw them into the 2x4s.
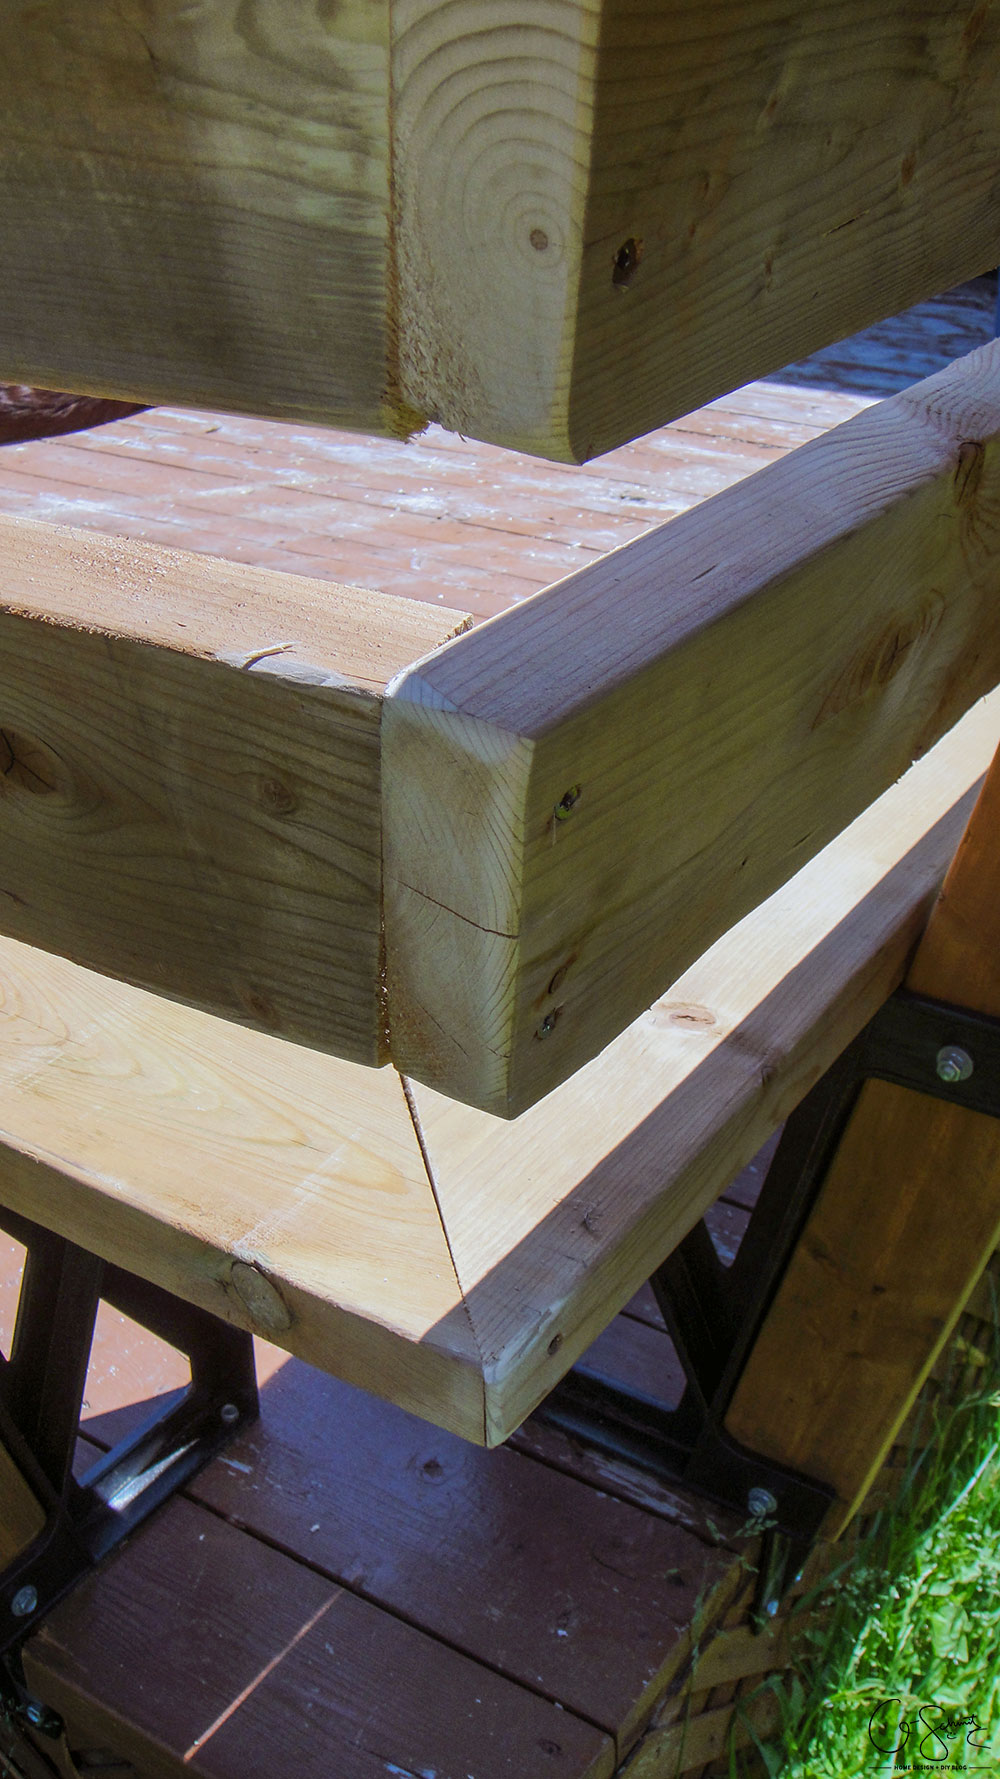
You may notice in the photo above that the boards were not cut to length ahead of time. Remember how I mentioned that it was better to cut them BEFORE you put them in? That will of course avoid any jagged edges from having to saw them in position afterwards.
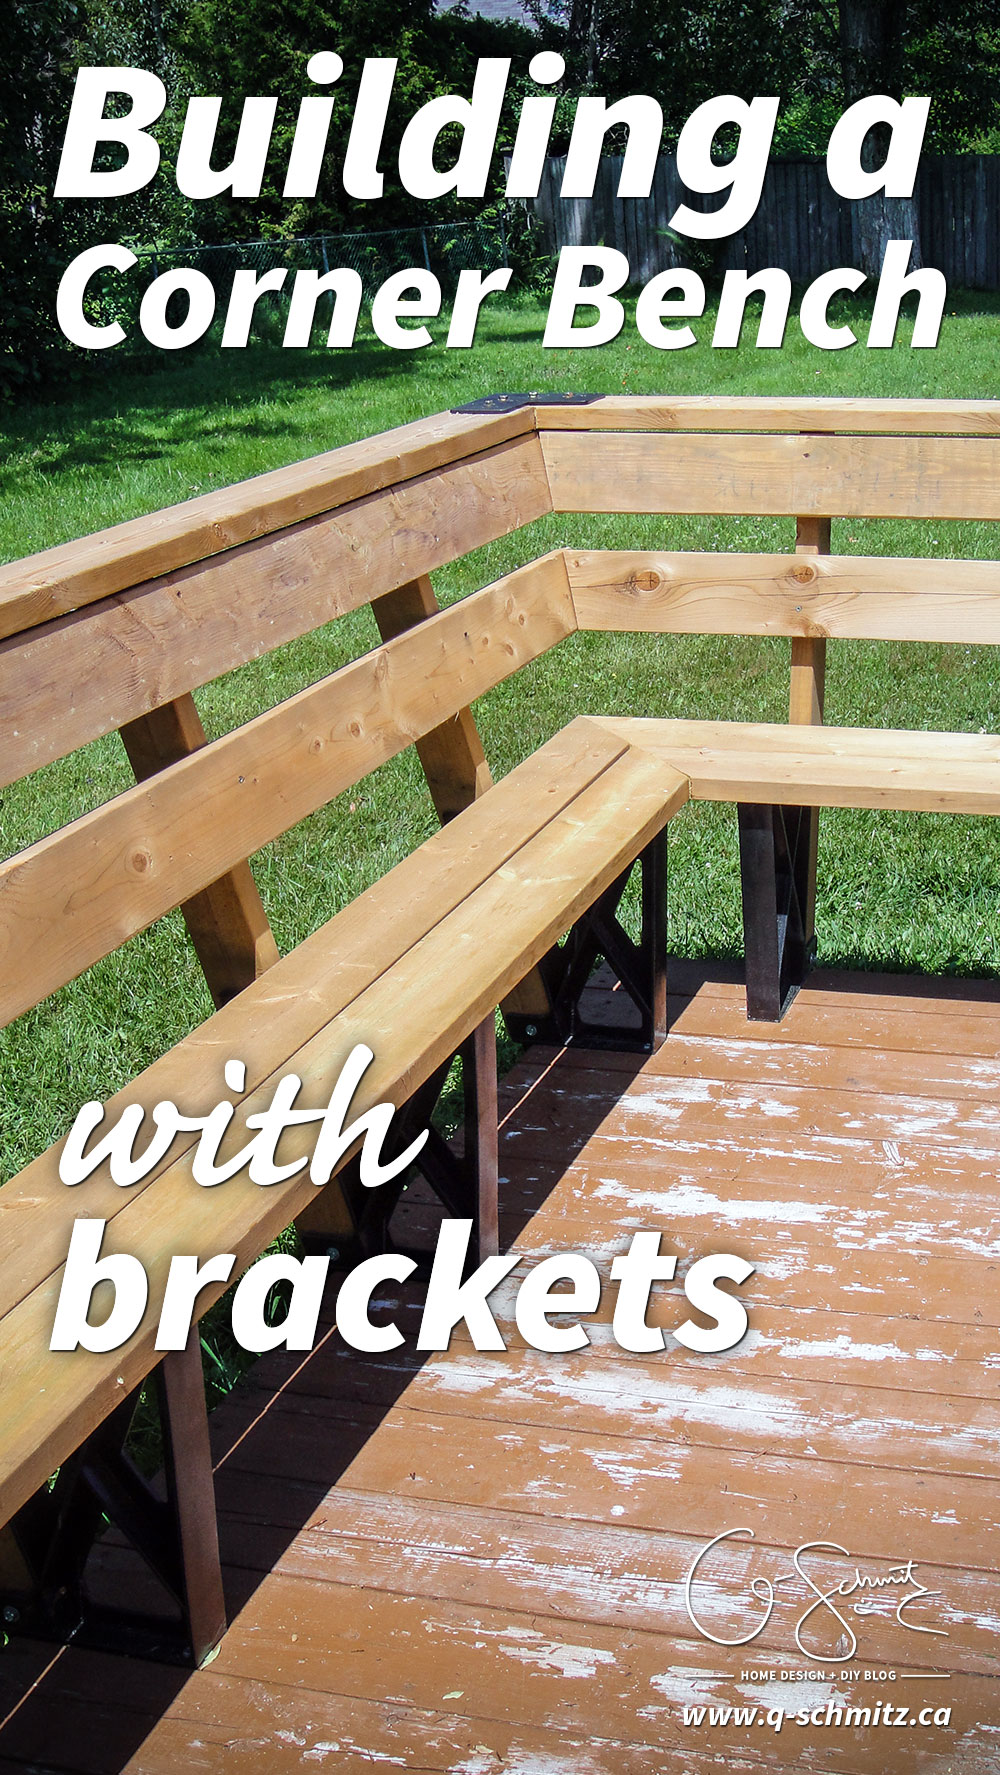
And there you have it! A great looking corner bench that is easy to install thanks to these bench brackets. To build this corner bench, it took us about 4 hours, then maybe another 20 minutes to the steel bracket install. Compared to our first attempt at the straight bench, our time was much better (we didn’t have to read the instructions as much, and could both be working concurrently).
Getting the angles to line up perfectly on the back of the corner bench was a bit trickier; but we just sanded the sharp edges down and are ready to stain everything! What do you think? Does this seem like a DIY you can tackle? I really like the added seating space this corner bench created, and I can’t wait to get a nice patio table setup! Let me know your thoughts in the comments :)



2 Comments
Louise
June 30, 2015 at 8:17 pmalternatively you could have cut the boards for the back at an angle too for a different look for the finish
Nicole
July 1, 2015 at 9:45 amYes, we just went with the 77° angle (which is what the instructions said to do).