

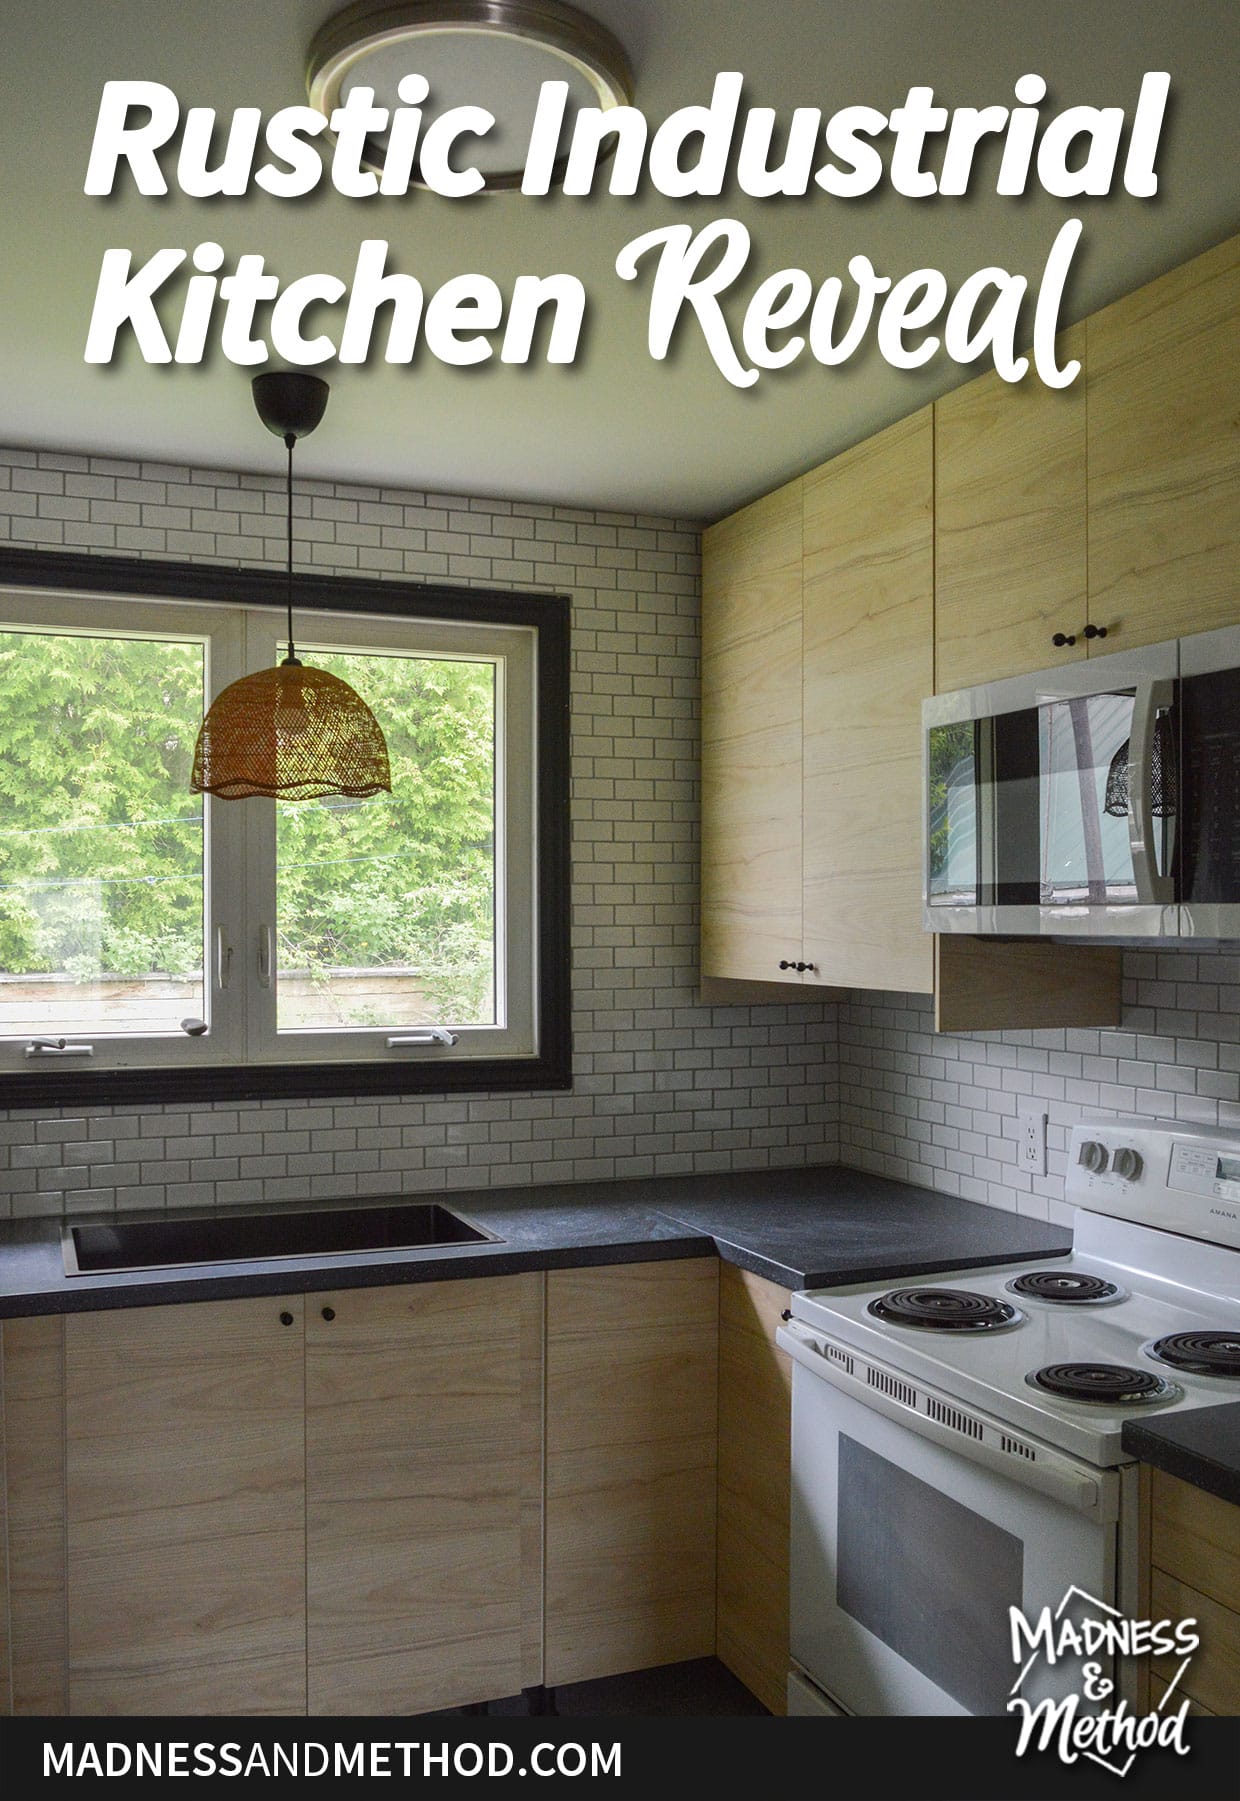
We made it to the end of our kitchen renovation at the rental house! Just kidding, there are still a lot of things that need to get finished, but alas I have to share something. Especially since it’s the last week of the One Room Challenge. Without further ado, here are the photos for our rustic industrial kitchen reveal!
As mentioned, we were renovating this kitchen during the Spring 2024 One Room Challenge. Check out the before photos, demolition and plans, priming/prepping, floor tiling, the Ikea cabinet installation, the laminate counter install and the subway tile backsplash.
Let’s start with what is completed…

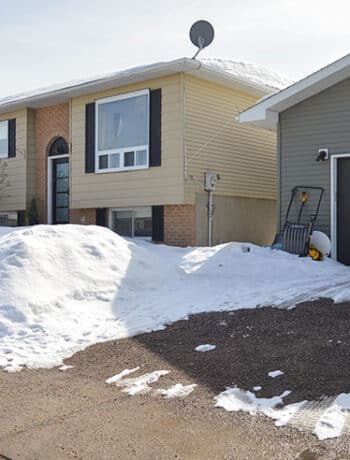
Honestly, it’s super close to being done (especially looks-wise). Before we get too ahead of ourselves, let’s take a look at how the kitchen was when we bought the house:

The photo above is from 6 years ago, and not much in the kitchen changed. In fact, it got a lot worse for wear after a couple of rounds of tenants.

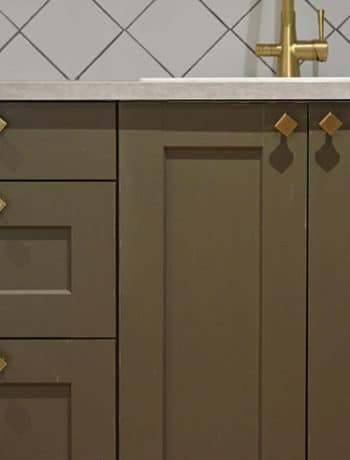
We pretty much started from scratch, installing new floors, cabinets and light fixtures.
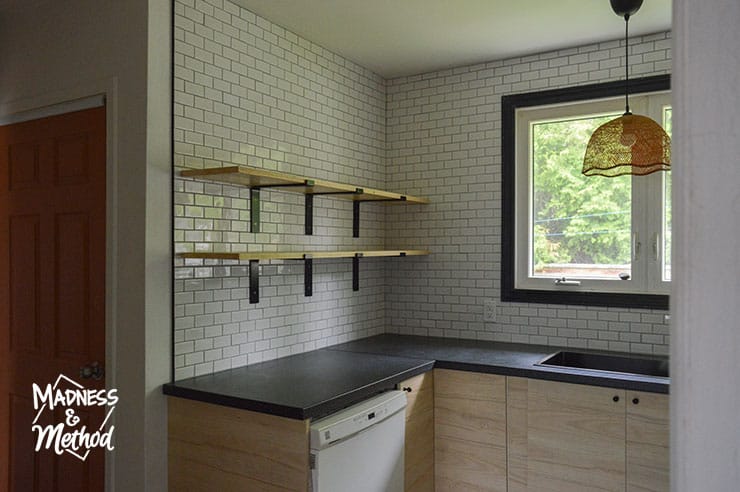
The layout got a big overhaul, since we moved the dishwasher to the opposite wall (where the fridge used to be). Instead of cabinets, we installed shelves to help make it look nice and open.

The fridge was moved to the once-unused wall around the corner. (Well, the fridge will go there when we buy a new one).
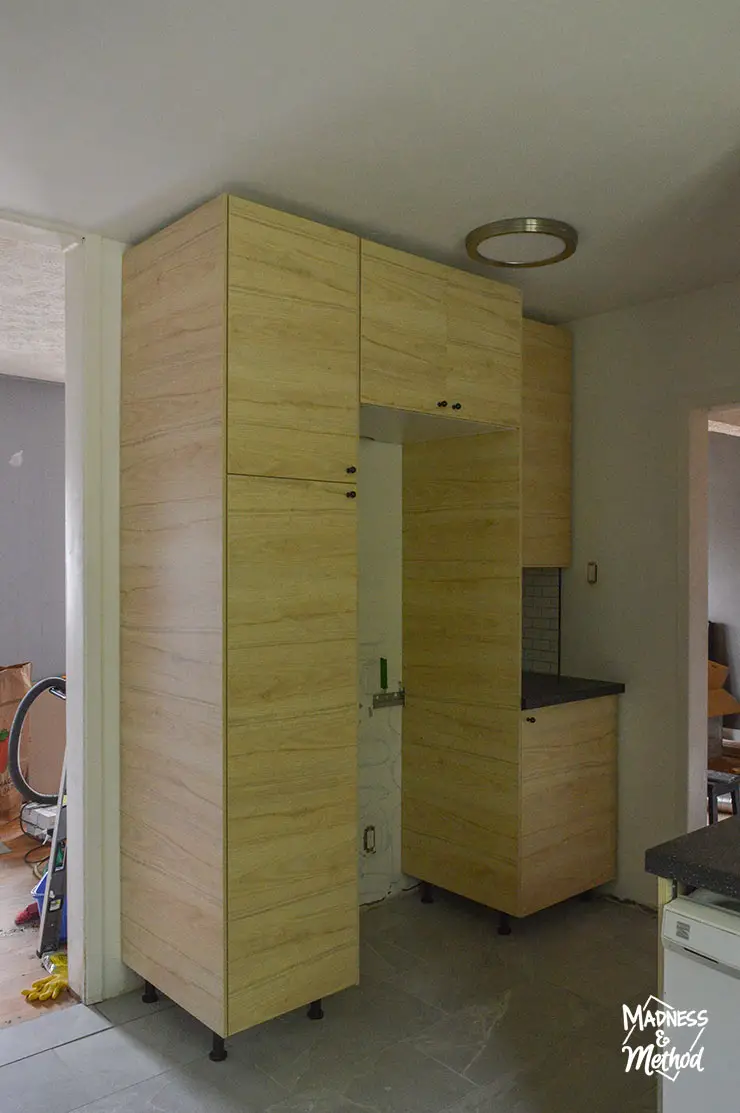
This wall used to be an empty space (maybe an eat-in spot for a little table?). But it was the perfect size for a tall pantry cabinet, the fridge, and a little counter area.

What’s Left to Do
Essentially, this segues us into the task list that’s outstanding.

The obvious: get a fridge. The old fridge has been sitting on the front porch for the last two months, and we should probably do something about that.

We also need to add trim around the cabinets (above, under, and on the sides), paint the walls, add cover plates…

Finish alllll of the plumbing. (Did you notice there wasn’t a faucet install yet?) Technically, the sink still isn’t attached yet – so we should do that too.

We installed the brackets and shelves yesterday, but I think I might cut a couple inches on the shelf length so they match on either side. (The left side overhangs a bit). And maybe position the brackets so that they are even? Honestly, I wanted them installed on the studs and measured the locations before I tiled. But forgot to take into account the tile depth so we missed some studs. And had to re-drill holes in the tiles…

We also have to add the toekicks, caulk/silicone the counters, install baseboards… Probably other things? Oh, I wanted to share the photo above to show how the cabinets look with the spacers in between. If you’ll recall from my Ikea installation post, I wanted the sink cabinet centered under the window, but there were big gaps between the next cabinets.

And here are a couple more before photos as a reminder of where we started!

And where we are now :)

With the lights on now, since it was a gloomy day today and the lights really change the look of the space too.
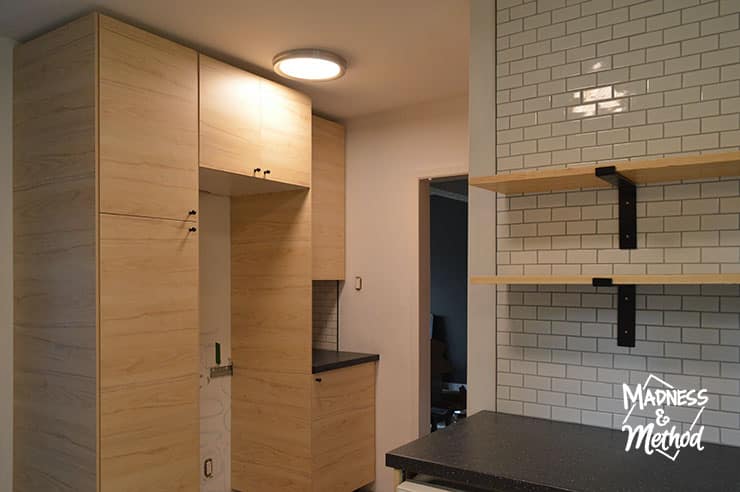
Just squint your eyes and picture a fridge in that spot :)
About the One Room Challenge
Want to see more room makeovers? Visit the One Room Challenge blog to see all the projects this round. And, follow me on Instagram to see progress as it happens!

Follow this Kitchen Renovation
- Ready for our Next Renovation
- Kitchen Demo & Plans
- Clean Slate Before Reno
- Tiling Kitchen Floors
- Ikea Kitchen Installation
- Laminate Counter Install
- Small Subway Tile Backsplash
- Here!
Still To-Do
- Fix that wonky double-tile
- Microhood/oven plugged in (clean inside of oven + dishwasher)
- Sink/faucet plumbing
- Top trim pieces, toekicks, bottom trim on upper cabinets, side trim pieces + baseboards
- Floating shelves fix
- Fridge in place
- Install lazy susan + interior shelves
- Paint walls
- Caulking/sealing
- Other house updates (cleaning, painting)
And, here are my past One Room Challenge projects if you’re interested:
- Spring 2016: Basement Half-Bathroom Addition
- Spring 2017: Bro’s Budget Bathroom
- Fall 2017: Garage Makeover
- Fall 2018: Basement Kitchen Renovation (completed later – you can check it out here)
- Spring 2019: Main Bedroom 1 AND Main Bedroom 2
- Fall 2019: Not-so-Neutral Nursery
- Spring 2020: New Main Bedroom
- Fall 2020: White and Rainbow Bathroom
- Spring 2021: Shared Kids’ Red Bedroom
- Fall 2021: Cleaned Basement Refresh
- Spring 2022: Colourful Hallway
- Fall 2022: (Semi) Finished Microcement Bathroom
- Spring 2023: Painted Bathroom
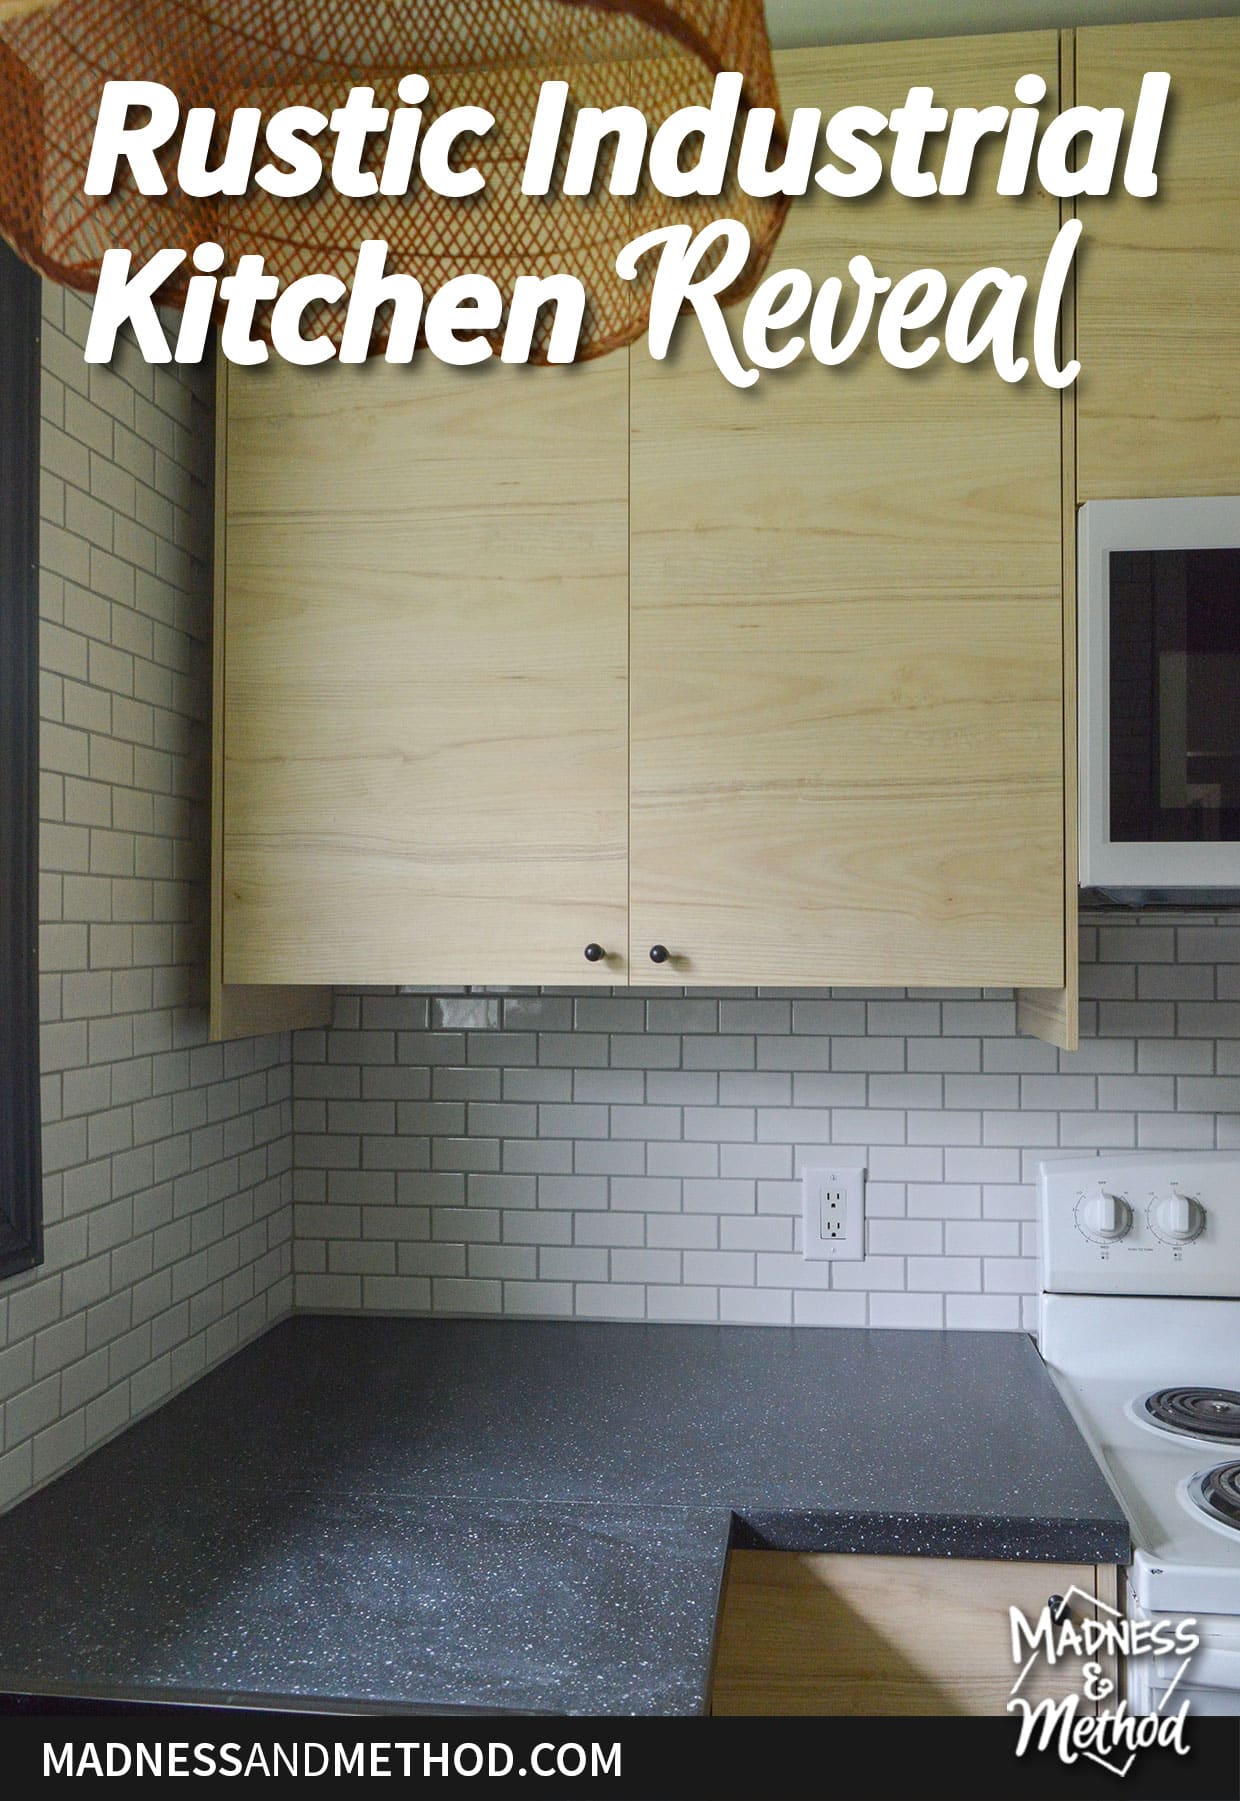
Well, it would be great to say that it’s a wrap on our sixth kitchen renovation… But as you can see from the list above, we still have a lot of tasks to finish. Either way, I really love how this rustic industrial kitchen reveal turned out, and it’s a big improvement from before.
Now we just need to finish it. And the rest of the upstairs so we can get tenants in here again, ha.
PS: Make sure to follow me on Instagram to see more kitchen updates :)

No Comments