
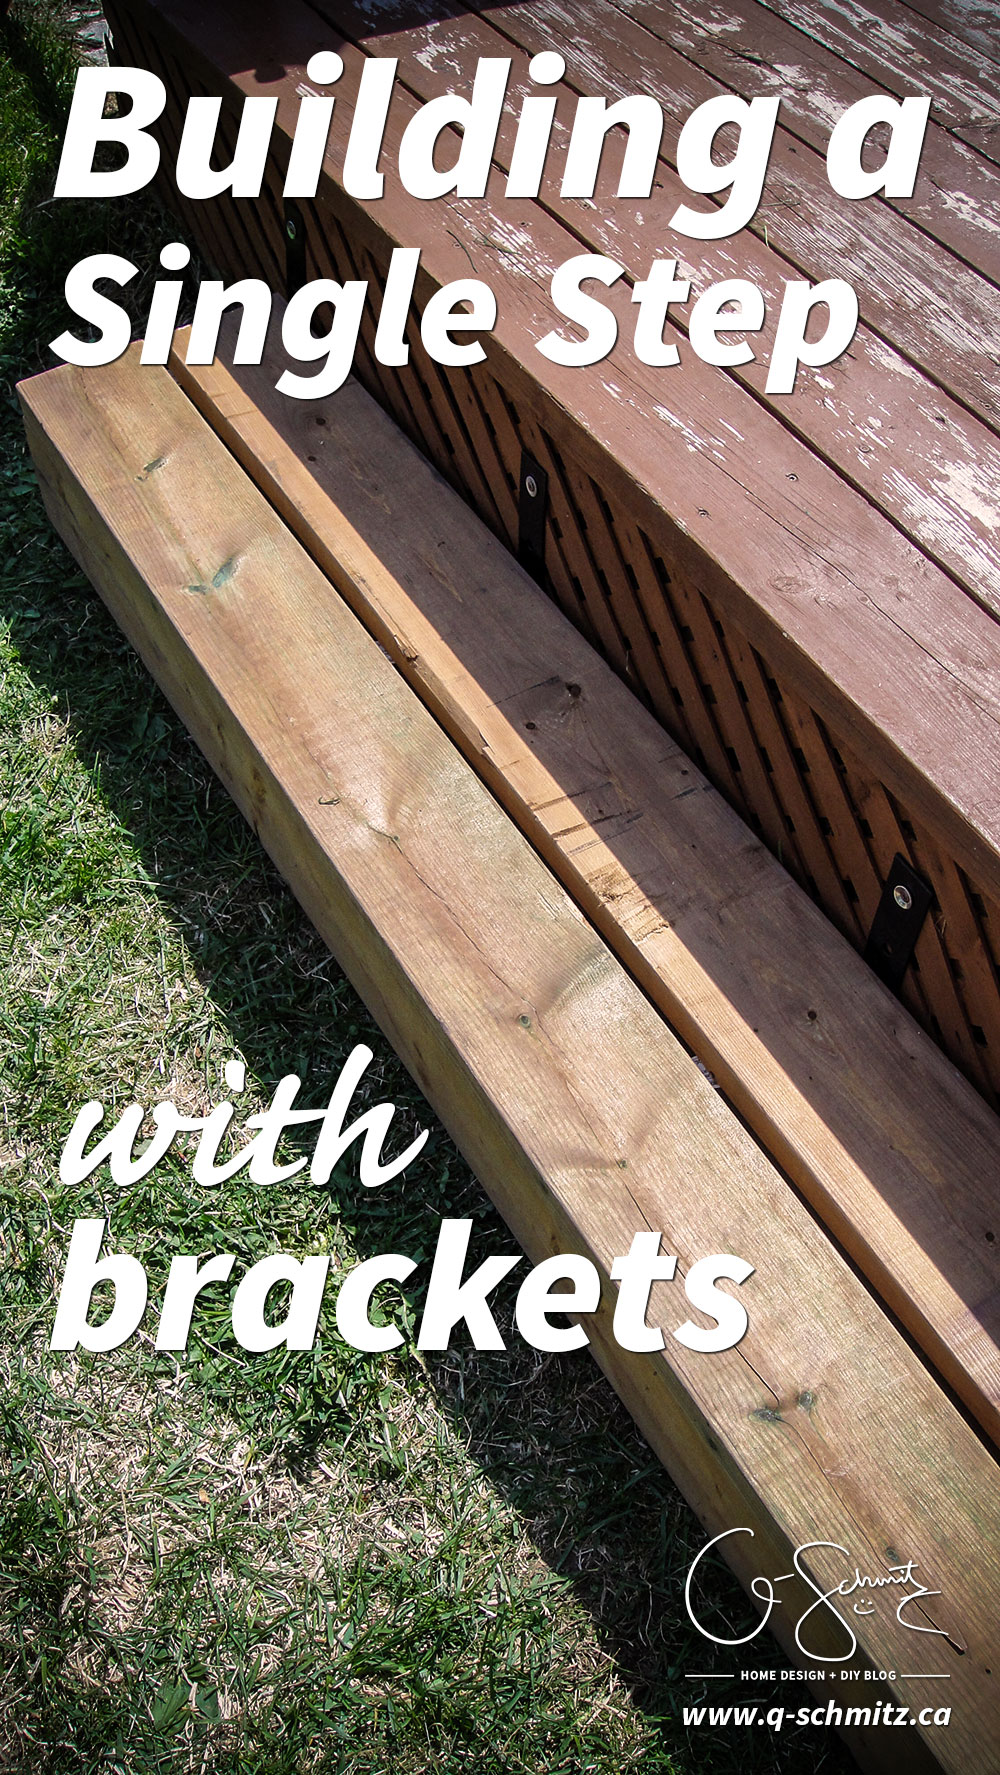
Well if it isn’t clear by now, I seem to love using pre-made brackets to assemble things! First we built our straight deck bench, then the corner bench using the same brackets, and today I’ll be talking about how to build a single step with brackets!
– Note: This post contains affiliate links. See more information about affiliates here –
Now I should warn you, the step brackets (available at most larger hardware stores) don’t really come with instructions, so if you’re like me, you attempt to build them a couple of times before you get it right. Good thing for you, I have the steps on how to build them here, so (hopefully) you won’t have to retrace your steps! (haha what a good pun).
Materials Required
- Single (black) step bracket at Home Depot or buy the single (black) step at Lowes.
- You can also get the single step in aluminum at Home Depot, and the same aluminum one at Lowes.
- You can also get double riser brackets, triple risers brackets (and more!)
- Lumber (we used pressure treated 2x6s)
- Drill (this is the drill we use)
- Measuring Tape
- Level (1′ minimum, or use a 4′ level if doing a large span)
The first thing to do is decide where your step will go. We already knew that we wanted a longer step at the end of the deck, and a smaller step in our little deck nubbin (you can read about our deck project planning here, and check out the diagram too).
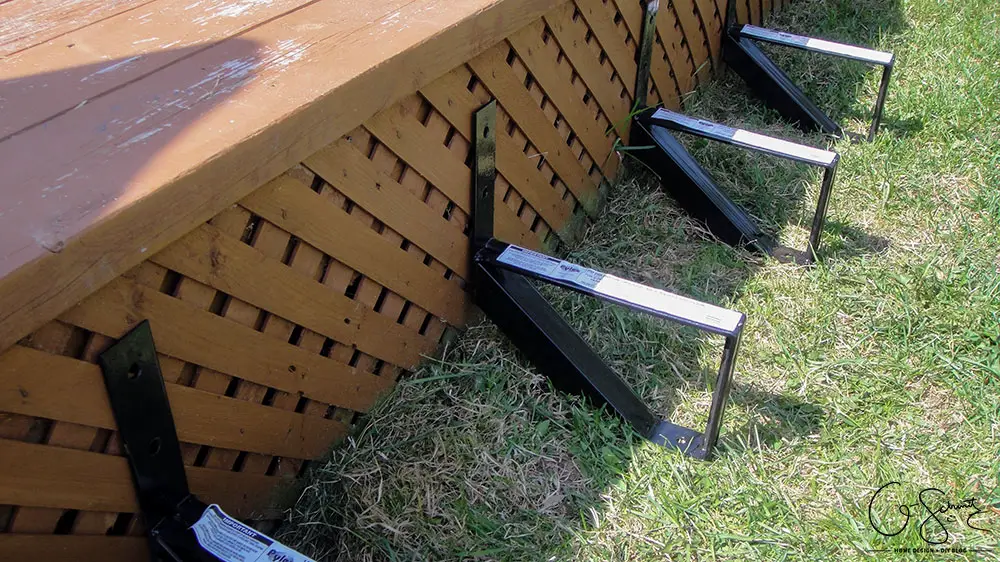
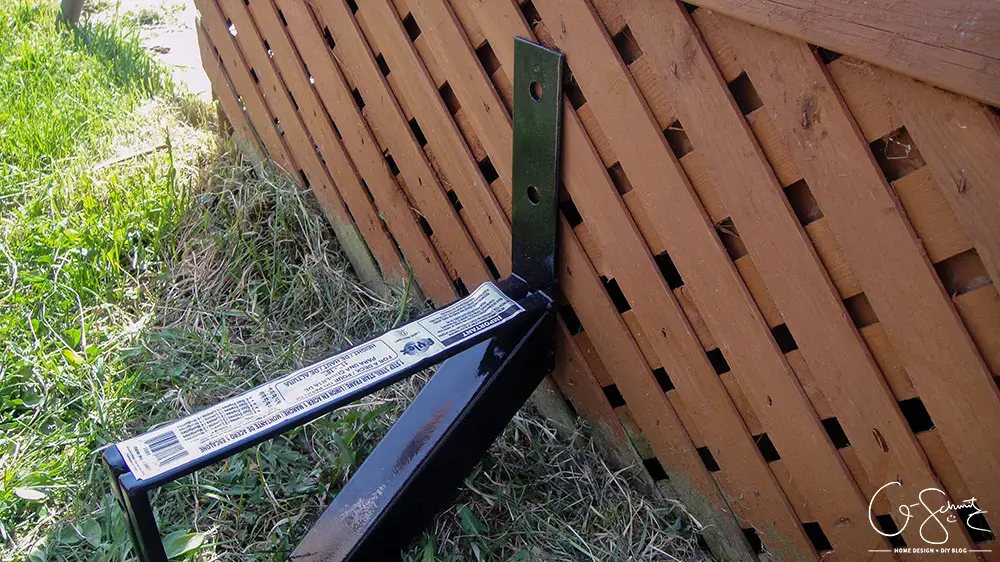
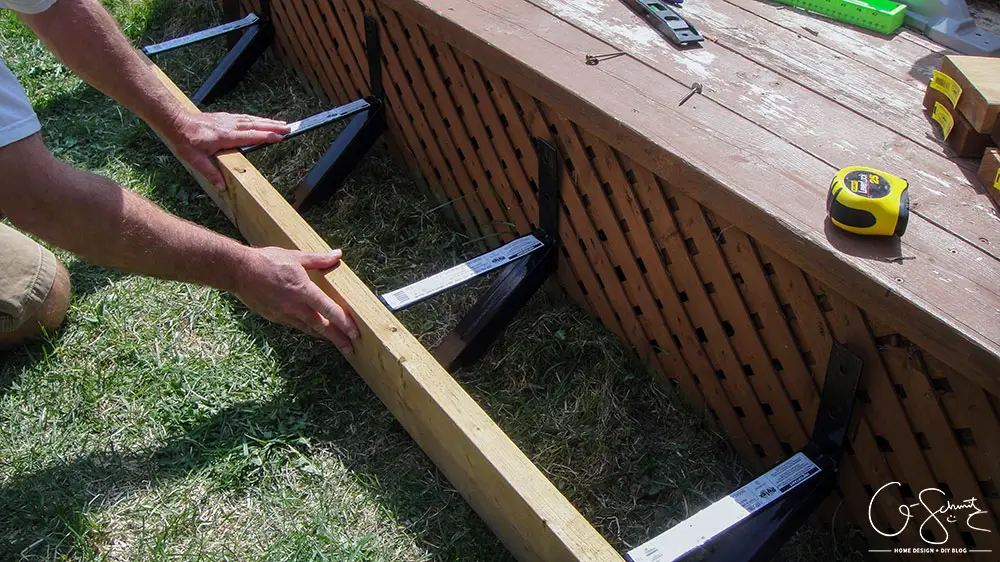
Place Brackets
Next, you’ll want to purchase enough brackets to cover the area and space them evenly where they should go (as recommended on the bracket sticker). For a 4-5′ long step, I believe you need 4 brackets. The long sticky-outy is the part that goes into the deck, and the diagonal section should be facing the corner (see photo above).
Now, at this point you may be tempted to screw the brackets into the deck right away. DON’T DO IT YET! If you do, you’ll realize that you have to screw from the bottom to put the piece of wood onto the step (which is kind of impossible when the ground is in the way).
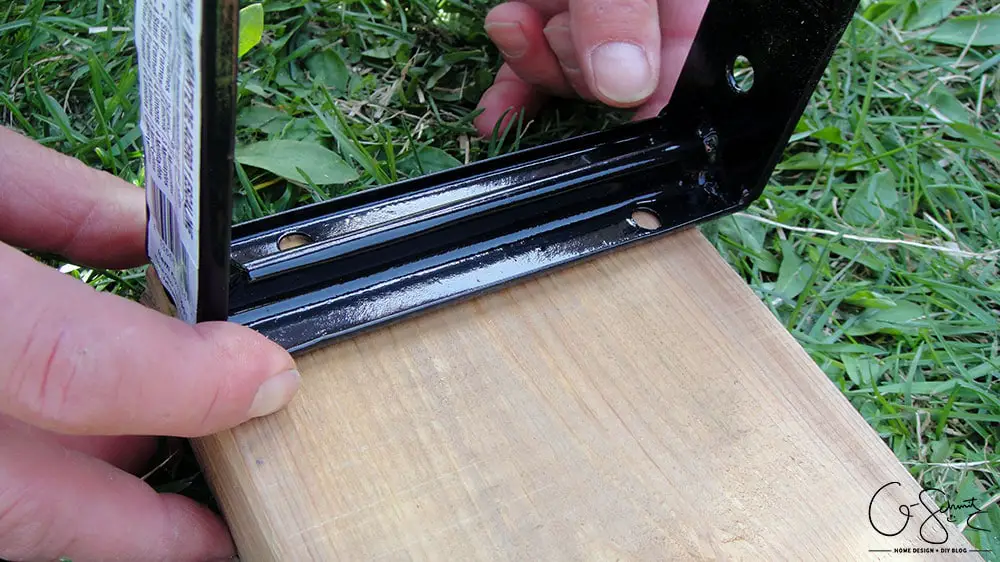
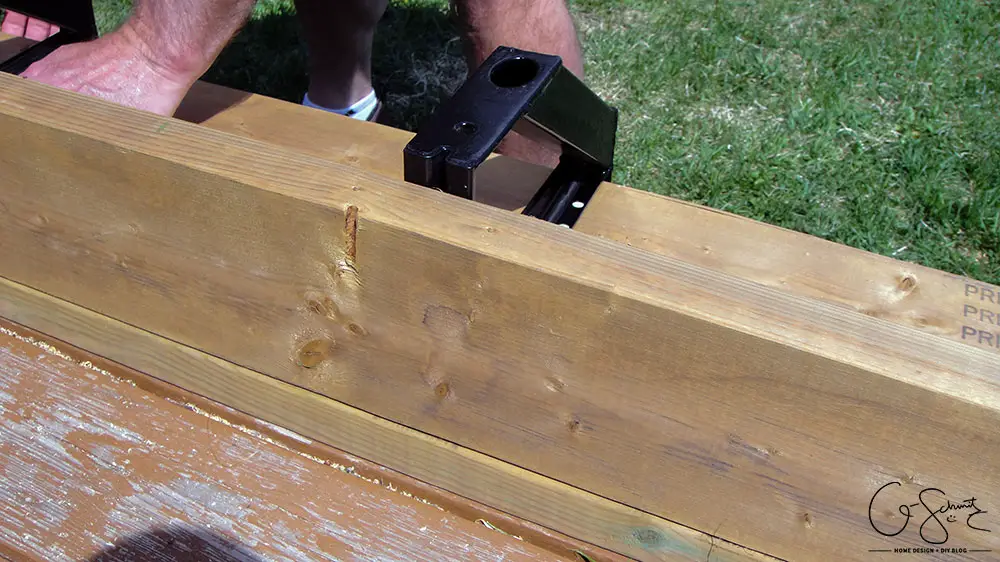
Secure the Kick-Step
Line your 2×6 board (cut to length) evenly along the front (straight) edge. Our brackets came with the required hardware, so we simply had to drill some screws and washers into the board. This is the section that goes up vertically when the step is in position (also called the risers).
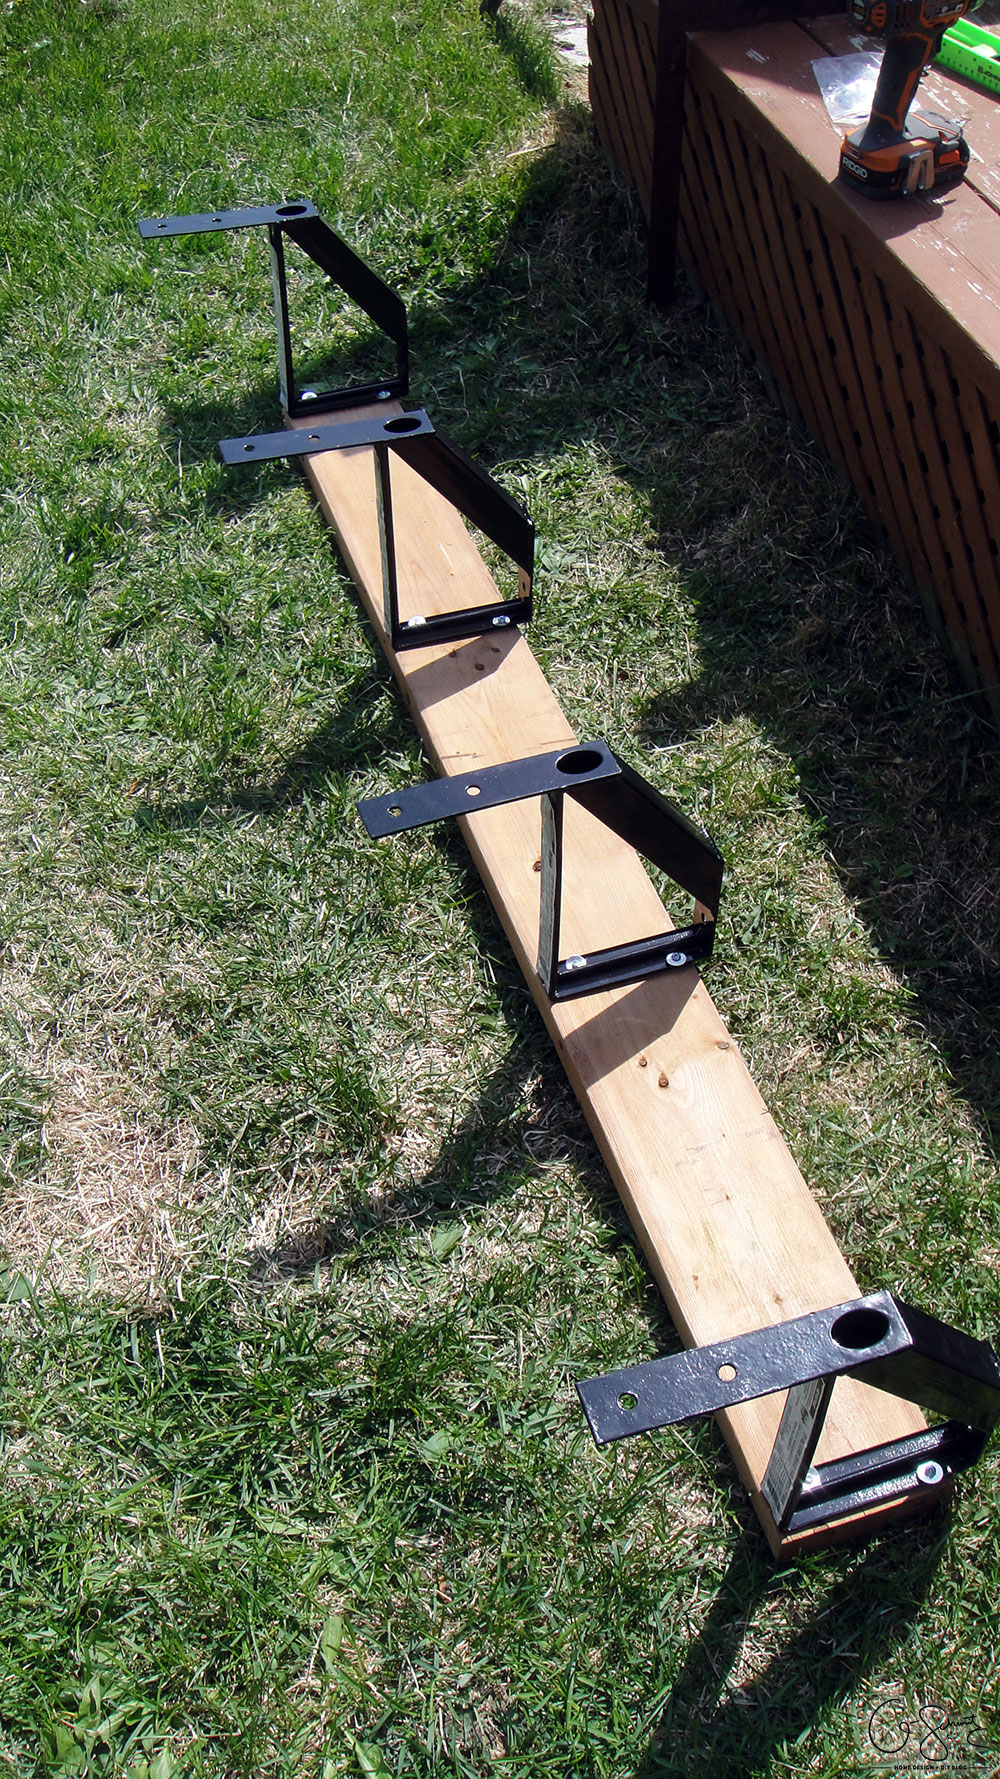
Once all your brackets are attached to the piece of wood, you can move on to the next step.
No, don’t screw the brackets into the deck yet! You can place the brackets upright at this point, then eyeball where your next two boards will go. Again, we used some 2x6s (cut to length).
Attach the Treads
The tread is the part that your feet walk on (or “tread”) – get it? To secure this section, place your 2×6 boards together on a flat surface (and you should have determined the space in between the boards at the step just before this one).
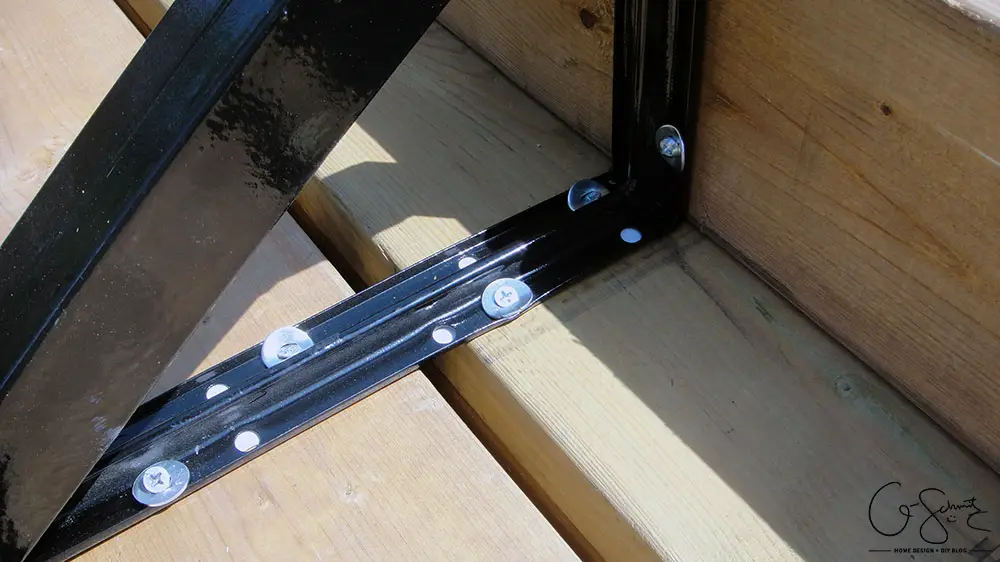
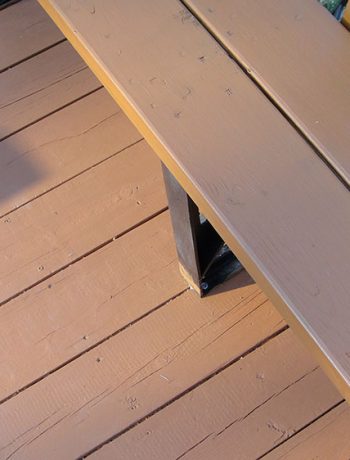
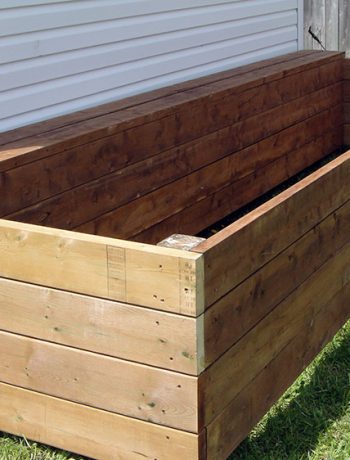
The photo above shows the angle when you’re looking “inside” the step.
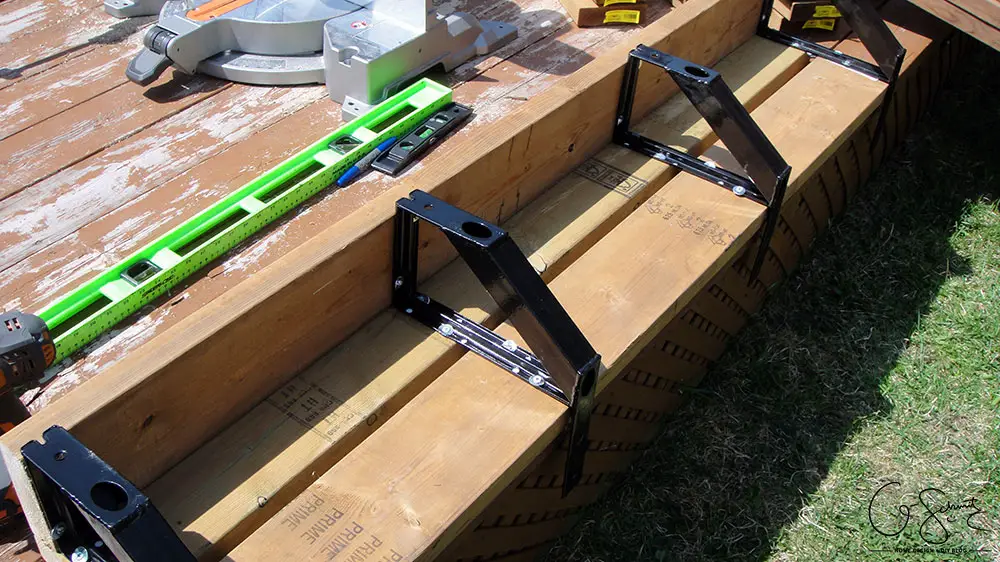
By now, you should have a good looking step, that’s just floating around, waiting to be attached.
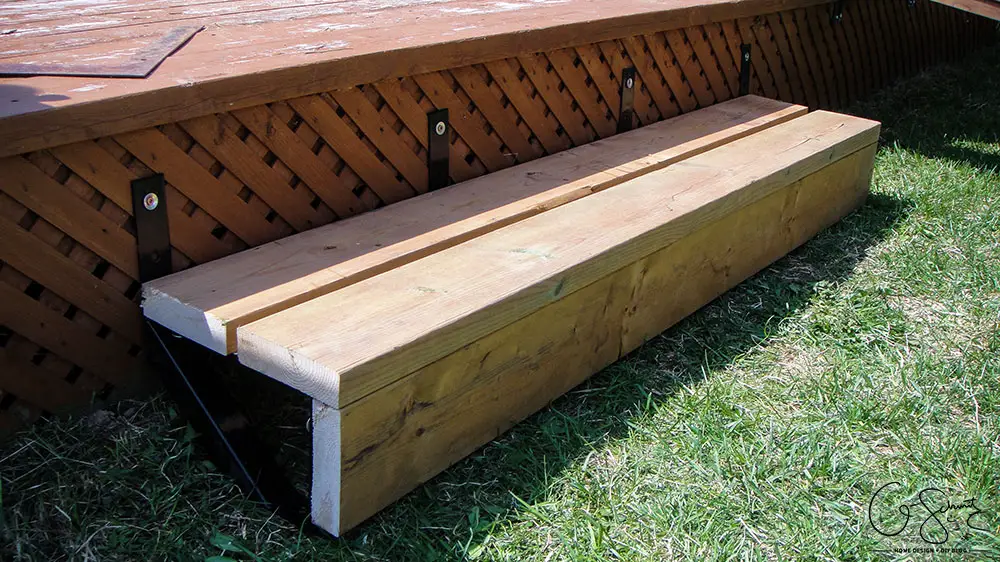
Guess what? You can now attach the step to the deck! There are two holes in the brackets to drill into the deck, but we only had a board behind the top hole to secure into. It might matter more when you have a lot of steps to install (and there are brackets that hold more than one step), but I’m not too worried that the step will suddenly fall off of the deck or something.
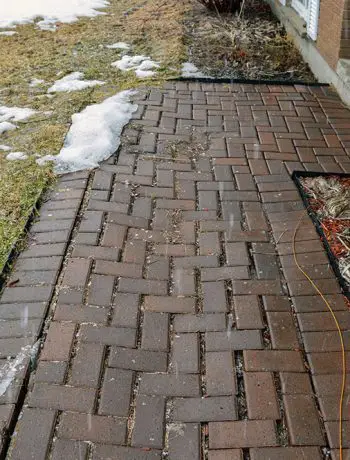
DIY/PRO Tip: Notice how we installed our step directly on the grass? Well, it wasn’t that good of an idea in retrospect (actually, once the grass and weeds started to grow through the cracks, I realized the mistake). So make, sure to clear out the area BEFORE you install the step. But hey, my Papa and I took it down and put it back up so many times (hence the above warnings NOT to install it prematurely) that it will be a breeze to remove it again. But I think that will be a project for next summer (I’m thinking of incorporating some concrete pavers all around the deck too…).
This was probably the quickest and easiest summer project we did so far, and even though it’s not that “high impact” design-wise, it really does add a bit more safety to our deck experience! Have you ever installed a step using the pre-made brackets before? For those thinking of adding one, I hope my tips help you avoid some mistakes; and for those that have, did I miss anything?
Let me know your thoughts in the comments!
Oh and don’t worry, the step and deck will get sanded and stained soon enough…
14 Comments
James Perkins
May 9, 2016 at 12:12 pmwhere do you buy these brakets
Nicole
May 9, 2016 at 5:21 pmWe got ours right at the hardware store (can’t remember which one). I’ve gone back and included some links to purchase from the Home Depot or Lowes websites if you wanted!
Francis
April 16, 2017 at 3:19 amI am also looking for the kind of bracket you use. It would be great if you could post the link to buy here!
Nicole
April 17, 2017 at 1:10 pmHello Francis – I placed a few links with the post (should be between the first two images). Let me know if you have trouble finding them
Mychaelee
November 5, 2017 at 5:08 pmHi,
We are trying to turn a half circle step into a regular step in our mudroom; awesome idea you
came up with but not crazy about that bracket showing. Any thoughts?????
Nicole
November 7, 2017 at 12:43 pmFor indoors, I’m assuming you would be covering the whole thing in wood – so you might be able to cover the back as well? However, I do think that there are some wood pre-made step bases at the hardware store that might work better for that scenario!
Becky O'Neil
March 1, 2022 at 4:25 pmThanks for posting this! I’ve been hunting for a clean way to attach a step to a low deck, and this fits the bill.
Nicole
March 2, 2022 at 11:45 amThanks :)
Don
April 2, 2022 at 2:28 pmI like this idea! I’m wondering about how strong it is though. Does the step have any noticeable “give” to it when you step on it?
Nicole
April 4, 2022 at 1:04 pmThe step was very strong and we didn’t have any very noticeable movement. If I could do the project over again I would have installed them on concrete pavers though (because it was annoying to trim the grass around them).
Rob
April 27, 2022 at 8:28 pmThanks Imma use the brackets I got from Amazon to add a step to the back door of my house to my garage. There is no step there at all and the brackets will sit on the concrete floor of my garage.
Nicole
April 30, 2022 at 4:08 pmGlad to help :)
Mike Grimm
August 31, 2024 at 4:44 pmI purchased the Pylex brackets from Home Depot but they don’t include the screws and washers to install them. What should I get?
Nicole
August 31, 2024 at 8:25 pmHey Mike, it depends on what size wood you are using. We used 2x6s, so I think 1-1/2″ screws? But if you are using a 1-1/4″ thick wood (like deck boards), then you would need shorter screws. You could always use lag bolts that have a wider head instead of screws and washers too (again, length would depend on how thick your wood is to ensure they don’t poke through).